Transporting Data from your DCC to Omniverse
Content can be brought into Omniverse Create in 2 ways: * Via USD - Omniverse applications read USD file types, so applications with an export functionality into USD can take advantage of this. This will be handled differently by each DCC application. Please refer to the documentation for using USD in their applications. * Via Connector (if available) - Omniverse Connectors can be installed on the local machine with the 3rd Party Application installed.
Before you Begin: Make sure your Nucleus server is connected and active.
Step 1
Export your USD files from your DCC application of choice to any local directory.
Step 2
Upload your content to the Nucleus Server
Login to your Nucleus Server via the NGC portal using a web browser
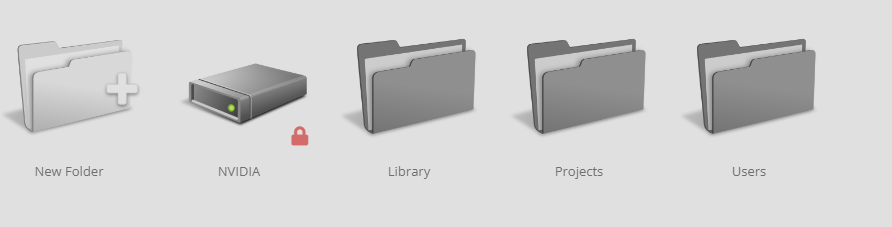
In the nucleus server, create a new folder under the Projects folder [Nucleus Server/Projects]
Step 3
Drag and drop your exported USD file into this folder
Step 4
Log in to the LaunchPad Virtual Machine if you will be utilizing it to run Omniverse Create
Step 5
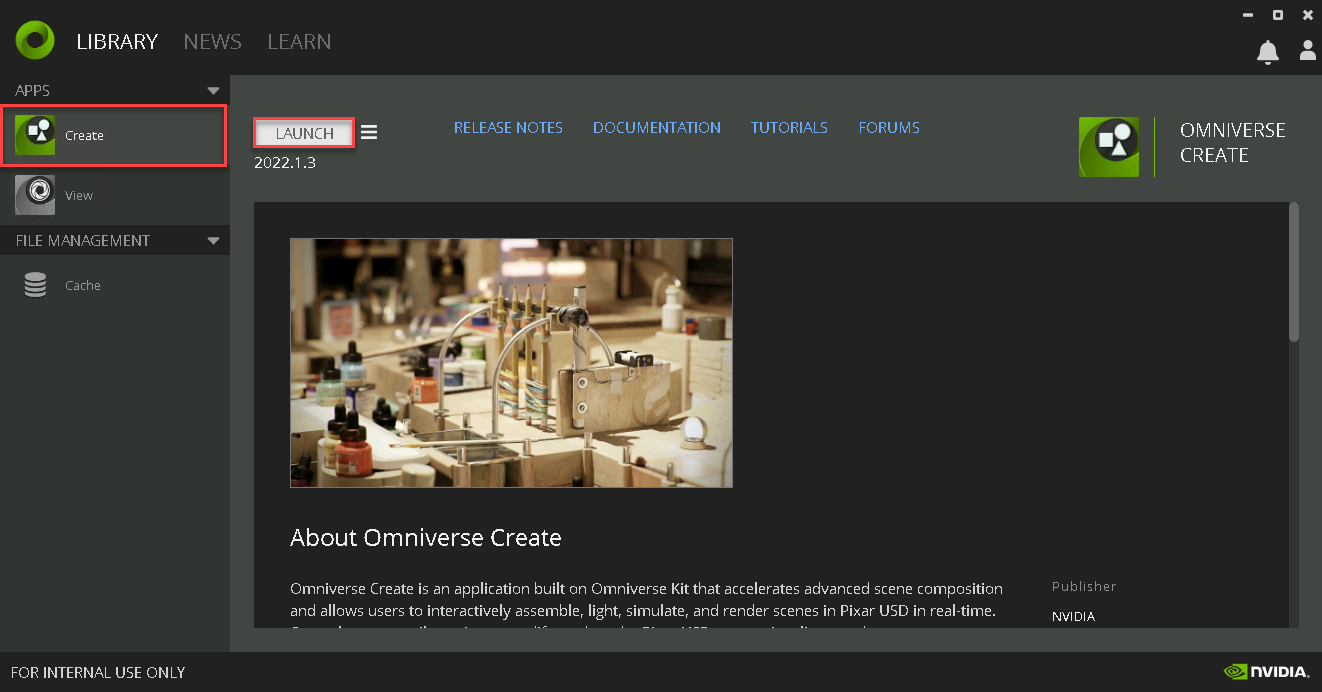
From the Omniverse launcher, launch the Create app.
Step 6
In Omniverse Create, under the Layer tab, select the Root Layer Under properties, change World Axis to Z if needed. (Z-up is standard for most AECO apps. Y-up is standard for others)
Step 7
From the Create content browser, navigate to the same folder you created in the Nucleus server to find the USD file you exported previously.
Step 8
Add the USD file you exported to your scene:
Back in the content browser, find the files you exported to the Nucleus server
Right-click and “add as sublayer” for all files
Before you begin: Confirm that an Omniverse Connector is available for your DCC application. A complete list of available connectors can be found here.
Step 1
Make sure you have completed Section 1, “Making all the Connections,” to your l Nucleus server. Also, make sure that the Omniverse Launcher is also installed on the same machine as your DCC application.
Step 2
On the host machine with your supported DCC application, go to the Omniverse Launcher and under the “Exchange” tab, choose “Connector”

Step 3
Choose the connector for your specific application and install it.
Step 4
Once installed, Open your DCC
Go to the Omniverse Menu (or Icon, depending on how the connector is presented in the interface). It will be visible if the connector is installed.
From the Omniverse menu, click on ‘Sign In’. Sign in using the email address used for your NGC Nucleus invite
Example from 3dsmax
Step 5
Because each application is different, each connector may have slight differences, but the principles are the same. #. Connect your application to the Nucleus Server #. Either A) Create and connect to a Project or B) Use the Connector features such as Export or USD to transport your data directly to the Nucleus server
“Export as prop” (ie. Revit sample)
“Publish current model as a Prop to Omniverse” (ie. Rhino, Sketchup samples)
etc.
Name your file and export
Recommended naming convention: DCC_Descriptor (ie. Rhino_Facade, Revit_Building, etc)
For additional features and capabilities, refer to the documentation for the specific connector.
This example uses 3dsMax, but there are many more connectors available.
Please visit our Omniverse Connect documentation pages to explore guides for using additional connectors!