

Teleoperation#
This lesson covers whole-body XR teleoperation on the Unitree G1. The teleop application combines the AGILE WBC policy, bimanual inverse kinematics, and finger control driven by an XR headset.
We’ll begin with a simulation test to verify the XR headset, CloudXR session, and teleoperation commands, then connect to the physical G1 and teleoperate on real hardware.
Run these steps on a Jetson AGX Thor connected to the G1, either as an external system or as a Thor backpack.
We’ll cover:
Activating the Isaac ROS environment for teleoperation
Starting CloudXR and connecting an XR headset
Launching real-hardware teleoperation
Enabling and disabling robot control using the safety controller
Tip
Before collecting data, review the Teleoperation Data Collection Guide.
It covers warm-up runs, smooth motion, body stability, scene variation, side-grasp approach, recovery examples, camera field of view, and completion behavior for GR00T training.
This keeps the operator out of the left-hand camera view and avoids blocking the teleoperator’s view during apple-to-plate demonstrations.
Warning
Having at least two people work on this workflow is recommended:
One person for teleoperation
One person to monitor the robot for safety purposes
Prerequisites#
This lesson assumes the previous module is complete, the XR headset is ready, and the G1 is powered on and connected directly to Thor through Ethernet.
Activate Isaac ROS#
The gr00t_workflow Docker layer from Isaac ROS Setup on Thor includes the teleop bringup package.
Start a new terminal and activate the Isaac ROS environment:
isaac-ros activate
Start CloudXR#
Note
As a best practice, update your teleop headset before beginning this lesson.
Network Requirements
Before using XR teleoperation, verify the network can support CloudXR streaming. Refer to the CloudXR Network Setup guide.
Start the CloudXR runtime and accept the EULA:
python3 -m isaacteleop.cloudxr --accept-eula
Keep this application running until you finish teleoperation.
On the XR headset, open the native browser and navigate to
https://nvidia.github.io/IsaacTeleop/client/release-1.3.x/#/real/isaacros.Enter the Thor’s host IP address in the Server IP field.
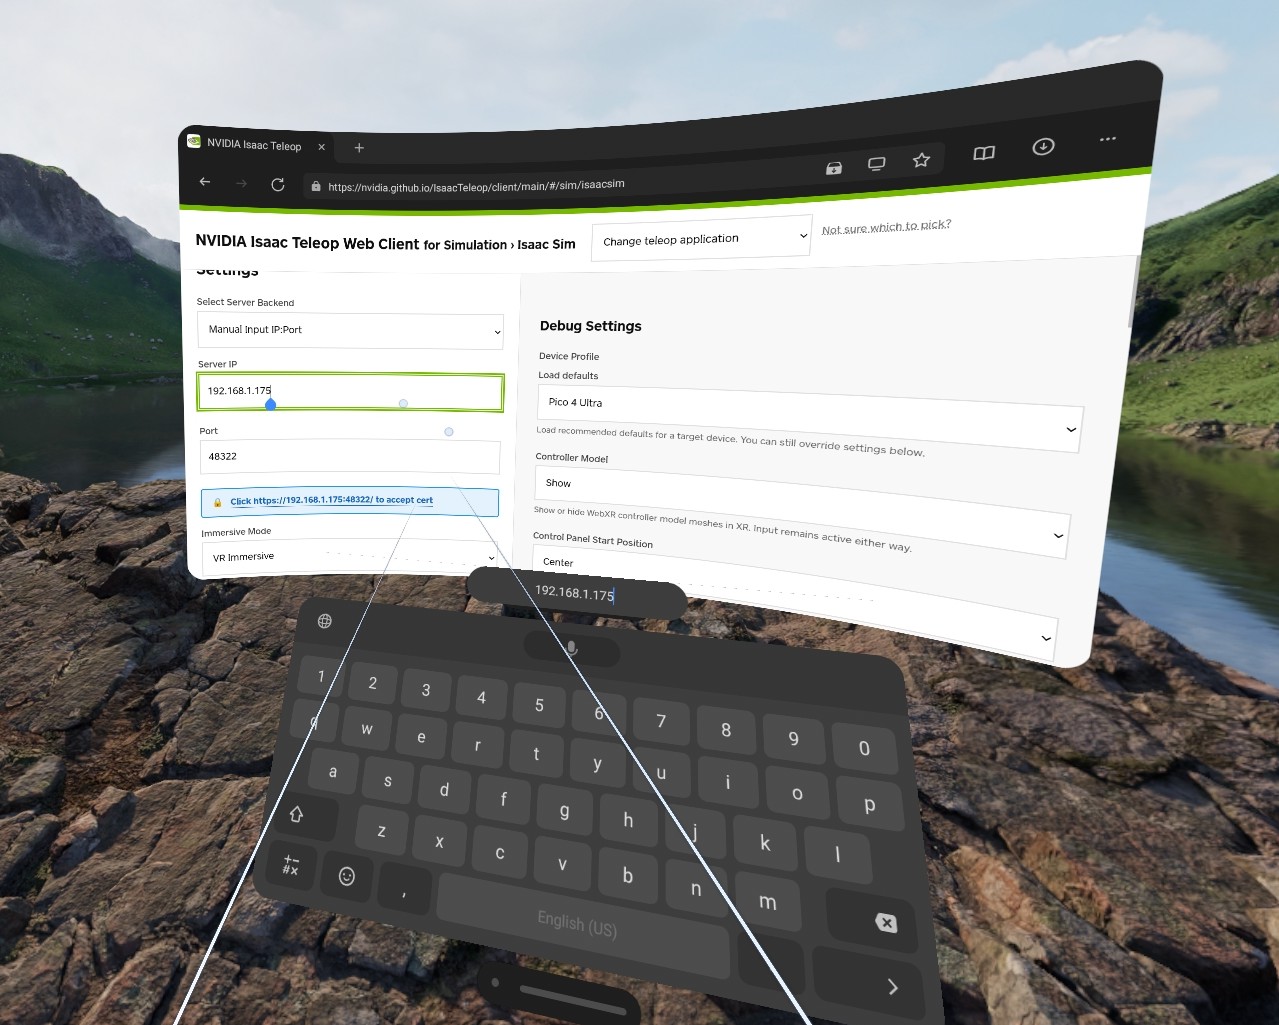
Example headset client layout before connection.#
Select the Click https://
:48322/ to accept cert link that appears on the page after entering the IP address.Accept the certificate in the new browser page, then return to the CloudXR.js client page.
Select Connect to connect the headset to the teleop server.
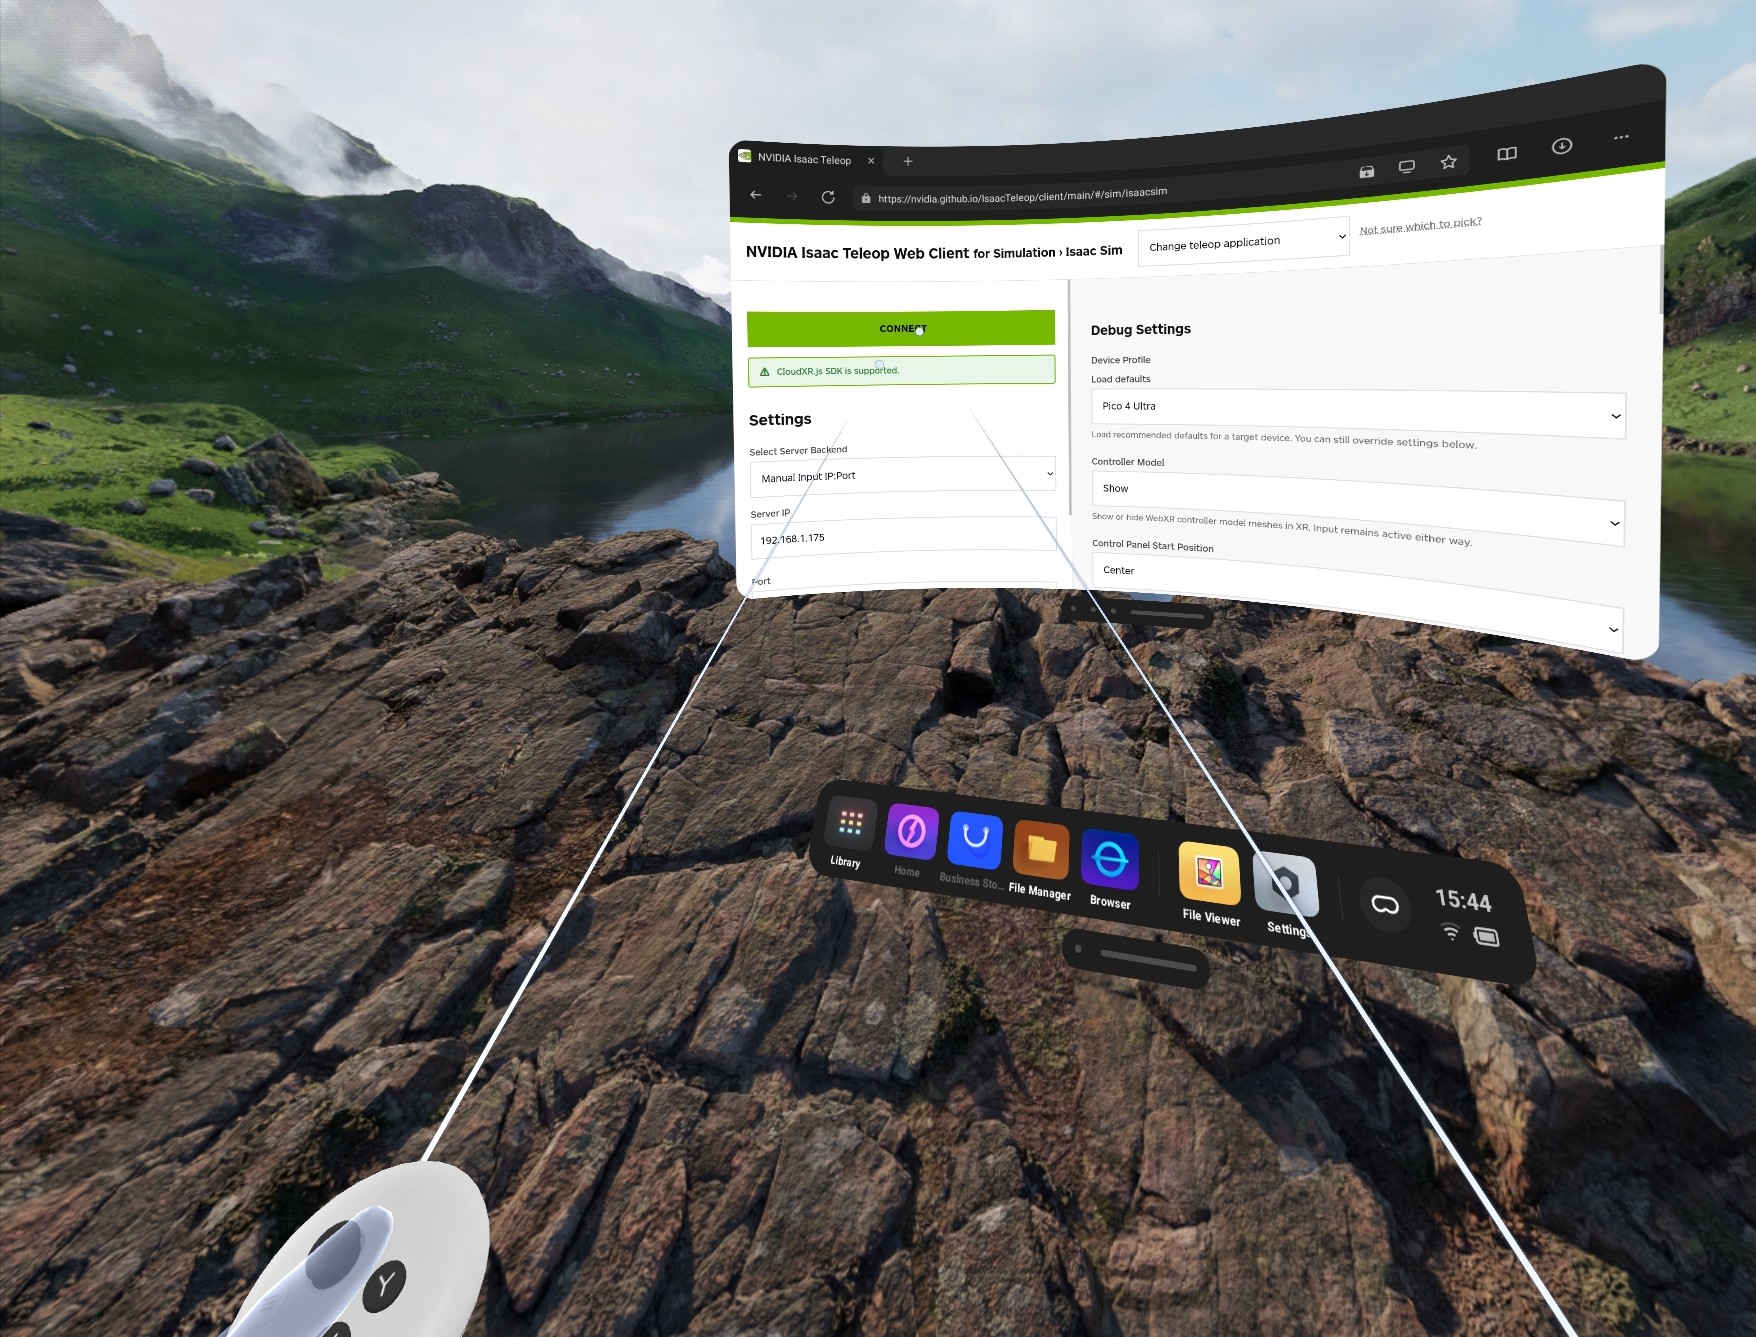
Example connected headset client layout.#
Note
On the PICO headset, use the Isaac Teleop client in the native browser to set Video Codec to H.264. Other codecs can prevent the headset from connecting.
Initial Test in MuJoCo#
Before connecting to a physical G1, use MuJoCo to verify that the headset, CloudXR session, and teleoperation commands are working.
This test runs on Thor without a real G1 connected. A display must be connected to Thor for this step.
Two headset options are available:
Wear the headset normally with
AR Immersivepassthrough enabled on the client page. The simulation is not streamed to the headset.Remove the cushion and pull it down to the neck, then watch the monitor instead. When wearing the headset on the neck, ensure clothing does not block the bottom cameras of the headset for tracking.
Open a new terminal and activate Isaac ROS:
isaac-ros activateActivate the CloudXR environment variables:
source ~/.cloudxr/run/cloudxr.env
Launch the teleop application in MuJoCo:
ros2 launch isaac_ros_unitree_g1_teleop_bringup unitree_g1_teleop.launch.py \
    hardware_type:=mujoco \
    input_mode:=teleop
The MuJoCo viewer opens with the G1 robot on Thor desktop. A virtual gantry holds the robot upright during startup.
Press
gkey to toggle the gantry on or offPress
[and]keys to shorten or lengthen the rope of the gantry
With the XR controllers in your hands, move them and confirm that the simulated robot’s arms track your motion. You can also use the joysticks on the XR controllers to make the robot walk.
Controller Conventions
The pose of the XR controllers is used to command the pose of the robot’s hands.
The left joystick rotates the robot. The right joystick walks the robot forwards, backwards, or sideways.
After verifying controller tracking, stop the app with Ctrl+C.
Set Up the Robot Network#
The isaac_ros_robots repository is cloned during Isaac ROS Setup on Thor.
Confirm the G1 Ethernet cable is plugged directly into Thor and the robot is powered on.
Open a new terminal on the Thor and run the network setup script. Run this on the host, not inside the Docker container.
${ISAAC_ROS_WS}/src/isaac_ros_robots/isaac_ros_robots_tools/scripts/setup_network.py
When prompted, select the network interface that is physically connected to the G1. On Thor, this is normally
enP2p1s0.
Launch Real-Hardware Teleoperation#
Before operating real hardware, complete this checklist:
Clear the work area of people and hazards.
Ensure the waist yaw joint is close to zero before launch.
Open a new terminal and start the Isaac ROS environment:
isaac-ros activateActivate the CloudXR environment variables:
source ~/.cloudxr/run/cloudxr.env
Launch the teleop application. Use the network interface you selected during network setup, for example
enP2p1s0on Thor:ros2 launch isaac_ros_unitree_g1_teleop_bringup unitree_g1_teleop.launch.py \ hardware_type:=real \ input_mode:=teleop \ network_interface:=enP2p1s0
Verify that teleoperation commands are arriving from the XR headset. Open a new terminal, enter the Isaac ROS environment, and echo the ROS topic. New commands should appear multiple times per second.
isaac-ros activateros2 topic echo /xr_teleop/ee_poses
Reset the headset’s world frame by pressing the
Homebutton (the button with the circle) on the right XR controller for 2 seconds.
Disable and Enable Control#
By default, control is disabled. The stack uses a blend_ratio parameter to smoothly enable control. At launch, blend_ratio is 0.0, so only default motor commands are sent. When you set blend_ratio to 1.0, the controllers are fully active. Changes ramp smoothly between values.
Note
Simulation vs. real hardware: In the simulation test, blend_ratio defaults to 1.0, so control is active from the start.
Important
Before setting blend_ratio, confirm that the inference controller is available.
Watch the logs and wait for the InferenceController activated message. Until then, the controller prints a message once per second indicating it is still waiting for an input message.
Example:
[ros2_control_node-1] [INFO] [1780620035.588796262] [inference_controller]: Waiting for topic messages before activating core controller: '/cmd_vel'
[ros2_control_node-1] [INFO] [1780620040.605301453] [inference_controller]: Waiting for topic messages before activating core controller: '/cmd_vel'
[ros2_control_node-1] [INFO] [1780620044.232195753] [inference_controller]: Core InferenceController activated
This may take about 40 seconds.
To disable the robot, set the blend ratio to zero:
ros2 param set /safety_controller blend_ratio 0.0
Tip
Keep this command in your shell history so you can execute it quickly if something goes wrong.
To enable the robot, set the blend ratio to one. On real hardware, do this only after launch is healthy and the robot is standing on the ground:
ros2 param set /safety_controller blend_ratio 1.0
The robot starts balancing and tracking your hand movements.
Note
You can stop teleoperation by either setting blend_ratio to 0.0 or quitting the main application.
Key Takeaways#
This lesson covered installing teleop bringup, connecting XR control, launching real-hardware teleoperation, and verifying that the robot tracks controller commands.