Deployment Guide#
Note
Although this guide uses vCenter, NVIDIA AI vWS can be deployed on any NVIDIA vGPU-supported hypervisor. It’s assumed that all vWS requirements, including licensing, are already configured.
Virtual Machine (VM) Configuration#
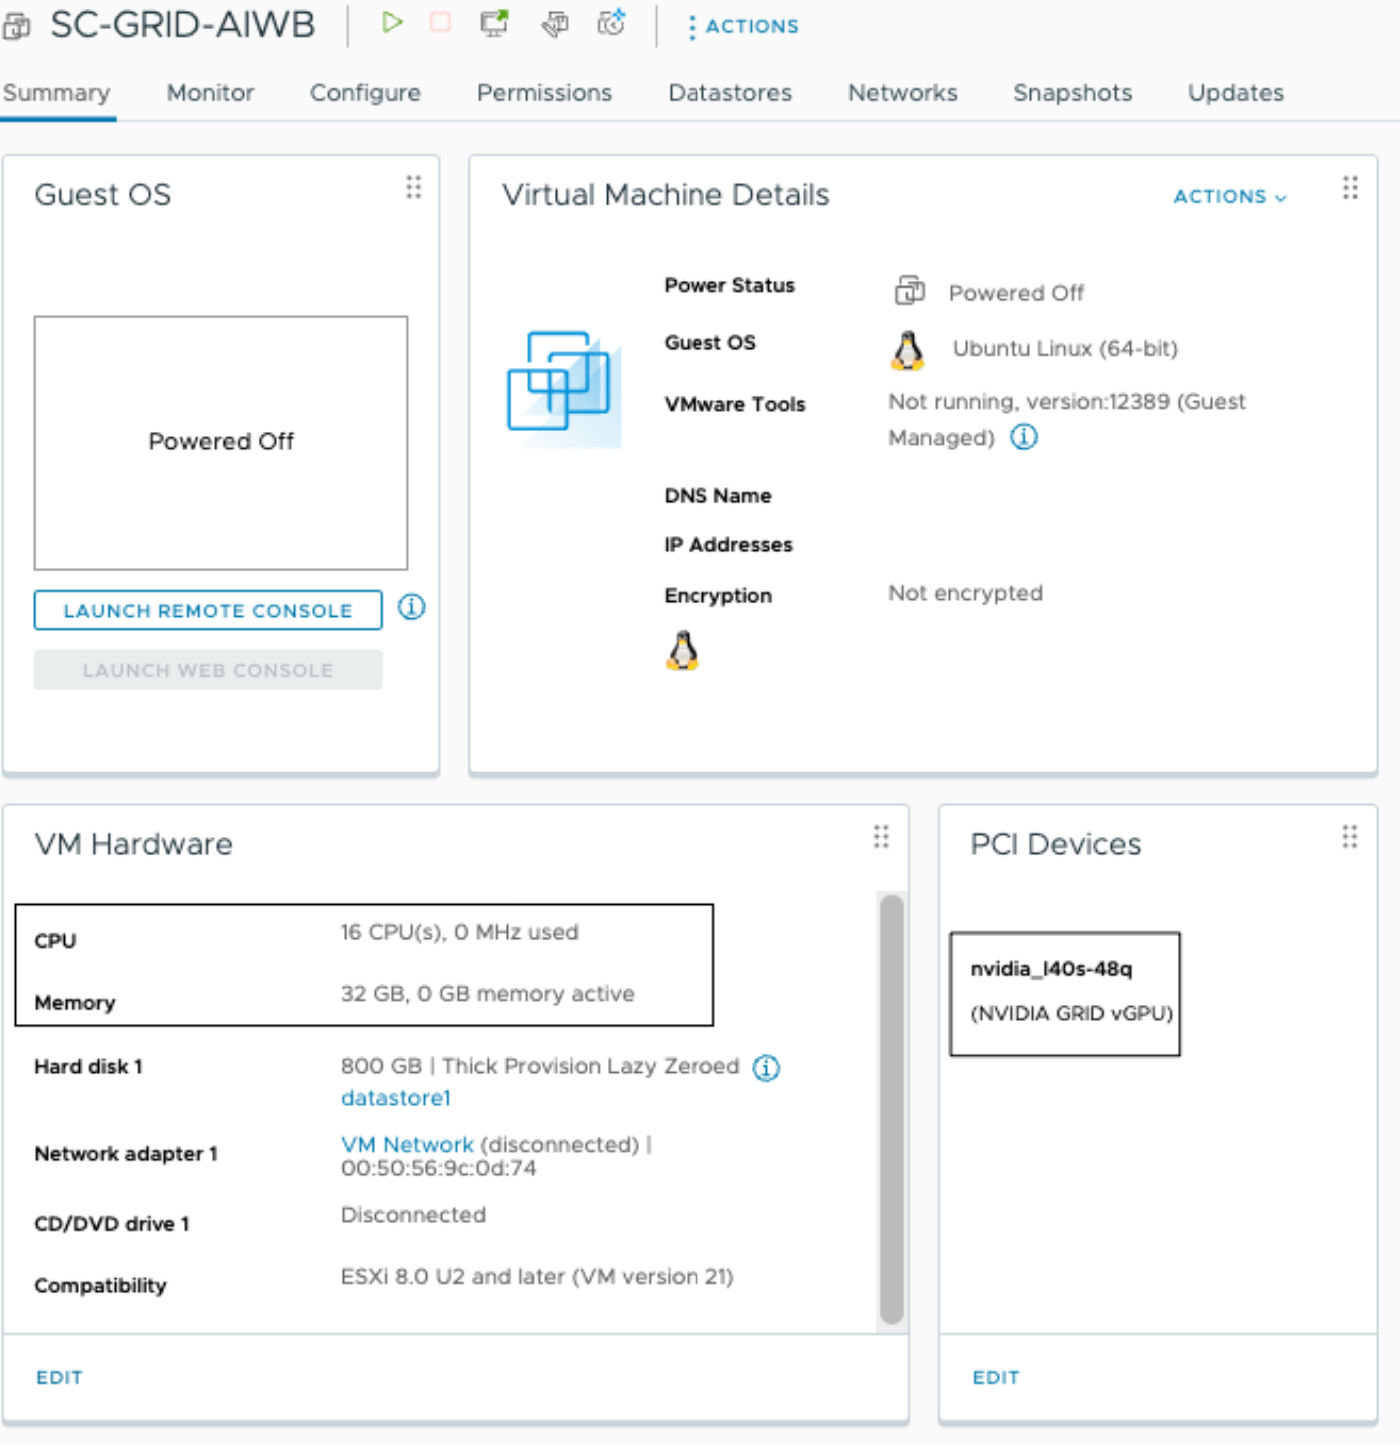
Set up a Linux VM in vCenter with the following configuration:
vCPU - 16 CPU
Memory - 32 GB
vGPU Profile - 48Q
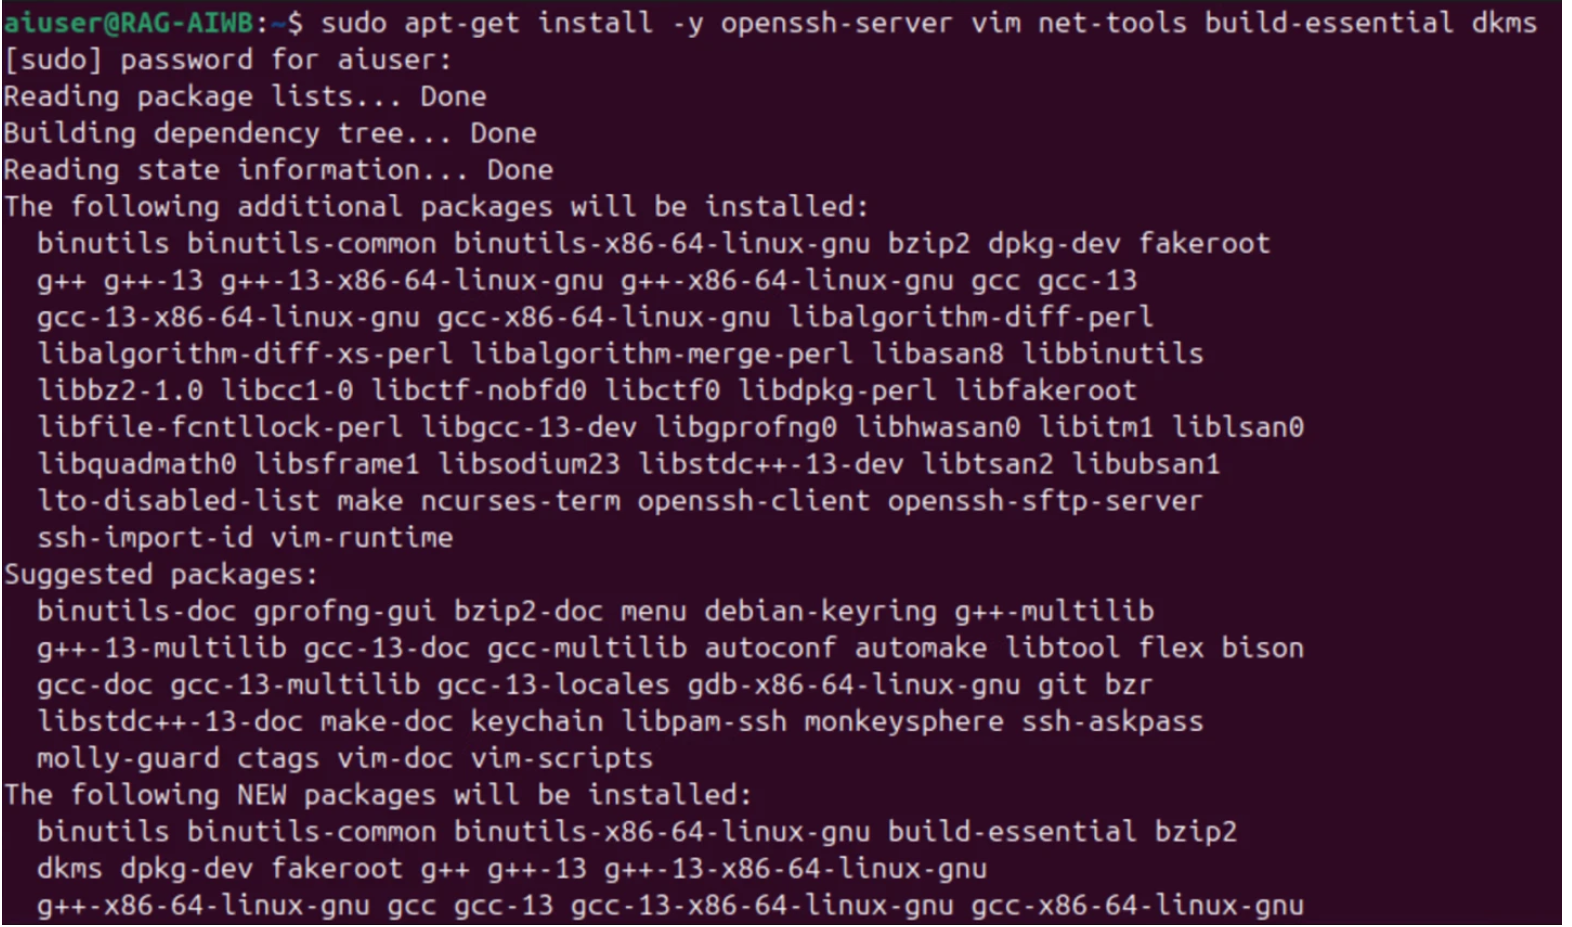
Install Ubuntu and set up the necessary dependencies listed below:
open-vm-tool (reboot required after installation)
openssh-server
vim
net-tools
build-essential
dkms
fuse3
libfuse2
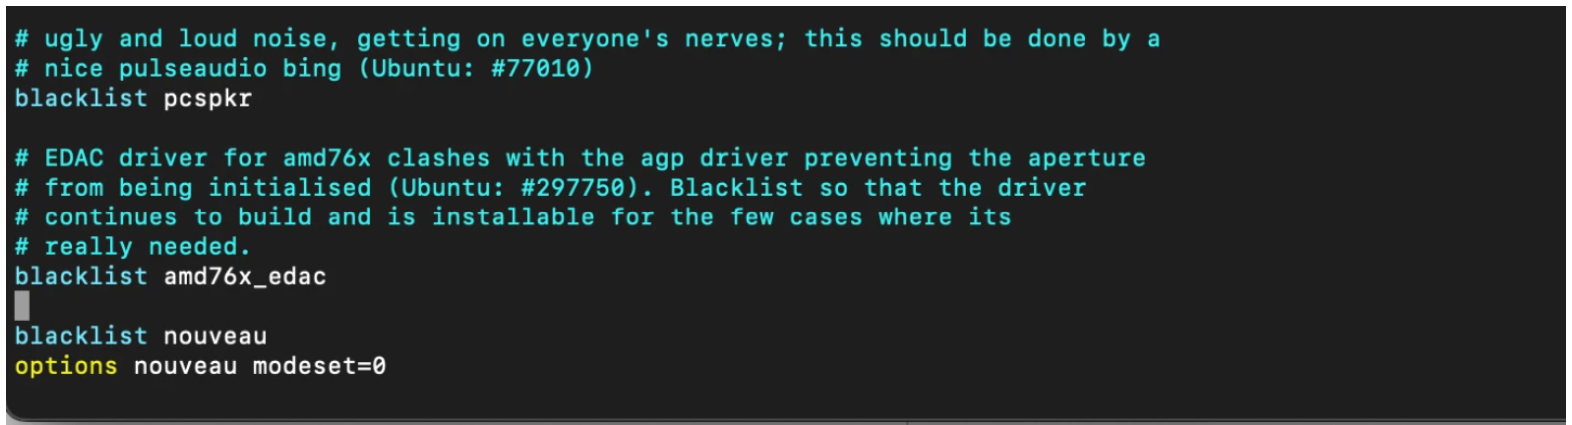
Blacklist nouveau driver
$ sudo vim /etc/modprobe.d/blacklist.conf
$ blacklist nouveau
$ options nouveau modeset=0
Update initramfs, then reboot.
$ sudo update-initramfs -u
$ sudo reboot
Install your preferred remoting protocol (i.e., NoMachine, Horizon, VNC). The rest of this guide will use NoMachine as the remote protocol.
Download and install NVIDIA vGPU software.
$ sudo chmod +x nvidia-linux-grid-xxx_xxx.xx.xx_amd64.deb
$ sudo dpkg -i nvidia-linux-grid-xxx_xxx.xx.xx_amd64.deb
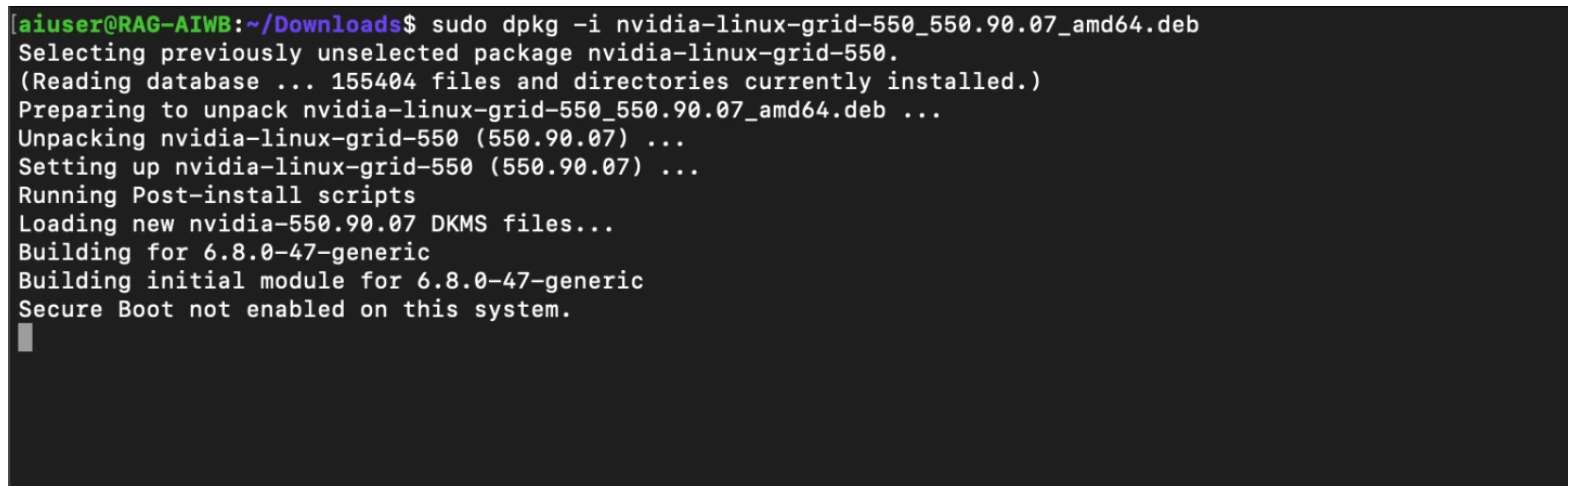
Once the driver utility has completed installation, reboot, then run the
nvidia-smicommand to verify the driver has been installed correctly.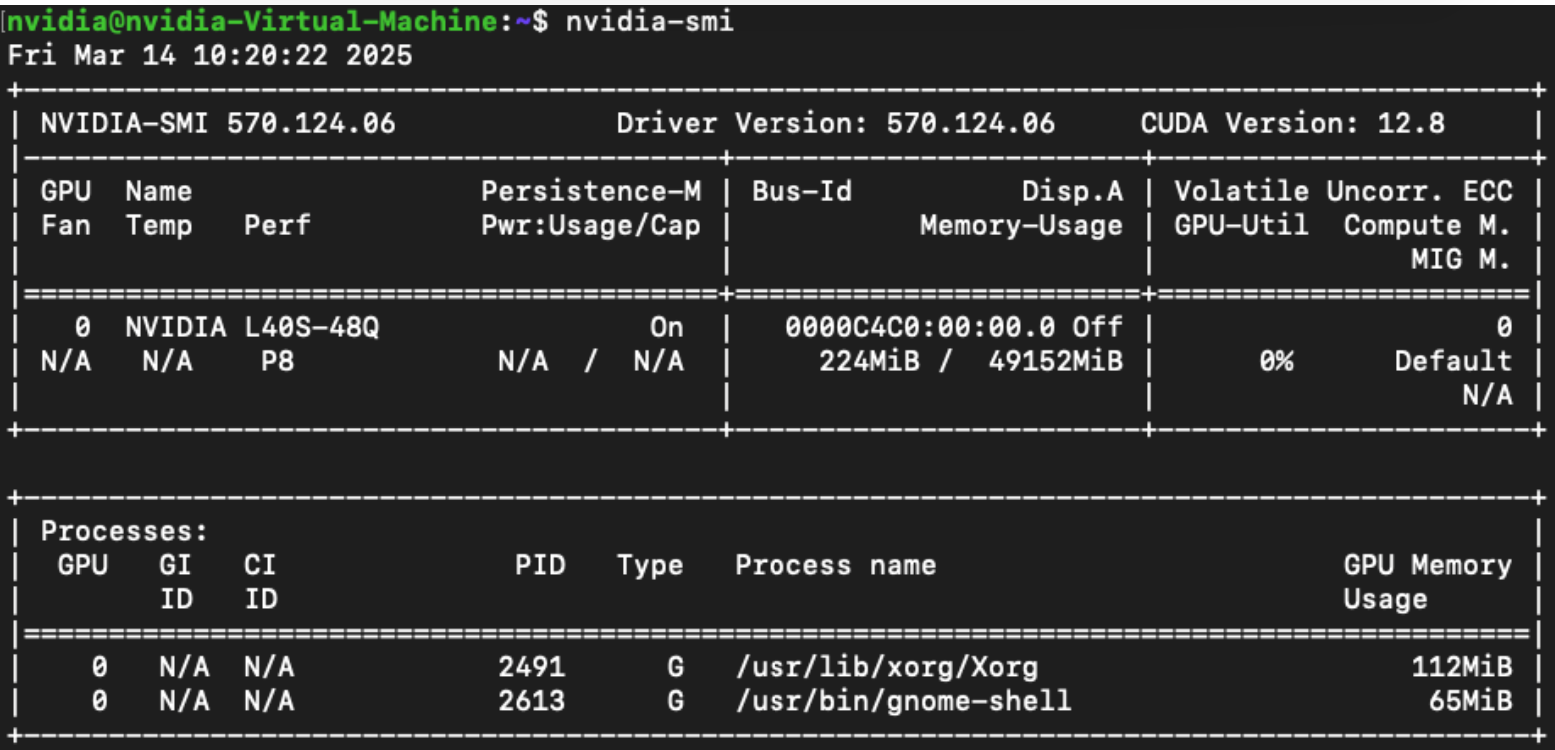
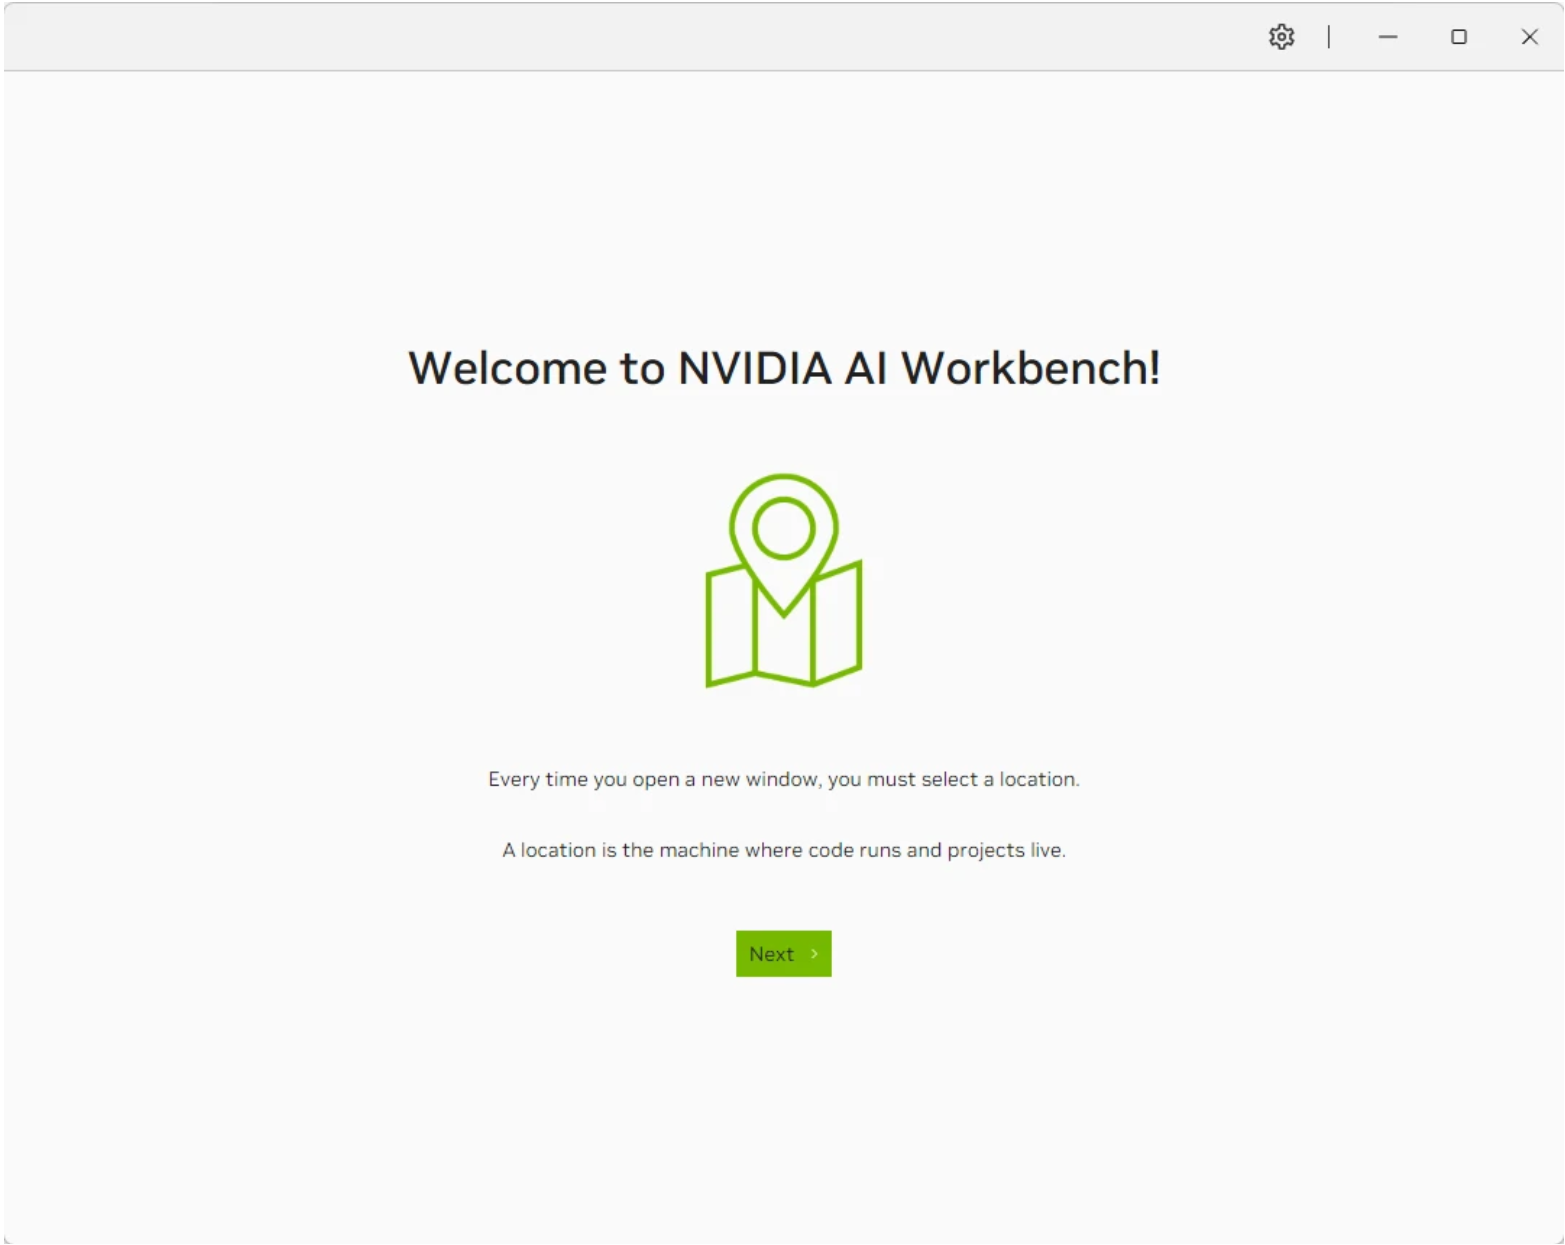
At this point, the VM setup is complete. Next, install AI Workbench on the Ubuntu VW. AI Workbench can be downloaded from the NVIDIA website. The installation guide for Ubuntu can be found here. The installation guide for Windows can be found here.
Note
After you update AI Workbench on your local computer, you must also update any connected remote locations. For details, see Update AI Workbench on a Remote Computer.
Obtain NVIDIA Developer Program Membership and a Personal API Key#
Visit the NVIDIA Developer Program page, click on Join and sign up for an NVIDIA account.
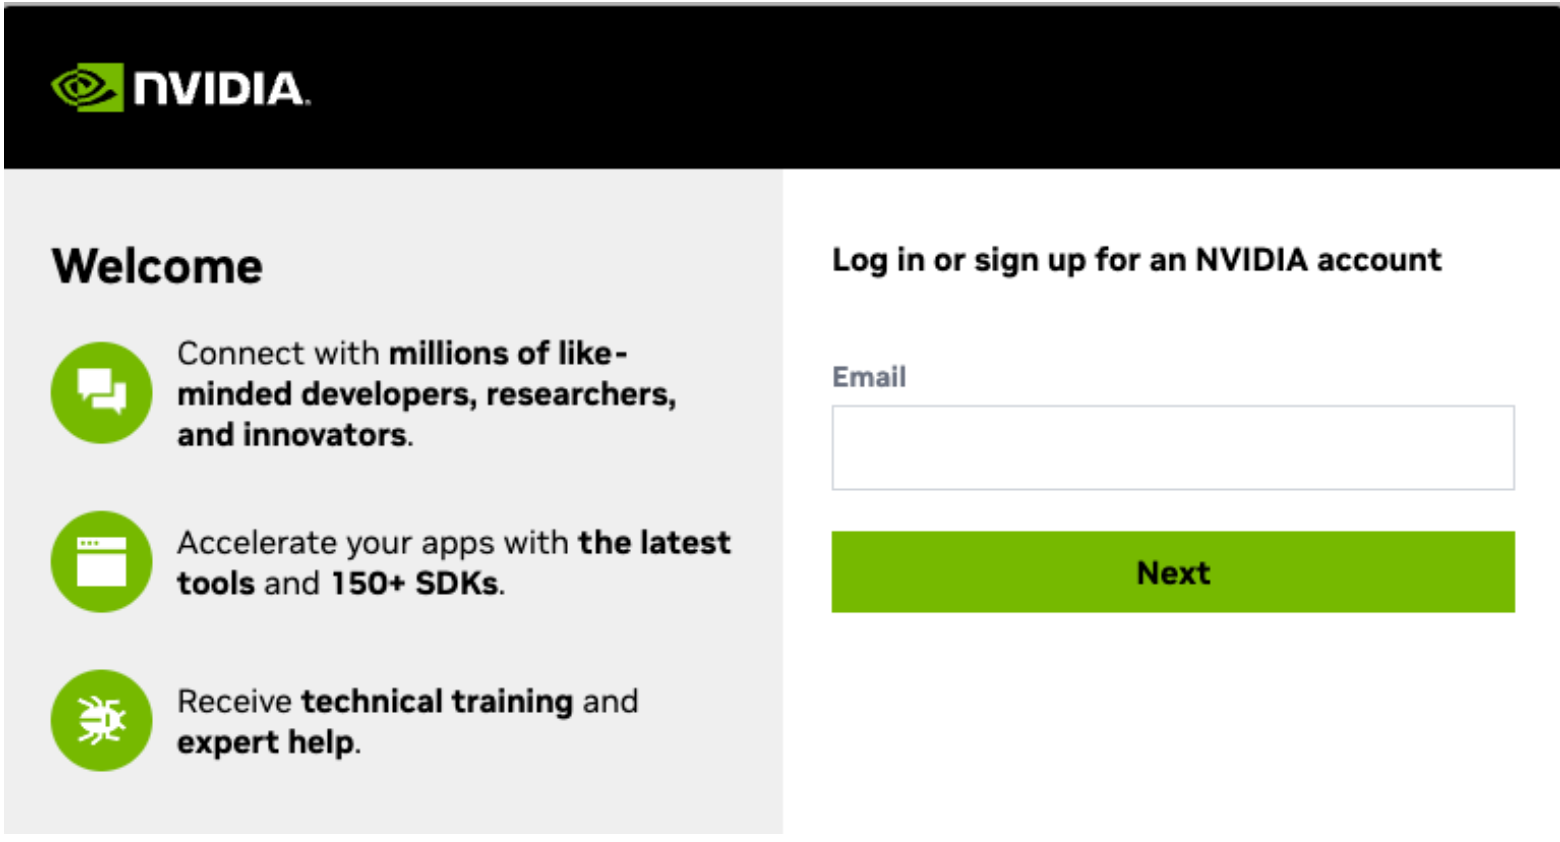
Use the NVIDIA Developer Program credential to log into NVIDIA NGC Catalog
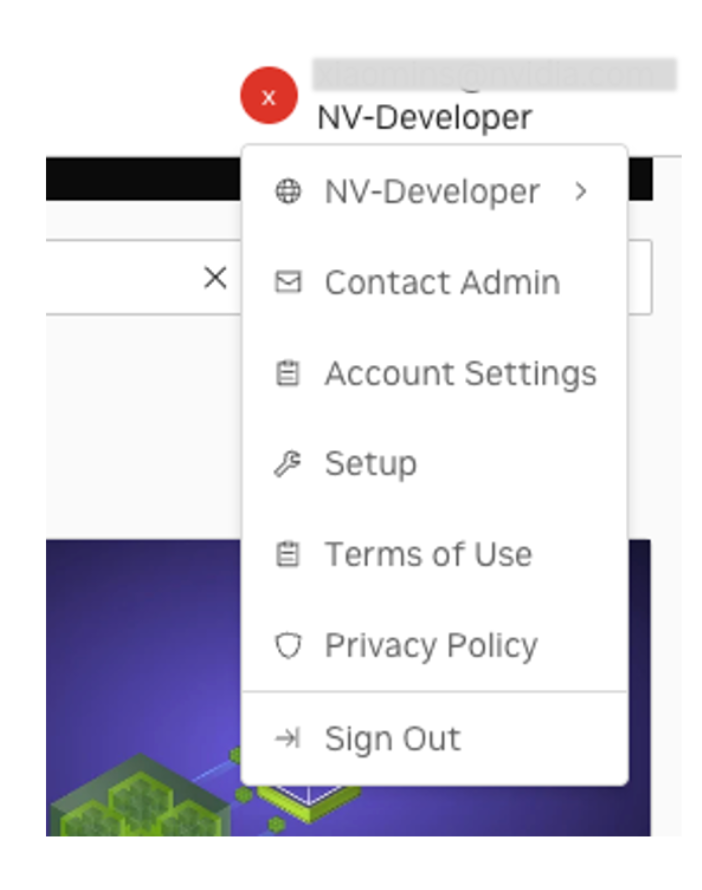
Click the account name at the top right. In the drop-down menu, select Setup.
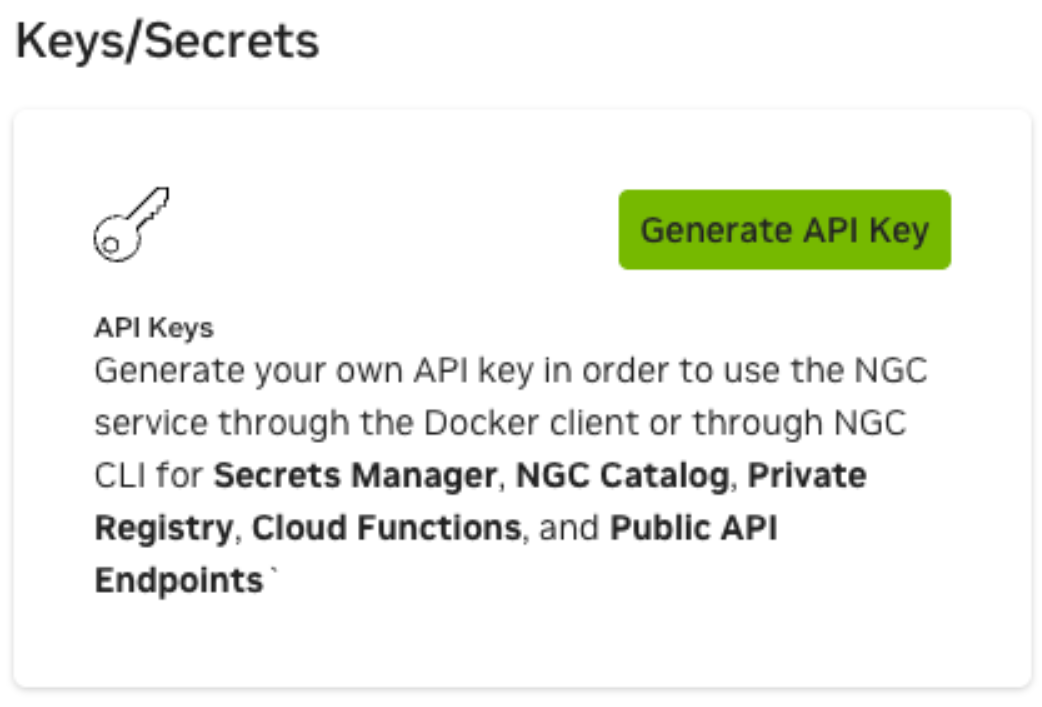
Click on “Generate API Key” then click on “+ Generate Personal Key”
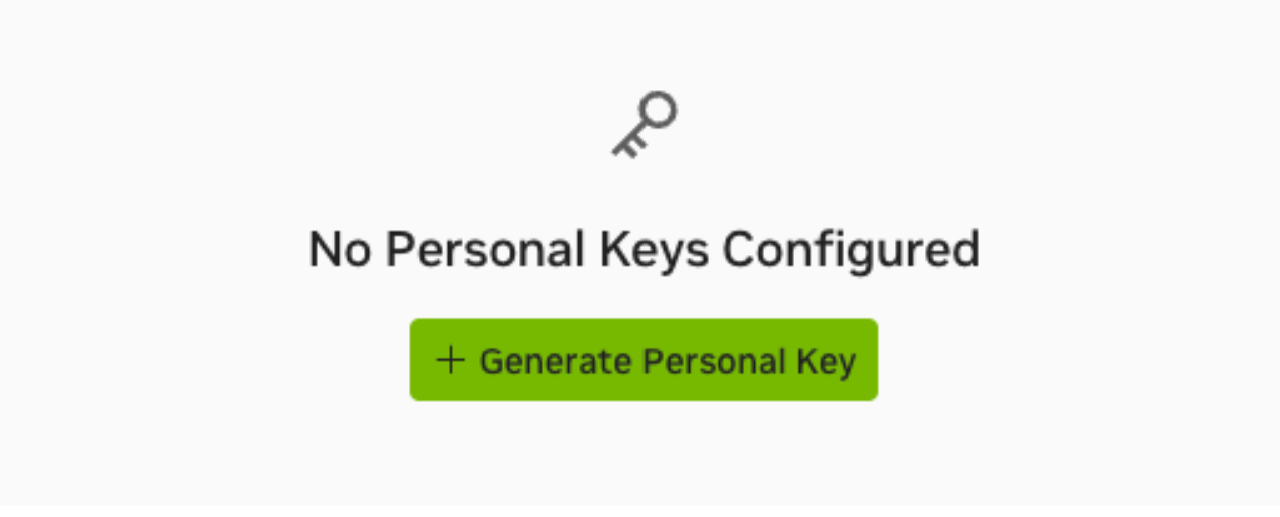
Enter the key name and expiration. Under Services Included, make sure NGC Catalog is selected.
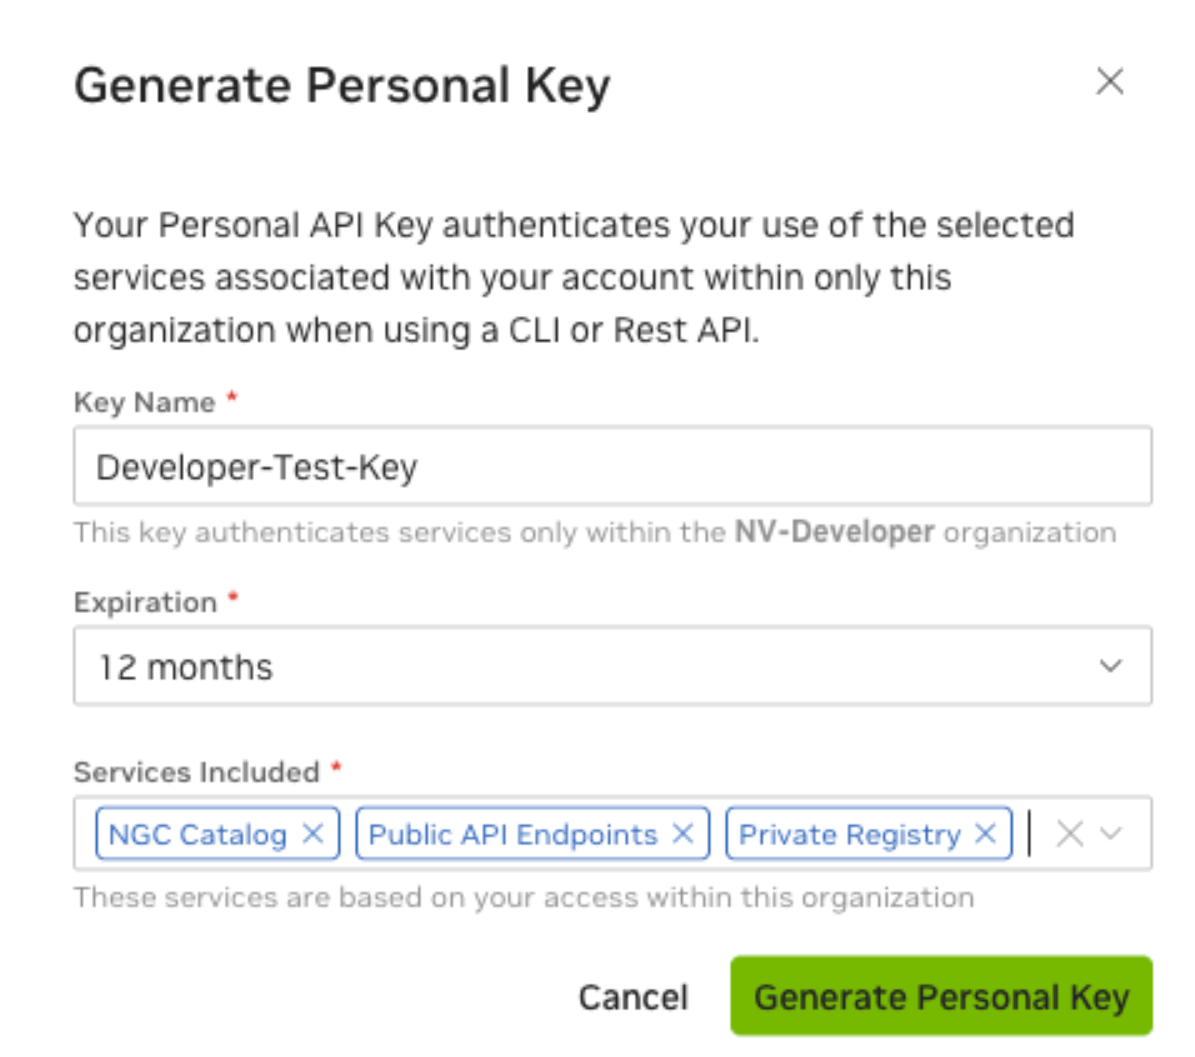
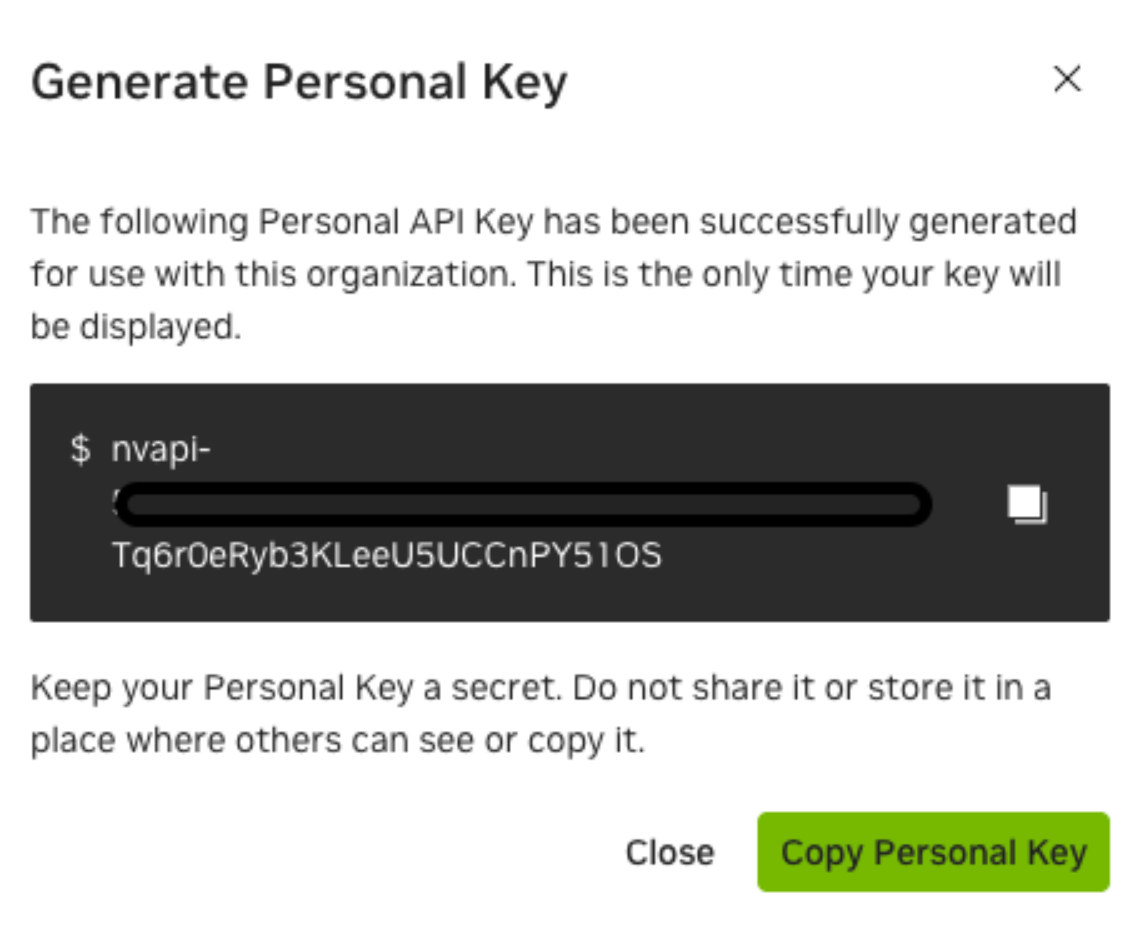
Once your personal API key is generated, save the key that is required for accessing NVIDIA NIMs during the subsequent deployment phase.
NVIDIA PDFToPodcast Blueprint Deployment#
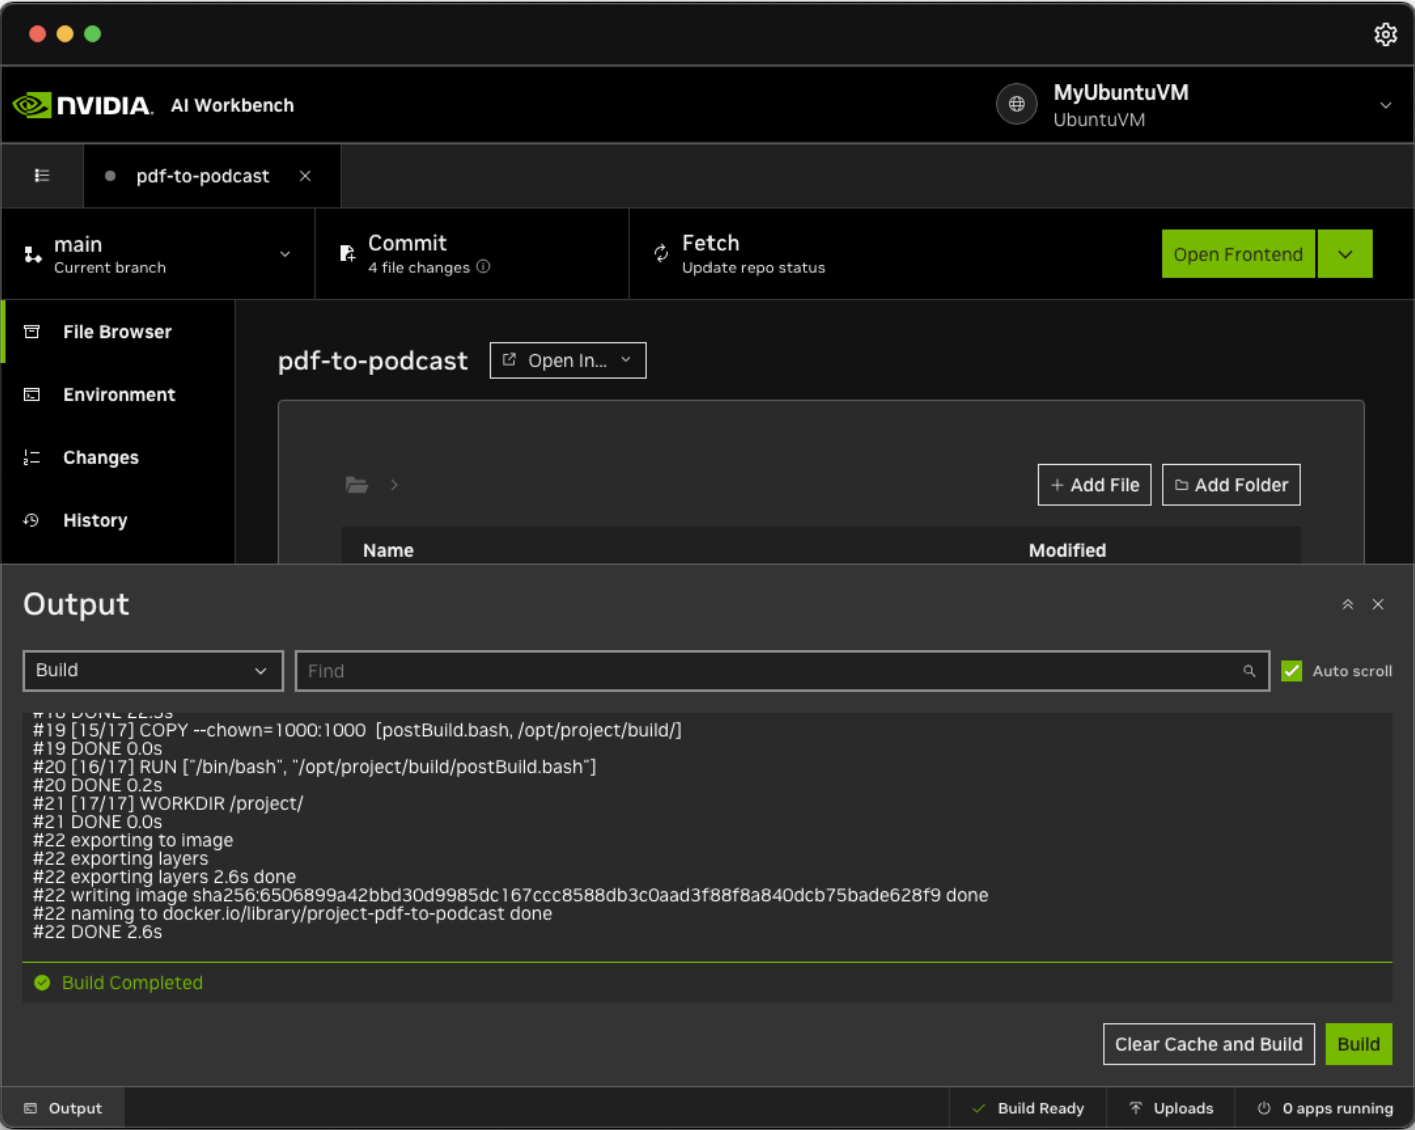
Launch NVIDIA AI Workbench and clone the pdf-to-podcast project from GitHub. In AI Workbench, select Clone Project, then enter the repository URL to start the cloning process.

AI Workbench will download the repository shortly. Click on the bottom status bar to monitor progress.
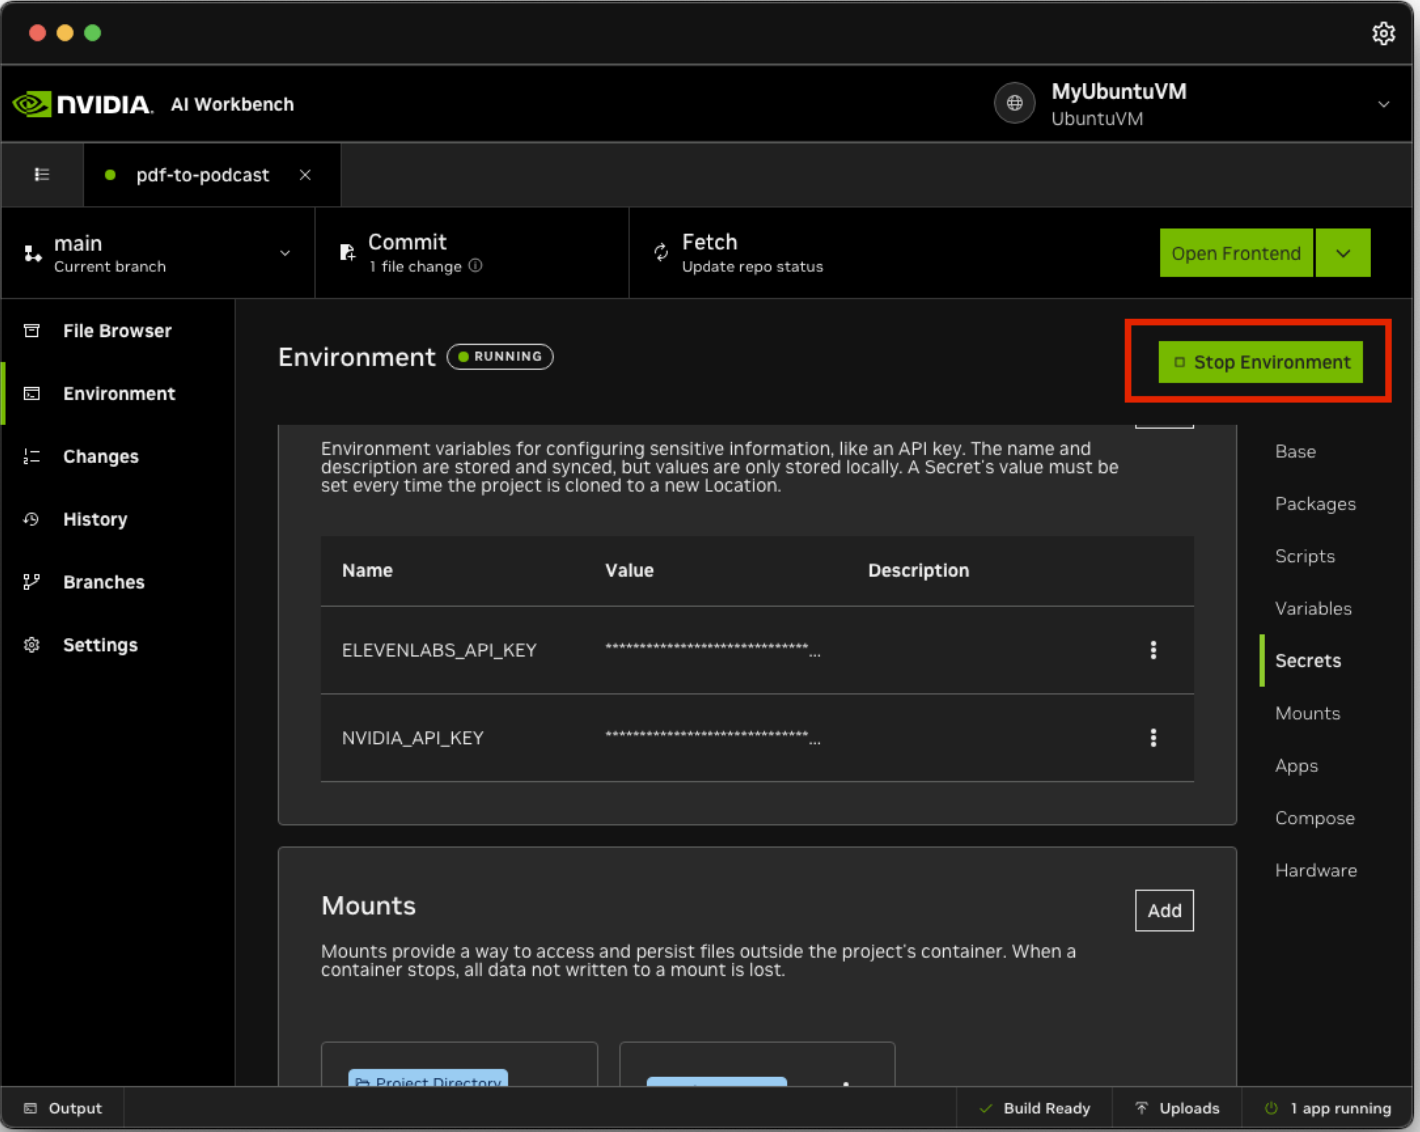
Once the build is completed, click the Environment tab on the left and scroll down to Secrets. Enter your ElevenLabs and NVIDIA API keys. The ElevenLabs API key can be generated after requesting credits and the NVIDIA API key can be generated from the previous instructions.
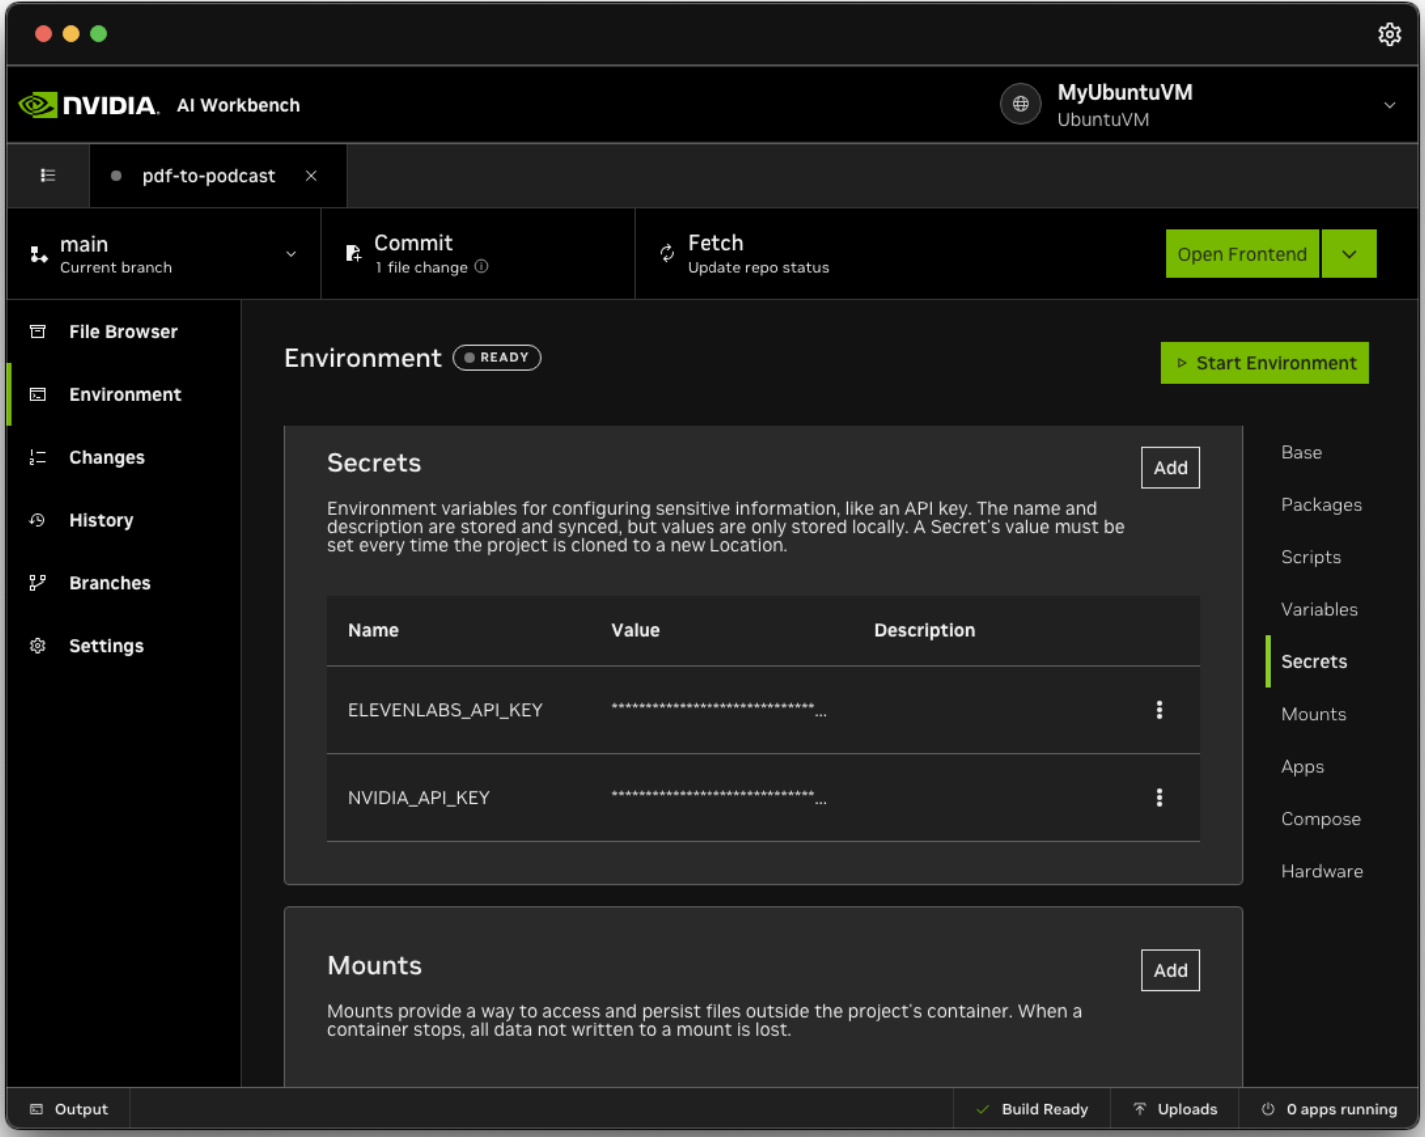
Once the Secret has been set up, click Start Environment on the top right. This will start the container service for this model.
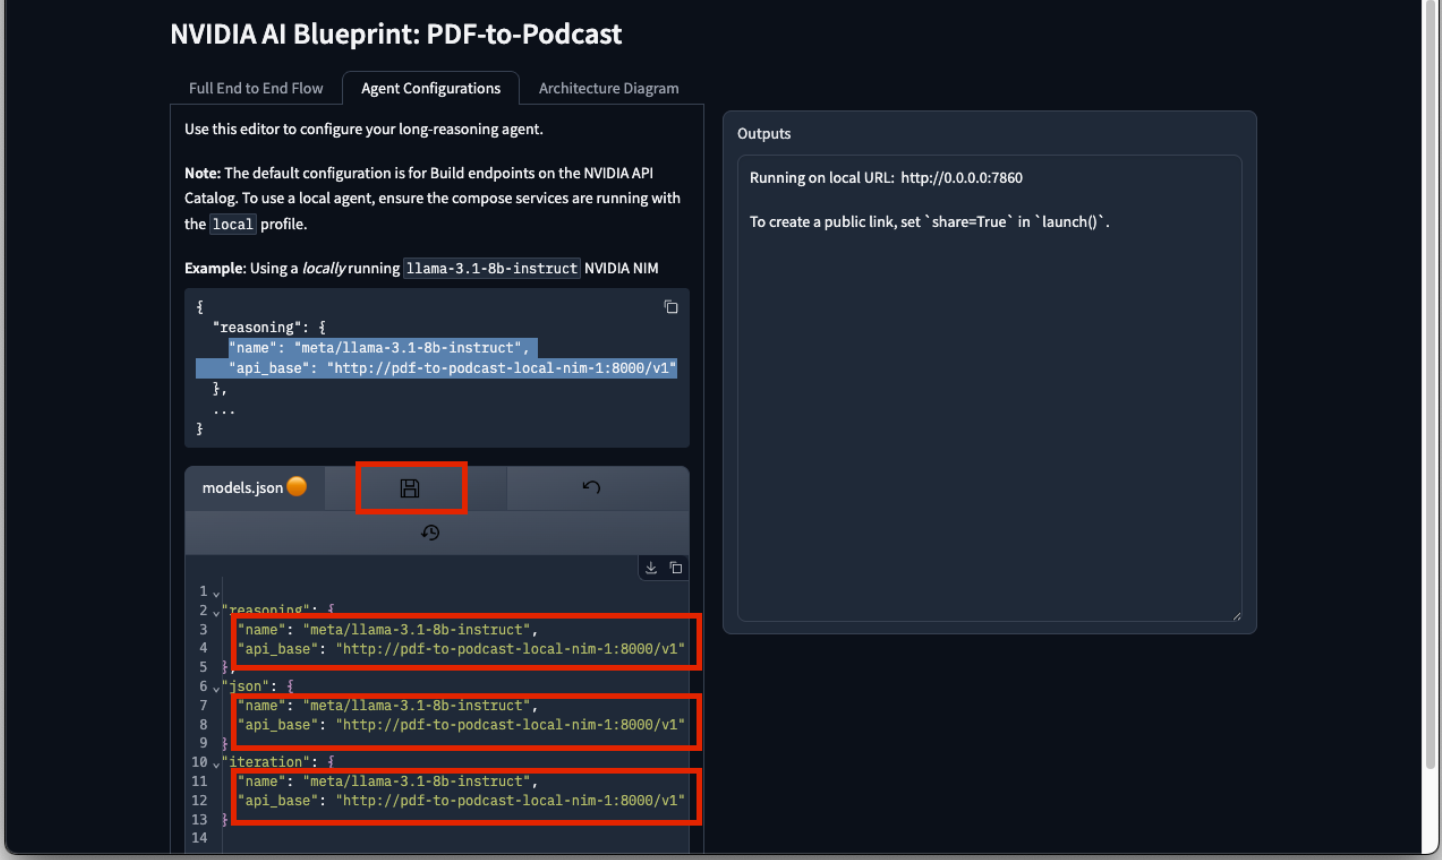
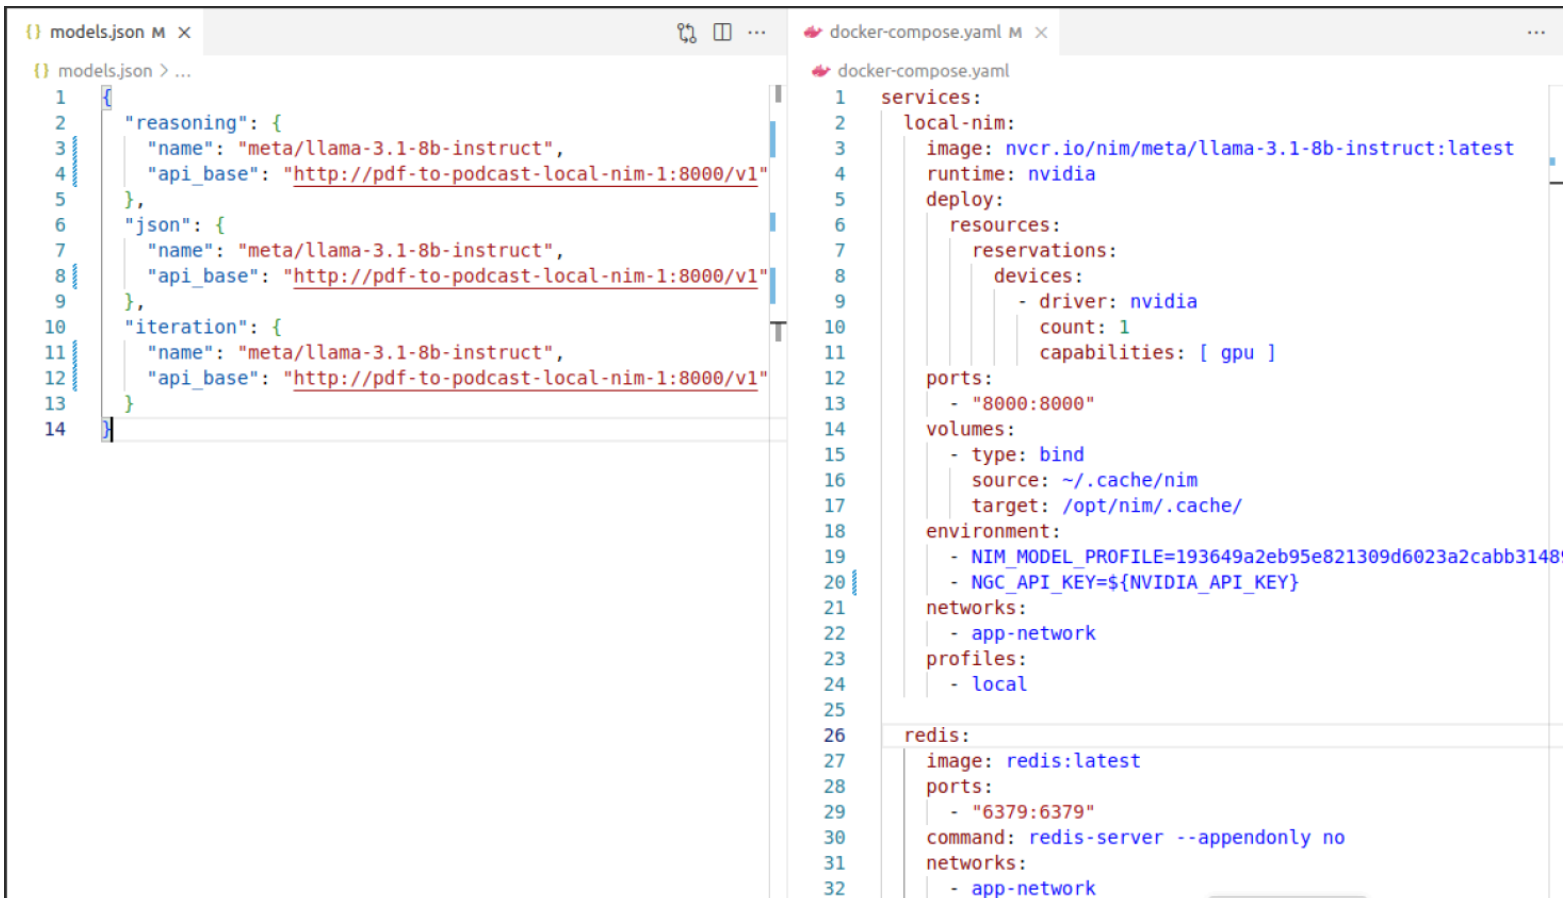
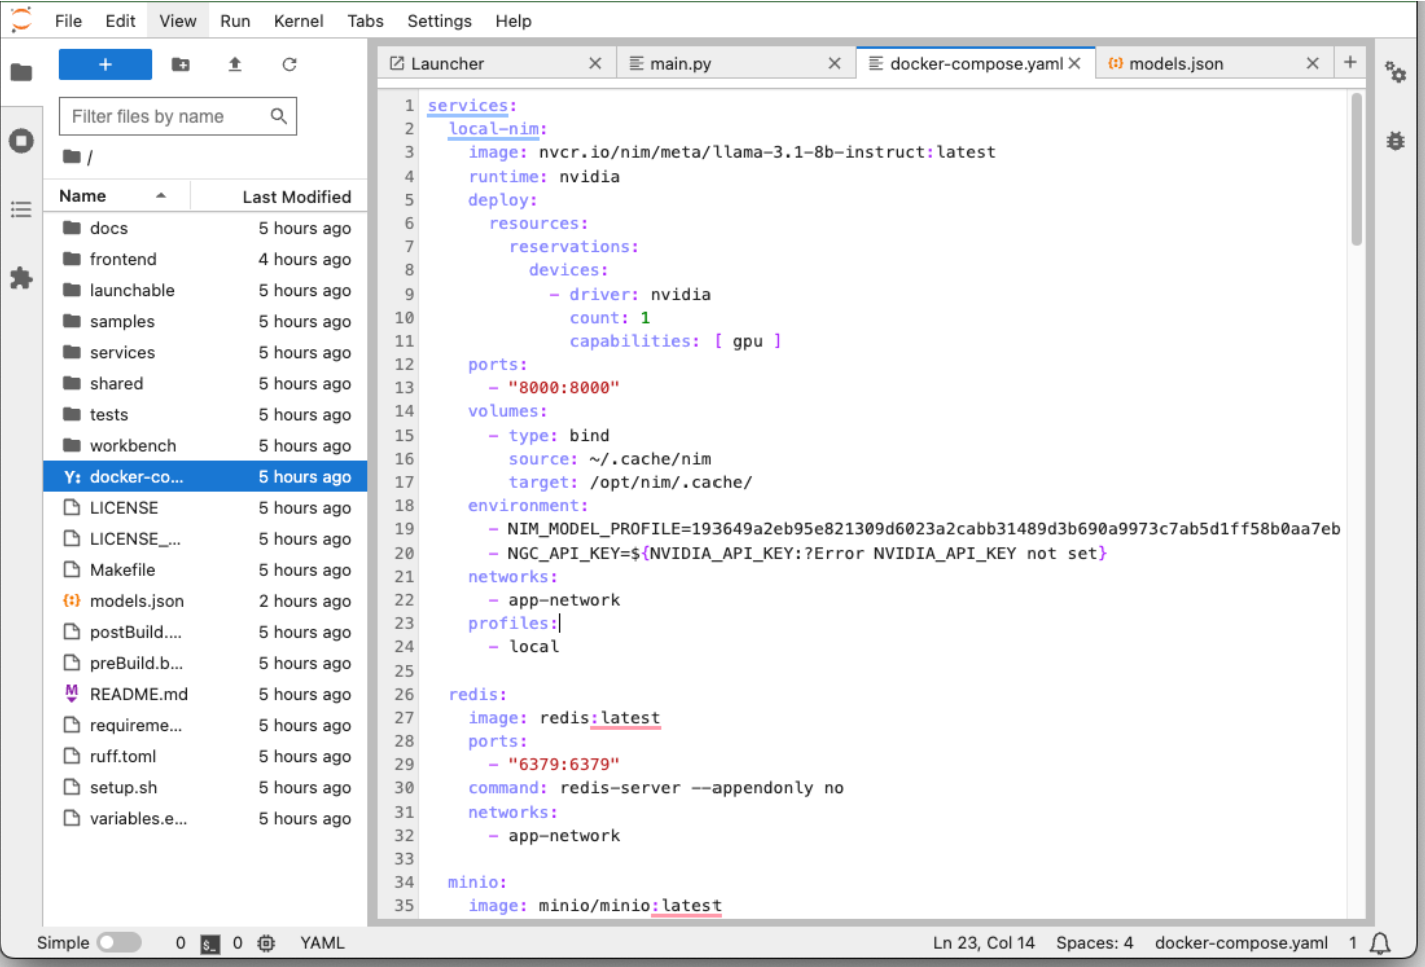
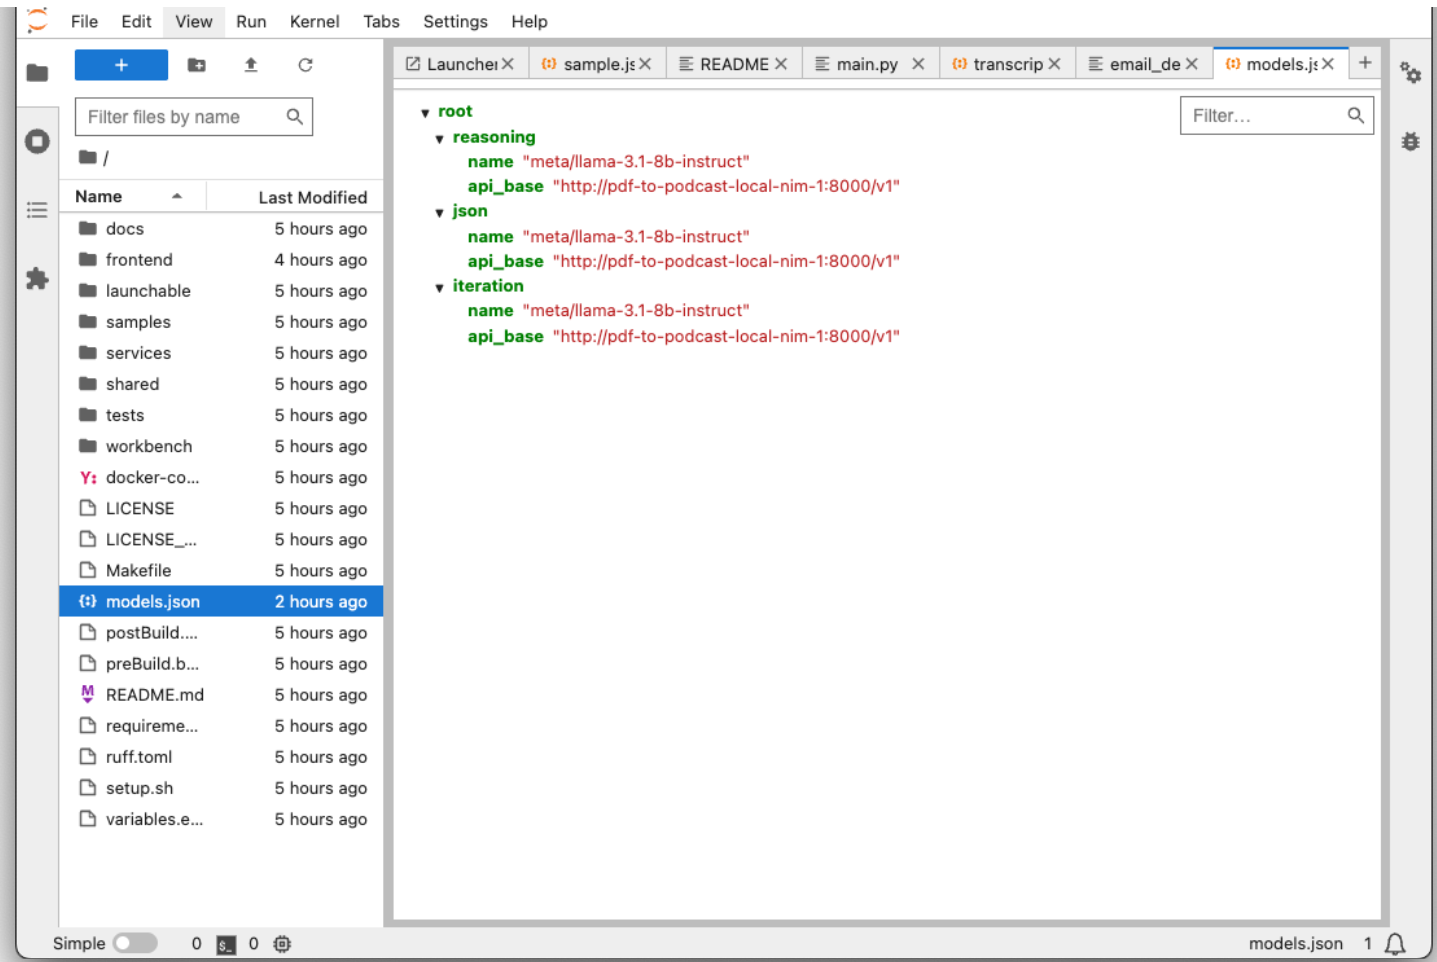
Once the service container is started, you may utilize Open Frontend or Jupyterlab to configure the GPU resources for this project. The default configuration is the NVIDIA Cloud Functions (NVCF) endpoint. To modify it for running the project locally, click on the “Agent Configurations” tab on the browser then follow the example of llama-3.1-8b-instruct NIM highlighted below. Replace the model.json contents with the local NIM instruction and click the disk icon to save the changes.
The NVIDIA NIM requires sufficient privileges to the ~/.cache/nim before it can run properly. Use a remote session to connect to the Linux VM and grant the privileges by the following command.
$ sudo chmod -R a+w ~/.cache/nim
Select “local” profile in Compose in the Environment tab in AI Workbench UI. And click Start. The docker compose will then pull down assets and compose the containers.
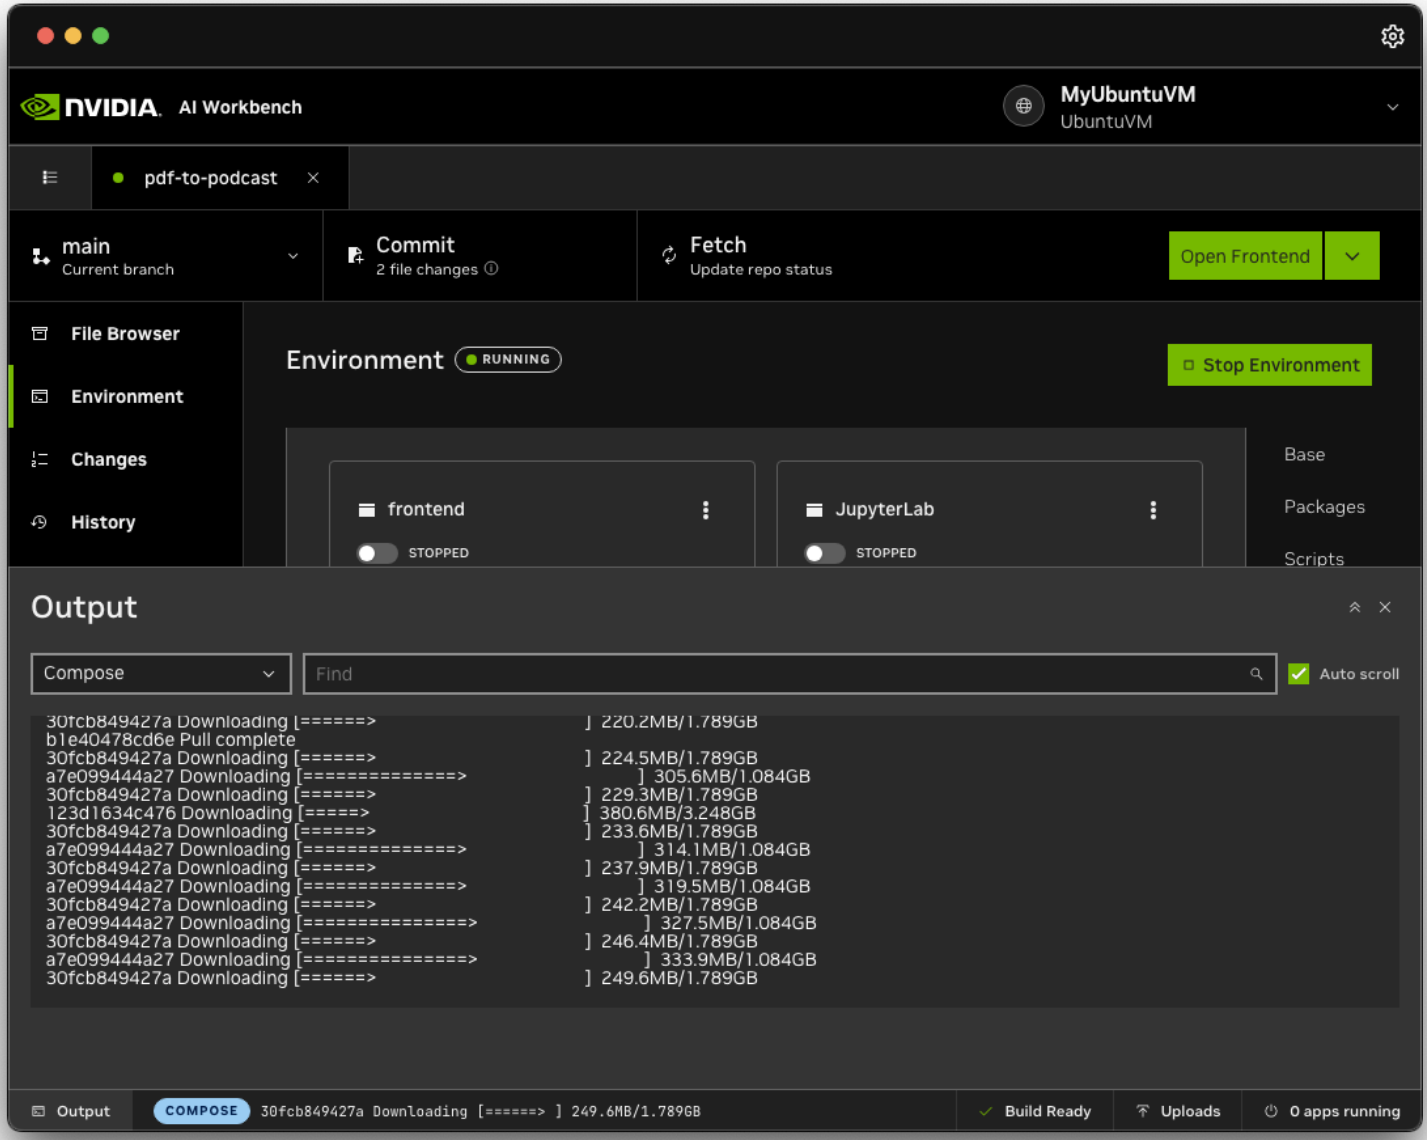
The docker compose may take up to 20 minutes, depending on how the VM is configured and how fast the internet connection is. When the compose is finished and the project is ready, the following can be found in the compose log:
local-nim-1 | INFO 2025-03-14 20:48:40.382 metrics.py:351] Avg prompt throughput: 0.0 tokens/s, Avg generation throughput: 0.0 tokens/s, Running: 0 reqs, Swapped: 0 reqs, Pending: 0 reqs, GPU KV cache usage: 0.0%, CPU KV cache usage: 0.0%.
Customize the Blueprint#
There are a few customizations in the blueprint.
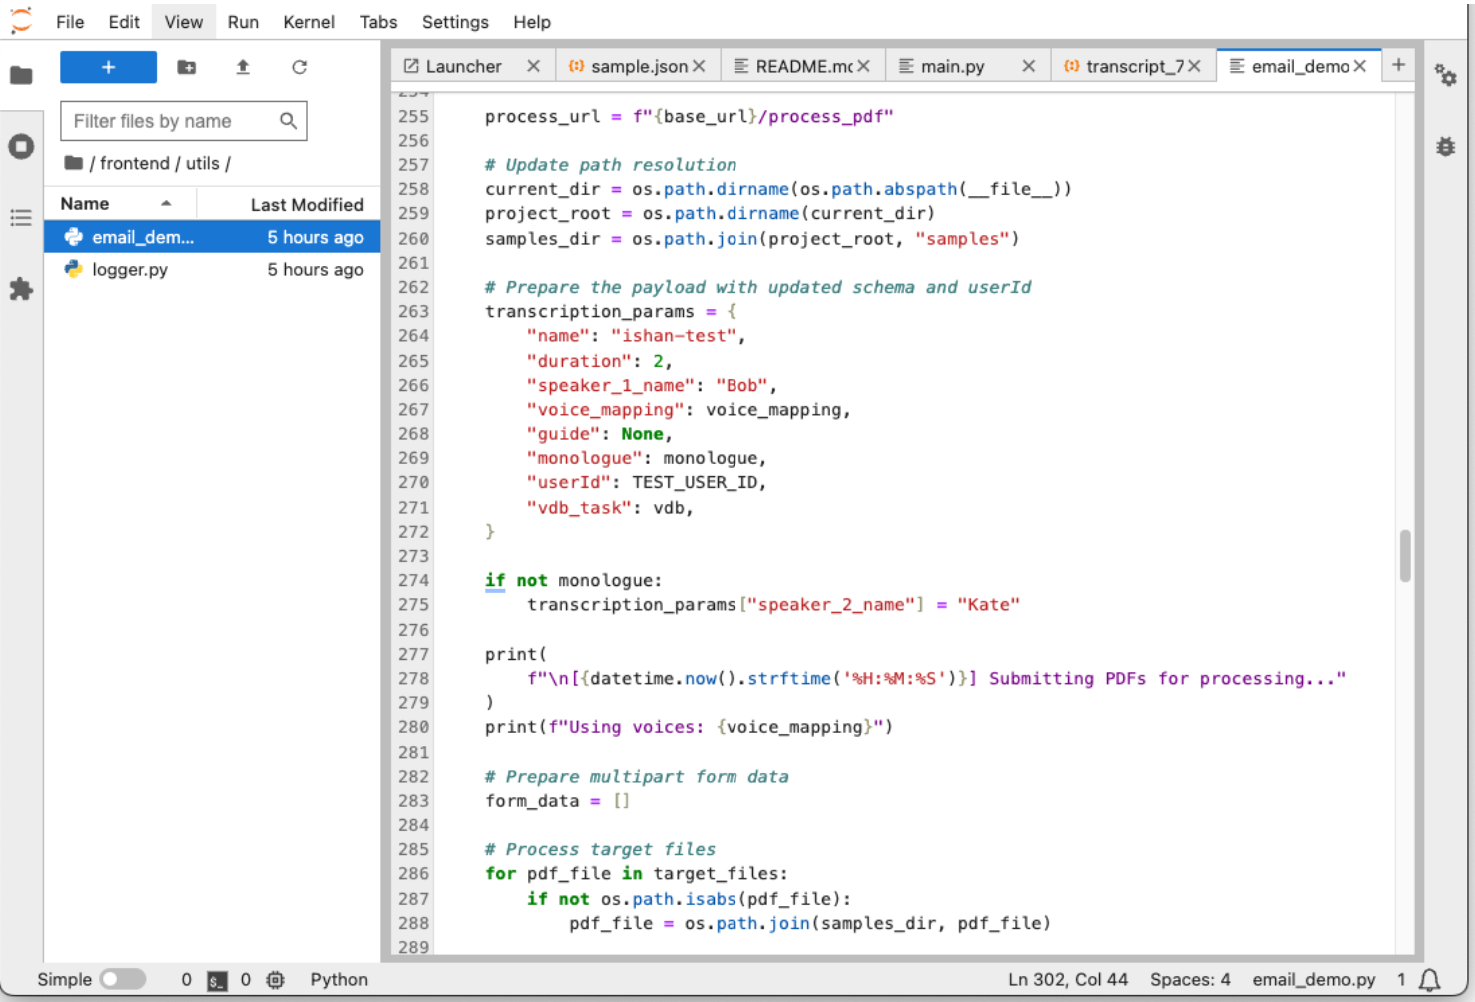
Rename your virtual podcast hosts. Their names can be modified in the Python code in the project folder /frontend/utils through JupyterLab.
Use different NIMs for different expertised outputs. The NIMs can be customized in the models.json file located in the project root folder using JupiterLab. It also needs to match docker-comose.yaml. Different NIM models have varying GPU memory requirements, so ensure the model fits within your GPU’s memory capacity.
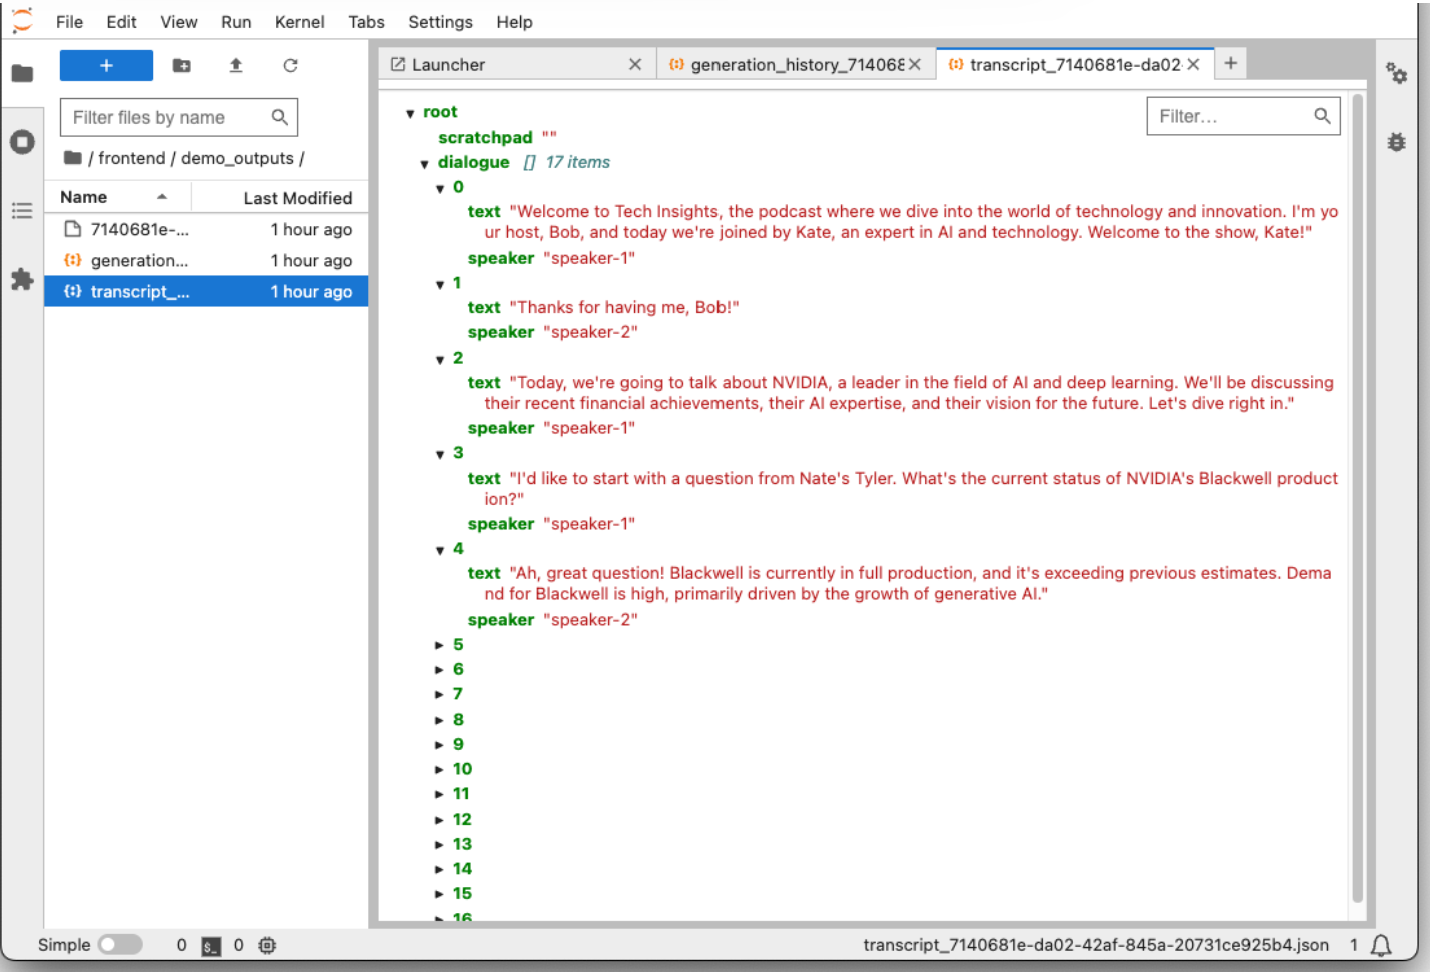
Generated transcription and podcast audio can be found in /frontend/demo-outputs for further customization and/or debugging.
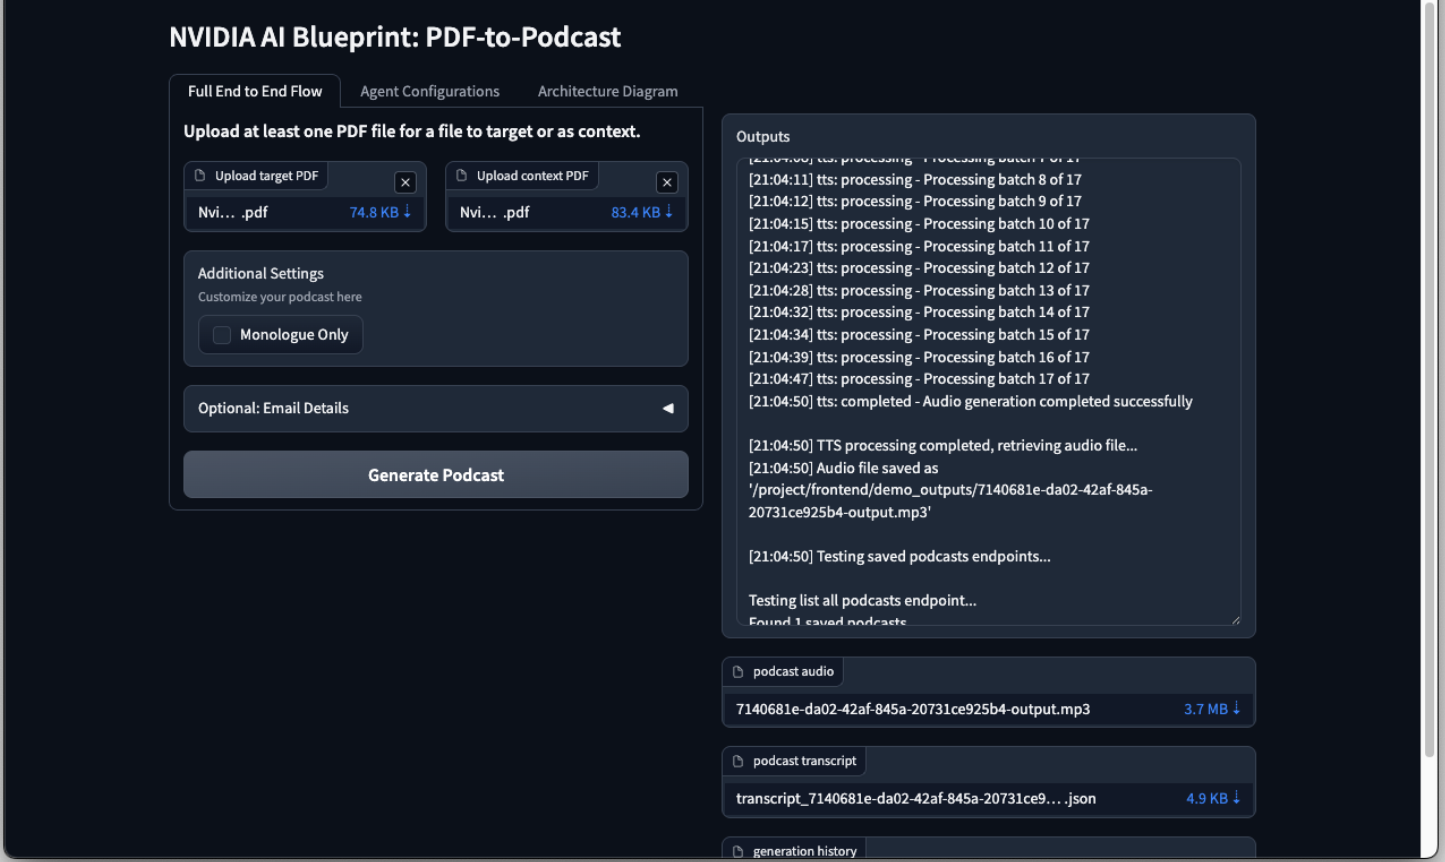
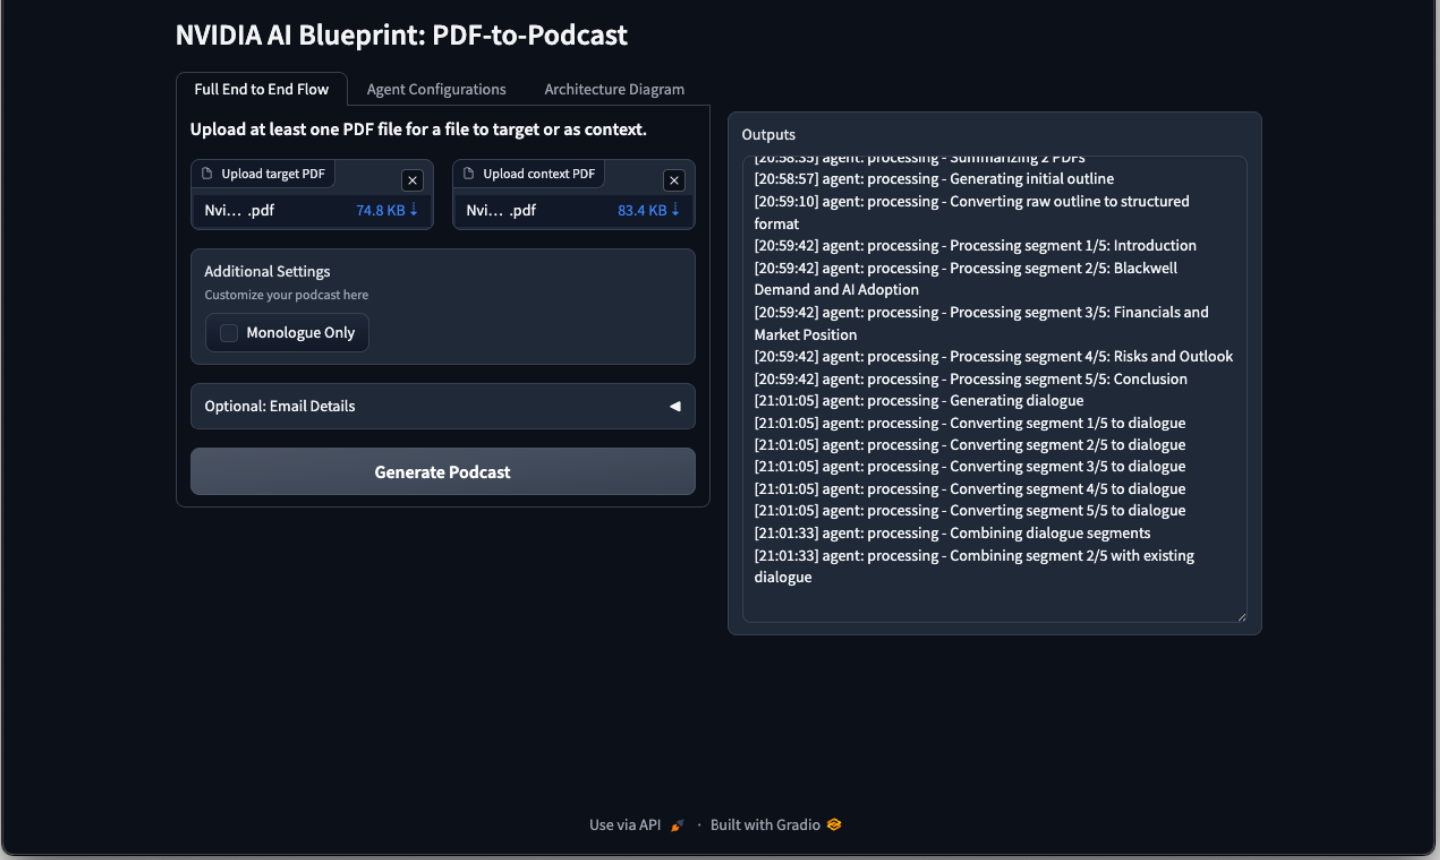
Generating the Podcast#
To start the project, open or switch back to the front end. Drop the target PDF and context PDF (optional for a better outcome). Then click the Generate Podcast button. This process may take up to 20 minutes, depending on the system configuration and the complexity of the PDF files.
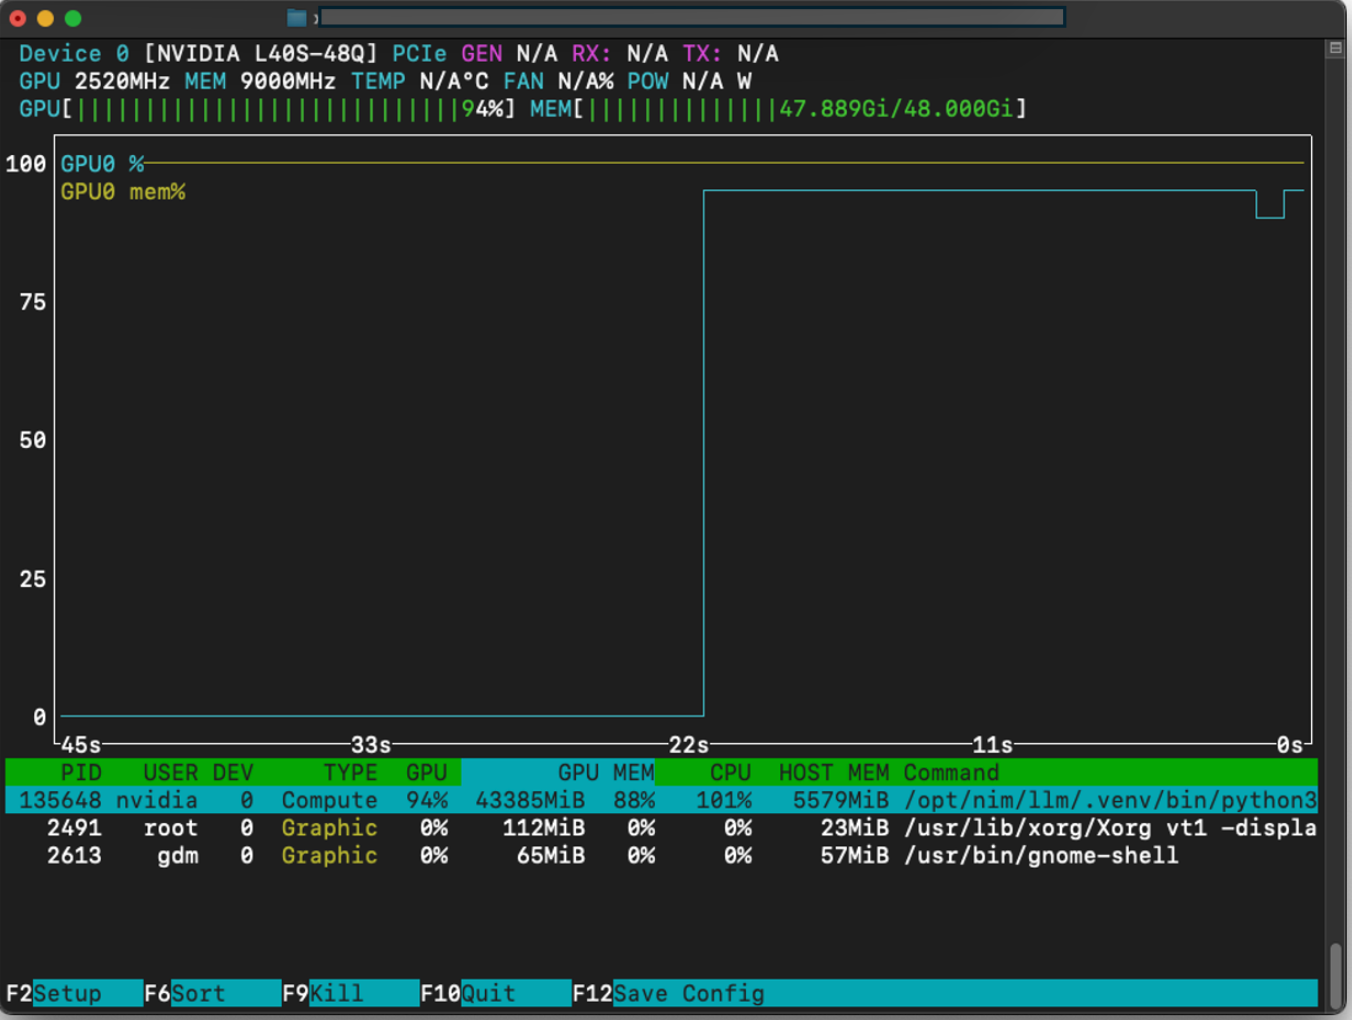
To view the GPU consumption during the podcast generation process, you can use monitoring tools like NVTOP.
The transcription and podcast audio will be available after the project finishes.