AWS Quickstart Guide
By the end of this guide, you will have registered for NVIDIA AI Enterprise, created a Virtual Machine (VM) on Amazon Web Services (AWS) that uses the NVIDIA AI Enterprise image, and run a sample cuOpt workload. This will prepare you to run cuOpt on an AWS VM.
Step 1: Create an AWS VM with NVAIE Image
Log in to AWS and navigate to AWS Marketplace.
Look up NVIDIA AI Enterprise in the search bar. If you already have a subscription, NVIDIA AI Enterprise may automatically show in your subscriptions. Otherwise, search for NVIDIA AI Enterprise in the search bar.
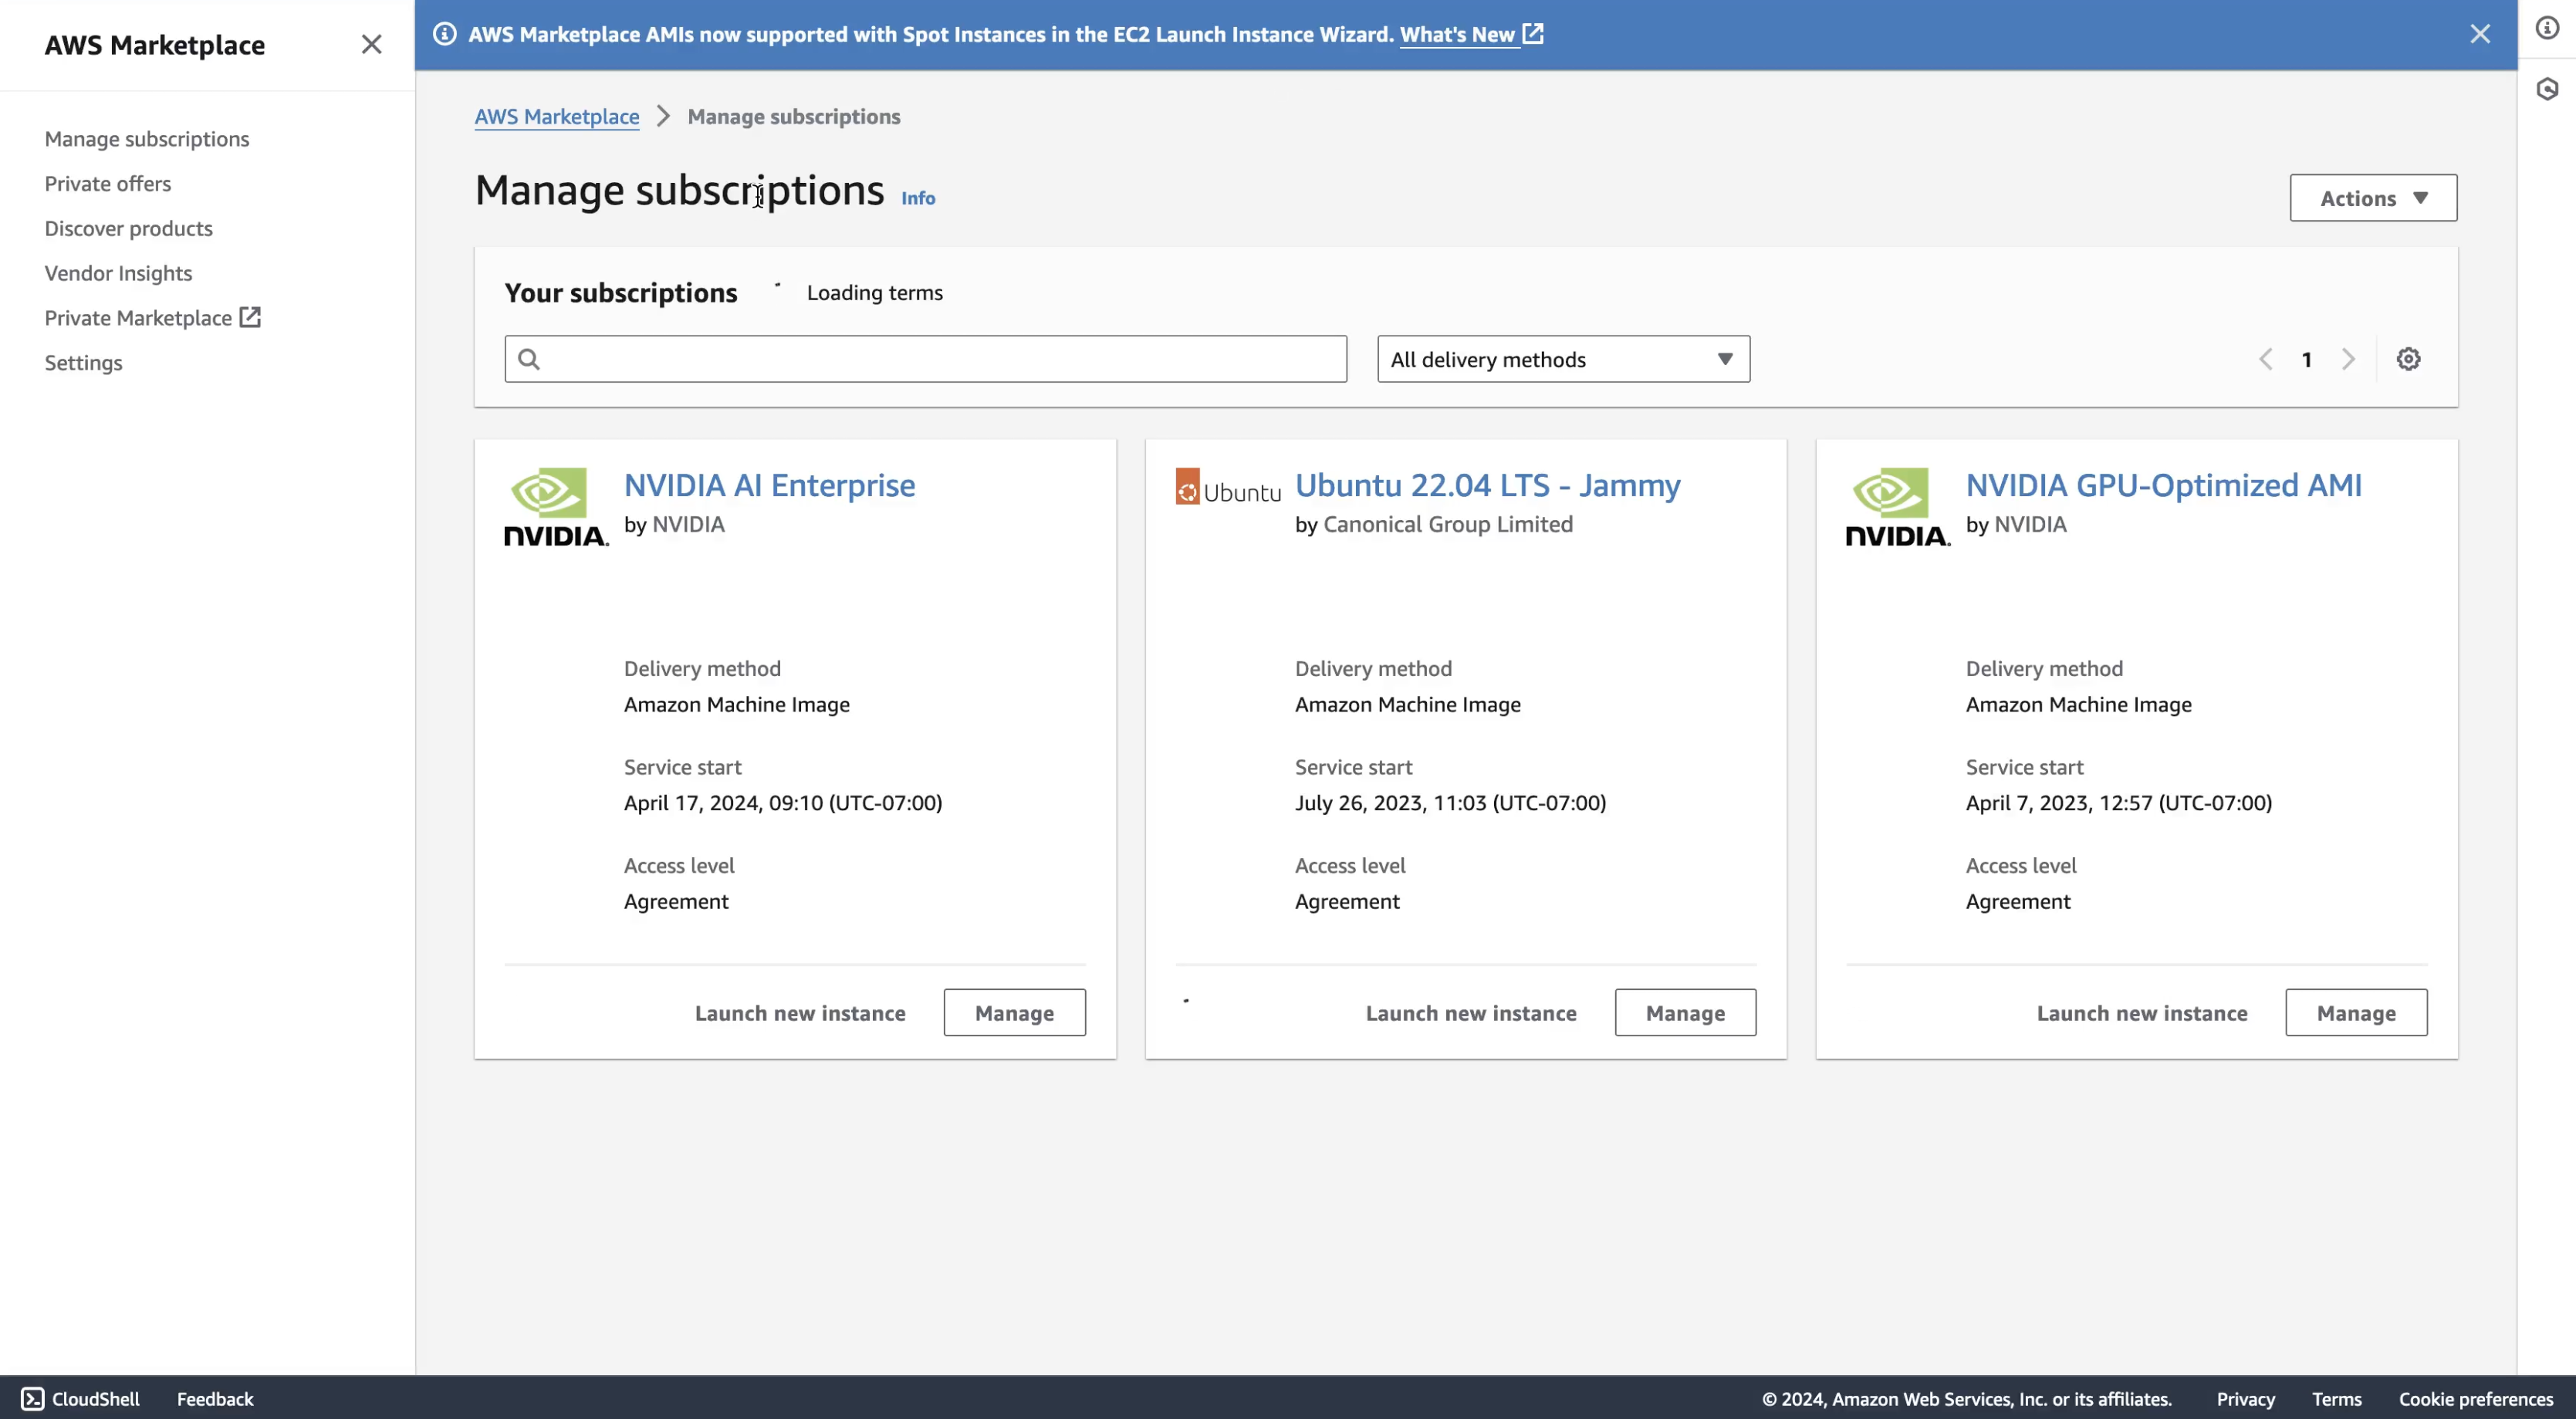
Click on the NVIDIA AI Enterprise subscription.
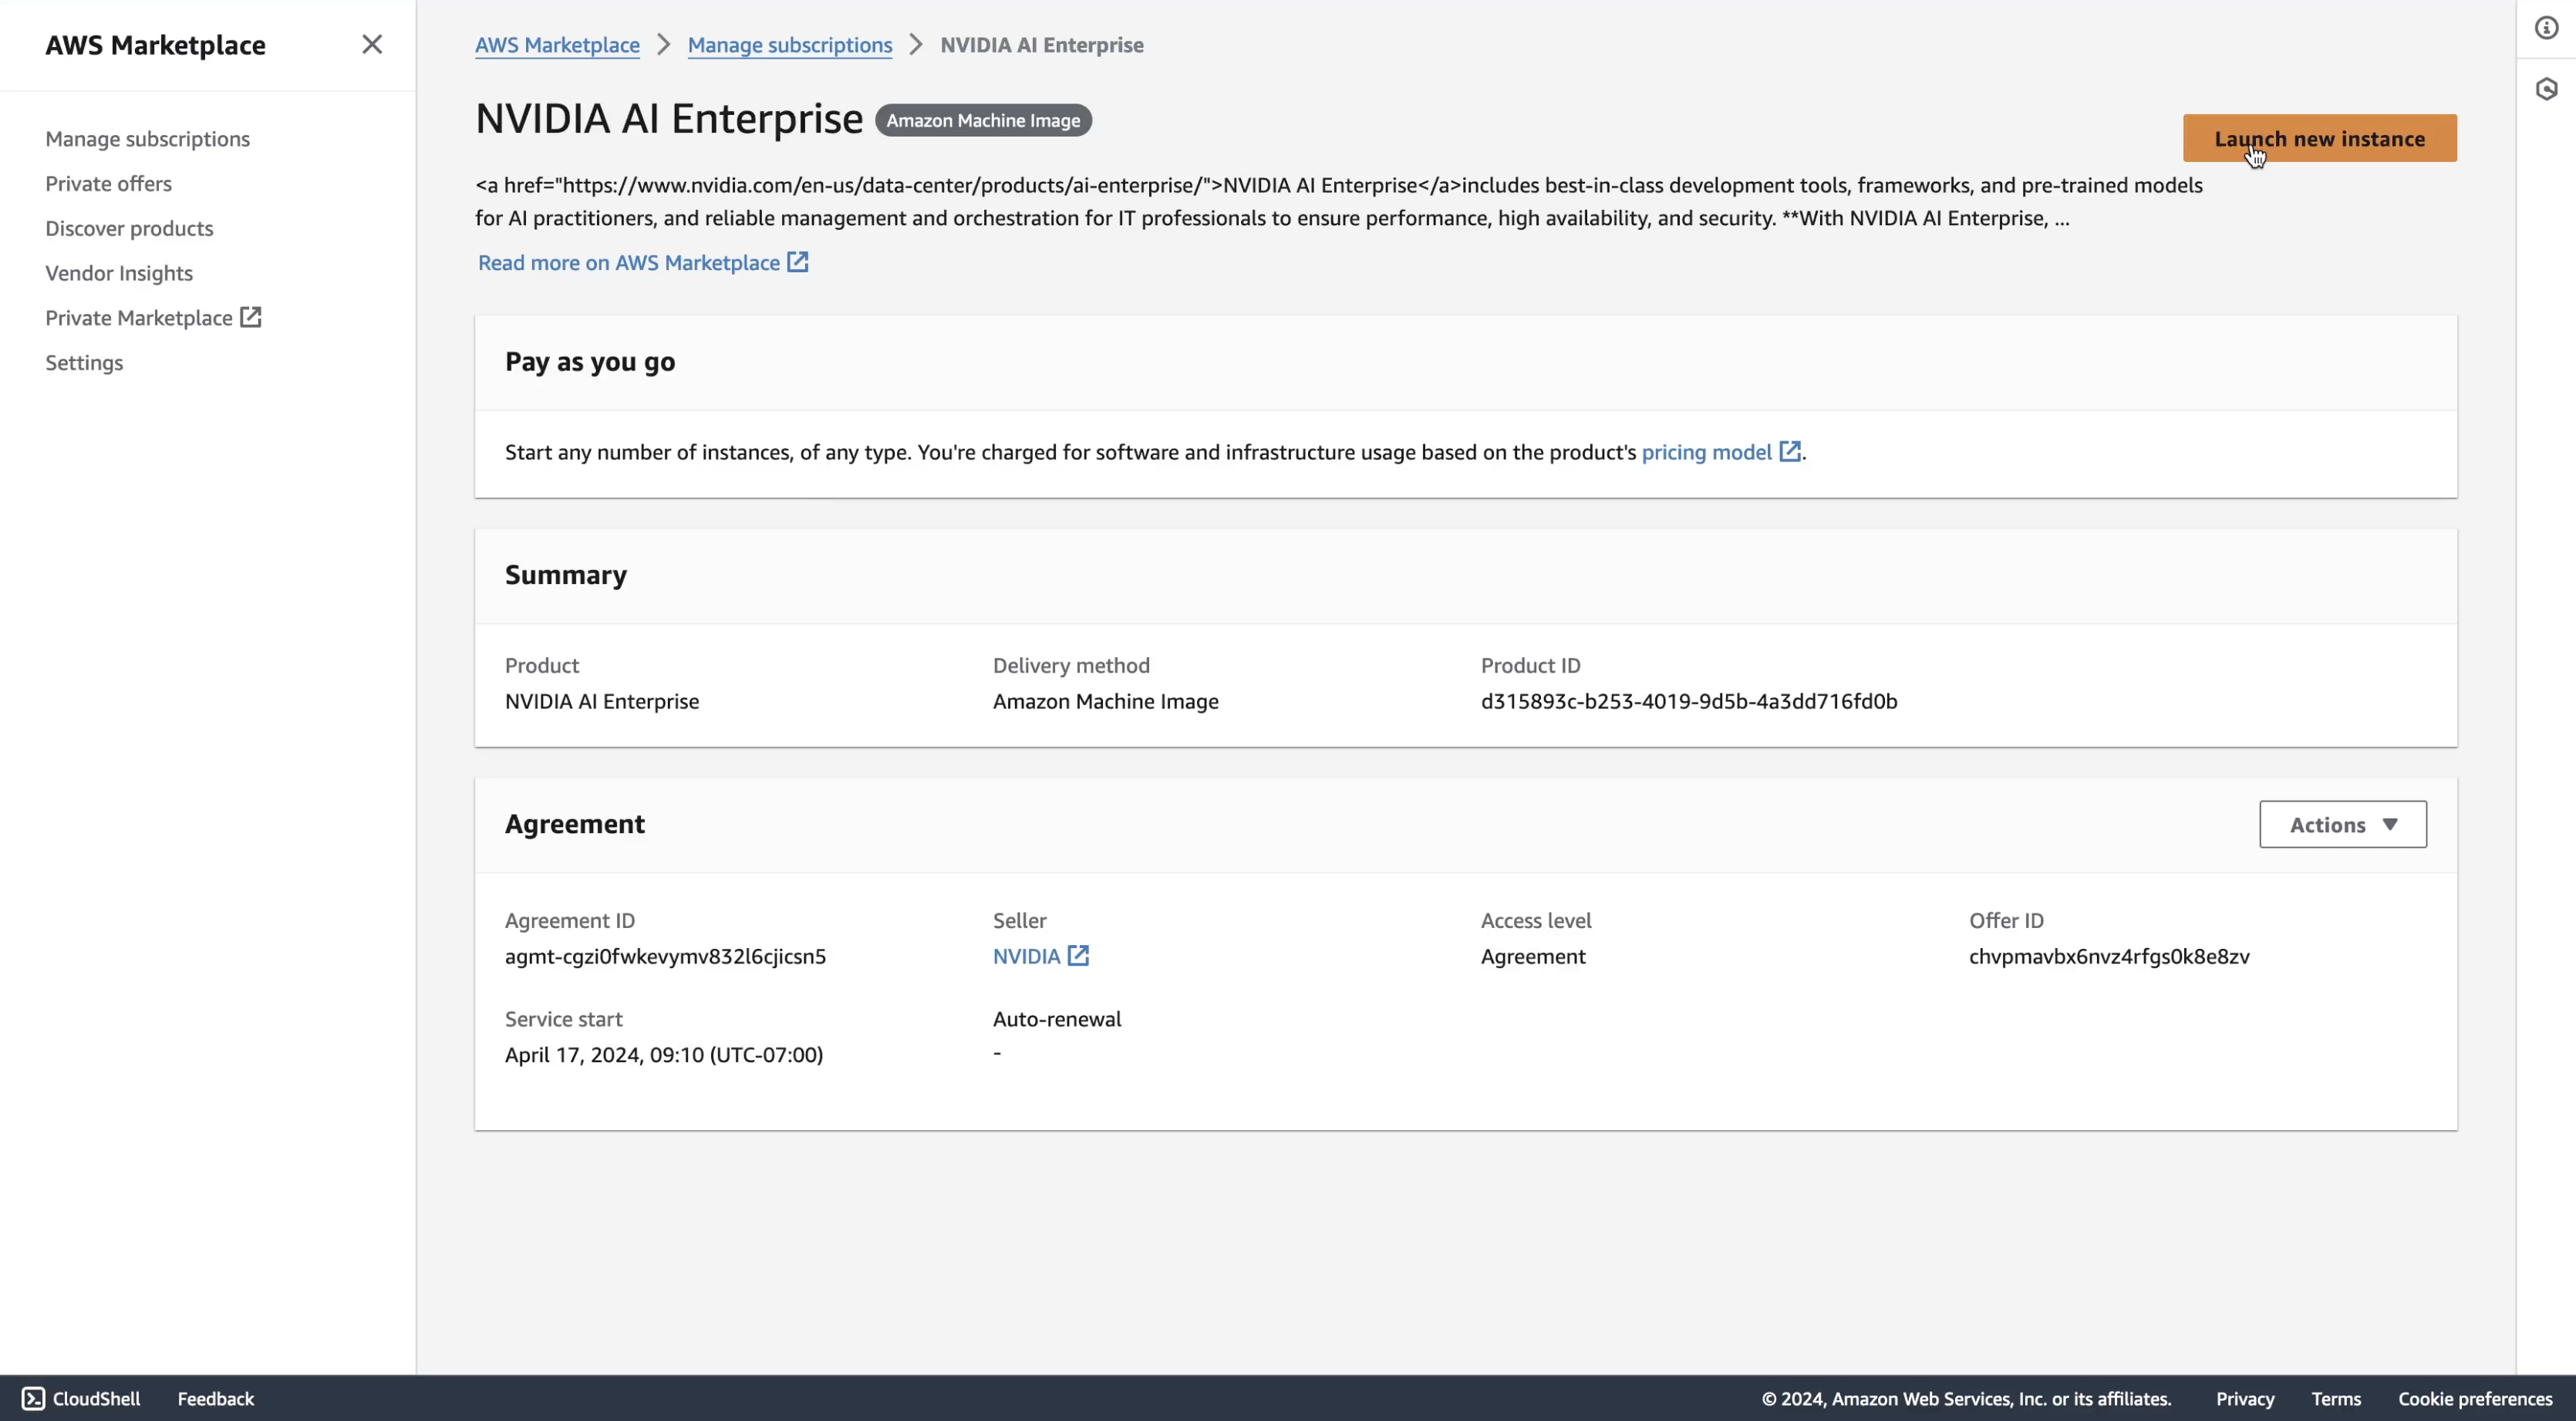
The following page will open. Click Launch new instance.
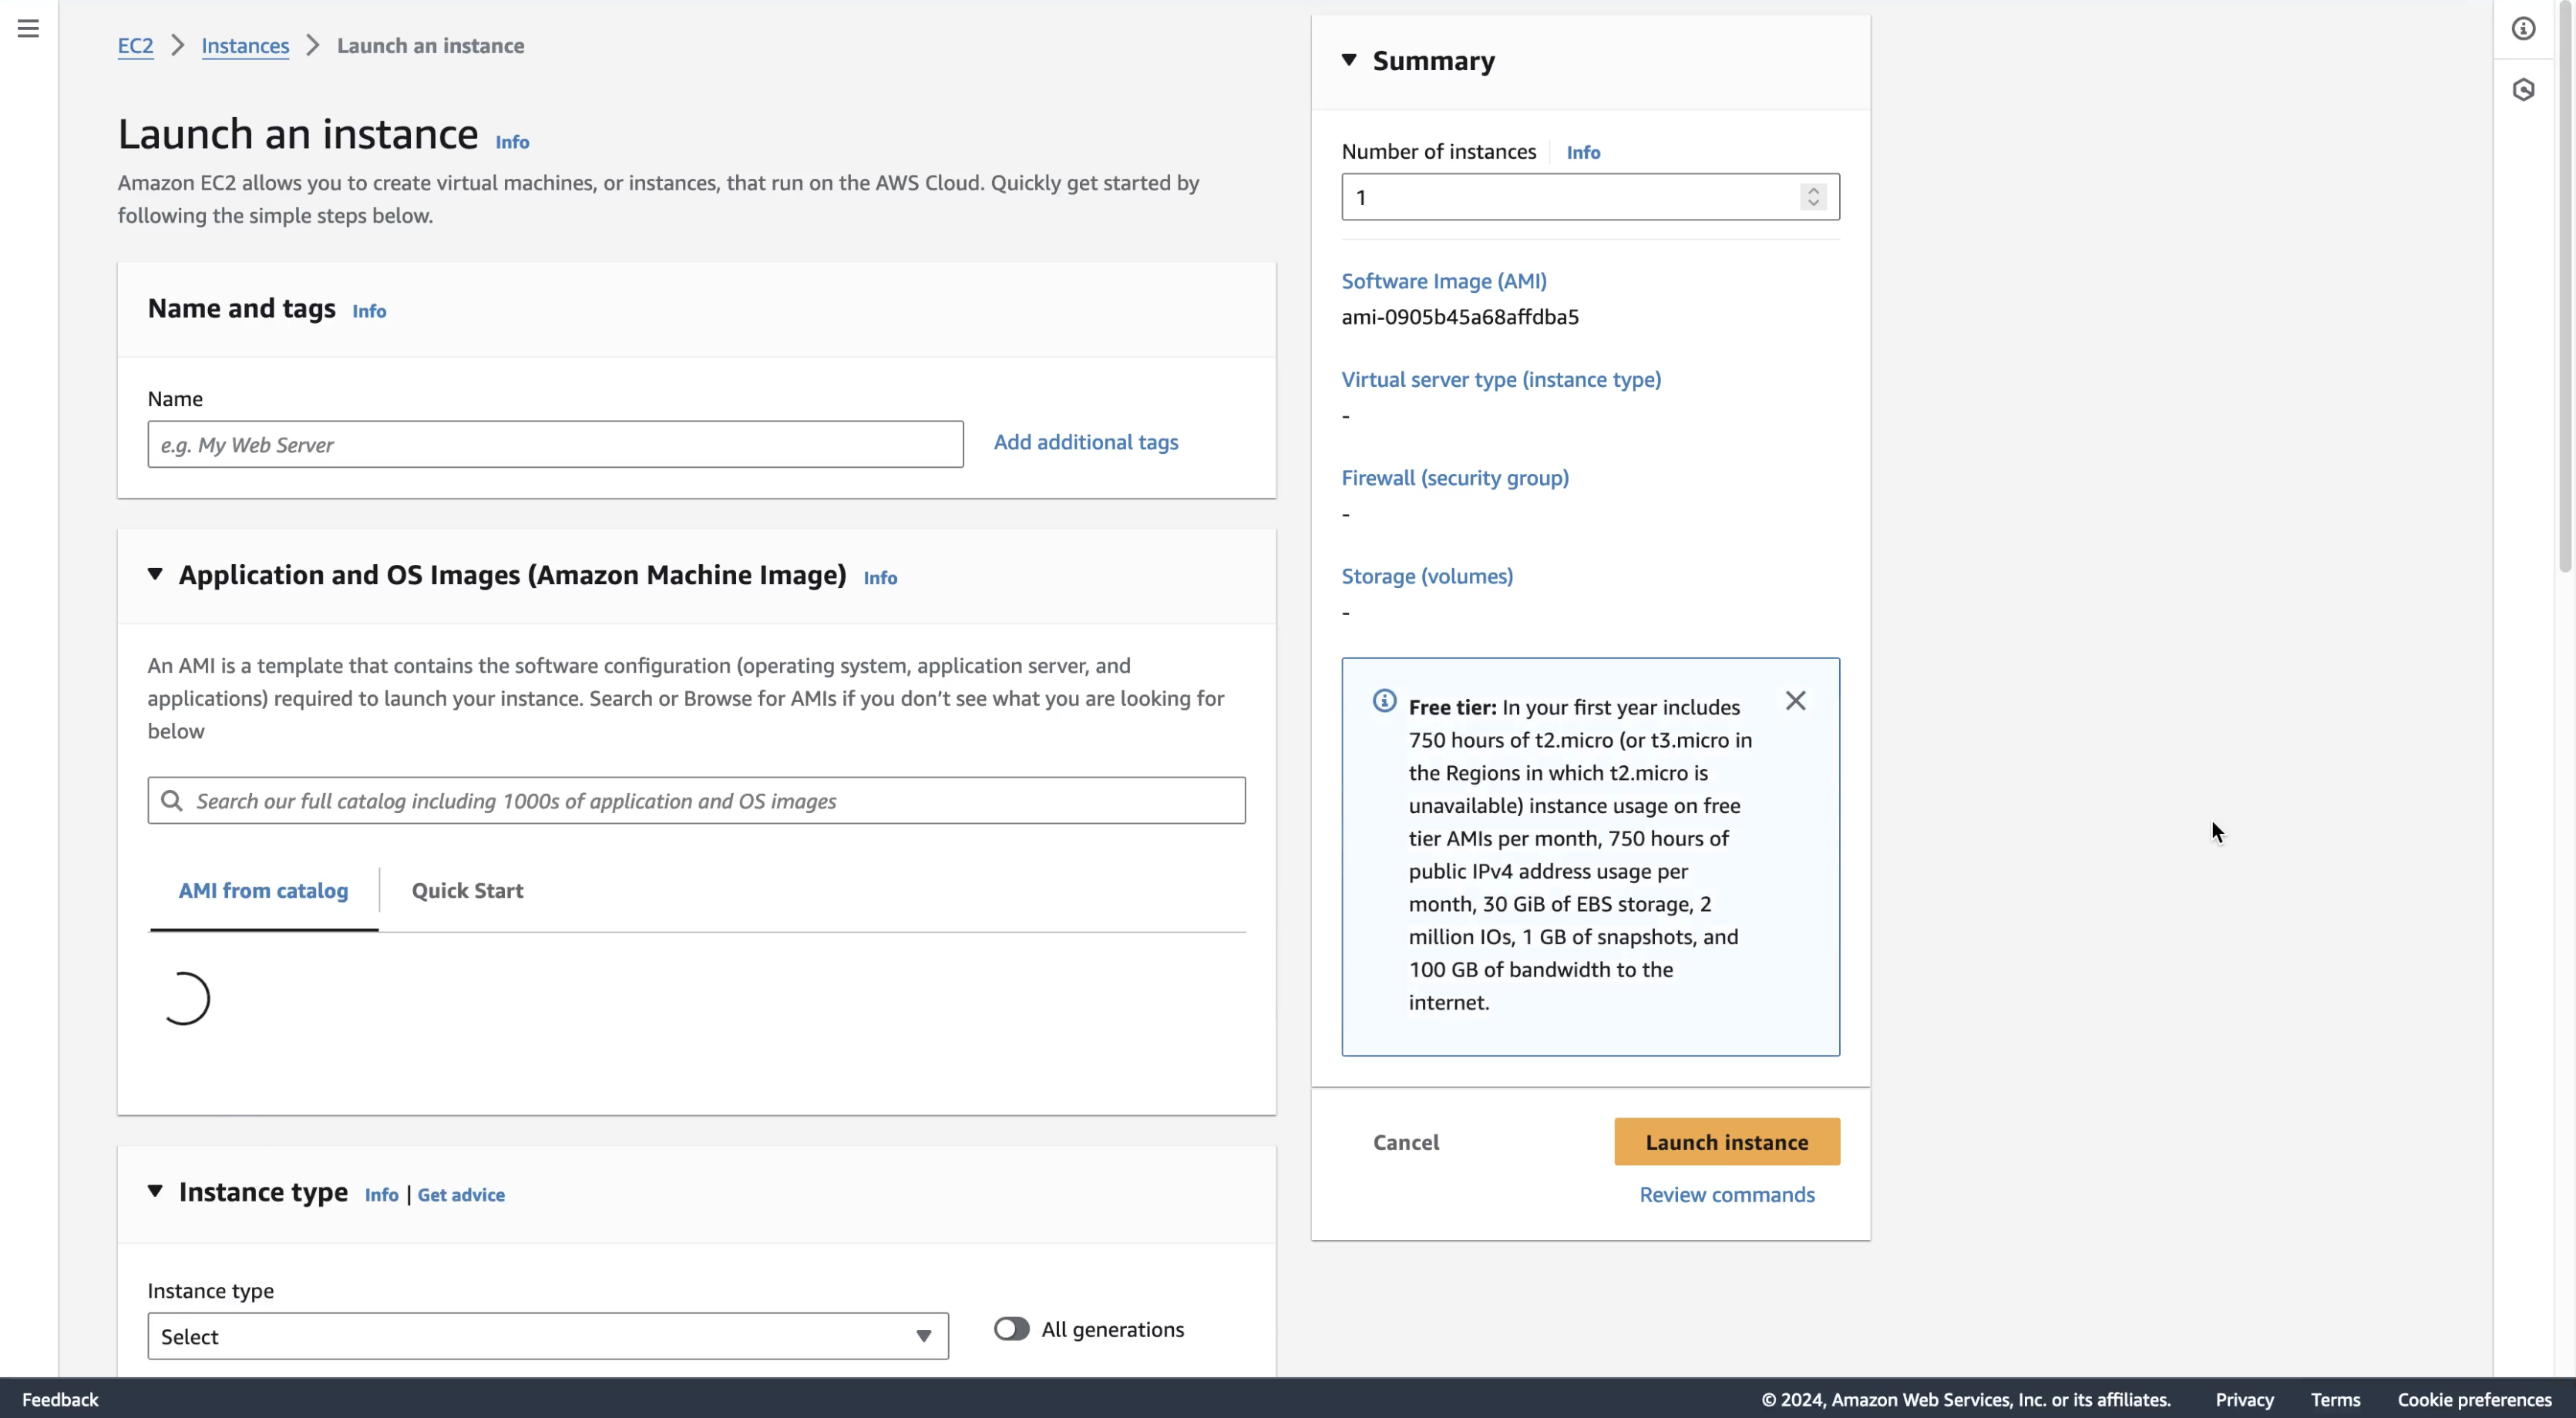
Configure your VM. If you have deployed a VM through AWS in the past, you should already have an SSH key you can reuse. If this is your first time, create a new SSH key.
Note
When selecting the hardware configuration, make sure to select a GPU of A100 or higher.
After configuring your VM, wait for it to deploy. This might take a few minutes to complete.
Upon deployment completion, you will see the following screen. Select Connect to your instance.
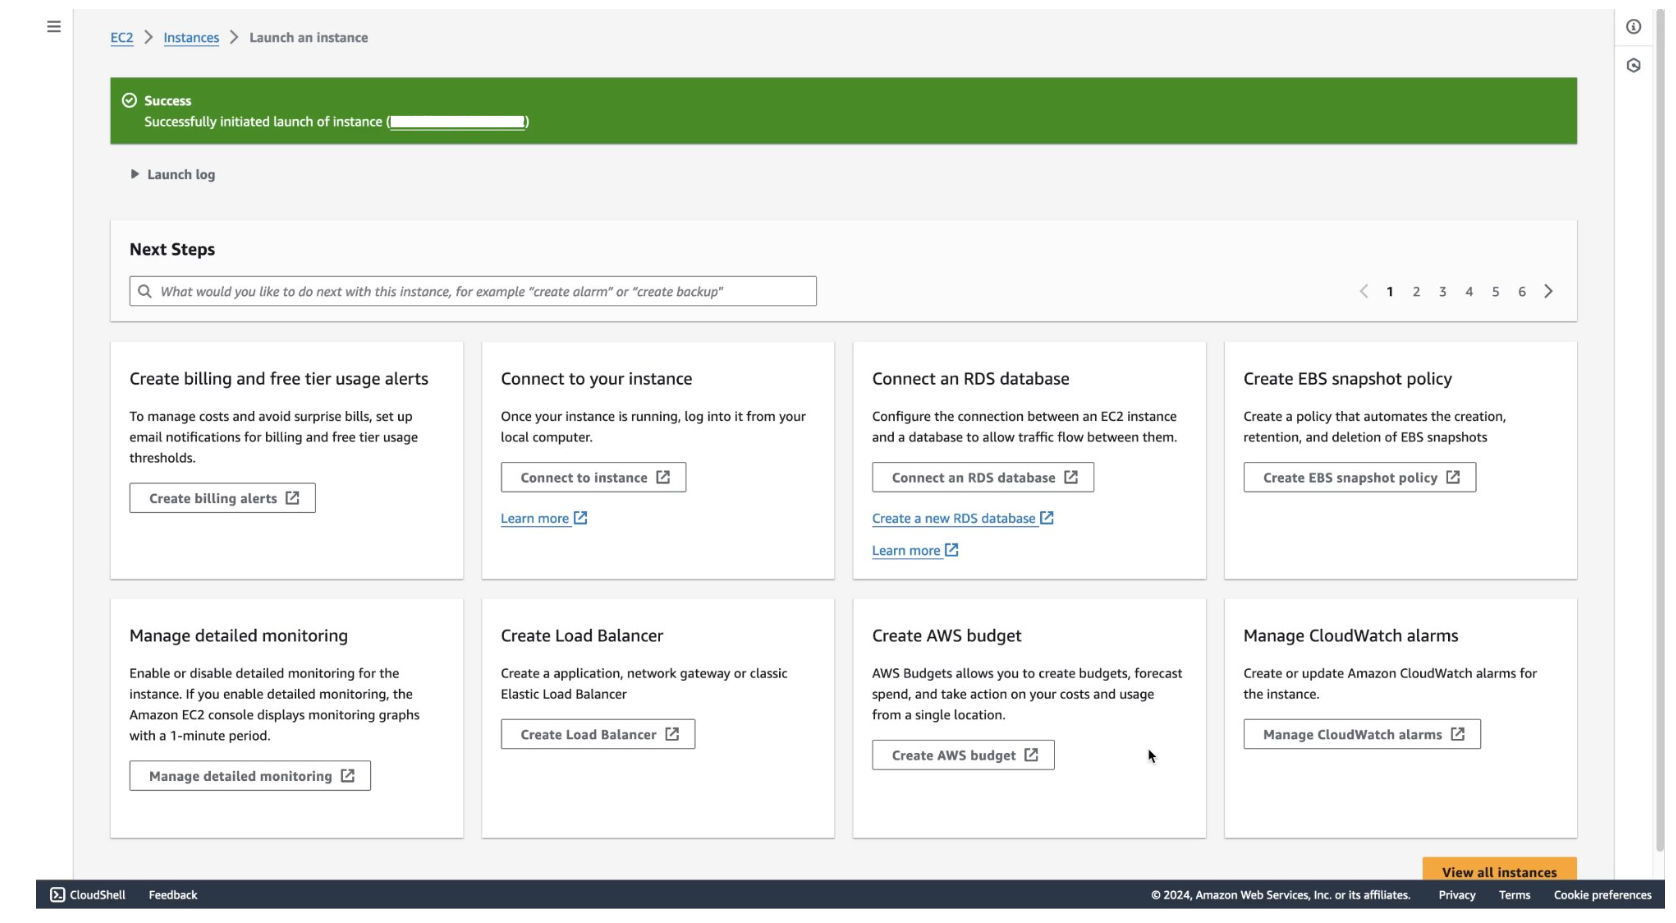
Once you have the IP address of your VM, you can connect to it through the AWS SSH portal, or through your terminal.
Step 2: Activate NVAIE Subscription
Once connected to the VM, generate an identity token. Activate your NVIDIA AI Enterprise subscription using that identity token on NGC. Follow the instructions here.
Step 3: Run cuOpt
To run cuOpt, you will need to log in to the NVIDIA Container Registry, pull the cuOpt container, and then run it. To test that it is successfully running, you can run a sample cuOpt request. This process is the same for deploying cuOpt on your own infrastructure. Refer to steps 3 and 4 of the Self-Hosted Service Quickstart Guide.