(Optional) Deploy Jupyter#
This documentation is part of NVIDIA DGX BasePOD: Deployment Guide Featuring NVIDIA DGX A100 Systems.
Base Command Manager (BCM) provides a robust and popular Jupyter integration. Because the Jupyter integration distributes the kernel across the cluster through the HPC workload management system or Kubernetes, Jupyter is generally installed on the head node or on a login node.
Note
Before you complete the steps in this documentation, complete Deploy Slurm.
Warning
The # prompt indicates commands that you execute as the root user on a head node. The % prompt indicates commands that you execute within cmsh.
Install Jupyter by Using the CLI Wizard#
Run the cm-jupyter-setup CLI wizard on the head node as the root user.
1# cm-jupyter-setup
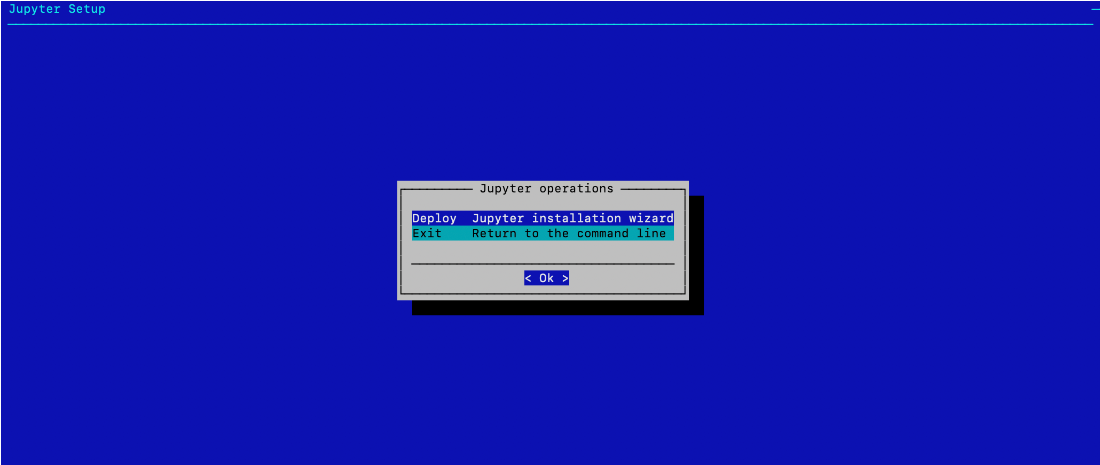
Choose Deploy to continue.
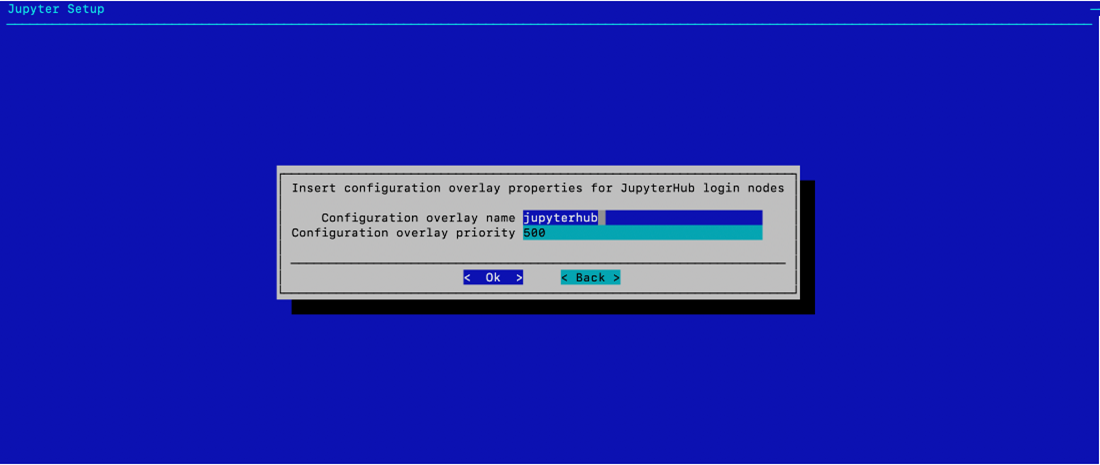
Specify the overlay name and priority for the JupyterHub login nodes. By default, the Jupyter wizard will create a configuration overlay named jupyterhub with a priority of 500. Use the defaults unless there is an existing jupyterhub overlay.
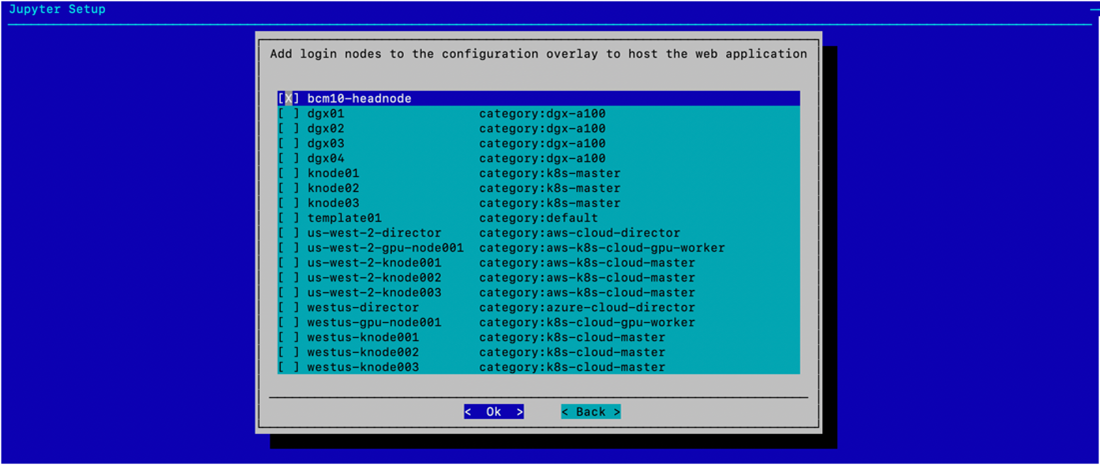
Select bcm10-headnode and then Ok. After HA is configured, the cm-jupyterhub service will be set to always run on the active head node.
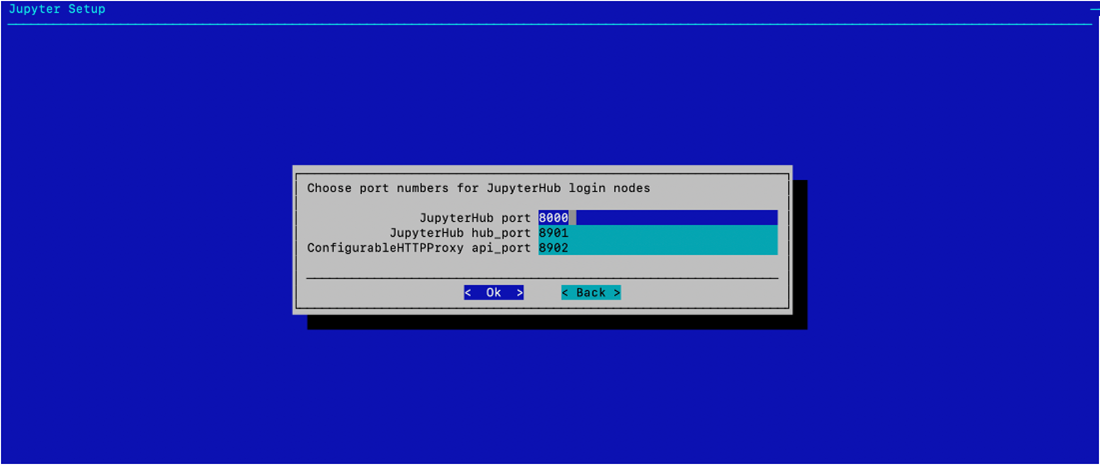
Select the default ports of 8000, 8901, and 8902 and select Ok. Users will access it on the active head node on port 8000.
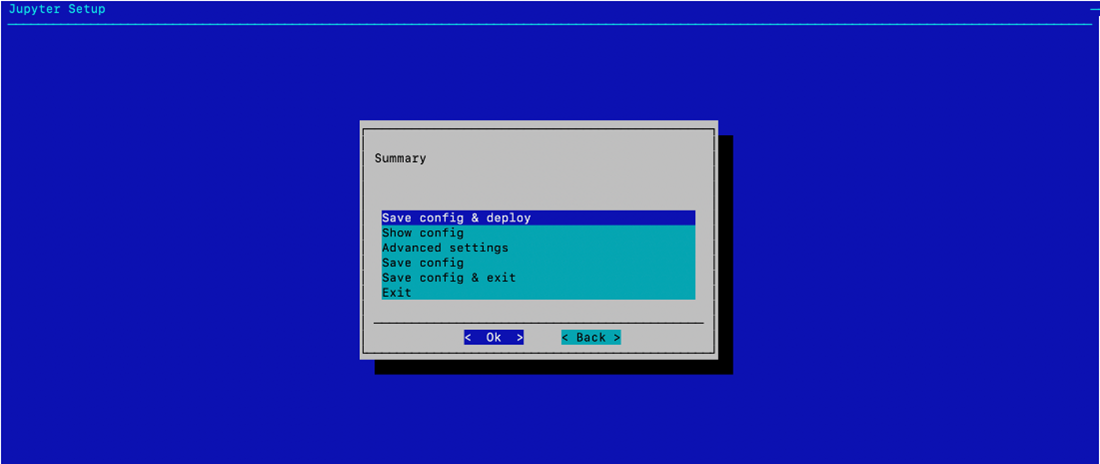
Select Save config & deploy and then Ok.
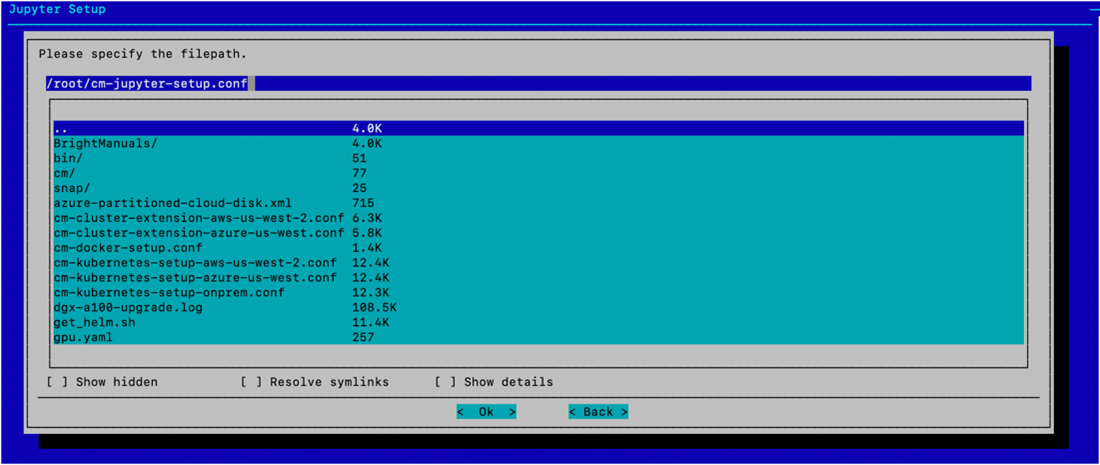
Select Ok to start the installation. By default, the Jupyter wizard will save the deployment configuration in /root/cm jupyter setup.conf. This configuration file can be used to redeploy Jupyter in the future.
When the installation completes, the cm-jupyter service will automatically be started on the selected node. All users in the cluster (except the root user) will be able to login to Jupyterhub using a web browser at
http://<head-node-iporFQDN>:8000. Example:http://10.227.52.254:8000.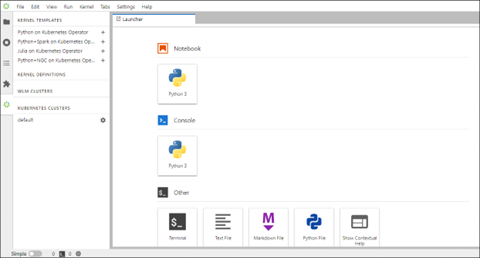
If needed, a test user can be created with the following command:
1# cmsh -c "user; add jupyterhubuser; set password jupyterhubuser; commit"
Add the user to Kubernetes.
1# cm-kubernetes-setup --add-user jupyterhubuser --operators cm-jupyter-kernel-operator
Next Steps#
After you complete the steps on this page, you can configure High Availability.