Deploy Slurm#
This documentation is part of NVIDIA DGX BasePOD: Deployment Guide Featuring NVIDIA DGX A100 Systems.
A workload management system is helpful to be able to schedule jobs on a cluster of nodes. The steps below describe how to set up Slurm in such a way so that GPUs have to be explicitly requested. This way it becomes much easier to share GPU and CPU compute resources among many people without having users get in each other’s way.
Note
Before you complete the steps in this documentation, complete Deploy Kubernetes.
Warning
The # prompt indicates commands that you execute as the root user on a head node. The % prompt indicates commands that you execute within cmsh.
Install and Verify Slurm#
Start the interactive setup tool.
1# cm-wlm-setup --disable --wlm-cluster-name=slurm --yes-i-really-mean-it
2# cm-wlm-setup
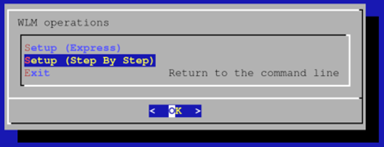
Choose Setup (Step By Step) and then select OK.
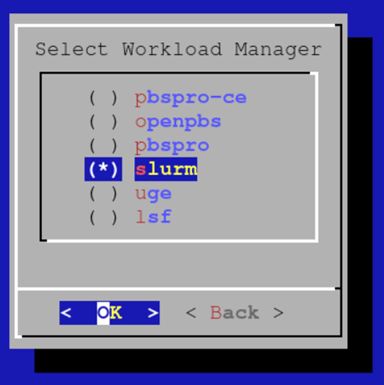
Choose slurm as the workload management system and then select OK.
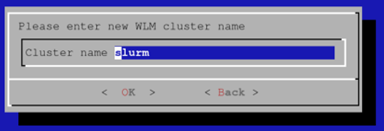
Enter the name for the Slurm cluster and then select OK.
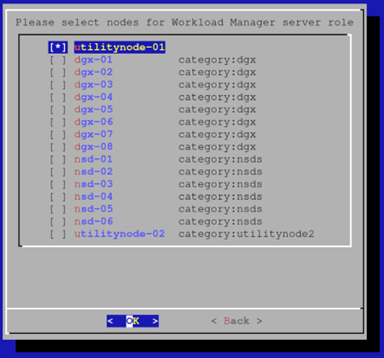
Choose the head node as the Slurm server.
Set the overlay name and priority for the configuration overlay and then select OK. This example uses the defaults.

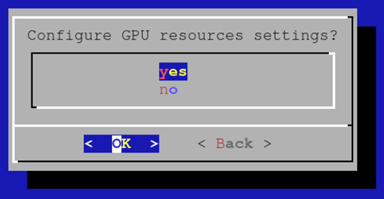
Choose yes to configure GPU resources and then select OK.
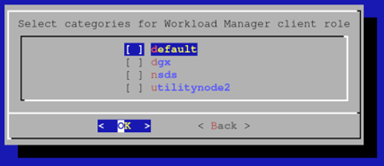
Initially cm-wlm-setup will set up Slurm clients without GPUs. Assuming that there are no nodes to be set up without GPUs, unselect all categories and press OK.
Assuming there are no compute nodes without GPUs, leave all the options unselected at the following screen and press OK.
Enter the overlay name and priority for Slurm clients without GPUs and then select OK. The example uses the defaults.
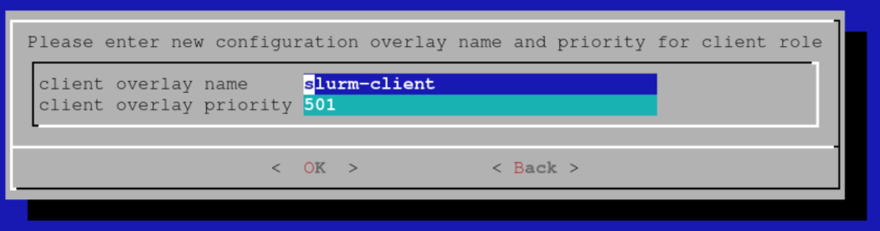
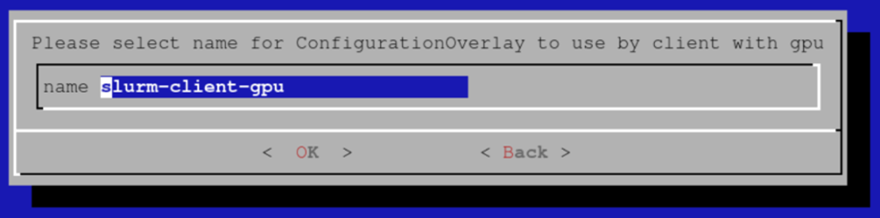
Choose a suitable name for the configuration overlay of Slurm clients with GPUs. The example uses the defaults.
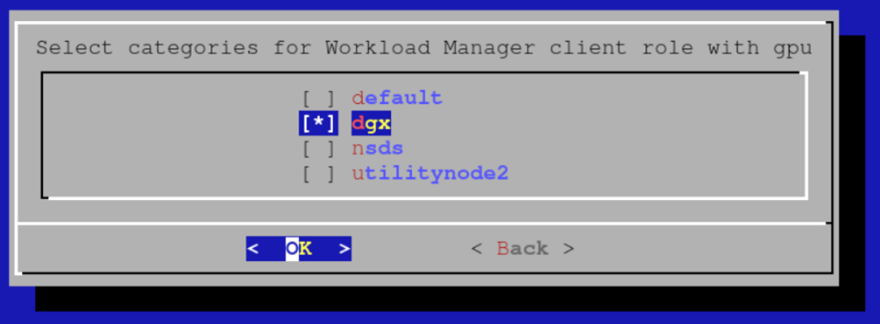
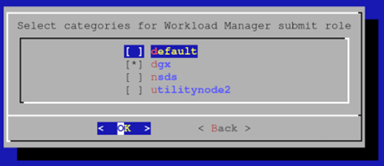
Select the categories of compute nodes with GPUs that you would like to include in the configuration overlay that was created in the previous step.
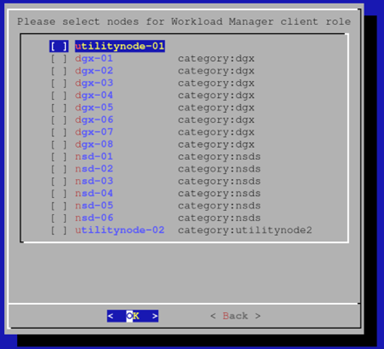
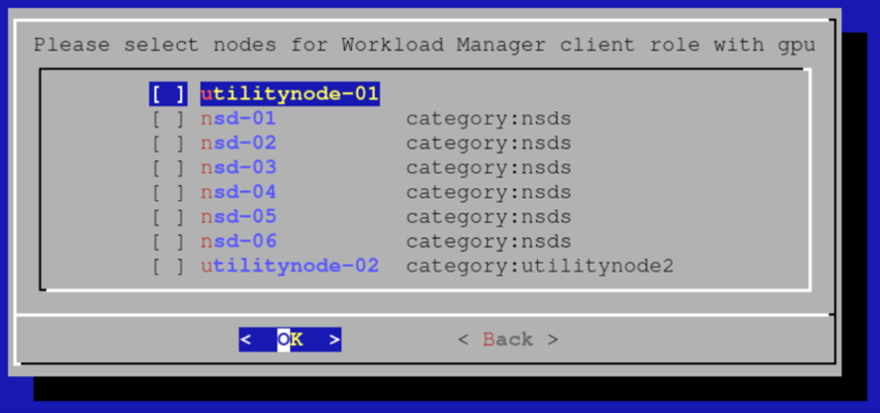
Select any additional nodes with GPUs that should be added to the configuration overlay.
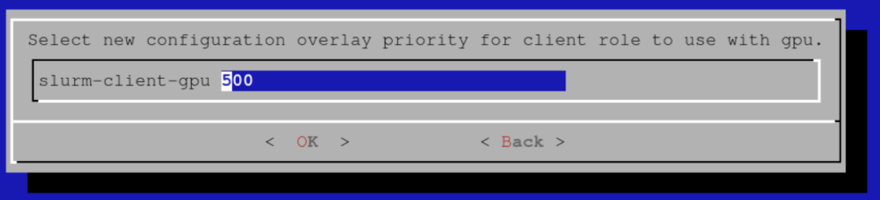
Select a priority for the configuration overlay. The example uses the default.
Leave the number of slots unconfigured.

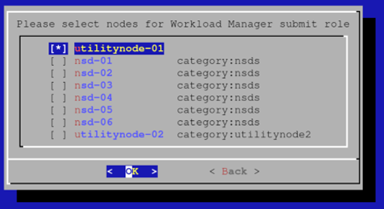
Select the category of GPU compute nodes as nodes from which jobs will be submitted. If you have a category of login nodes, you will want to add it as well. We will add the head node in the next screen:
Select additional nodes from where you will be submitting jobs (e.g. head node of the cluster).
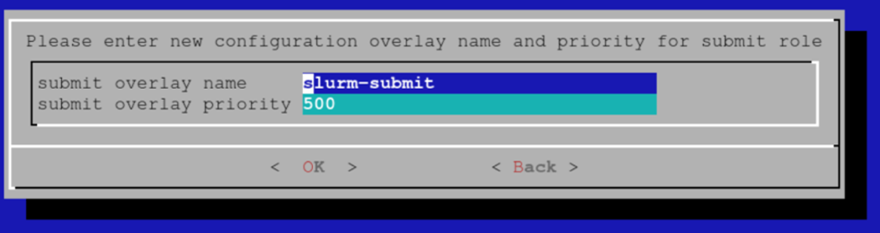
Choose a name for the configuration overlay of submit hosts (the defaults will be fine):
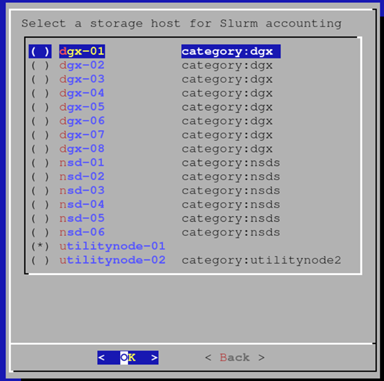
Choose a name for the configuration overlay of accounting nodes.

Select the head node as the accounting node.
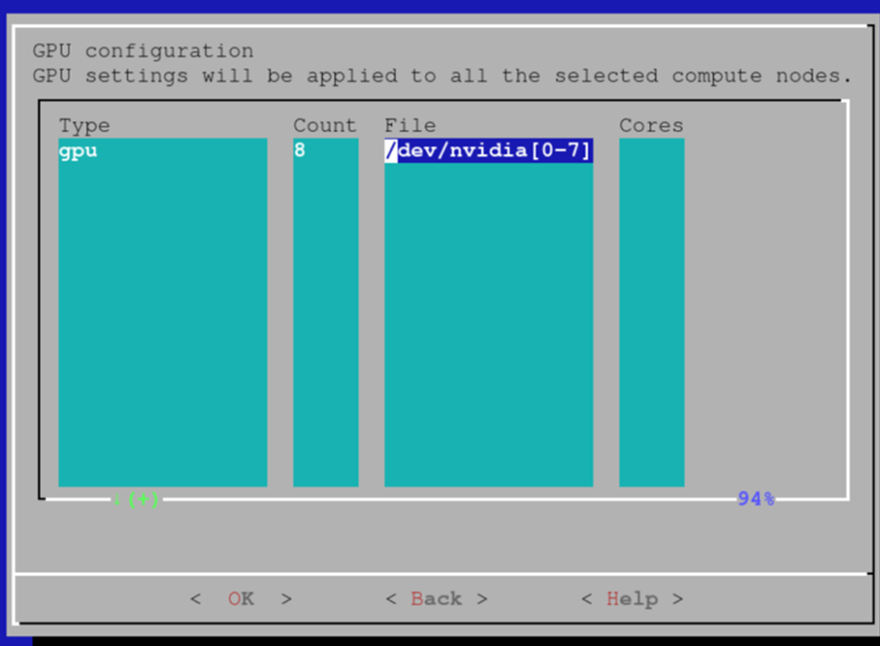
Add the 8 GPUs in each node as GPU resources that can be requested. It is also possible to rely on the Slurm GPU autodetect capabilities. Consult the Base Command Manager (BCM) documentation for details.
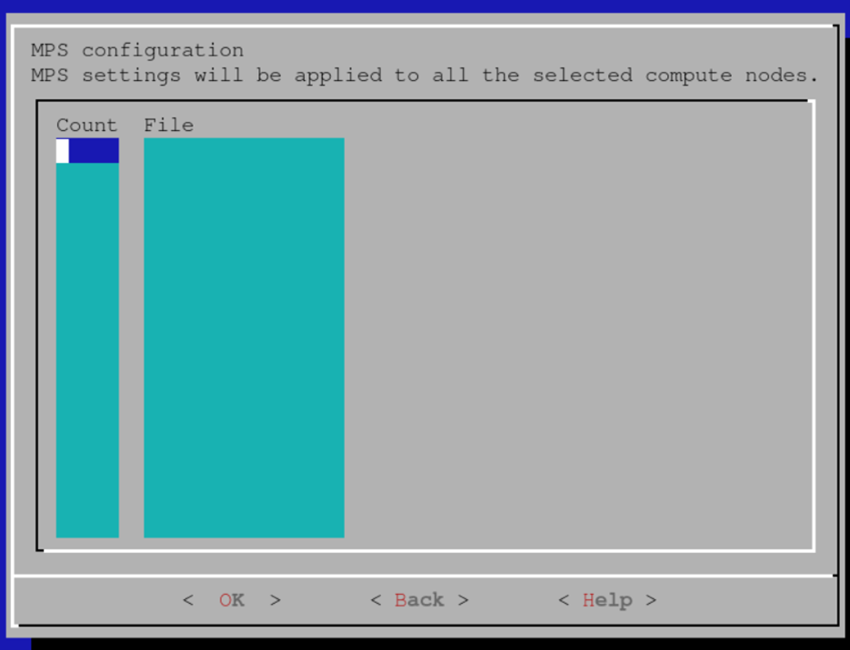
Unless CUDA Multi Process Management (MPS) will be used, leave the MPS settings empty. If MPS is to be configured, some additional setup steps will be needed to start/stop the MPS daemon through the prolog/epilog.
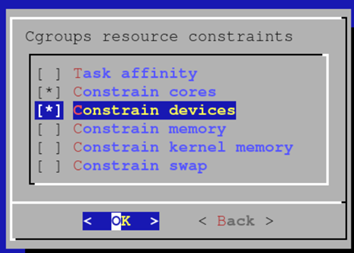
Enable the following cgroup resource constraints to make sure that jobs cannot use CPU cores or GPUs that they did not request:
Create a default queue. More queues can always be defined later:

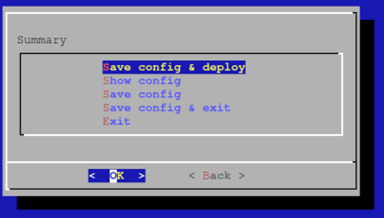
Choose Save config & deploy and then select OK.
Store the configuration for later.
After the setup completes, you will want to reboot all compute nodes using cmsh.
1device power reset -c dgx
After the nodes come back up, you can verify that Slurm is working properly by checking:
1[root@utilitynode-01 ~]# sinfo
2PARTITION AVAIL  TIMELIMIT  NODES  STATE NODELIST
3defq*        up   infinite      8   idle dgx-[01-08]
By default, Slurm is configured to not allow multiple jobs on the same node. To change this behavior and allow (for example) a maximum of 8 simultaneous jobs to run on a single node.
1[root@utilitynode-01 ~]# cmsh
2[utilitynode-01]% wlm use slurm
3[utilitynode-01->wlm[slurm]]% jobqueue
4[utilitynode-01->wlm[slurm]->jobqueue]% use defq
5[utilitynode-01->wlm[slurm]->jobqueue[defq]]% get oversubscribe
6NO
7[utilitynode-01->wlm[slurm]->jobqueue[defq]]% set oversubscribe YES:8
8[utilitynode-01->wlm[slurm]->jobqueue*[defq*]]% commit
9[utilitynode-01->wlm[slurm]->jobqueue[defq]]%
To verify that GPU reservation is working, first try allocating no GPUs.
1[root@utilitynode-01 ~]# srun nvidia-smi
2No devices were found
3srun: error: dgx-06: task 0: Exited with exit code 6
4[root@utilitynode-01 ~]#
Then try allocating, e.g., two GPUs.
 1[root@utilitynode-01 ~]# srun --gres=gpu:2 nvidia-smi
 2Thu Mar  4 08:50:44 2021
 3+-----------------------------------------------------------------------------+
 4| NVIDIA-SMI 450.102.04   Driver Version: 450.102.04   CUDA Version: 11.0     |
 5|-------------------------------+----------------------+----------------------+
 6| GPU  Name        Persistence-M| Bus-Id        Disp.A | Volatile Uncorr. ECC |
 7| Fan  Temp  Perf  Pwr:Usage/Cap|         Memory-Usage | GPU-Util  Compute M. |
 8|                               |                      |               MIG M. |
 9|===============================+======================+======================|
10|   0  A100-SXM4-40GB      On   | 00000000:07:00.0 Off |                    0 |
11| N/A   30C    P0    54W / 400W |      0MiB / 40537MiB |      0%      Default |
12|                               |                      |             Disabled |
13+-------------------------------+----------------------+----------------------+
14|   1  A100-SXM4-40GB      On   | 00000000:0F:00.0 Off |                    0 |
15| N/A   30C    P0    53W / 400W |      0MiB / 40537MiB |      0%      Default |
16|                               |                      |             Disabled |
17+-------------------------------+----------------------+----------------------+
18
19+-----------------------------------------------------------------------------+
20| Processes:                                                                  |
21|  GPU   GI   CI        PID   Type   Process name                  GPU Memory |
22|        ID   ID                                                   Usage      |
23|=============================================================================|
24|  No running processes found                                                 |
25+-----------------------------------------------------------------------------+
Next Steps#
After you complete the steps on this page, you can (Optional) Deploy Jupyter or configure High Availability.