Steam Workshop Overview
Cooking Mods
The next step in the process is to cook your mods. Before you can share your content with others or test it in the VR Funhouse without Unreal Engine the content needs to be cooked.
This is as easy as navigating to the “File” menu and selecting “Cook Mods folder for SteamWorks upload”
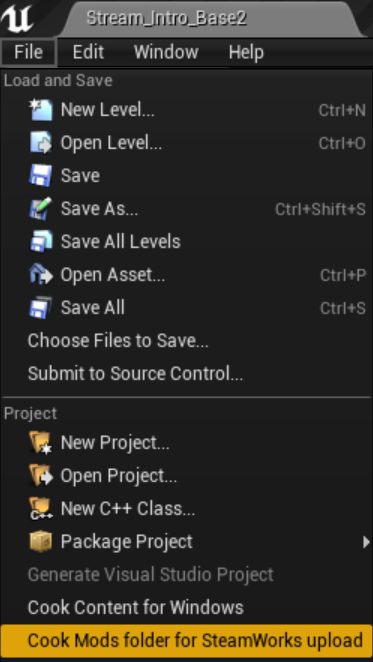
NOTE: This process may take quite a while, as the first time you perform this action it will need to cook the entire project. Subsequent cooks should take far less time.
Uploading a new mod to Steamworks
Now that your mod content is ready. It’s time to upload it to Steam. There are a few things you will want to get ready before you upload.
Navigate to the SteamWorkshop directory. This can be found directly under the main VRFunhouse directory.
Add a thumbnail of your mod content
- Take a screenshot that captures the essence of what your mod does. Try to keep the file size for this image relatively low (it must be less than 1MB.) Place this screenshot in the SteamWorkshop directory.
Update the VRFunhouseMod VDF file - Open this file with your preferred text editor
AppID (468700) is specific to VR Funhouse, do not change this value
ContentFolder points to the location where your mods are stored, no need to change this either
PreviewFile is a reference to the image you want to be associated with your mod on the Steam Workshop. Change this reference to match the name of your screenshot. (Double check that you have the correct file extension!)
Visibility determines who can see your mod on the steam workshop. Feel free to change it as you see fit.
- 0 = public
- 1 = friends only
- 2 = private
Title is the name you want your mod to have on the steam workshop, make sure to name it something concise that clearly describes what your mod does
Description is where you lay out more details about your mod or add some creative text. Feel free to be as detailed or brief as you like.
PublishedFileId - If this isn’t your first mod you may have another field called “publishedfileid”. It is automatically updated by SteamCmd. - Make sure to clear this entire line before uploading a new mod.

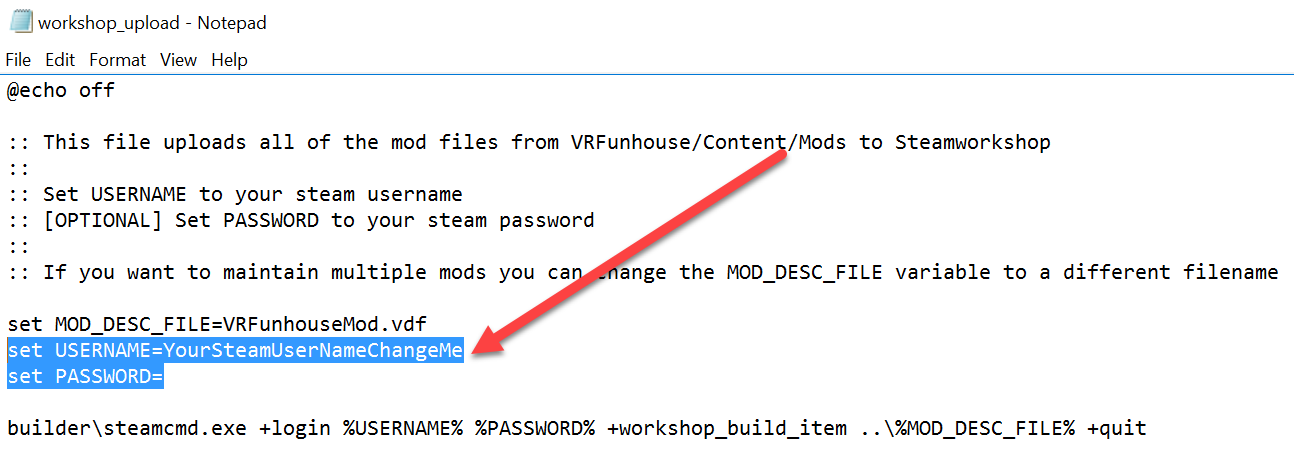
Update and run the workshop_upload.bat file
- Open the workshop_upload.bat file with notepad and replace the word YourSteamUserNameChangeMe with your steam username.
- You can also add your password to this batch file if you’d like, but you can also leave it blank if you’d prefer to receive a prompt after running the batch file.
Run workshop_upload.bat
- You may be prompted to enter a steam validation code. This will be sent to the email address associated with your steam account.
- Running Steamcmd.exe will log you out of the Steam client, this may not immediately be clear from the interface, but is reflected in your friends list. You’ll need to log back in to steam after running this batch file.
- The batch file will attempt to display your new mod in both the Steam client and a web browser (unfortunately, SteamCmd will probably log you out of the Steam client and you’ll probably need to be logged into your Steam account on your browser to see the Workshop item page).
Viola! Your new mod is now published on SteamWorks!
Common upload issues
- Your preview image (PreviewFile) is too large. It must be less than 1MB.
- You failed to remove the PublishedFileId line before uploading a new mod (after you’ve already uploaded one).
- You haven’t entered the proper credentials in the workshop_upload.bat file (username and password) - sometimes the password needs to be in the .bat file for it to work correctly rather than allowing SteamCmd to ask you.
- The Steam account you’re using to upload doesn’t actually own the game. To ensure that the account is tied to the game, be sure to run the game at least once with your uploading Steam account.
- If you’re working on several mods at once you may want to create copies of the batch and vdf files to preserve your PublishedFileId for later updates.
Subscribing to your Mods
After your mod is published, you will want to subscribe to your mod in order to be able to use it with the published version of the VR Funhouse.
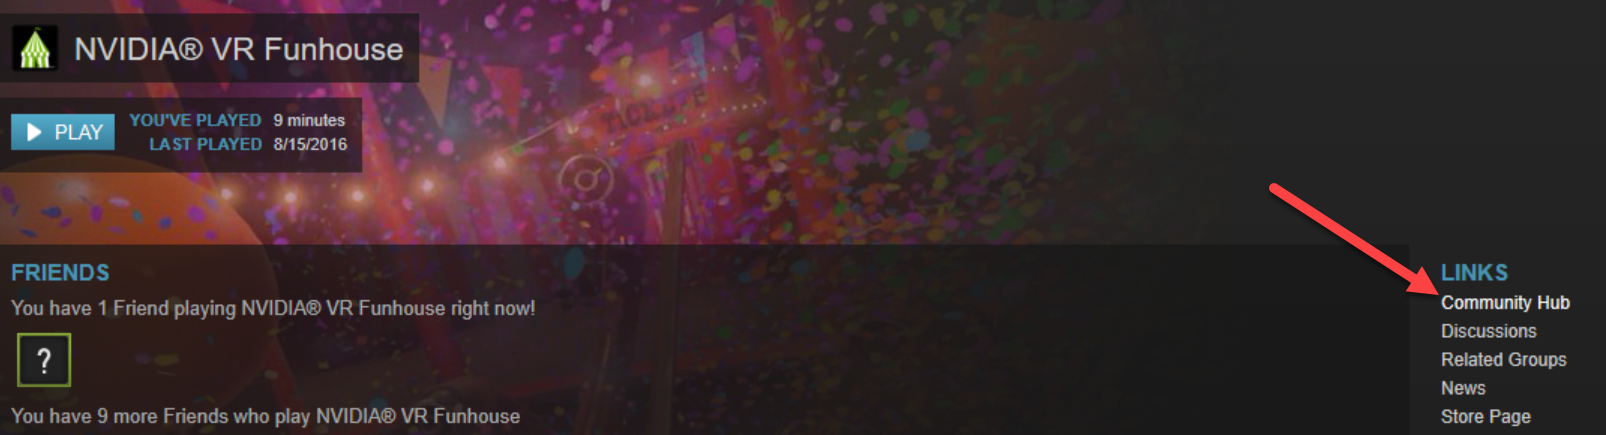
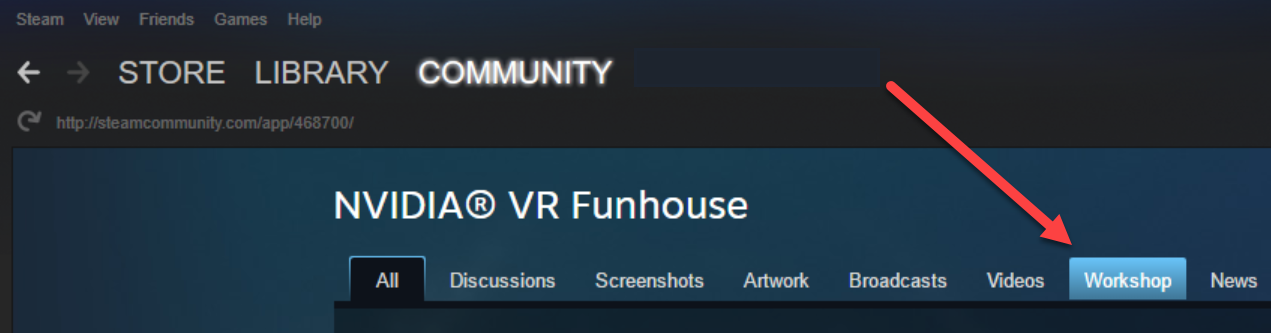
Open the “Community Hub” page for the VR Funhouse
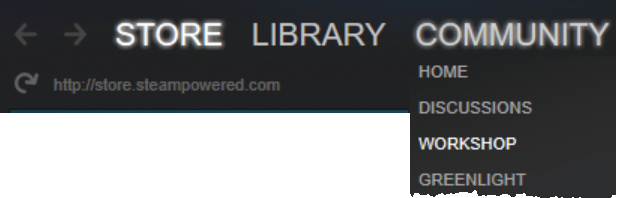
Navigate to the “Workshop” tab at the top of the page
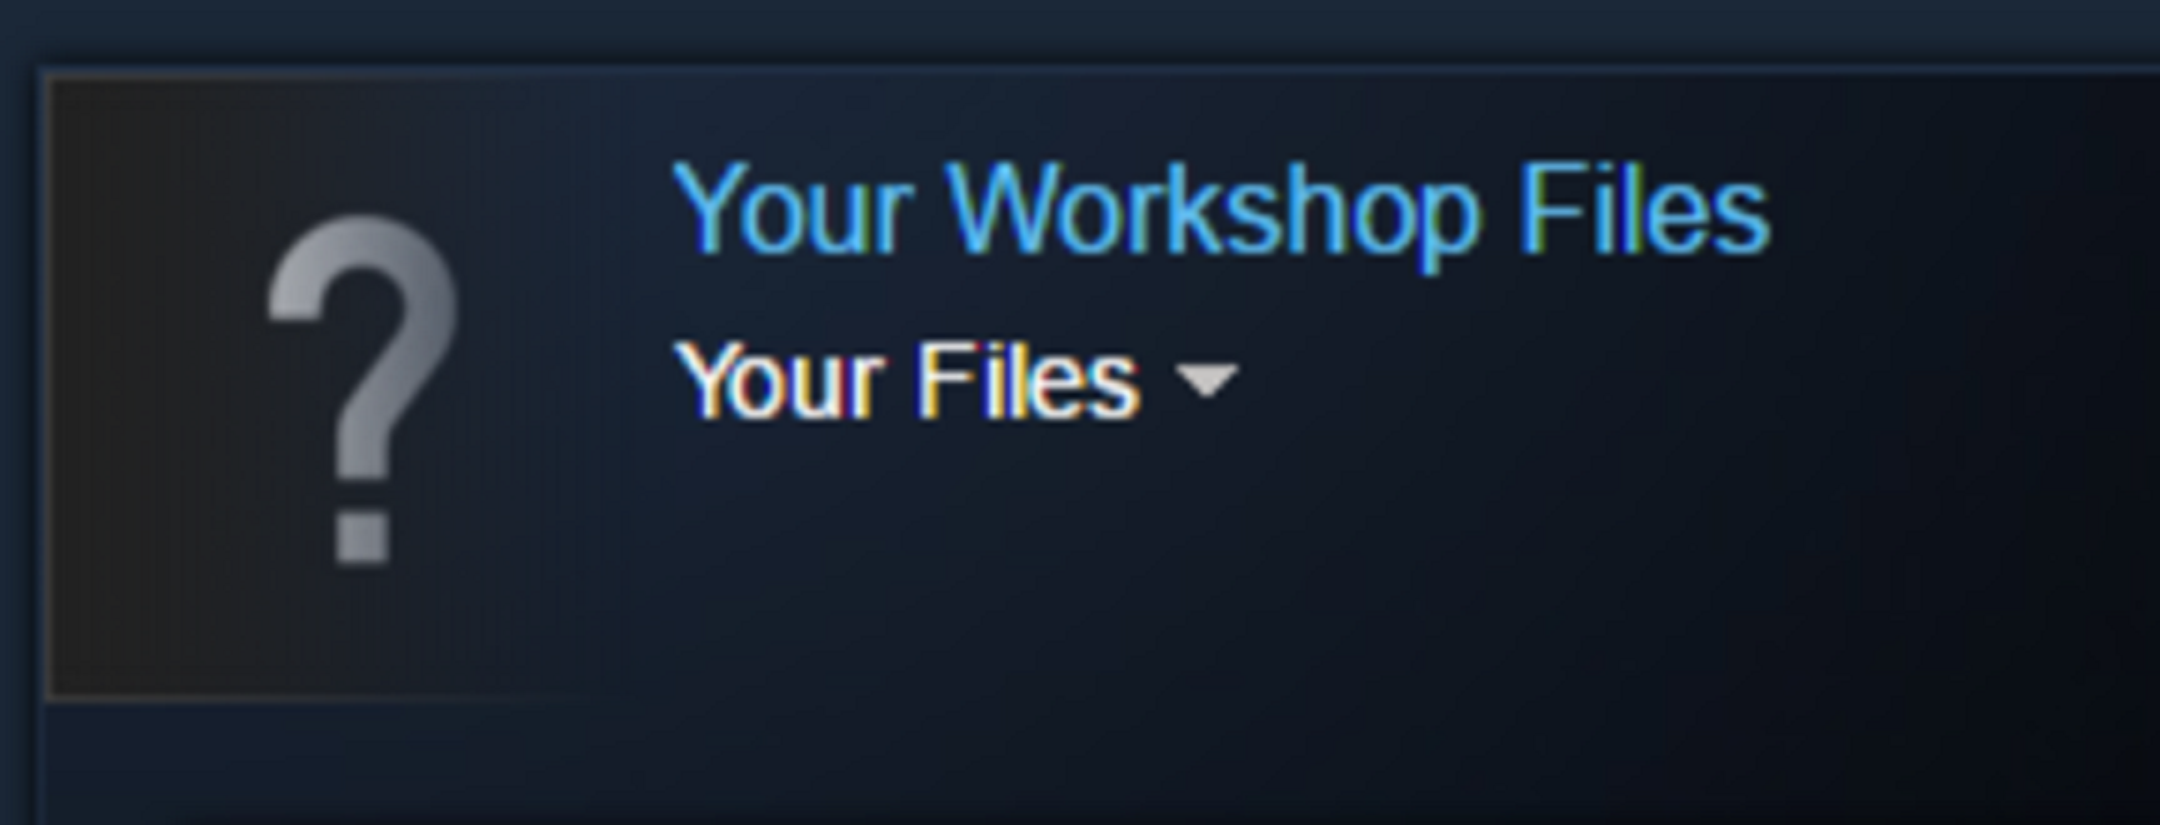
Click on “Your Files”
Find and click on your published mod
Click “Subscribe”
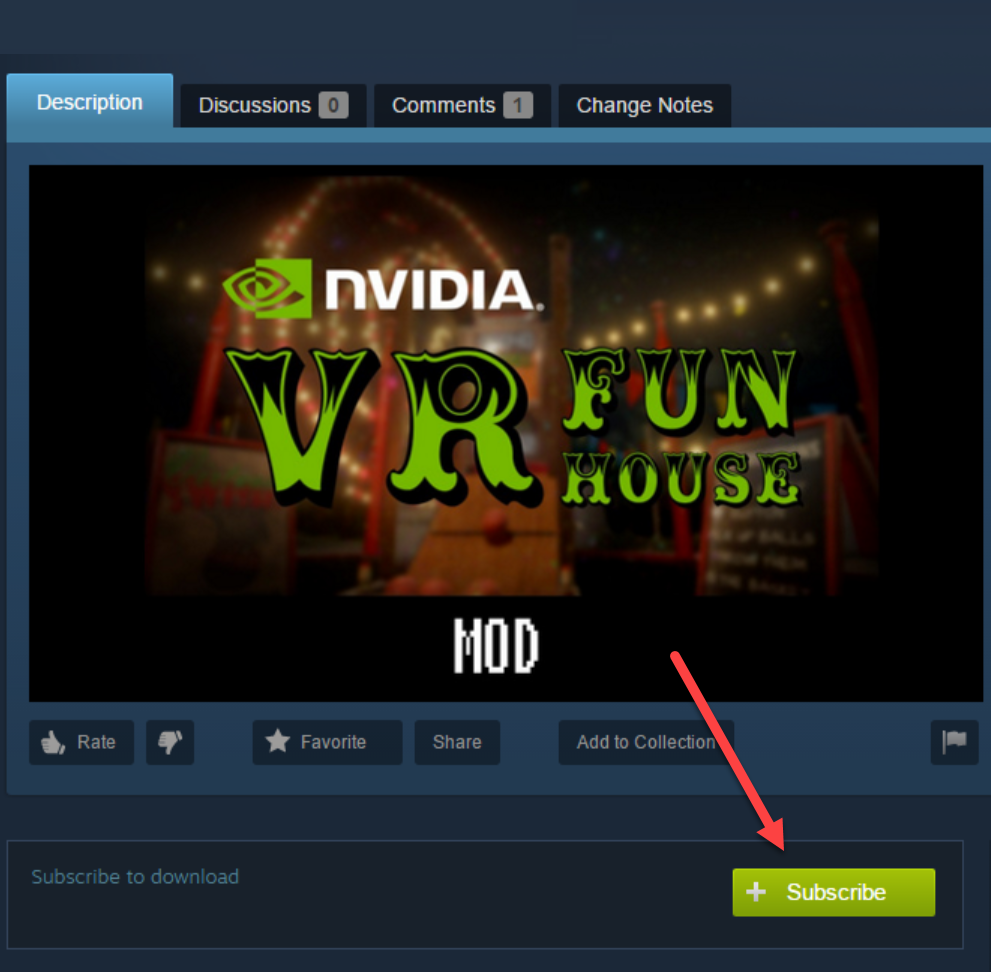
Congratulations! You’ve published and subscribed to your new mod!