Unreal 4 Setup
The purpose of this document is to install the editor, get quickly acquainted with the editor interface, and learn where things are placed in VR Funhouse.
Before You Start
Get the Epic Games Launcher
- In order to acquire the VR Funhouse Mod Kit you’ll need to download the Epic Games Launcher for Unreal Engine 4 from Epic’s website.
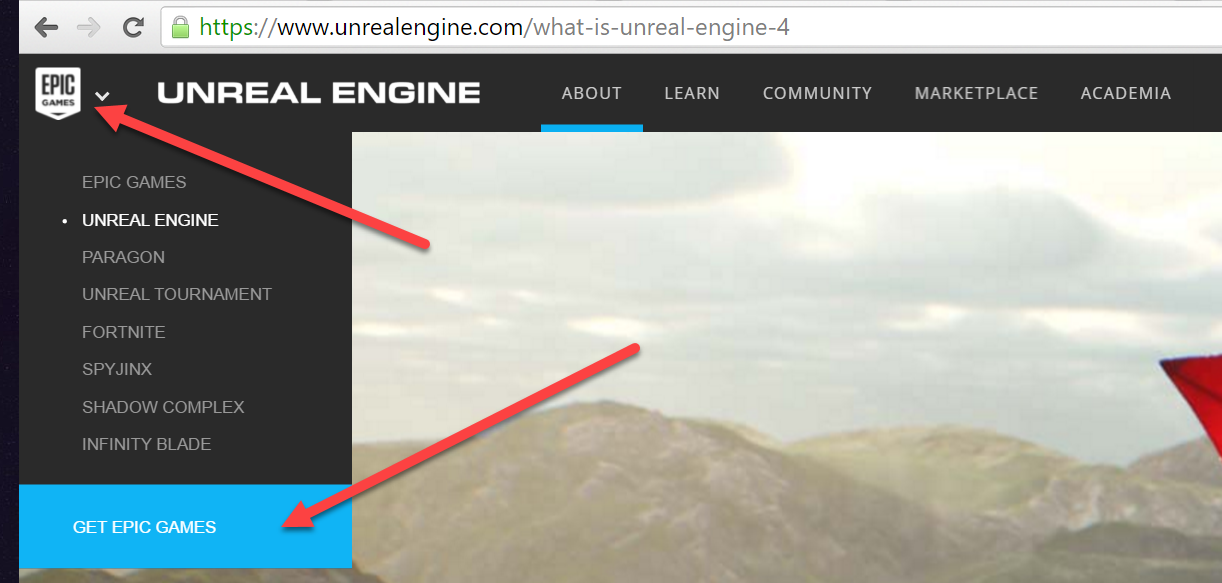
Get the VR Funhouse Mod Kit
- Keep the path length as short as possible when installing the Mod Kit, if you have too many characters in your path you will surpass the Windows file name length limits when cooking.
- The VR Funhouse Mod Kit can be found on the “Modding” tab of the Epic Games Launcher. This will download all of the required elements to create your Funhouse Mod.
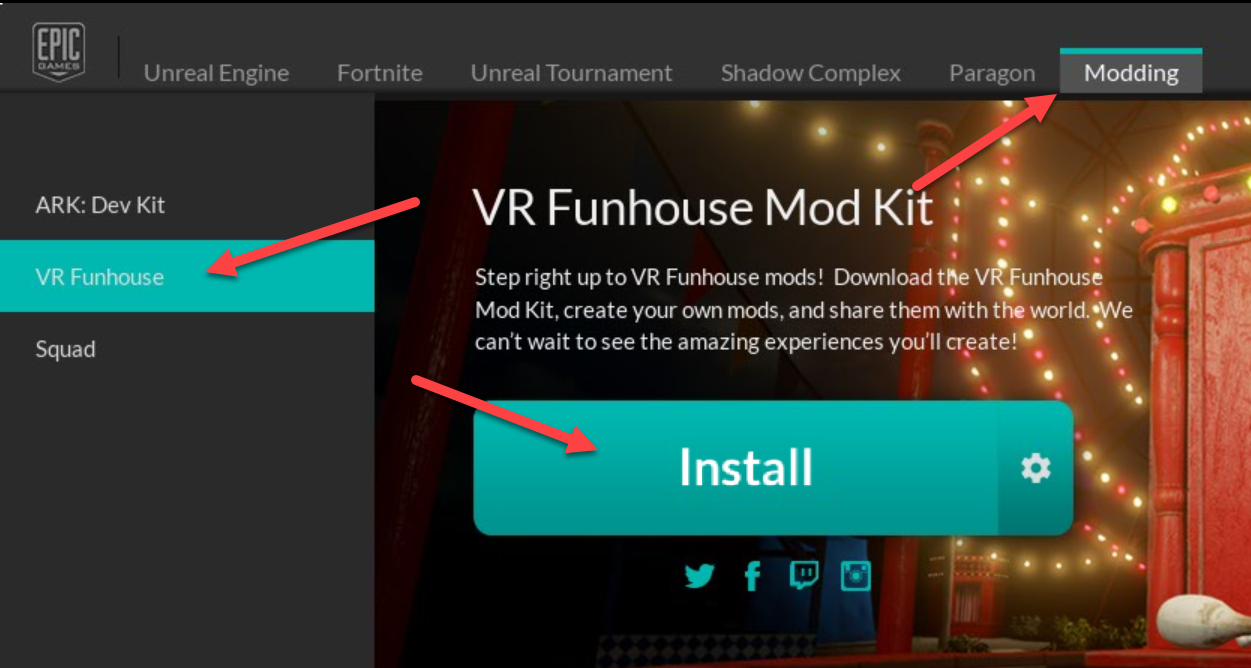
Start the VRFunhouse Mod Kit
- Upon opening the editor for the first time you may need to wait for some first-time setups to occur. It may take a while to compile all the shaders for the project. After this is finished you will not need to compile again.
Level Setup
When the editor starts, the default map is named UserVR-Base2. From the Levels tab the list of sublevels is listed (if the Levels tab isn’t open, it can be found in the Window-Levels dropdown).
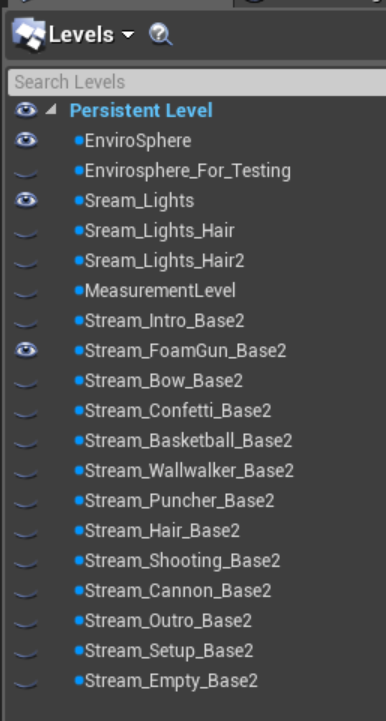
When running, each “game” level has the following loaded:
- Envirosphere (environment)
- Lighting level
- Game (Stream_FoamGun_Base2 for clown painter)
When navigating and editing levels, hide all but the ones relevant to your work and more importantly, make sure the level you’re editing the current level (double click, or right click-Make Current). This makes the bold level the active level where new assets will be inserted and edits stored.
These levels are stored in the Content/Maps/Sublevels/UserVRSublevels folder, with the following hierarchy:

VR Base & Assets
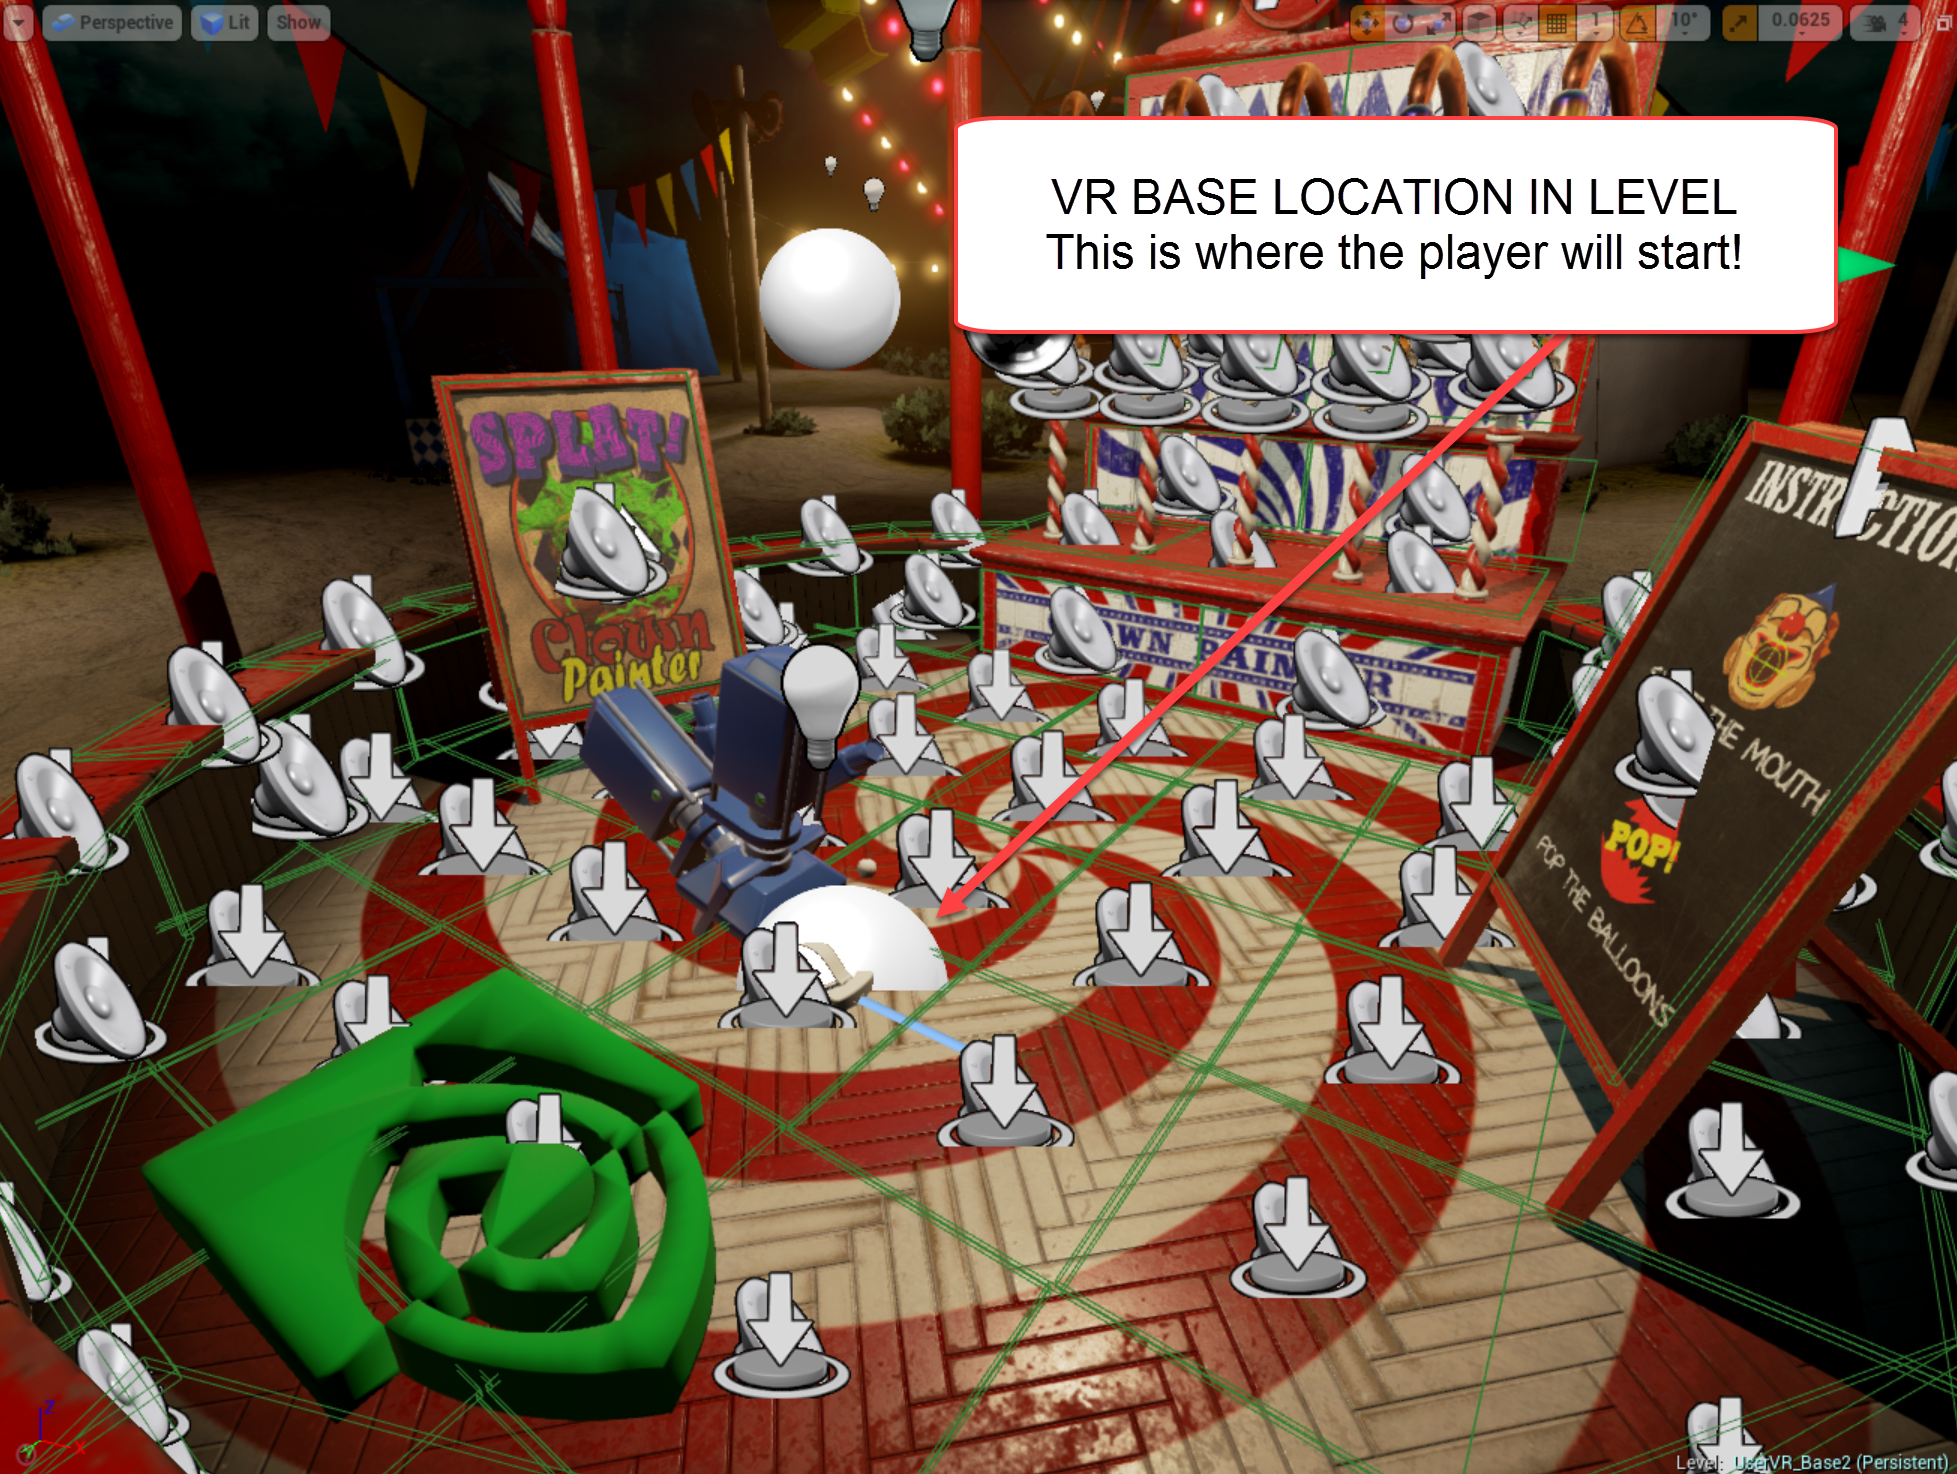
In each level is a VR_Settings_Base blueprint actor, this gives the player HMD control and the selected controllers.
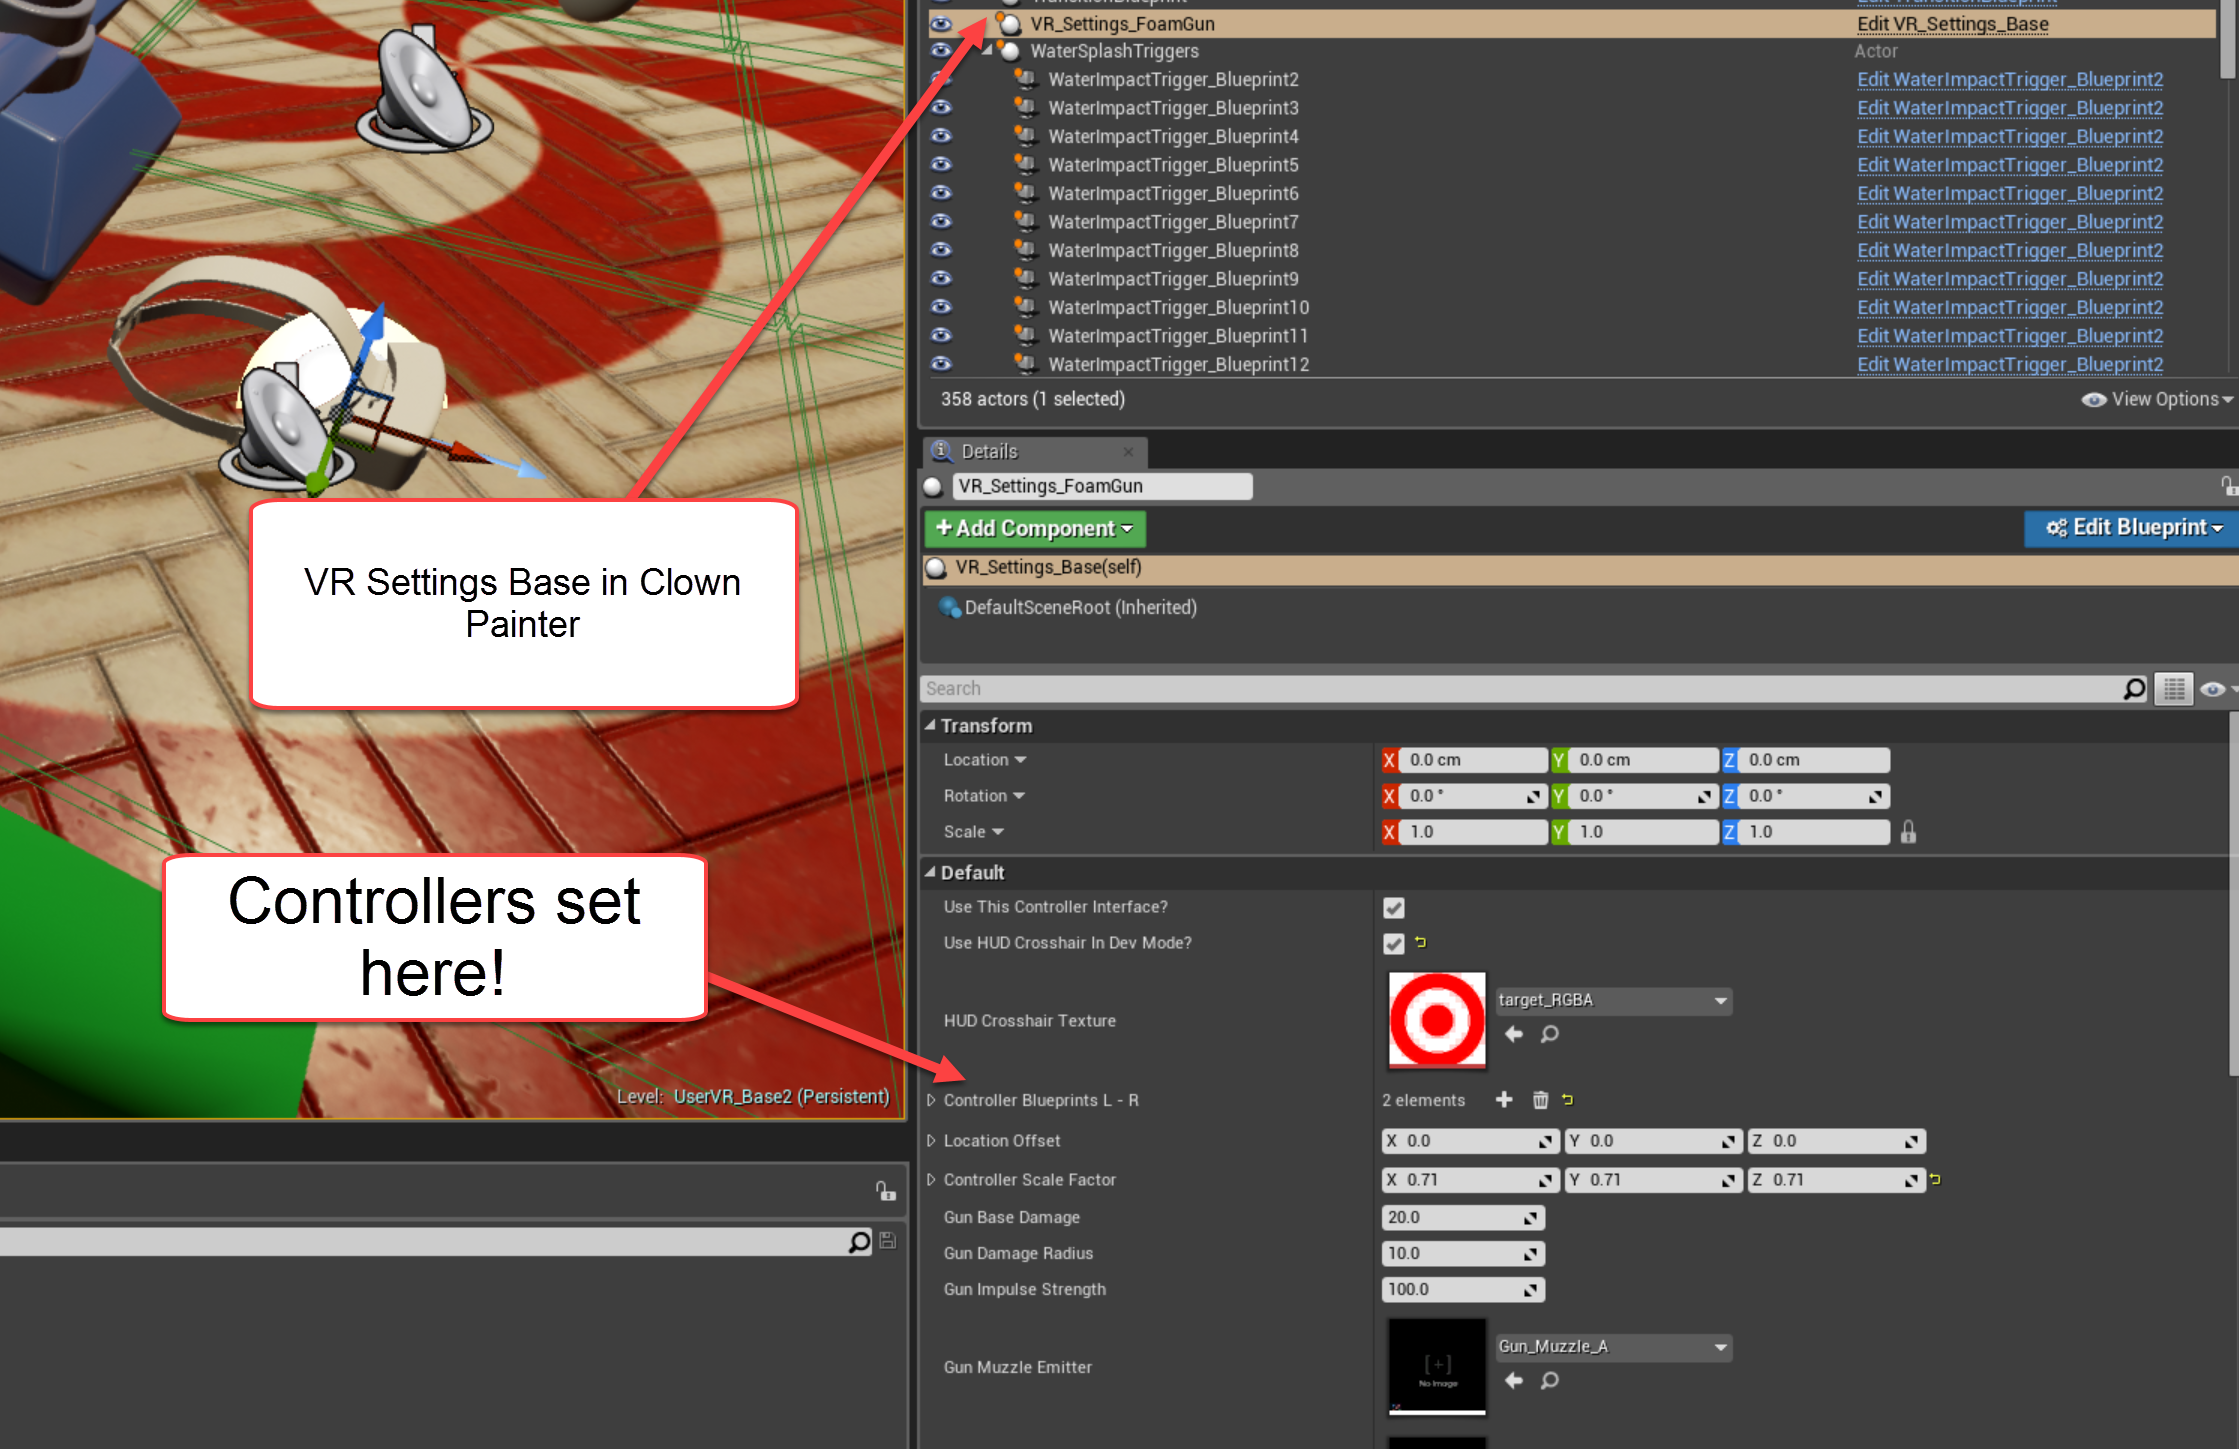
The controllers are located in Content/VRDemo_Assets/Blueprints
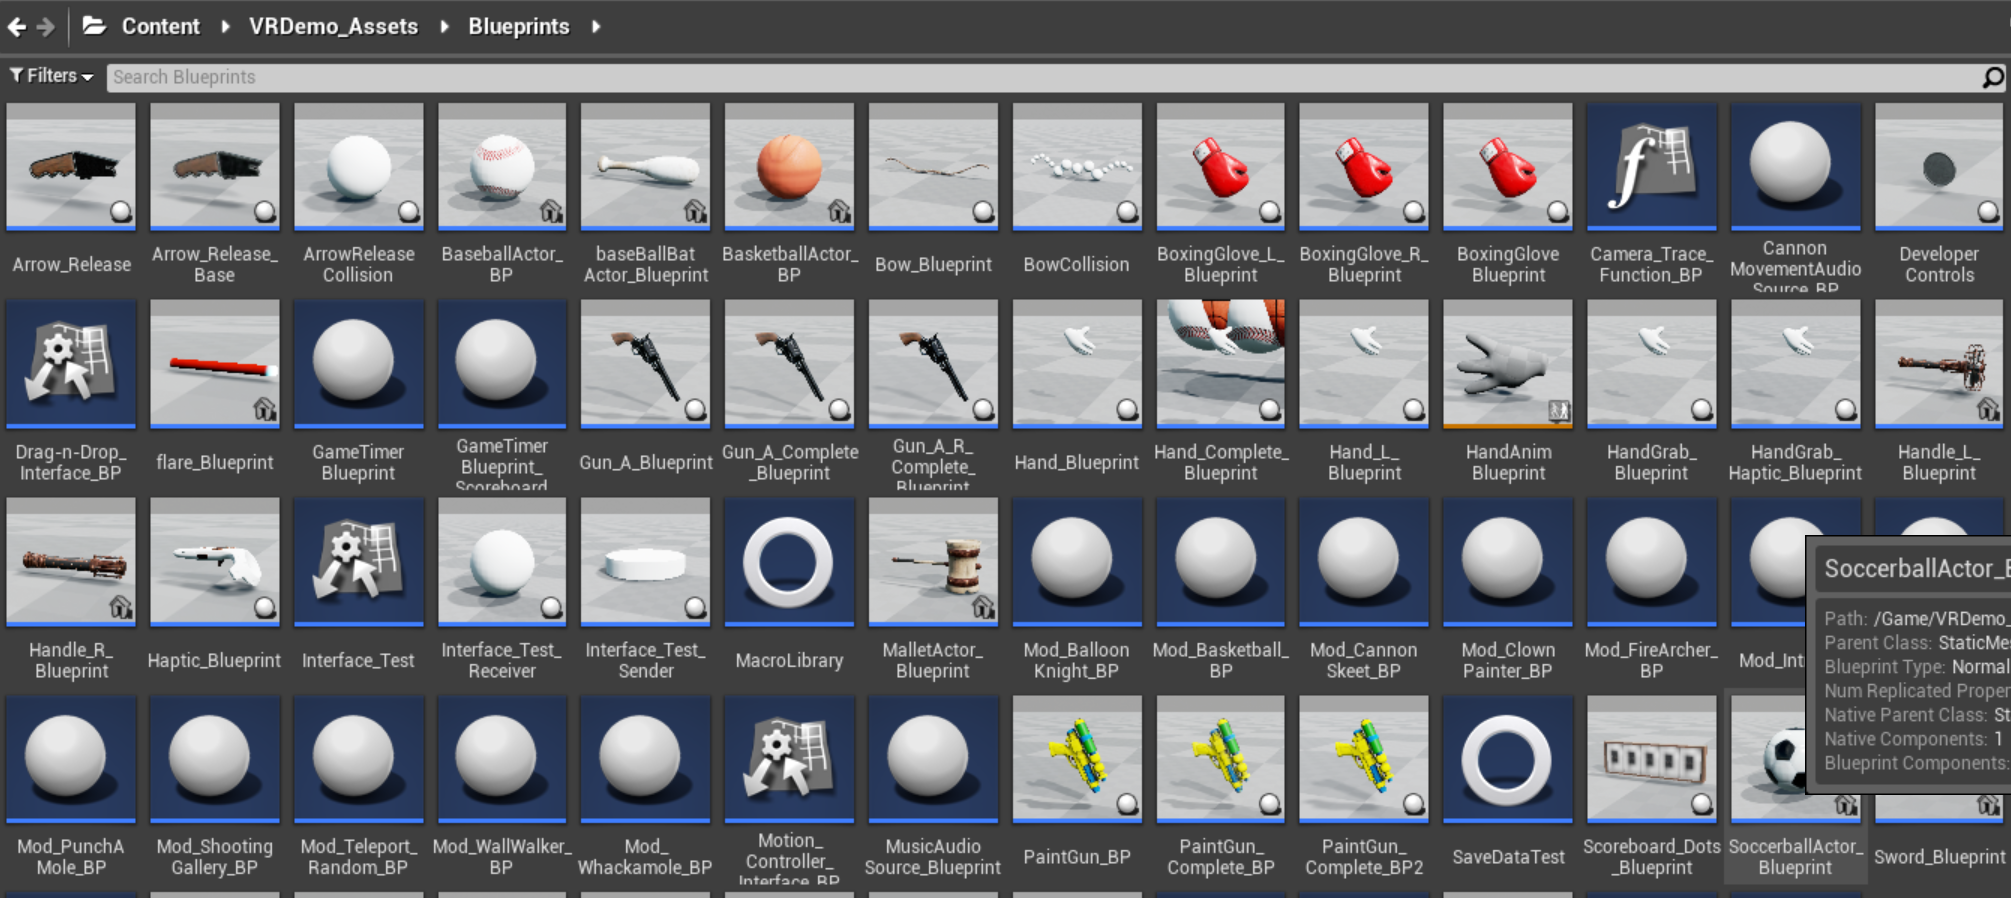
These can be used to change the “hands” in any level for the various functions.
Additionally, most all assets used in VR funhouse will be located in the Content/VRDemo_Assets/Blueprints folder and appropriately split into the corresponding subfolders.
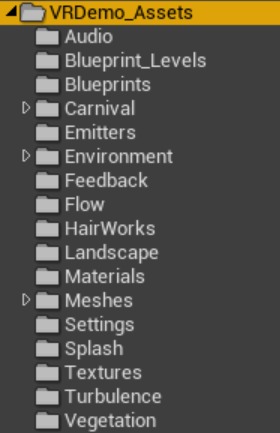
Pardon our dust, there are a few things out of place!
Generic Mod Blueprint Actors
In each level is a generic blueprint actor that can be used to do whatever a modder chooses to do. They do nothing in the default game, but can be overridden by modders as a sort of injection point in the game. They are named Mod_LevelName_BP (where LevelName is ClownPainter, Intro, etc) and can be found simply placed somewhere in the level.
Standalones
If you are creating a level and iterating on it, we suggest setting up “standalone” levels for ease use. We did this quite a bit in VR Funhouse so we could develop a singular level without having to load the entire sequence. You’ll need to make a new level and add the EnviroSphere, lighting level, and your new “game”.
NOTE: Standalone levels are only for development to reduce iteration time. All level changes that you want in your mod need to be in the sublevel.
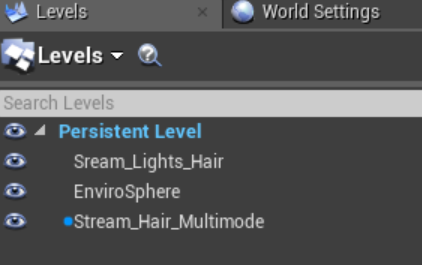
An example of a whack-a-mole standalone
All you need to do at this point is make sure all the levels are loaded by the persistent and you’re off!

Mods Folder
Organization
All assets to be included in your mod will need to be placed into the VRFunhouse/Content/Mods folder.

Assets in the top level of the Mods Folder will override the same-named file in the original project.
- Existing assets that have been changed will need to go in the Mods folder.
New assets that are referenced by your mod should be placed in subfolders within the Mods folder.
- The mod-override system implemented in VR Funhouse simply overrides any .uasset or .umap file found in the Mods folder with the original game asset. Because of this, it’s better to store newly created assets in a Mods subfolder.
