SimpleParticlesTest Users Guide
Introduction
The SimpleParticlesTest demonstrates the different emitters (shaped, impact, ground), IOFXes (mesh, sprite), and IOSes (basic, physx particle) that APEX offers.
Press F1 to show control help. Run the program with a command line of ‘–help’ for command line help.
In the impact emitter scene the right mouse will create a weapon impact on the plane.
Render Volumes
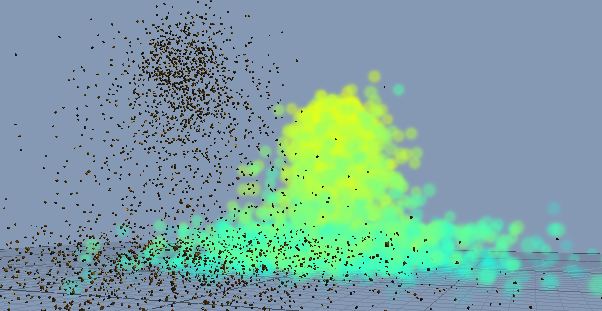
Two render volumes are included in the scenes simply to demonstrate the principle of splitting a IOFX/IOS into different renderable volumes. Note that the render volumes are orange when debug visualization is on. Also note that the two volumes intersect along the x=0 line, so all of the actual renderables (IOFX debug visualization, in light blue) are split between the volumes. They are very large simply to support the ground emitter scene and can be smaller and movable in a typical application.
Editor Widgets
The APEX Editor Widgets NxParameterized GUI editor is included in this sample.
- ‘Y’ will open the editor windows (repeatedly pressing ‘Y’ will cycle through the emitters in the scene)
- ‘X’ will save the particle system assets (it will drop them in the program’s folder, not the media folders)
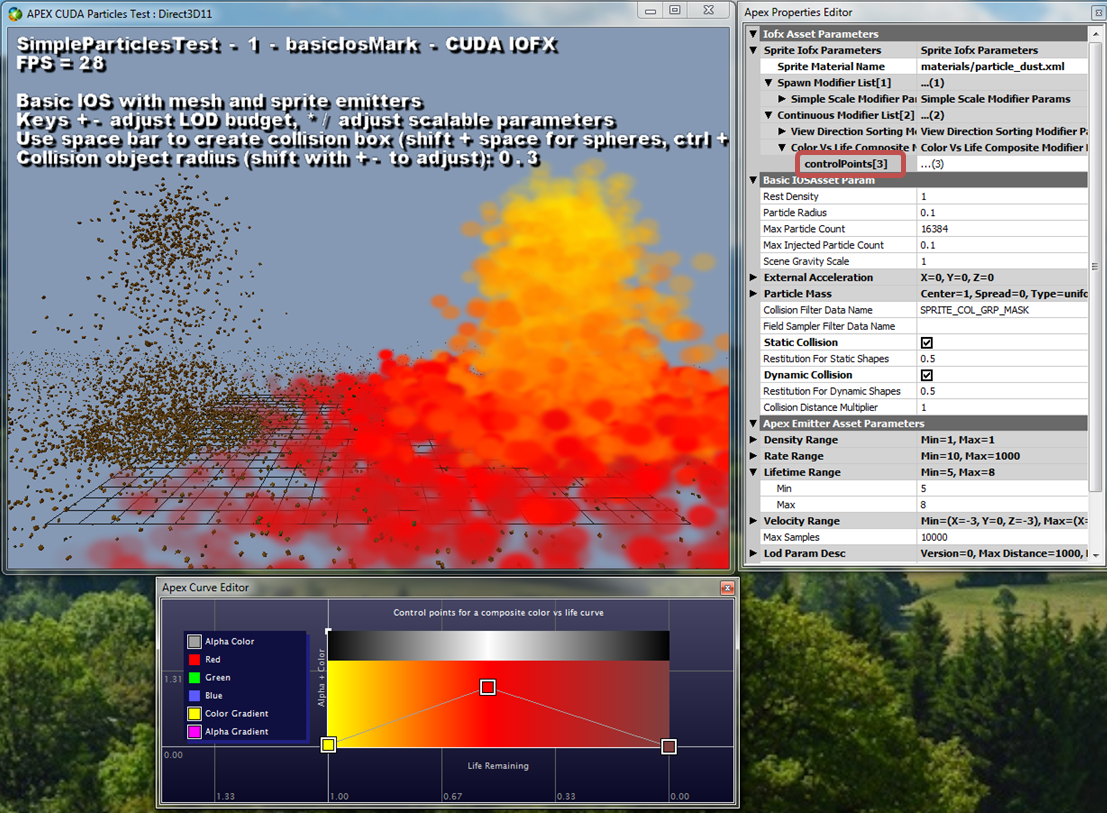
To edit the sprite colors follow these steps
Cycle through the emitters until you get to the emitter with a sprite IOFX
Expand the “Sprite Iofx Parameters” drop-down arrow
Expand the “Continuous Modifier List” drop-down arrow
- Left-click on “Control Points” to pull up the Curve Editor for the color vs. life IOFX modifier
- Double Left-click to add a control point
- Double Right-click to remove a control point
- Double Left-click on a control point to edit the color at that stage in the lifetime of the particle