Quick Start Guide#


Overview#
In this guide, we will walk you through the steps to quickly install the BSP (Jetson Linux) on your Jetson AGX Thor Developer Kit using a bootable installation USB stick.
It’s a new process introduced with JetPack 7.0 (and continued in later versions) that enables you to install the Jetson BSP (Jetson Linux) without using a host Ubuntu PC, making the initial setup process simpler and similar to how you would install Ubuntu on your laptop or a PC.
Attention
Jetson’s bootable installation USB stick employs a very minimal version of Linux and made purely for the purpose of installing the Jetson BSP (Jetson Linux) on Jetson AGX Thor Developer Kit.
Unlike Canonical’s official Ubuntu installation USB, it does NOT offer the capability of booting into full Jetson BSP for the purpose of test drive, thus it is not “Live USB” stick in that sense.
What you’ll need#
A laptop or PC (Windows, Mac, or Linux) with at lest 25GB of storage space
A USB flash drive (16GB or larger)
Overall Flow#
We will show the alternative way to install the BSP (Jetson Linux) in the BSP Setup page.
Steps#
1️⃣ Download ISO image#
First, you need to download the Jetson BSP installation media (”Jetson ISO”) image file from NVIDIA’s website.
Direct Download Link:
Jetson ISO (r38.4.0)
Alternatively, you can go to JetPack Download Page, find the latest JetPack version for Jetson AGX Thor Developer Kit, and download the Jetson ISO image file on to your laptop or PC.
2️⃣ Create installation USB#
To install Jetson BSP (Jetson Linux) on your Jetson AGX Thor Developer Kit, we first need to create an installation media by writing the downloaded ISO image to a USB stick.
Caution
You cannot just simply copy the ISO image file to the USB stick on your OS (e.g. Windows Explorer, or Mac Finder). You need to create a bootable USB stick using some special software.
In this guide, we will use Balena Etcher to create a bootable USB stick.
If you don’t have Etcher installed / downloaded yet
Go to https://etcher.balena.io/#download-etcher and download the Etcher software for your OS, if you have not downloaded or installed it yet.
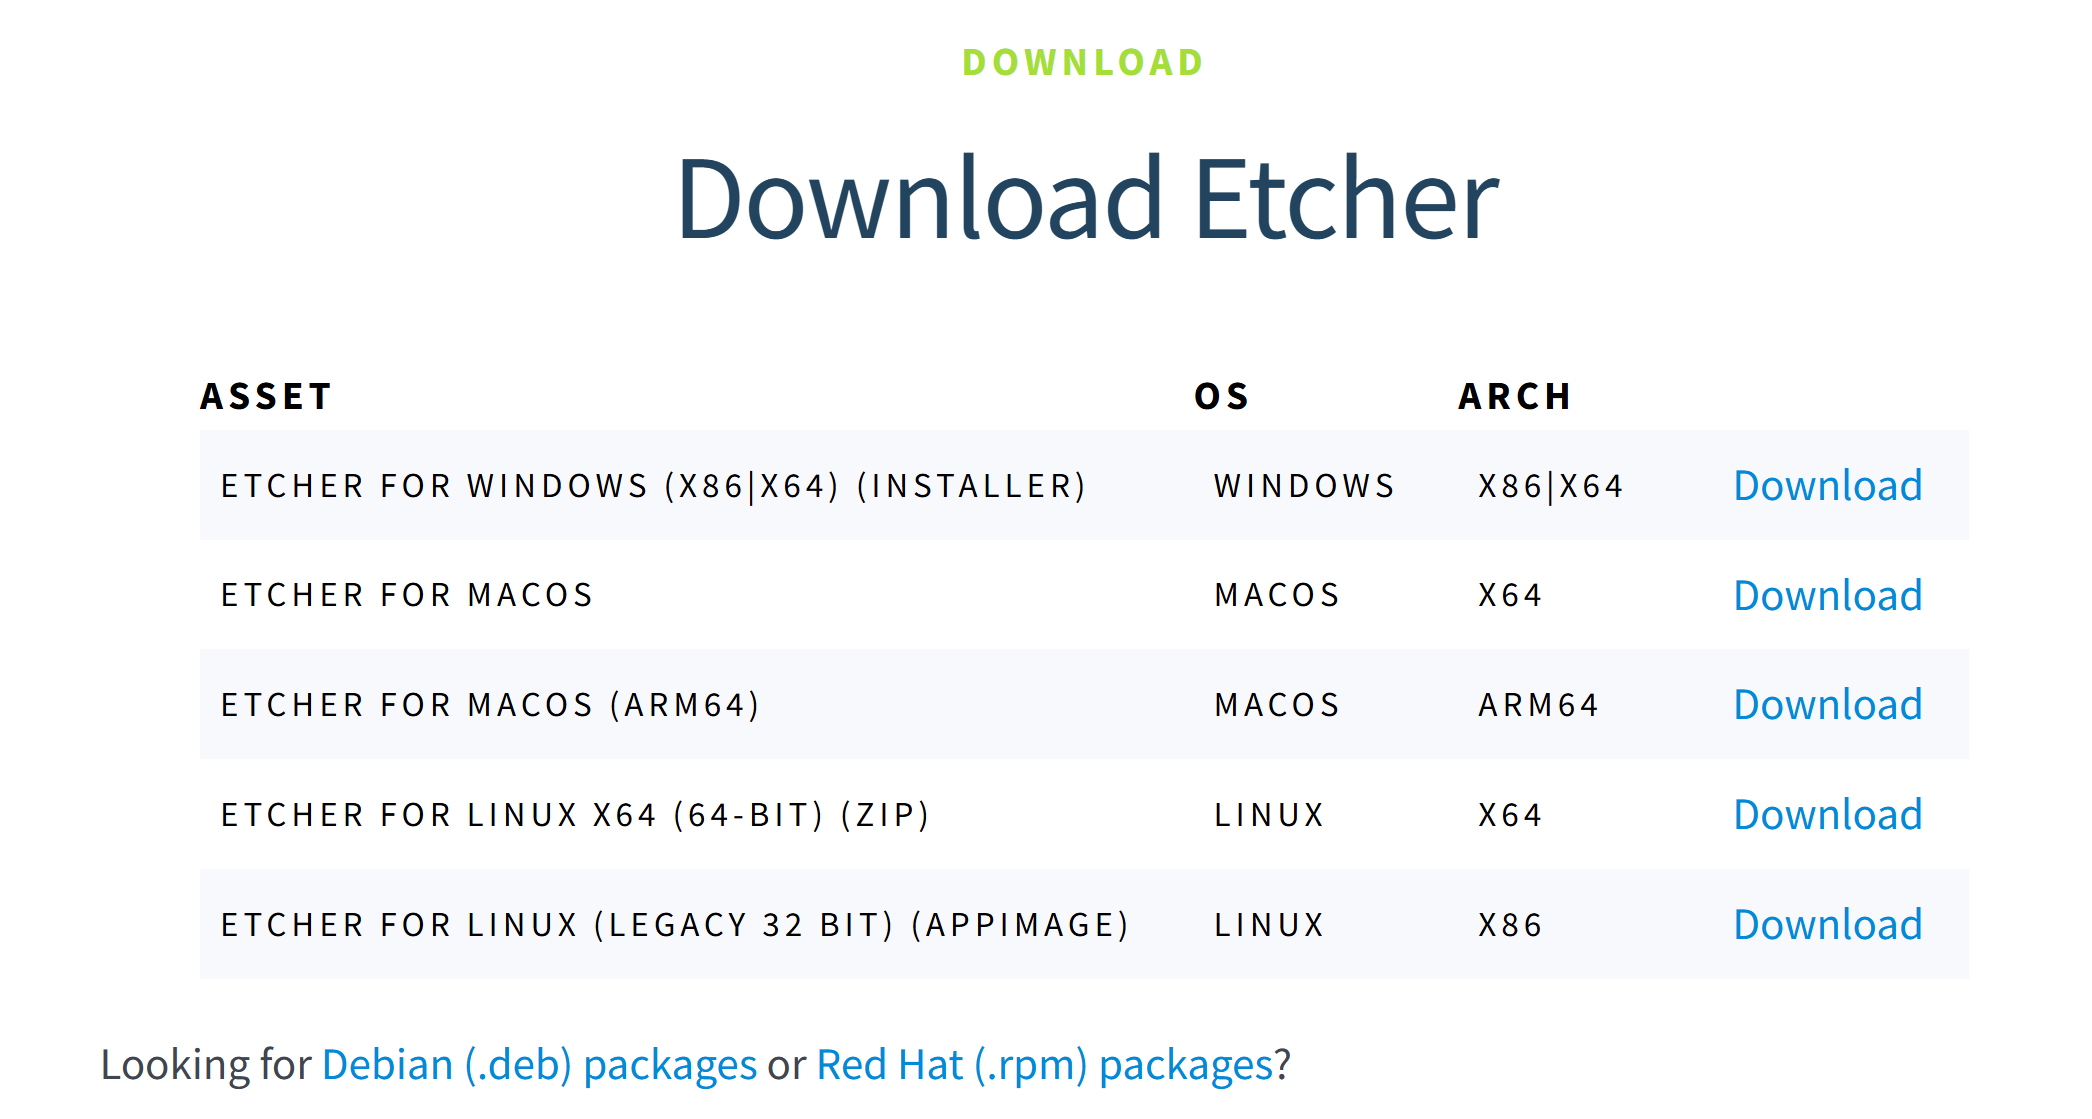
Once you start Etcher, select the downloaded ISO image file, and select the USB stick you want to write the ISO image to.
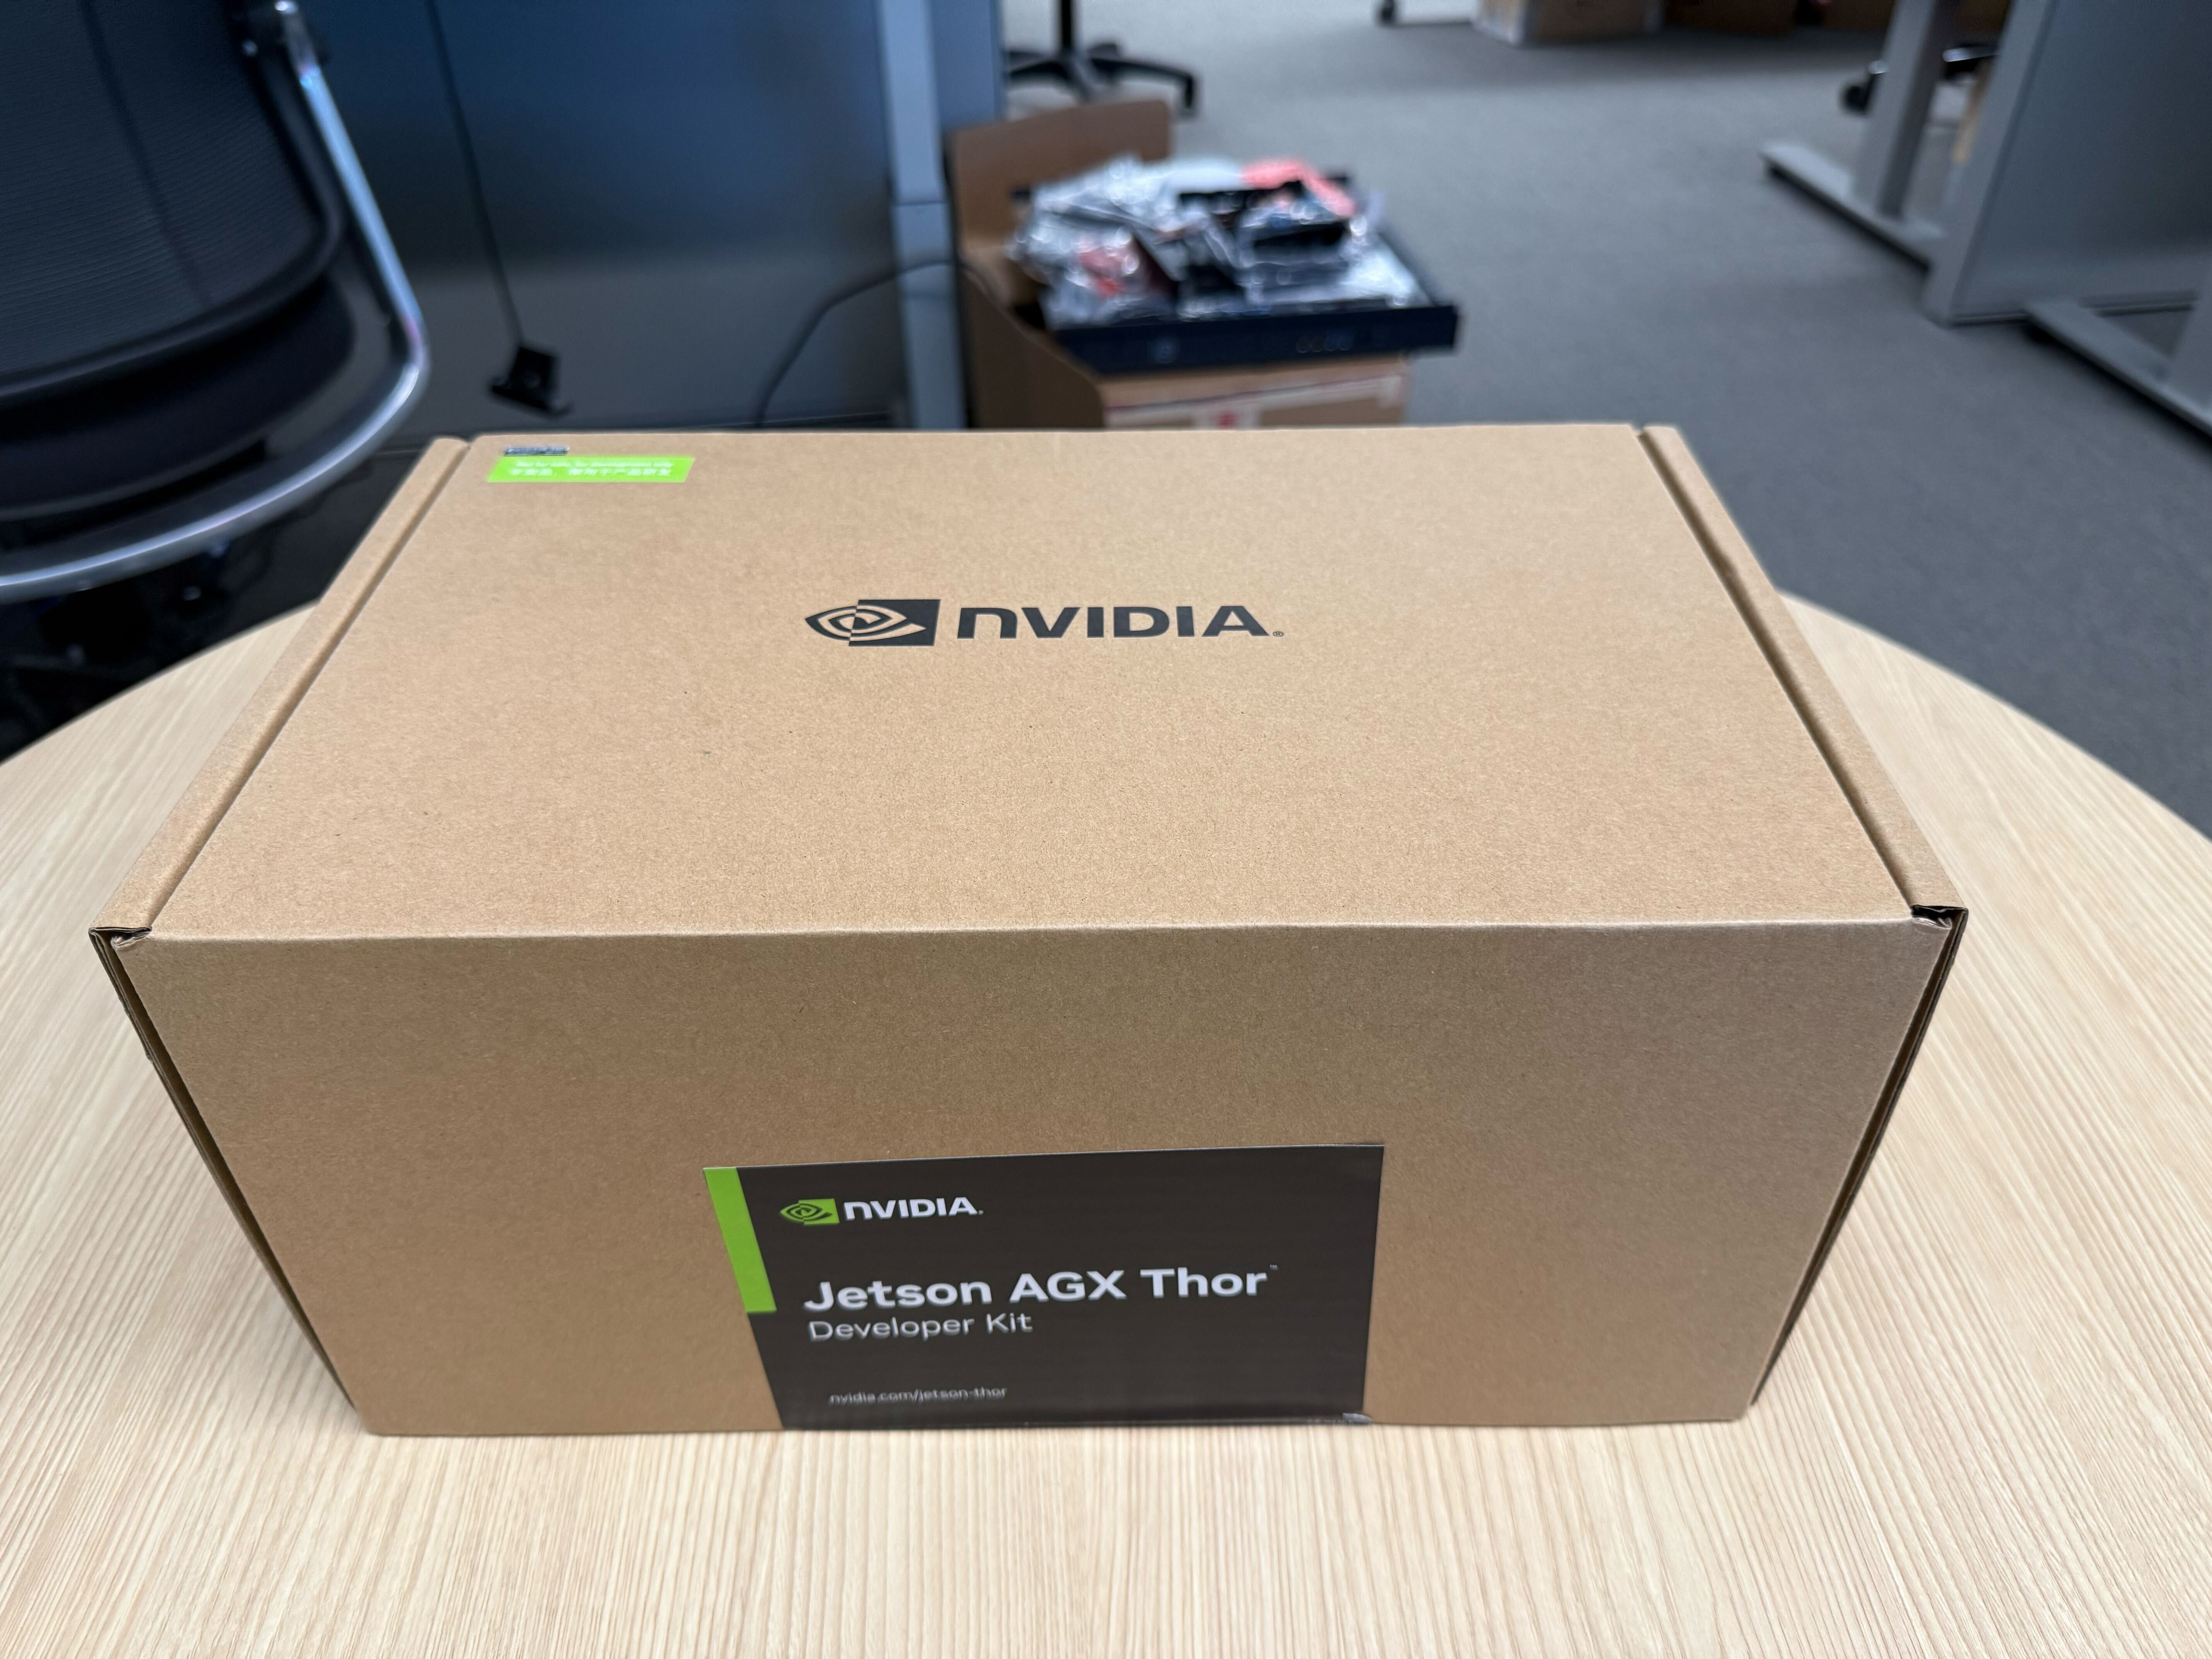
3️⃣ Unboxing and setup#
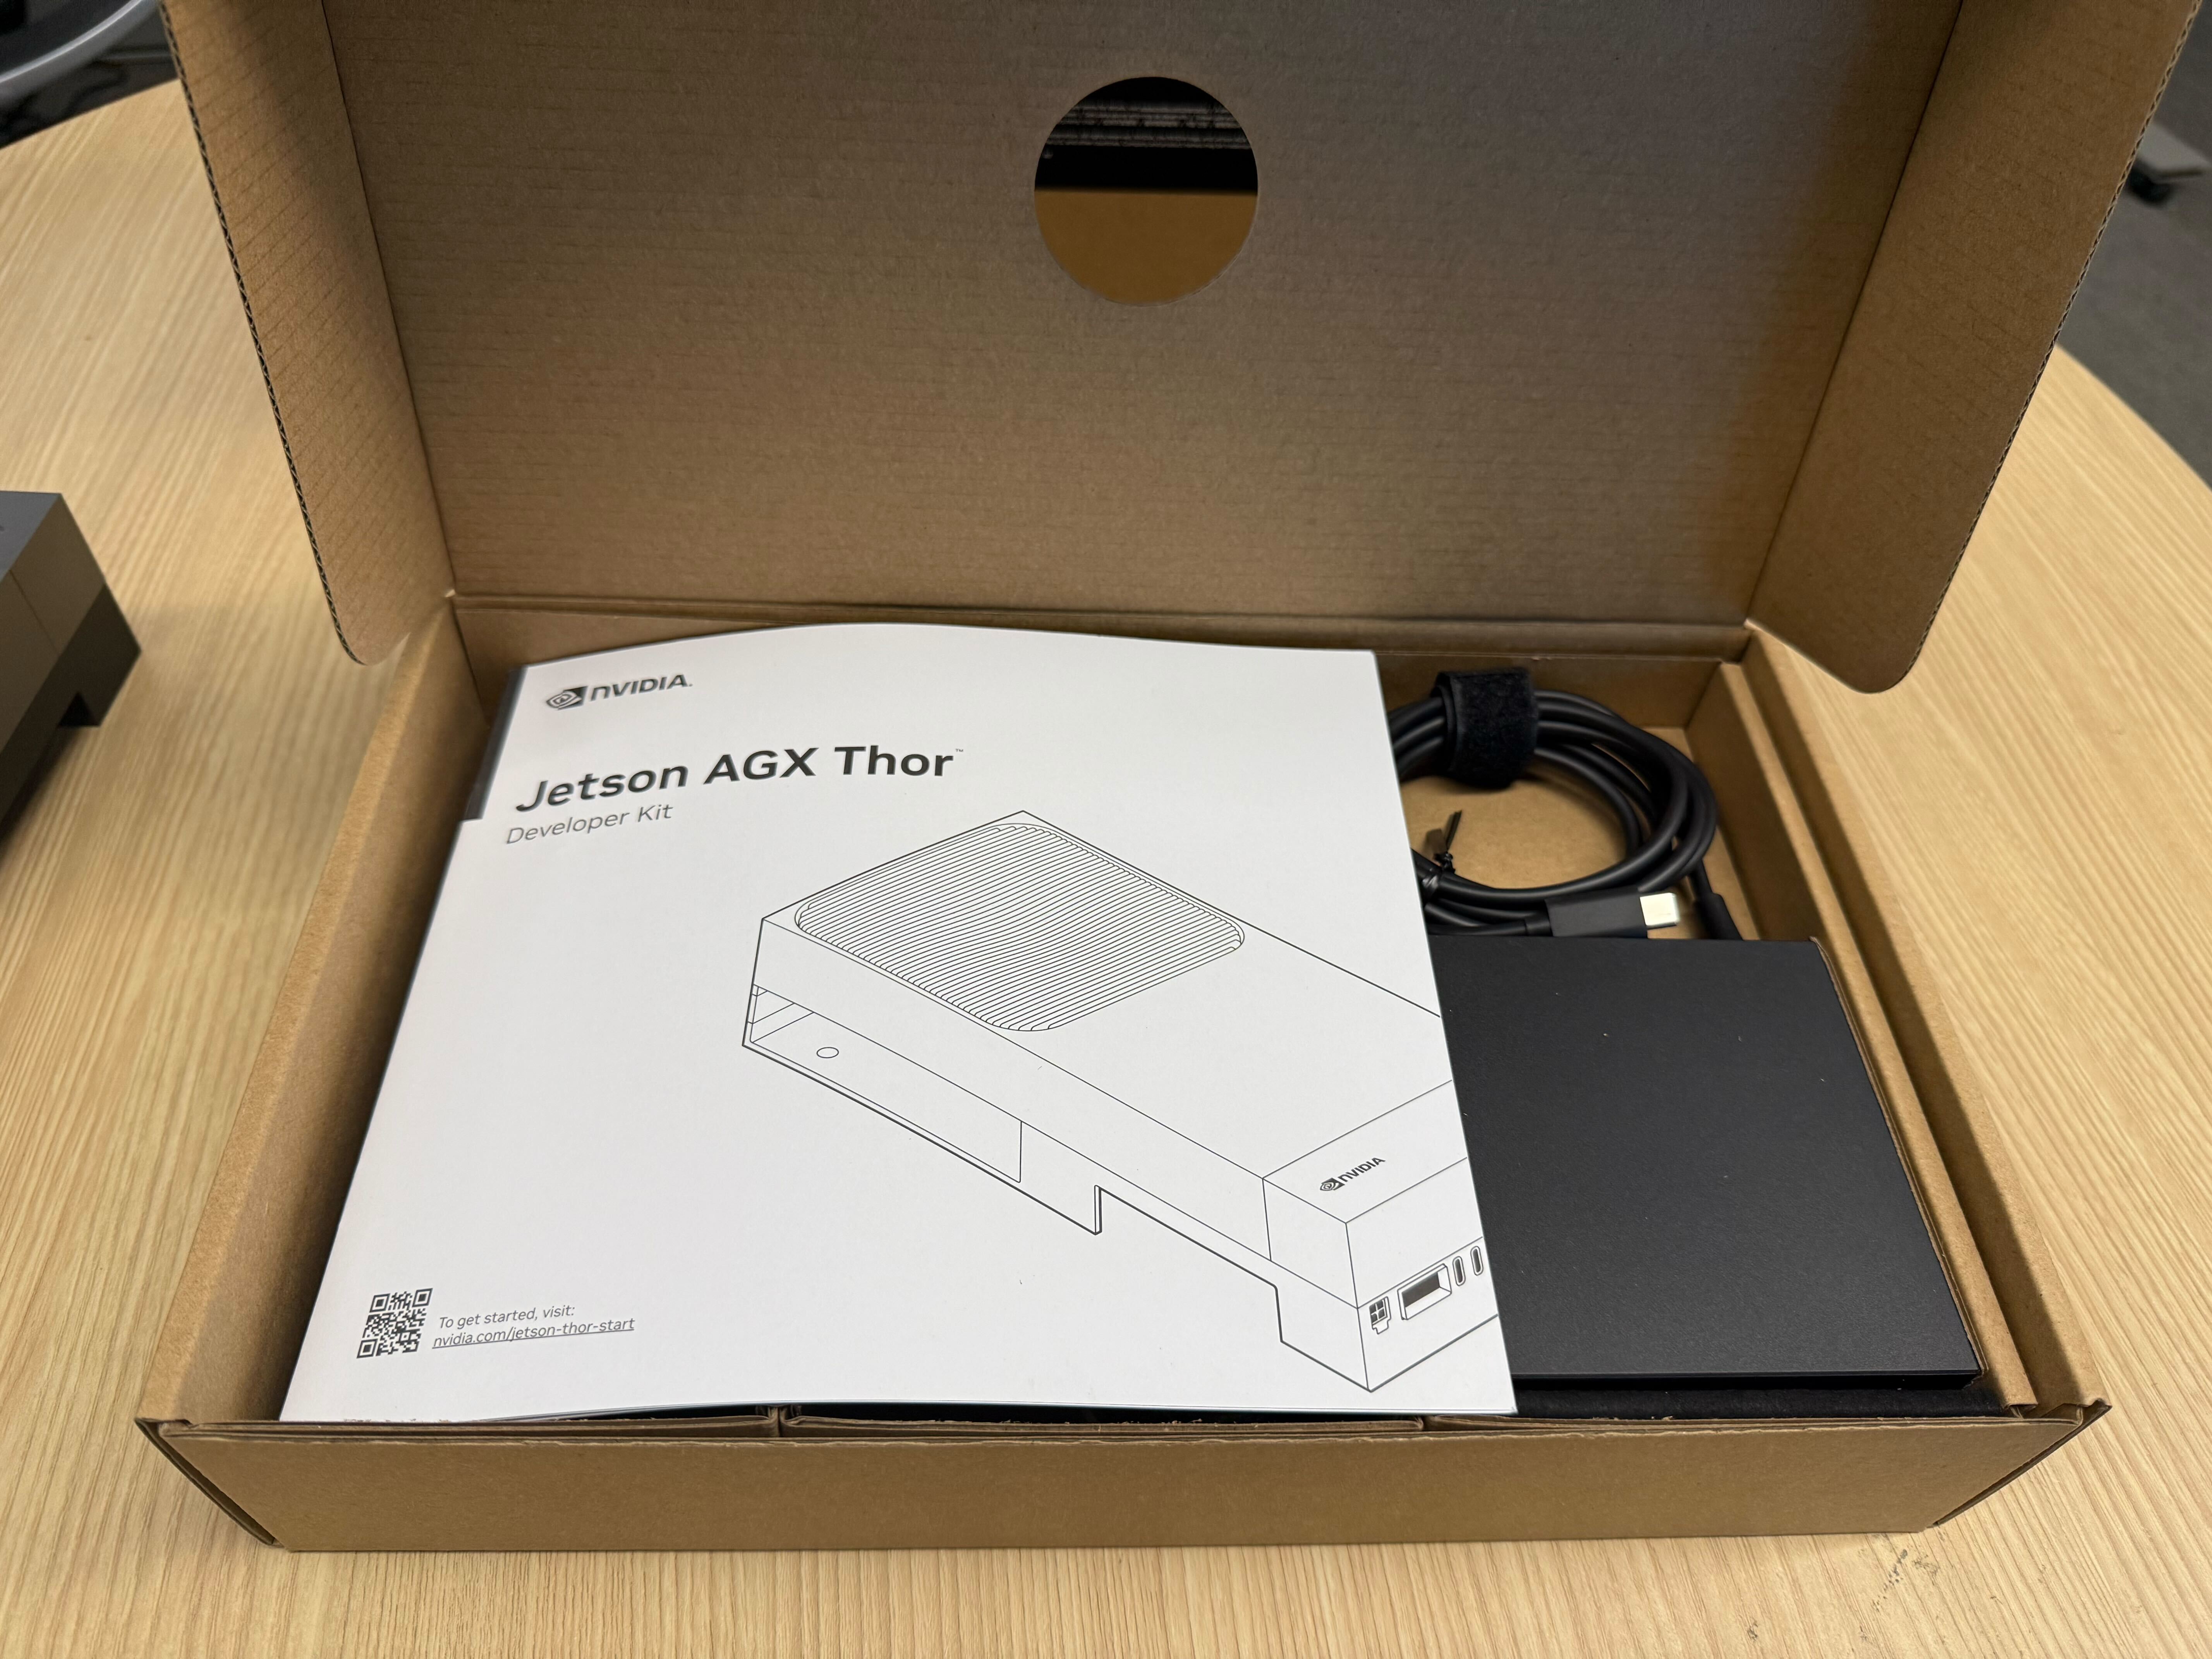
Unboxing#
Box
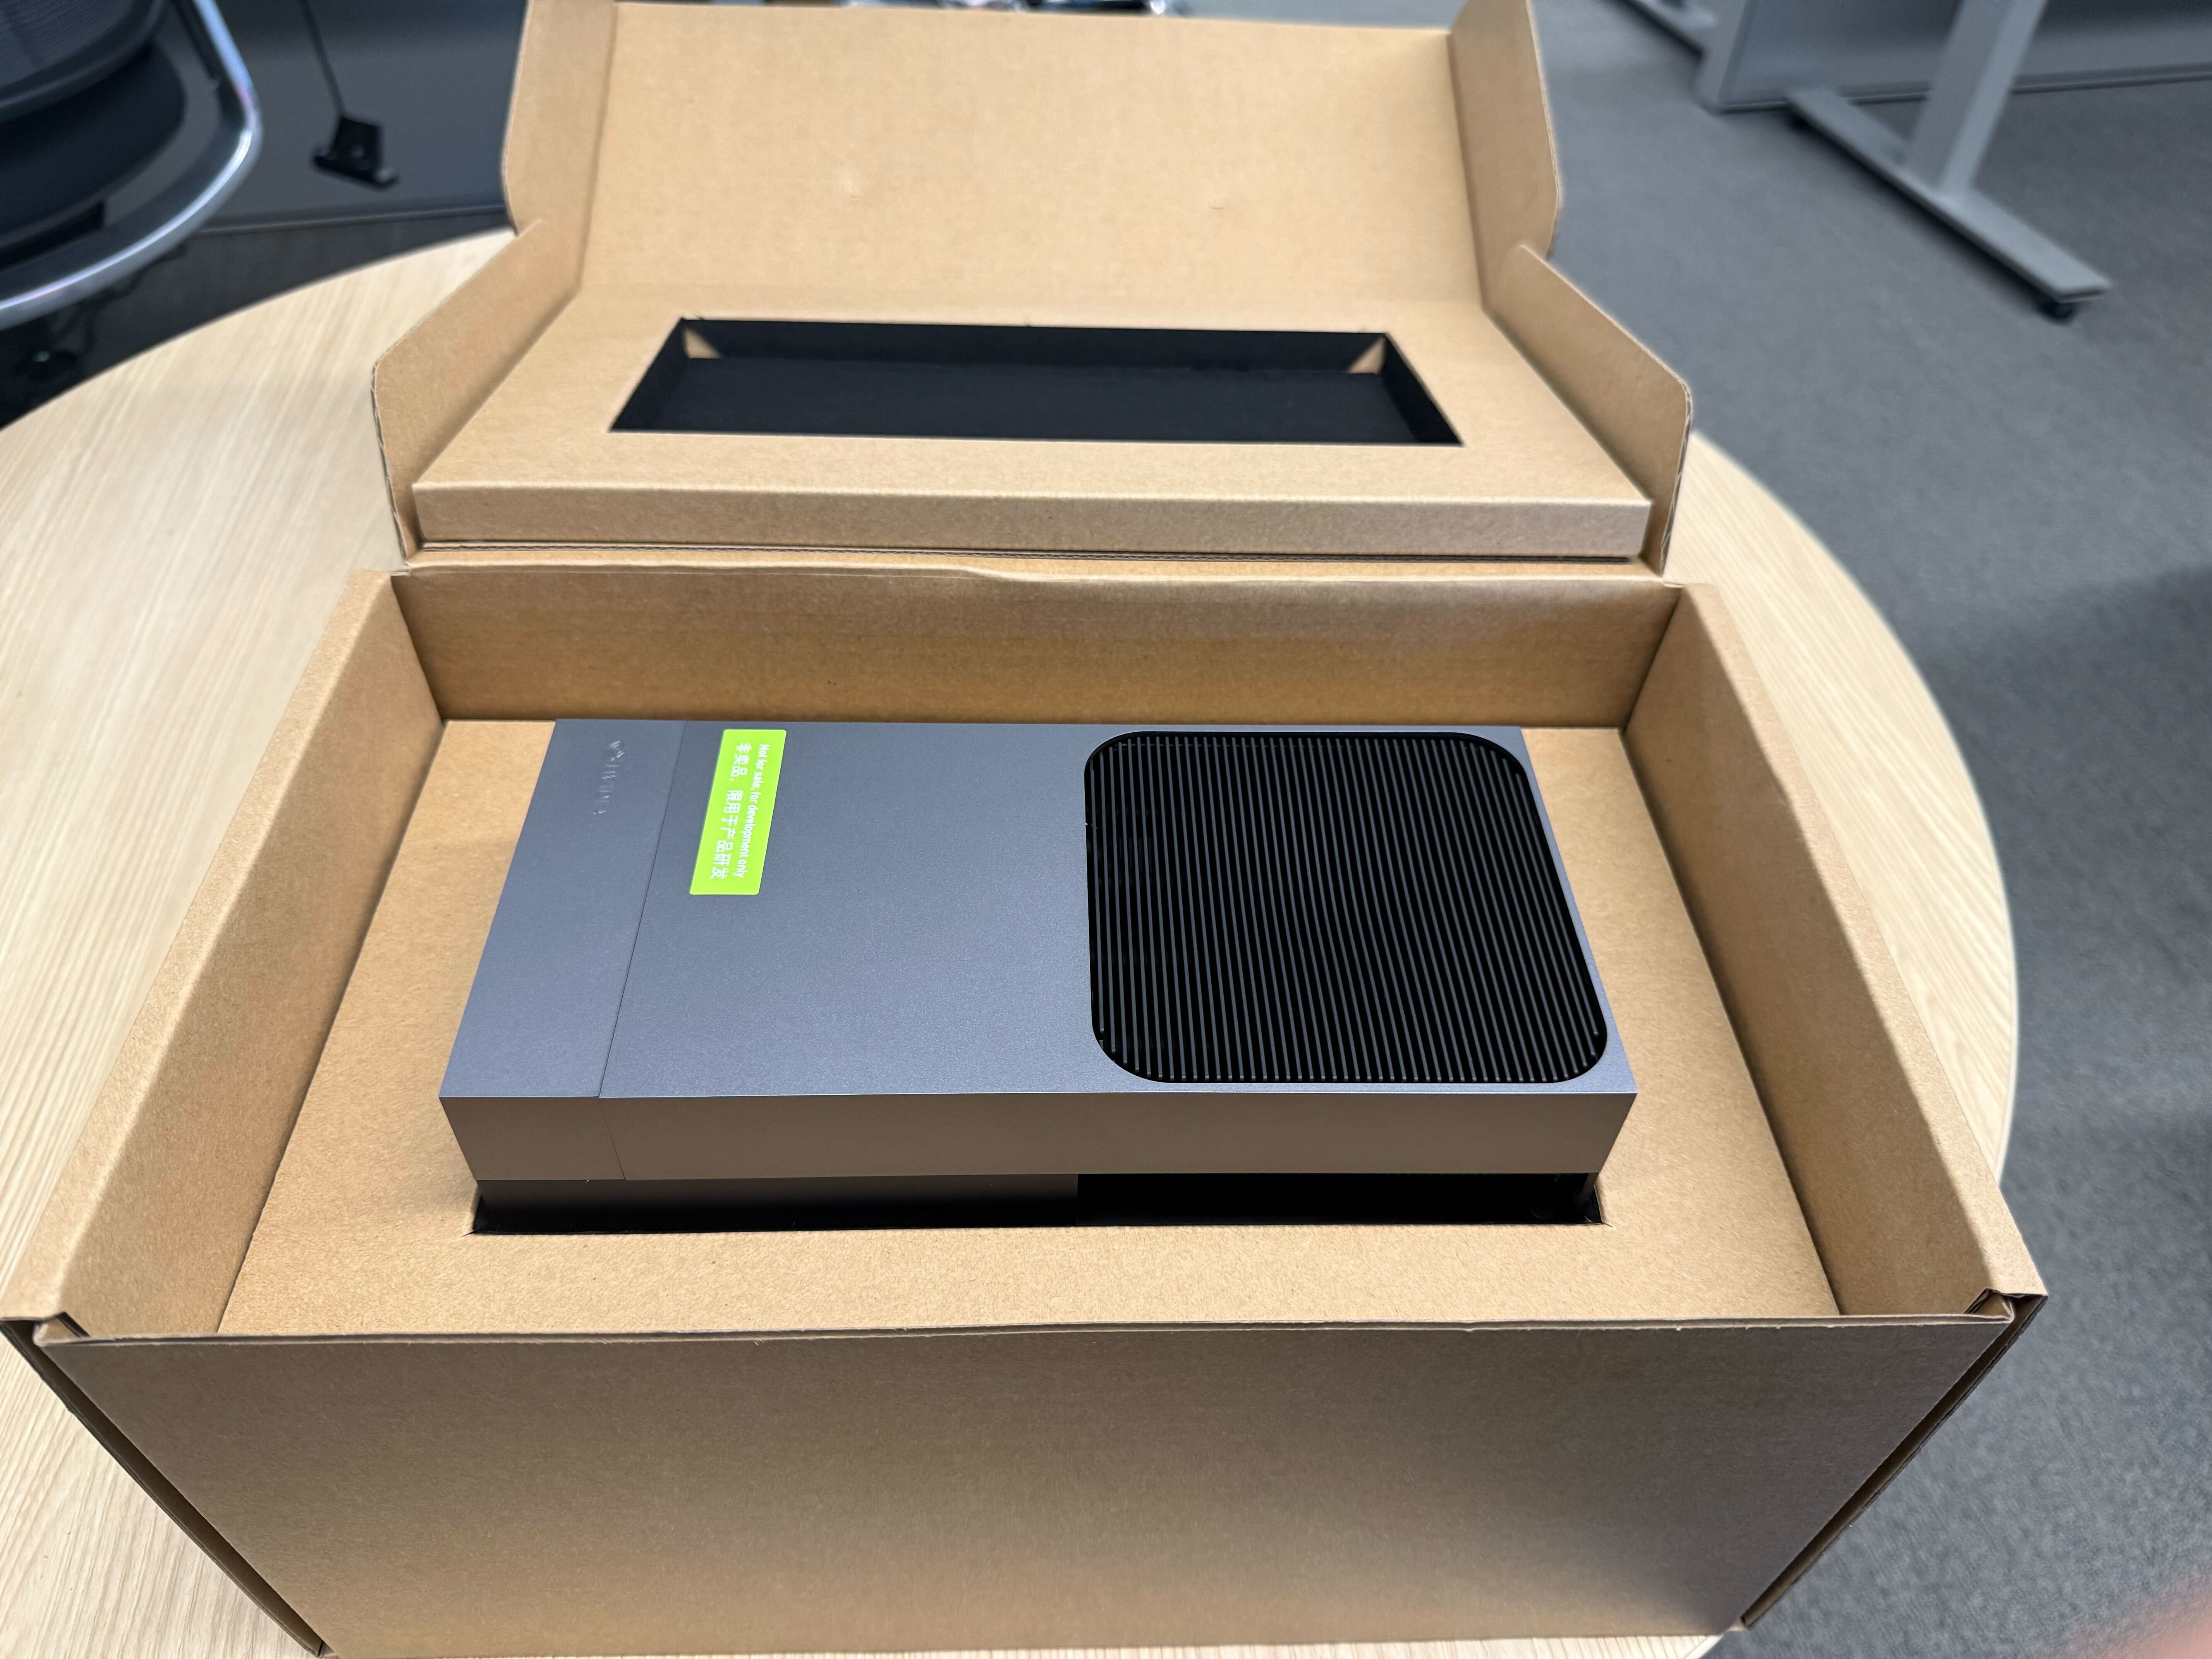
Top slot
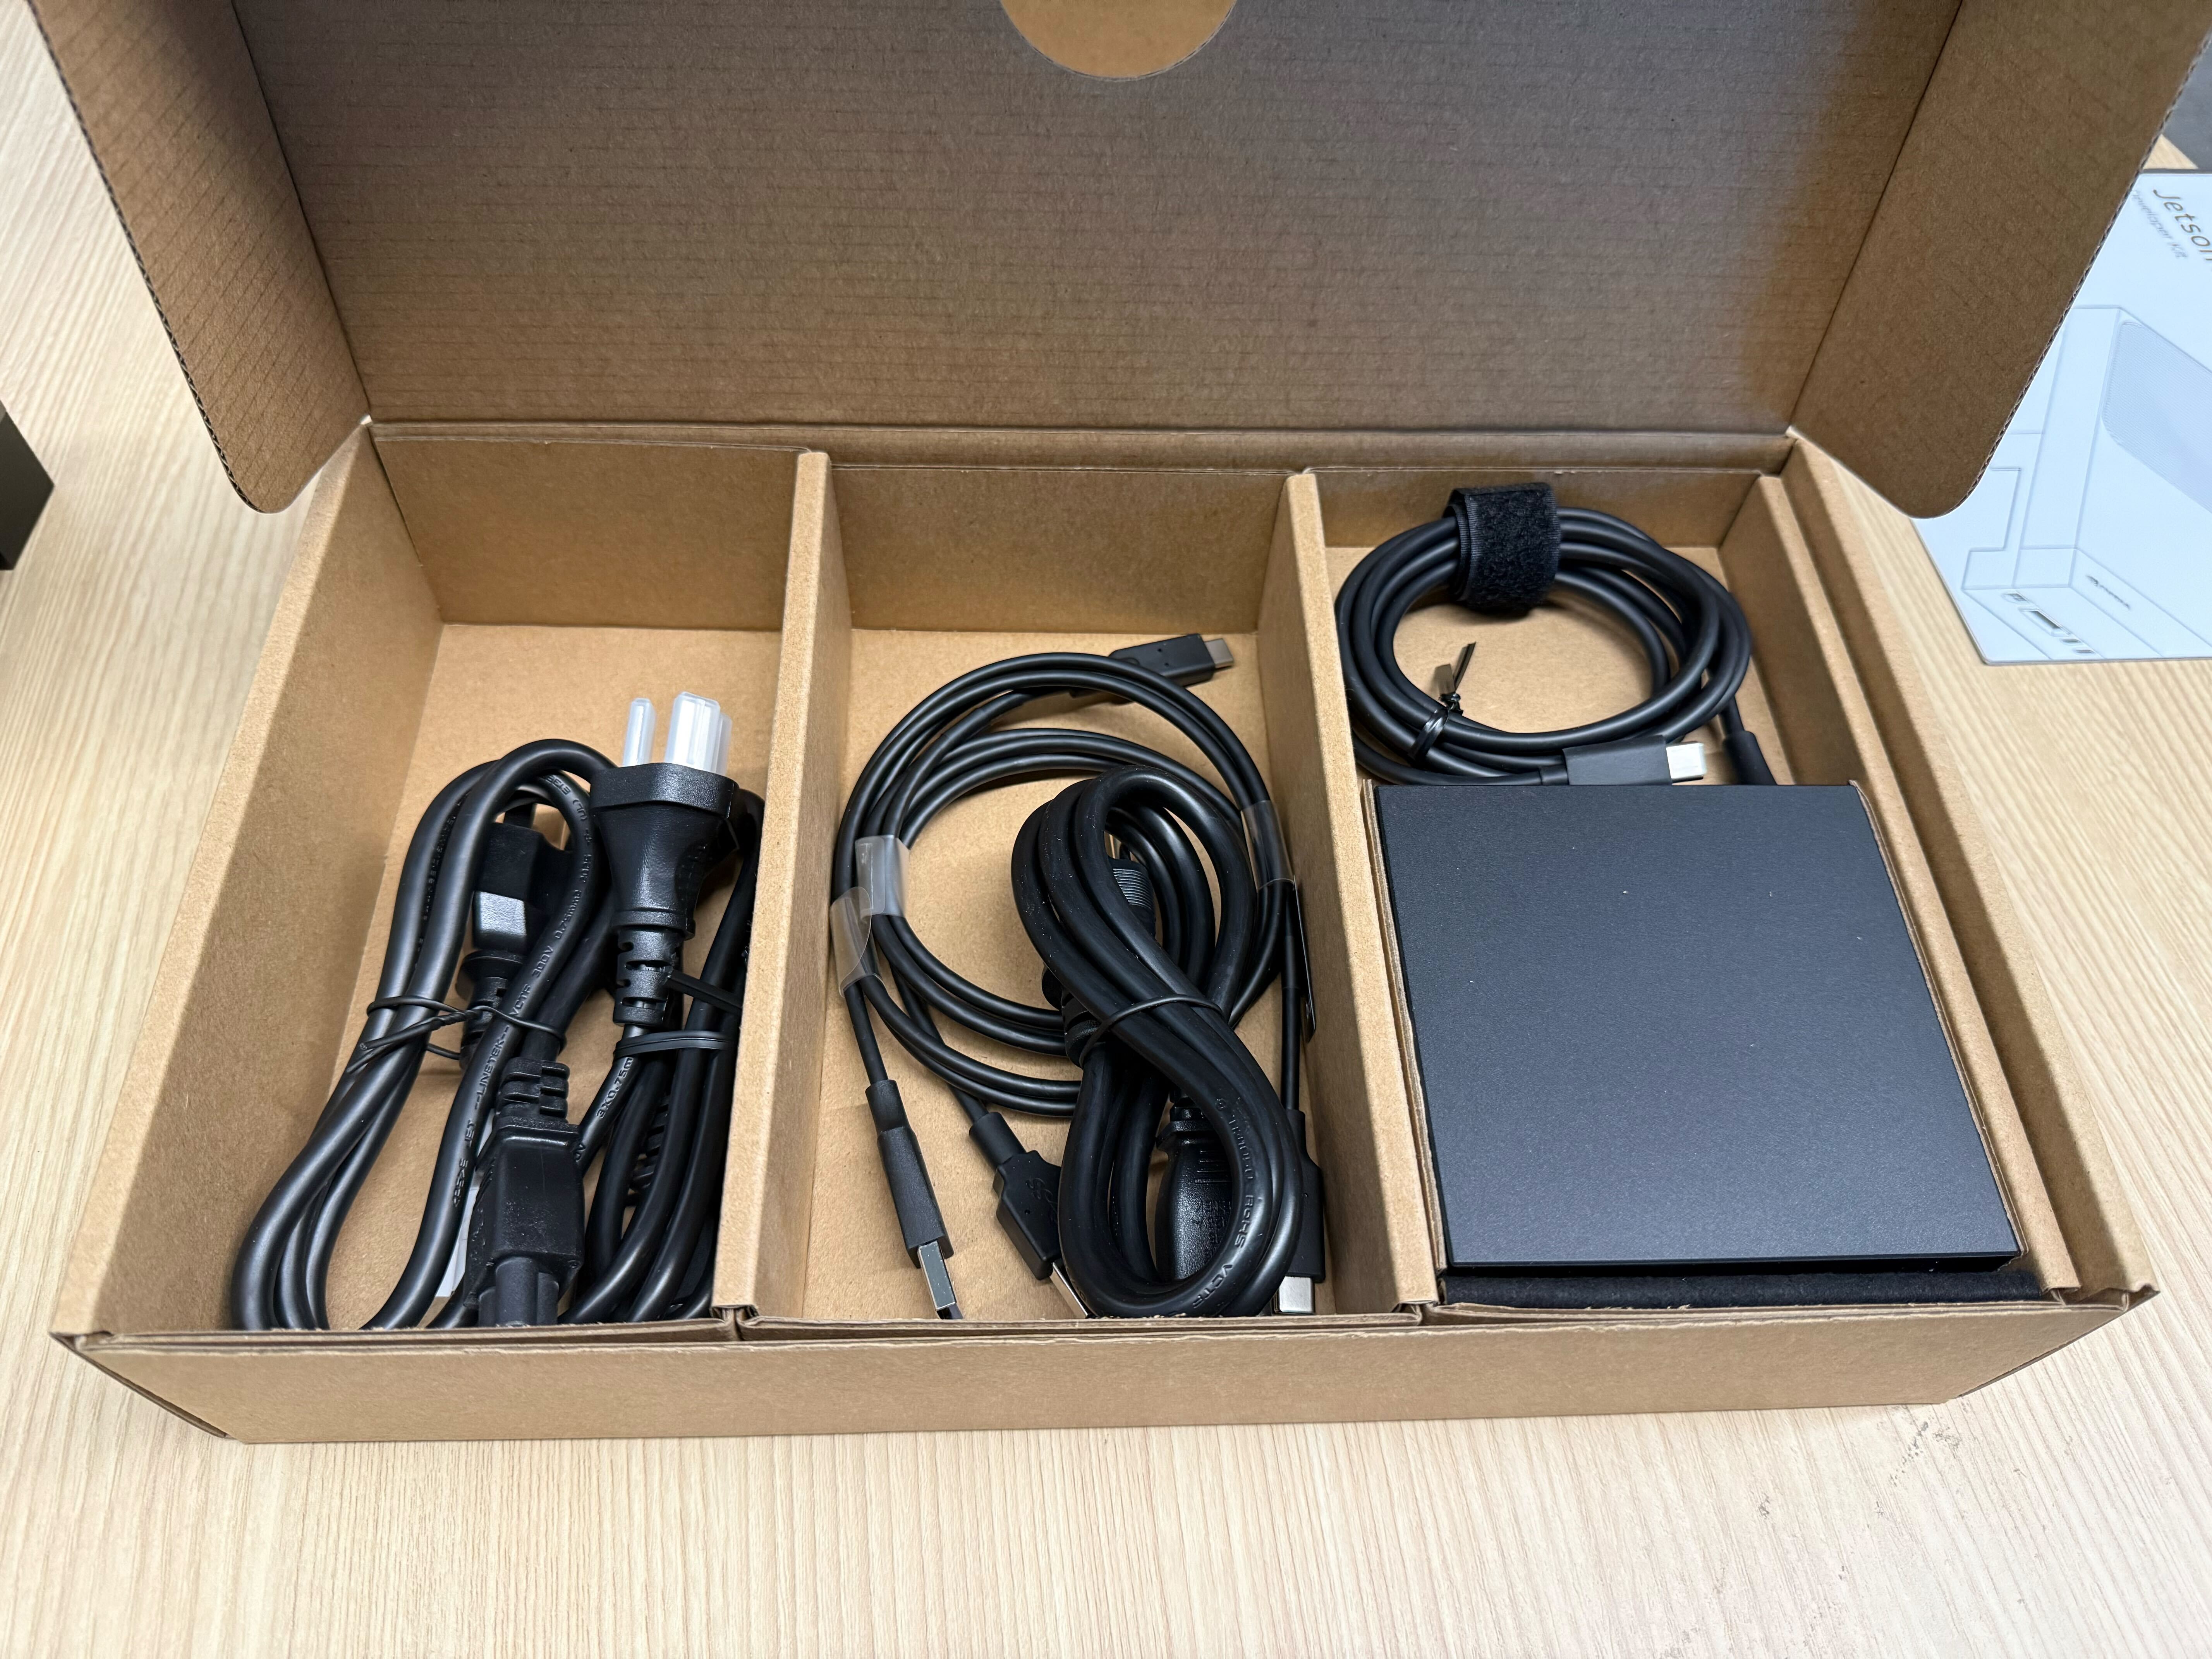
Bottom slot with leaflets
Bottom slot exposed
What you find inside the box:
- Top slot
1x Jetson AGX Thor Developer Kit
- Bottom slot
AC power cable(s)
1x USB-C to USB-A cables
1x DC power supply with USB-C plug
Two setup styles#
You can use Jetson AGX Thor Developer Kit in two styles:
Monitor-attached: You use Jetson as standard computer, with a monitor, keyboard and mouse.
Headless, so you use your laptop or a PC to remotely access Jetson, and Jetson will be used as a server.
You can set up Jetson using Jetson BSP installation USB stick in both styles.
Power-on Jetson#
Caution
It’s strongly recommended to use the bundled USB-C power supply for stable operation.
Attach a display via HDMI or DisplayPort.
Connect a USB keyboard and mouse.
Attach the bootable installation USB stick (that you created using Etcher on the PC) either on the USB Type-A port or on the USB-C port of Jetson AGX Thor Developer Kit.
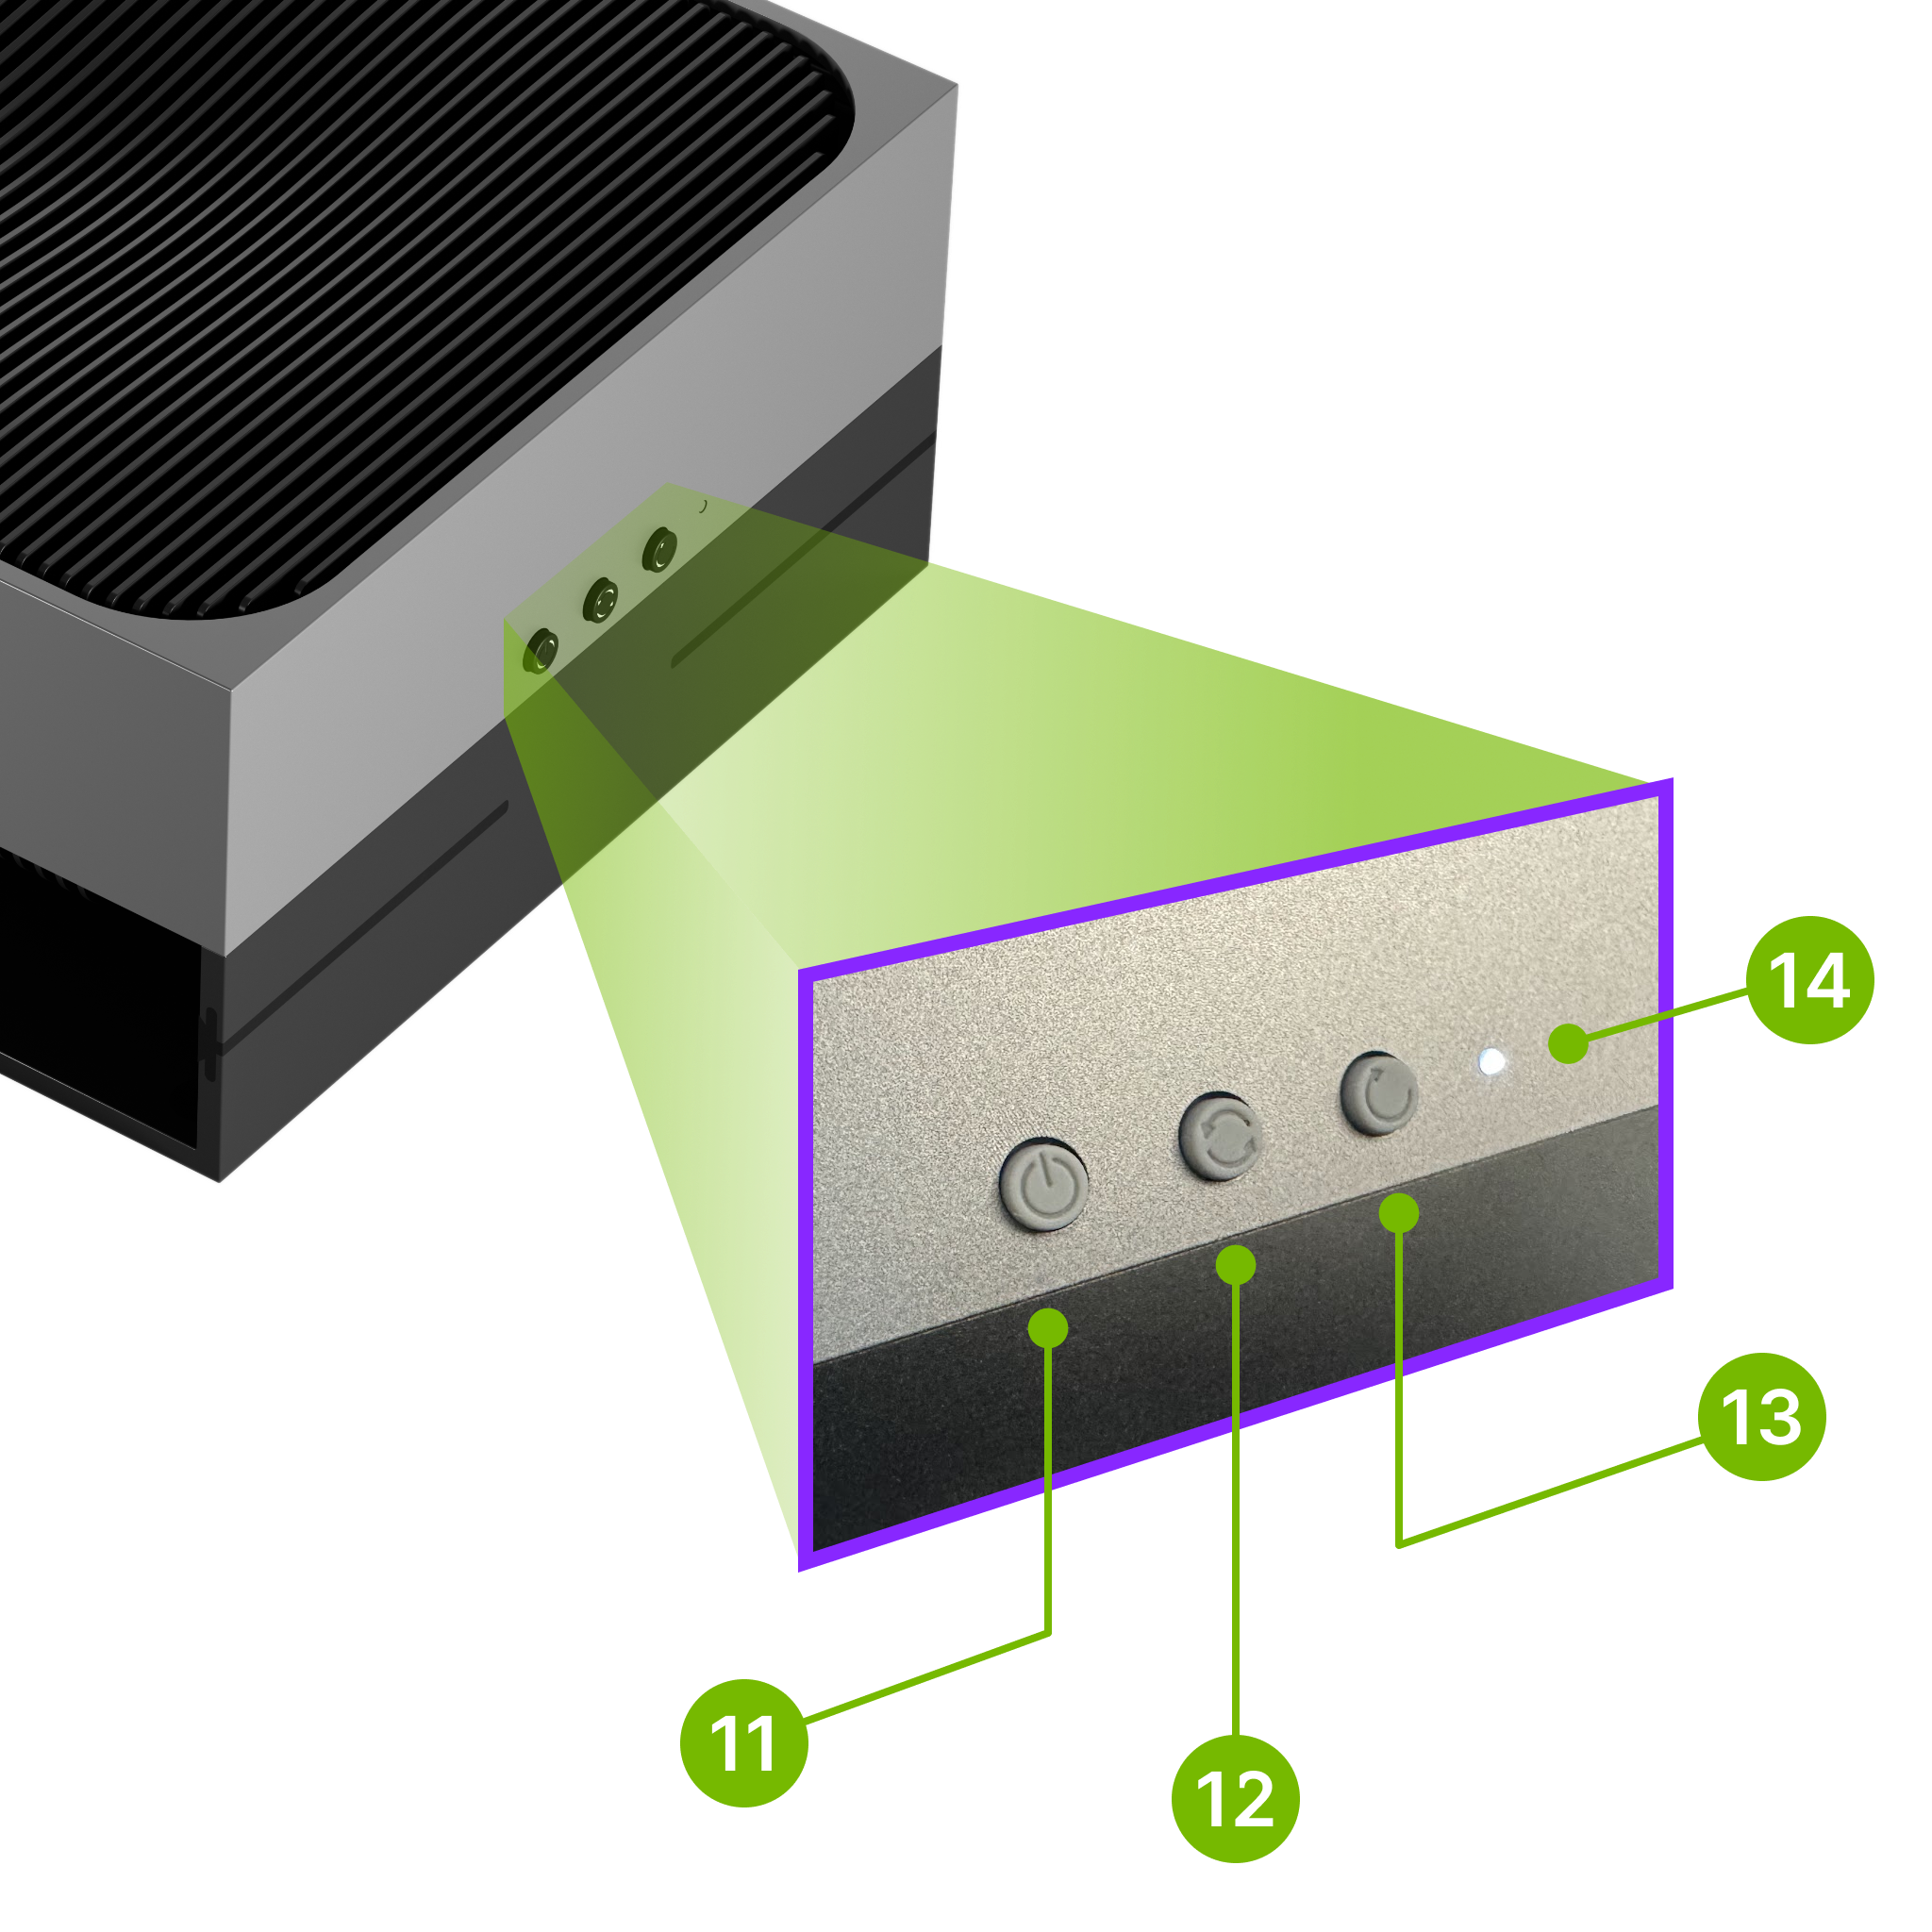
Connect the power supply plug into one of the two USB-C ports.
Boot Jetson by pressing the power button (11 , the left button in the picture below).
Hint
Check the output on the display and carry out the following steps on the monitor using the keyboard (and the mouse) attached to the Jetson.
You can use the Jetson BSP installation USB stick on Jetson AGX Thor Developer Kit in headless mode, i.e. without a monitor attached to the Jetson, by accessing the Debug-USB serial console of the Jetson through a USB cable from your laptop or PC to the Jetson AGX Thor Developer Kit’s Debug-USB port behind the lid cover.
Warning
On UEFI firmware 38.0.0 (factory default), there is a known issue to the way the texts are displayed on those terminal.
Refer to Headless installation on UEFI 38.0.0 for the workaround.
4️⃣ Boot from the USB stick and install the BSP on NVMe#
Caution
If you are repeating this process for some reason (perhaps because you found something went wrong during the installation and want to start over):
Please check the ⚠️ Reinstall with USB (Previously Used Device) section.
Tip
Not sure if your UEFI firmware is compatible? Check the UEFI Firmware & Jetson ISO Compatibility page for the compatibility matrix between UEFI firmware versions and Jetson ISO versions.
UEFI Boot Order Check#
Note
Jetson AGX Thor Developer Kit should be pre-configured at the factory to boot from any USB stick if attached (over the default NVMe SSD drive). So you don’t need to check or manually change the boot order in most cases.
Only if you are unsure (and need to change the boot order), click the section below to learn how to check the boot order and change the boot order if needed.
If need to check the boot order
While on the NVIDIA logo screen (with pre-boot options overlay), hit Esc key repeatedly to enter into the UEFI setup menu.
While the pre-boot options are shown on your terminal, hit Esc key repeatedly to enter into the UEFI setup menu.
You will see the UEFI setup top menu as shown below.

Select
Boot Managerby hitting ↑ (up) and ↓ (down) keys, and press Enter key.Make sure your USB stick is at the top, as shown in the picture below.
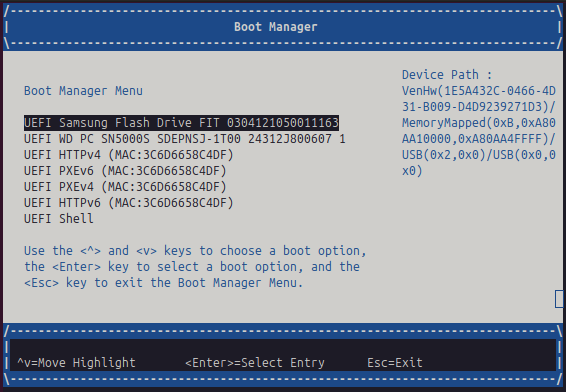
If not, select your USB stick by hitting ↑ (up) and ↓ (down) keys.
Select the USB stick by hitting ↑ (up) and ↓ (down) keys.
Select
Save & Exitto save the changes and exit the UEFI menu.The Jetson will boot from the USB stick.
Boot from the installation USB stick#
When your Jetson powers on, it will first show the pre-boot options. After a short timeout or if you press the Enter key, the system will begin booting from the USB stick.
Jetson AGX Thor Developer Kit is shipped with factory-flashed UEFI firmware, version
38.0.0-gcid-41245178
You will see the Jetson BSP installation menu as shown below.
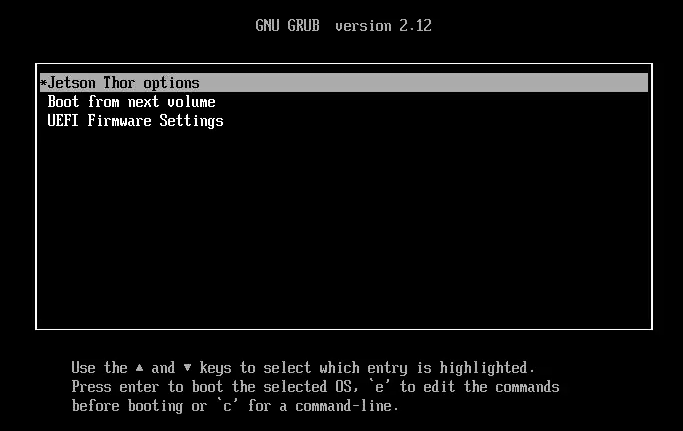
Select
Flash Jetson Thor AGX Developer Kit on NVMe optionby hitting ↑ (up) and ↓ (down) keys, and press Enter key.You will see the Jetson Thor option menu as shown below.
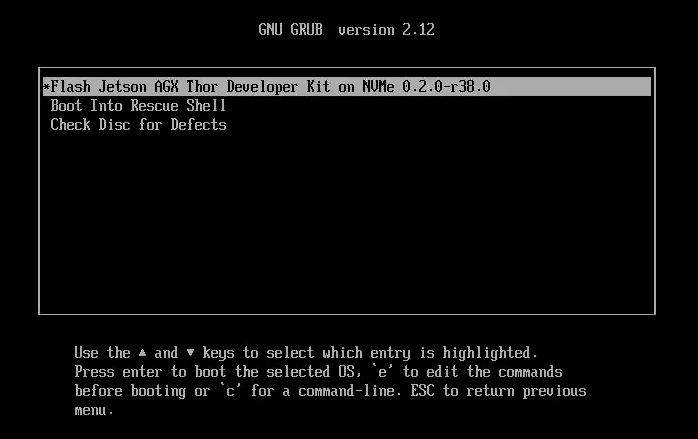
Select Flash Jetson Thor AGX Developer Kit on NVMe 0.2.0-r38.4.0 by hitting ↑ (up) and ↓ (down) keys, and press Enter key.
This starts the installation process.
Note
During the installation process, you will white texts scrolling on the screen. You may see screen stuck with following screen for a while.
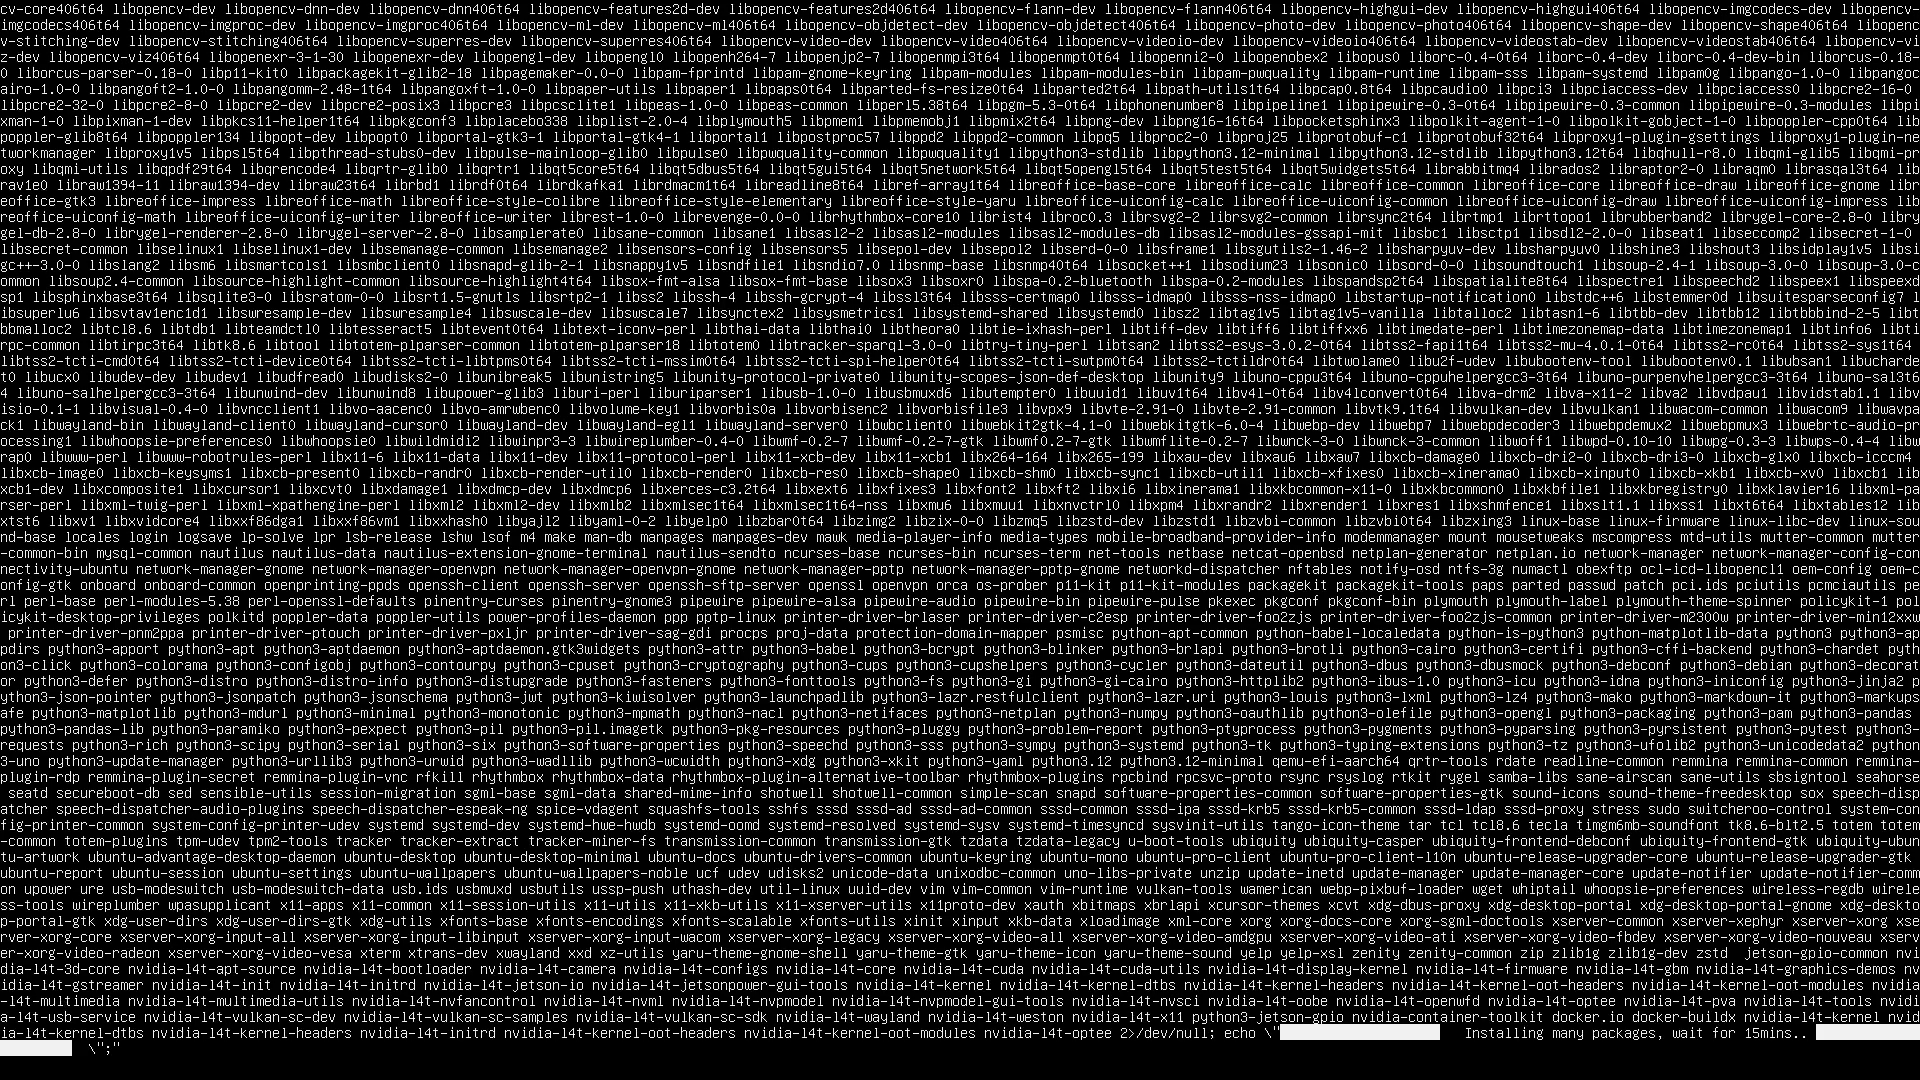
It will take little less than 10 minutes to complete the installation.
Reboot after BSP installation with Jetson ISO
After about 10 minutes, the installation process will finish and your Jetson will reboot.
5️⃣ Boot BSP from NVMe for the first time#
UEFI firmware update#
Jetson will automatically start the UEFI firmware update process.

Once the UEFI firmware update process is finished, it will reboot again.
Remove the installation USB stick#
Important
Starting from Jetson ISO r38.4.0, the UEFI boot order keeps the USB stick at the top after installation.
Remove the bootable installation USB stick now , otherwise it will boot from the USB stick again instead of the installed BSP on NVMe.
You can remove the USB stick and reset or power off and on the dev kit. For more details, see UEFI Boot Order Check.
Initial software setup#
After removing the USB sitck now you can start the initial Ubuntu setup process (oem-config) to create the default user account and set up other things.
Once done, you can start using Jetson with Jetson BSP fully set up.
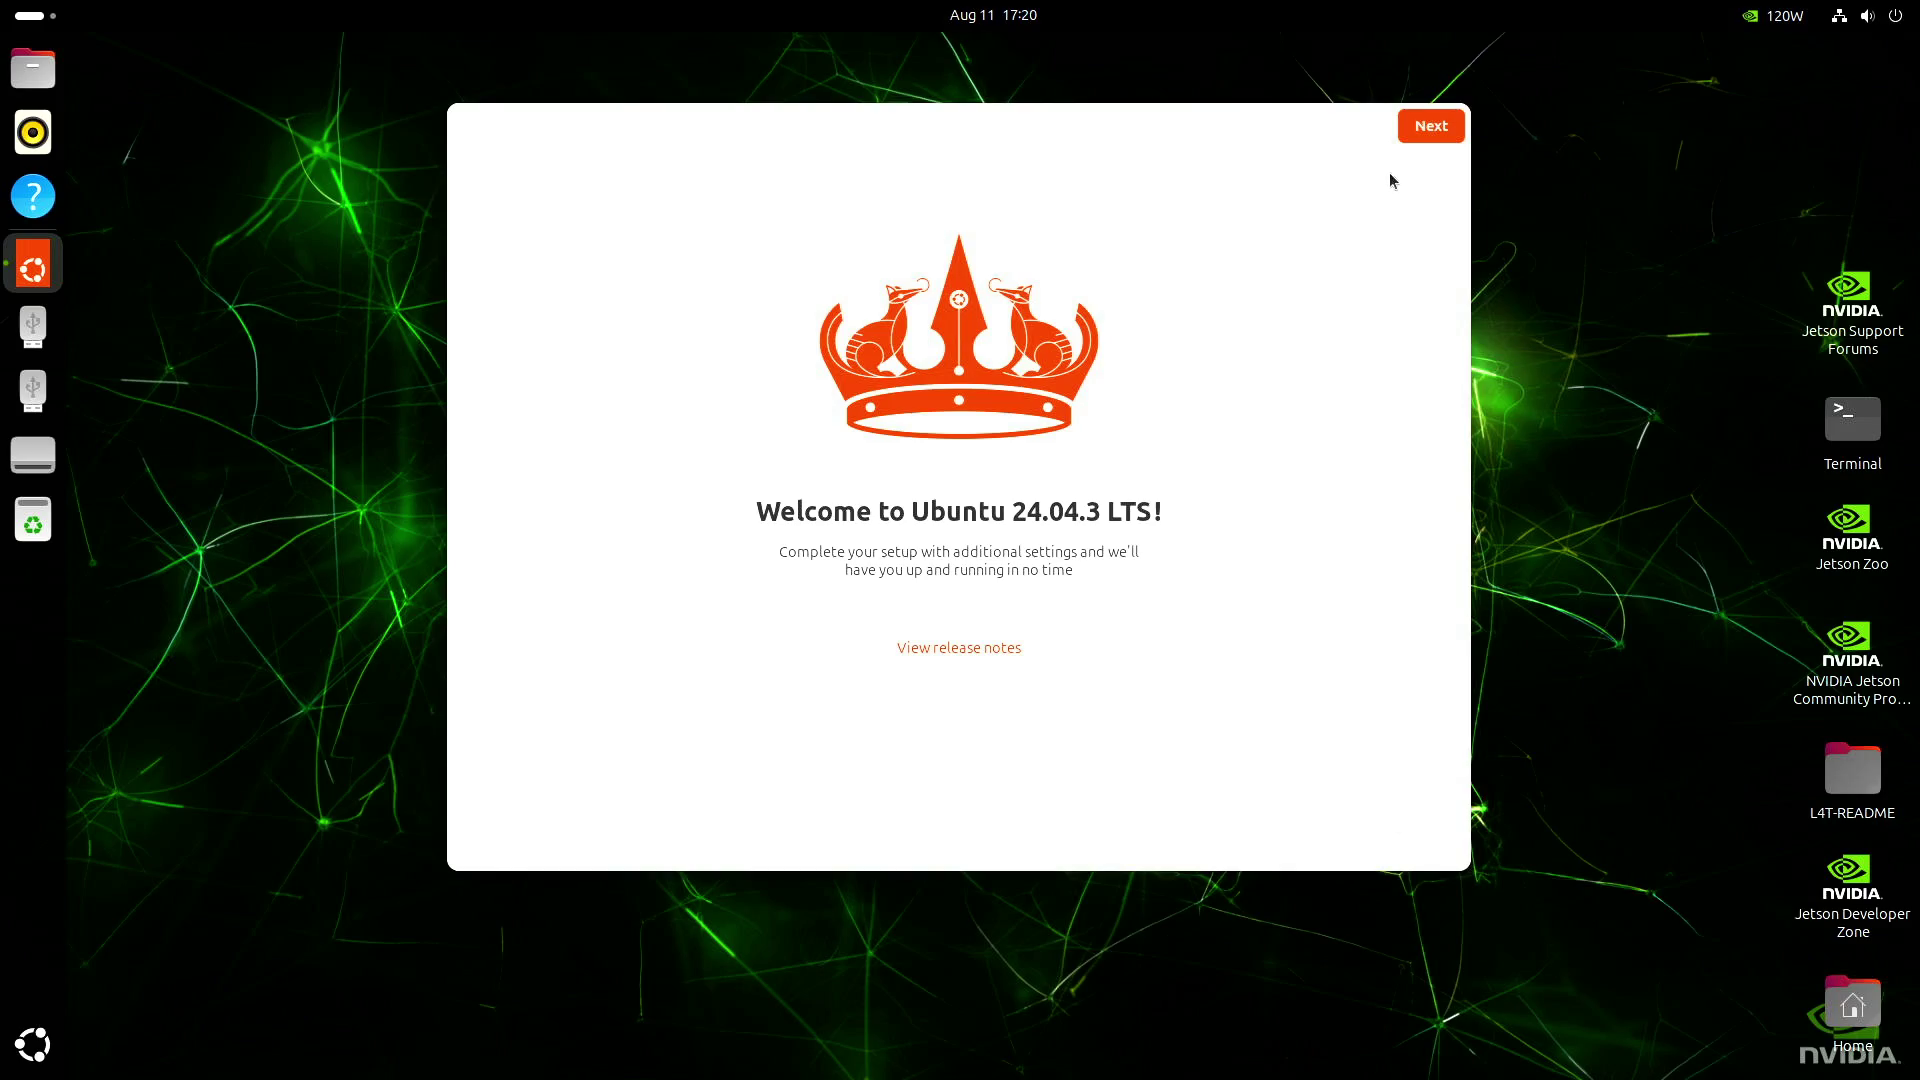
You will see the GUI oem-config screen on your attached monitor.
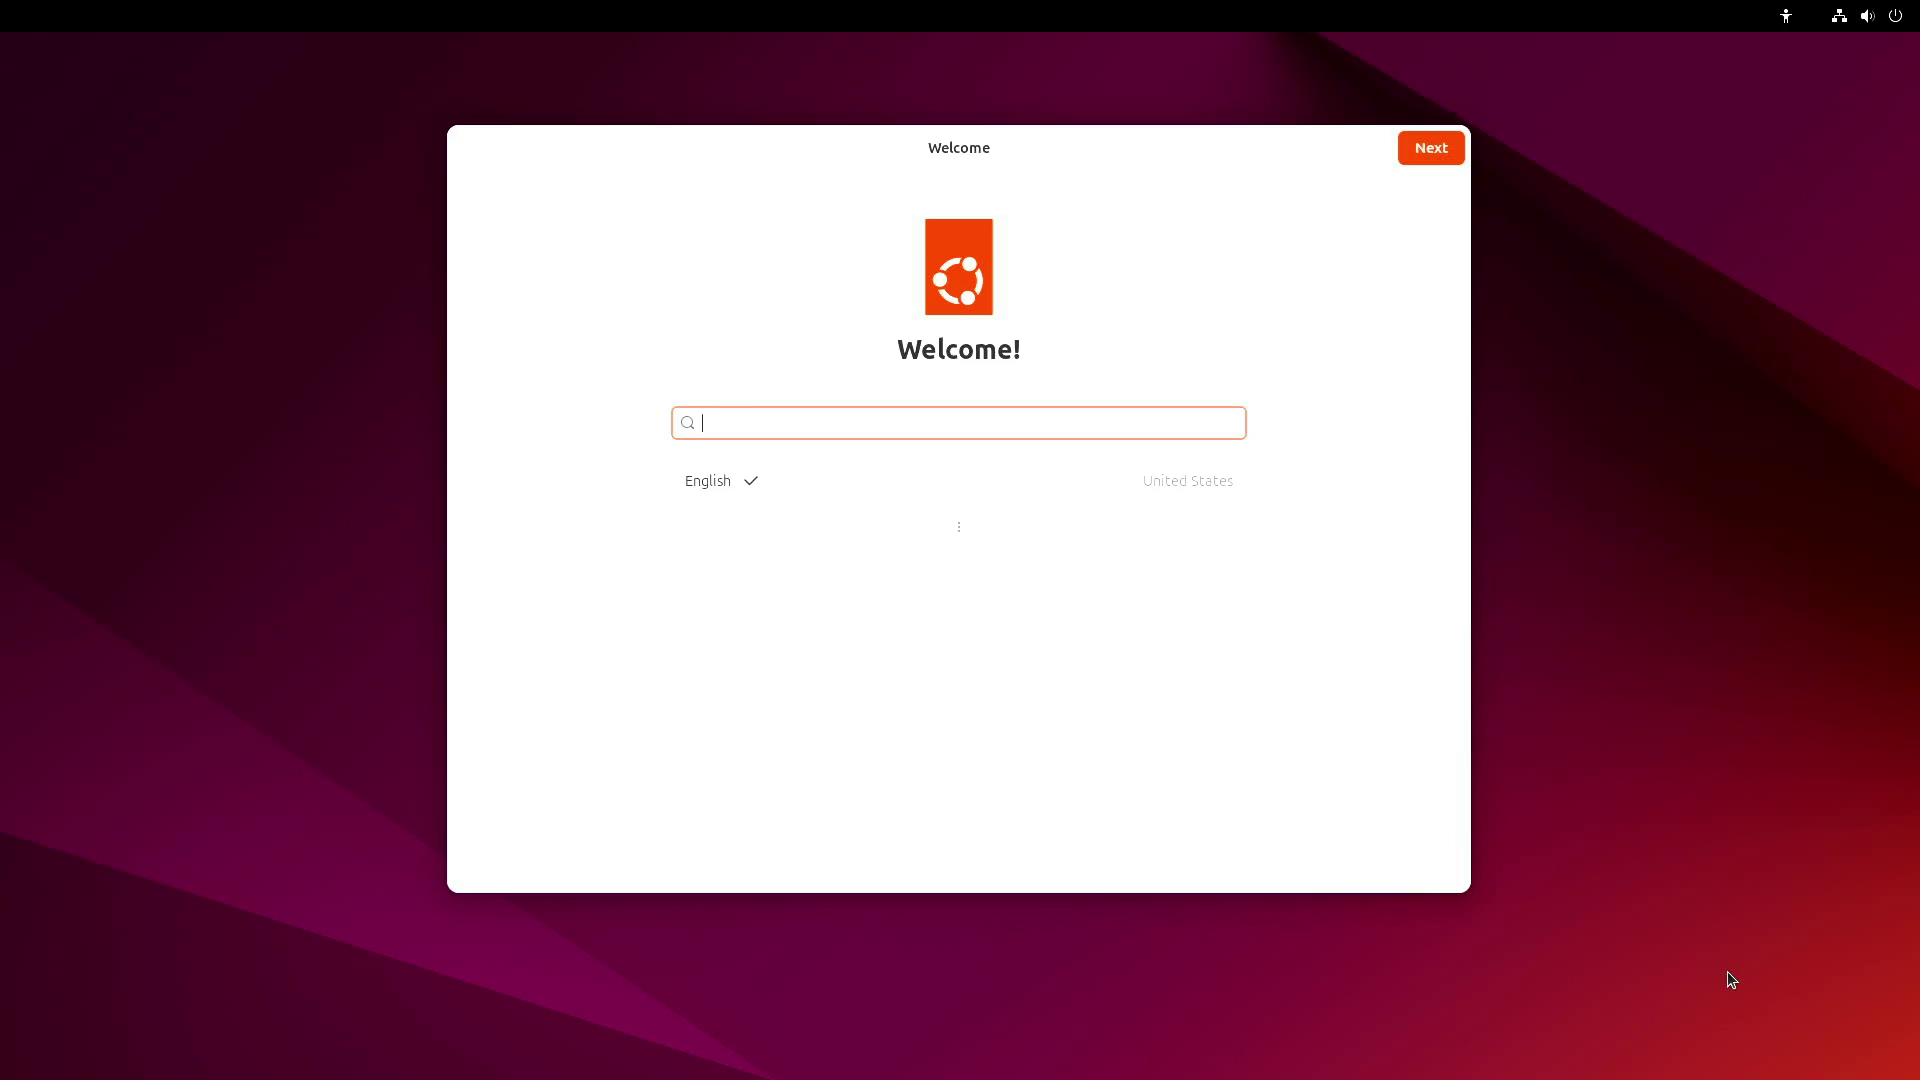
On the “Welcome” screen, click Next button to proceed to the next step.
On the “Typing” screen, select English (US) or appropriate keyboard layout for your keyboard attached to Jetson AGX Thor Developer Kit, and click Next button to proceed to the next step.
On the next screen, read through the “NVIDIA Driver License Agreement” and click Accept button to proceed to the next step.
On the “Network” screen, select your Wi-Fi access point to connect to the internet, or click Skip button to skip the network setup and proceed to the next step.
On the “Time Zone” screen, select your time zone and click Next button to proceed to the next step.
On the “About You” screen, enter your username and other information, and click Next button to proceed to the next step.
On the “Password” screen, enter your password, and click Next button to proceed to the next step.
On the “Setup Complete” screen, click Start Using Ubuntu button to finish the oem-config process.
Connect a USB cable from your laptop or PC to the Jetson AGX Thor Developer Kit’s regular USB-C port (one of the two USB-C ports next to HDMI connector, not the Debug-USB port behind the lid cover).
You should see “L4T-README” drive mounted on your PC as well.
Launch your terminal program on your laptop or PC and open the port/device.
Note
If you see a blank screen when launching the terminal program to open the port/device, press the Tab key, then press Enter key to go to the next page. Next, select “<Cancel>” to return to the previous screen to read the “License for Customer Use of NVIDIA Software”.
You will see the CUI oem-config screen on your terminal.

On the initial “License for Customer Use of NVIDIA Software” screen, press tab key to select “<Ok>” and press Enter key to proceed to the next step.
On the “Select a language” screen, select English - English or language of your choice by using up and down keys, then press tab key to select “<Ok>” and press Enter key to proceed to the next step.
On the “Select your location” screen, select your location by using up and down keys, then press tab key to select “<Ok>” and press Enter key to proceed to the next step.
On the “Where are you?” screen, select your time zone by using up and down keys, then press tab key to select “<Ok>” and press Enter key to proceed to the next step.
On the next screen, press tab key to select “<Ok>” and press Enter key to leave the system clock set to UTC and proceed to the next step.
On the “Who are you?” screen, enter your full name, and press tab key to select “<Ok>” and press Enter key to proceed to the next step.
On the next screen, enter the username of your choice, and press tab key to select “<Ok>” and press Enter key to proceed to the next step.
On the next screen, enter the password of your choice, and press tab key to select “<Ok>” and press Enter key to proceed to the next step.
On the next screen, enter your password for the confirmation, and press tab key to select “<Ok>” and press Enter key to proceed to the next step.
You may get warned for using a weak password. Select “<Yes>” if you are okay with it.
On the next screen, you will proceed to the network configuration.
- On the “Network Configuration” screen, select enP2p1s0: Ethernet PCI and press tab key to select “<Ok>” and press Enter key to proceed to the next step.
It may take sometime to get the IP address assigned to Jetson and get the network interface card set up.
On the next screen, enter the hostname of your choice, and press tab key to select “<Ok>” and press Enter key to proceed to the next step.
It will go through some installation and then boot into the BSP (Jetson Linux).
You should be able to login to the BSP (Jetson Linux) with the username and password you set up in the oem-config process.
Your Next Step#
Congratulation!
You can now start the development on your Jetson AGX Thor Developer Kit.
Check JetPack SDK Setup page for installing CUDA and other JetPack component software.
Tip
Already have BSP installed and want to upgrade to a newer L4T revision? See the BSP Upgrade section for in-place upgrade instructions.
⚠️ Reinstall with USB (Previously Used Device)#
If you want to use the installation USB stick on a Jetson AGX Thor Developer Kit that has been used or set up before, currently you need to perform a special operation on UEFI setup menu.
Please refer to Re-enable USB stick installation page for the workaround.
🚑 BSP Install Troubleshoot#
I don’t have video out on the monitor (connected through KVM)#
It is known that some KVM switch and KVM device cannot handle the video output from the Jetson AGX Thor Developer Kit well. Please try to connect the monitor directly to the Jetson AGX Thor Developer Kit.
Screen goes black once installation starts#
If you are to use Jetson installation USB stick on the Jetson AGX Thor Developer Kit that has been used or set up before, you need to enable the SOC Display Hand-Off mode by going into the UEFI setup menu.