Step #1: Login to vCenter and Create a New DVS
Log in to vCenter using the LaunchPad vCenter link on the left-hand navigation pane using the information below.
Username: ${vcenter_user_name}@${vcenter_domain}
Password: ${sso_password}
On the left pane, navigate to the network configuration panel.
Select
monterey-dc.
On top of the center pane, click on the Actions button and pull down to Distributed Switch -> New Distributed Switch….
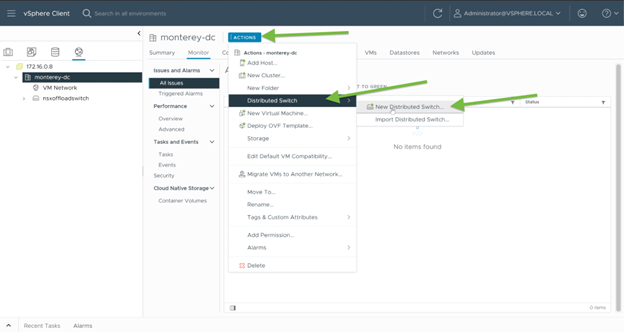
The New Distributed Switch dialog box will appear to step you through the process of creating a new distributed switch.
Name: NSXOFFLOAD-DVS
Location: Should be pre-populated with
monterey-dc
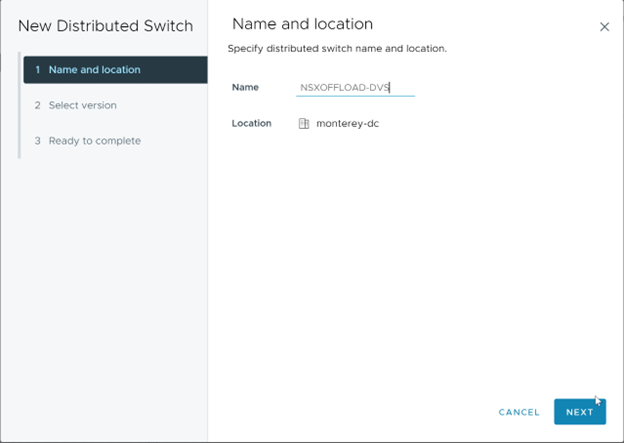
Click Next.
Version should be preselected for 8.0.0 - ESXi 8.0 and later.
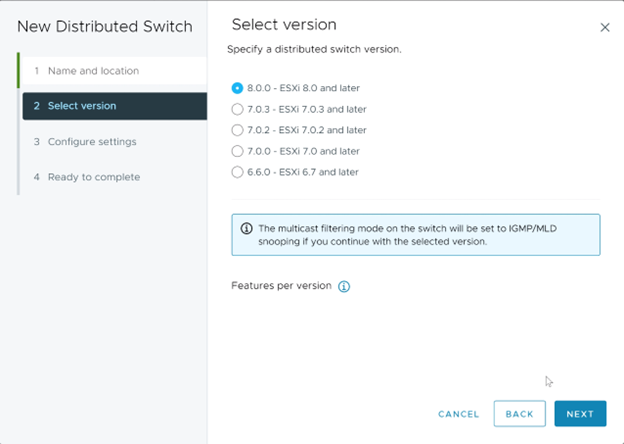
Click Next.
Configure the settngs as shown below.
Network Offloads Compatibility: Pull down and select NVIDIA Bluefield.
Number of Uplinks: Set to 2.
Network I/O Control: Grayed out, no change needed.
Default Port Group: Uncheck the box for Create a default port group.
Port Group Name: Will be grayed out after unchecking Create a default port group above.
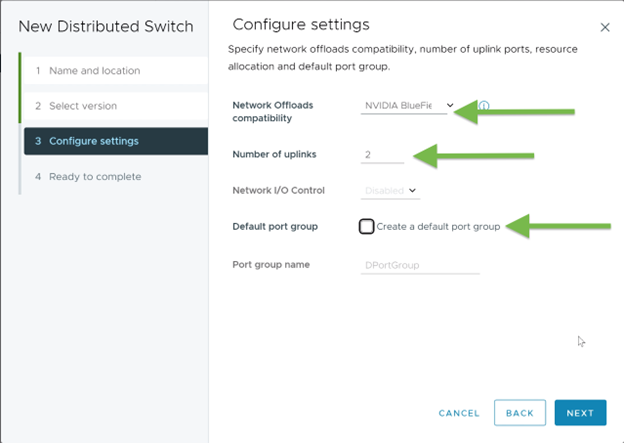
Click Next.
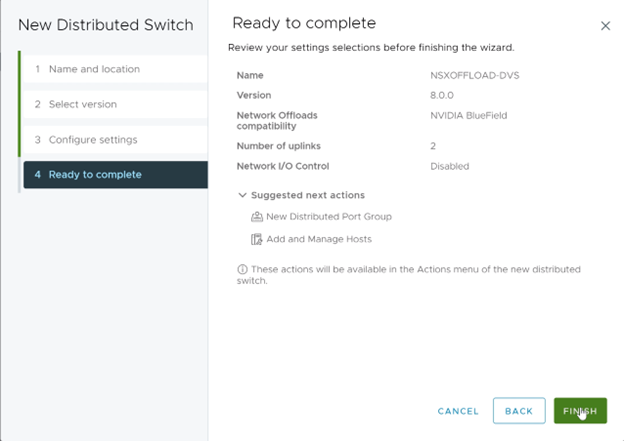
Review and confirm the settings from the previous steps. Click the Finish button when ready.
After clicking finish and the dialog box closes, you will notice your new Distributed Virtual Switch will appear in the left pane with your provided name:
NSXOFFLOAD-DVS.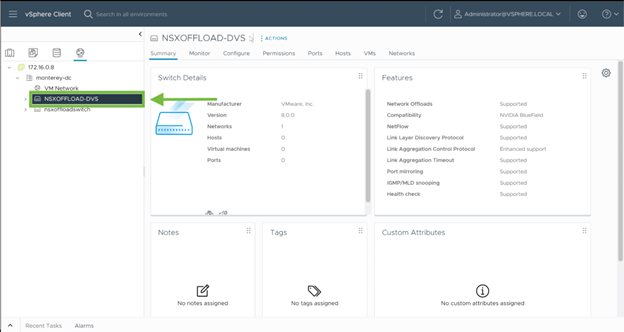
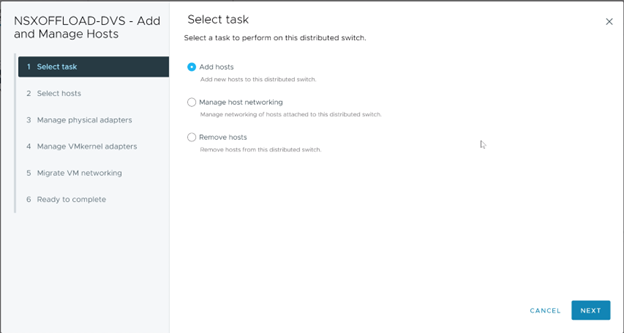
Click on your new Distributed Virtual Switch in the left pane to select it, then in the center pane, pull down Add and Manage Hosts….
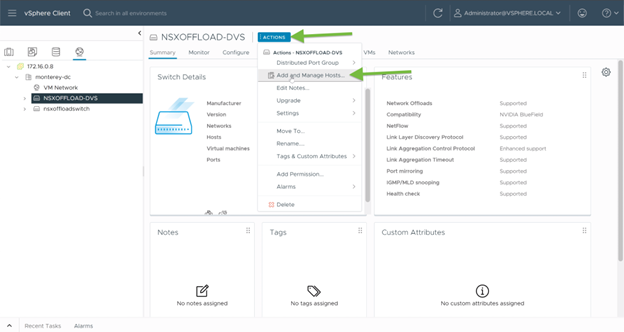
The Add and Manage Hosts dialog box will appear with several steps to add the host to the Distributed Virtual Switch.
Select the Add Hosts option and click Next.
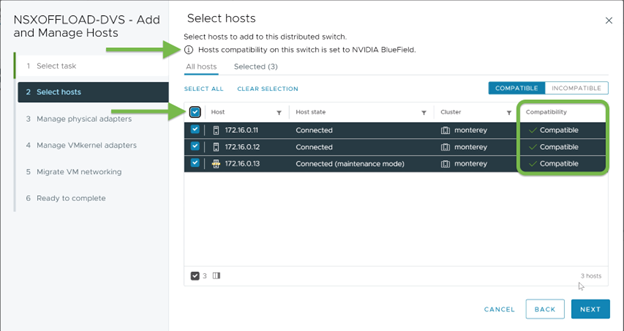
Select all hosts. Notice the informational message above the table indicating the host compatibility being set to NVIDIA BlueField and the hosts showing a green check with Compatible under the Compatibility column of the host table. Then click Next.
For physical network adapters showing BlueField compatibility, assign the two uplinks (Two uplinks being a setting from creating our DVS earlier). Then click Next.
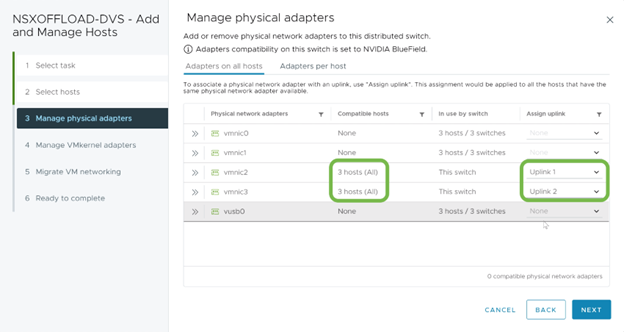 Warning
The vmnics you select in this step may vary based on the underlying hardware.
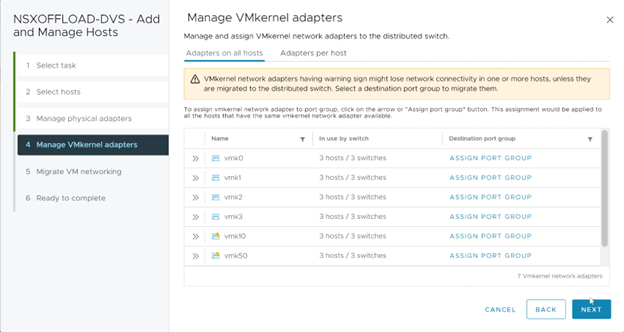
No changes need to be made on the Manage VMKernel Adapters page. Click Next to continue.
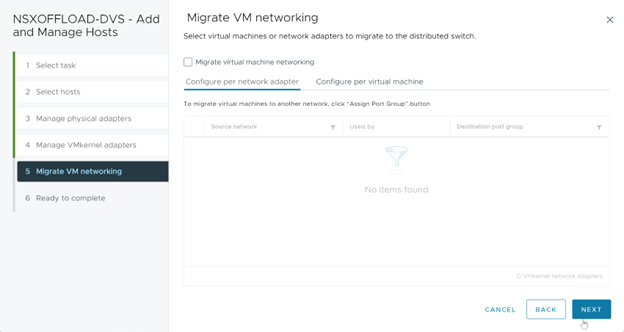
No changes need to be made on the Migrate VM Networking page. Click Next to continue.
Review and confirm the configured settings. Then click Finish.
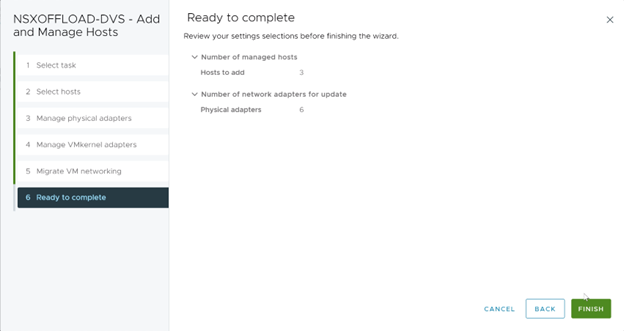
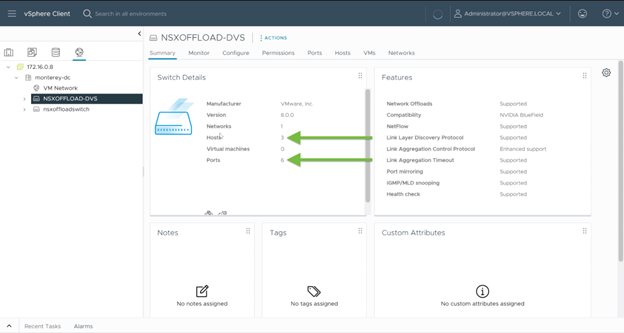
After clicking Finish and returning to the main vSphere UI, notice that the NSXOFFLOAD-DVS now has three hosts and six ports assigned.