Install ARC-OTA SDK with SDK Manager#
This section is intended to help you use the NVIDIA SDK Manager GUI to configure your development environment successfully.
Note
SDK Manager supports installation on native arm64 hosts, using the Debian (.deb) installer package. Compatibility for the arm64 client begins with ARC-OTA version 1.6 and higher. ARC-OTA versions 1.5 and earlier do not support the arm64 client. For those versions, use the x86_64 client and the SSH-based workflow.
STEP 01: Set Up the Development Environment#
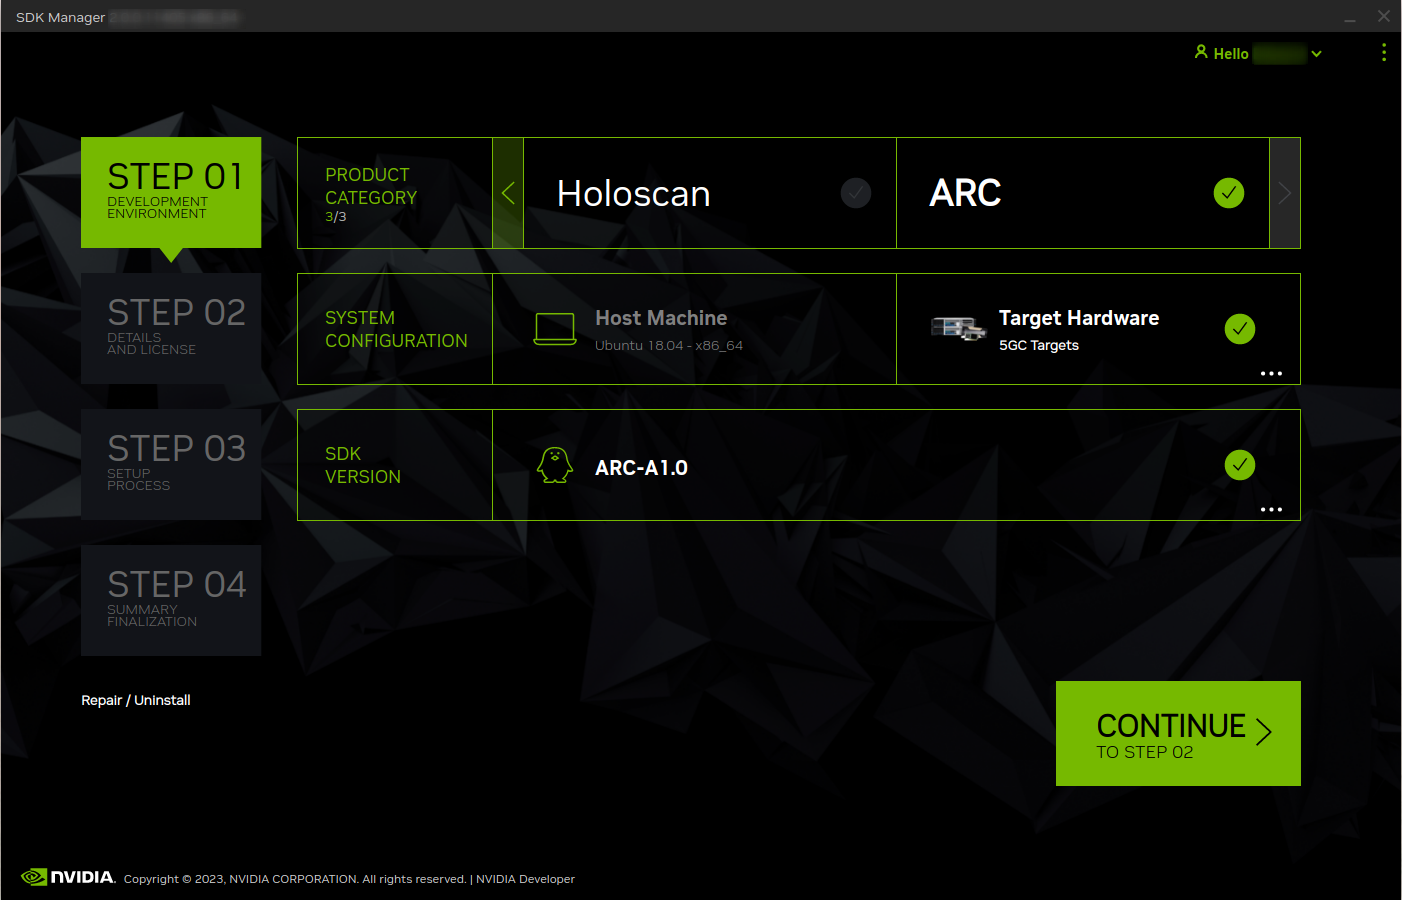
From the STEP 01 Development Environment window, select the following:
From the Product Category panel, select ARC-OTA.
From the System Configuration panel, select the target hardware.
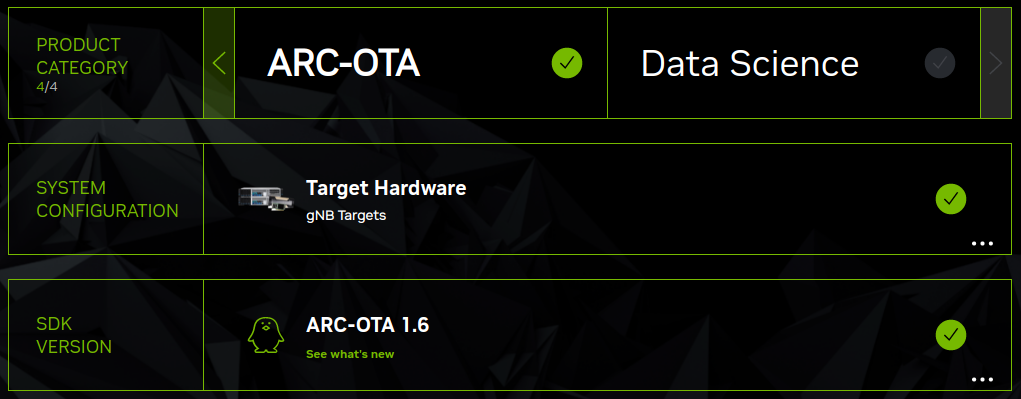
From the SDK Version panel, select the ARC-OTA software version.
If relevant, select any Additional SDKs that you want to install.
An ellipsis (…) in the bottom right corner of a category box indicates that more than one option is available. Click on the ellipsis to show a drop-down menu of available options.
Note
Your display may differ from the one shown here. The information in this screen is populated from your NVIDIA user account access and permissions. If you don’t see your product category in the available selections, verify that your NVIDIA account is registered to the required programs.
Click Continue to proceed to the next step.
STEP 02: Review Components and Accept Licenses#
From STEP 02 Details and License, you can expand the host components and target components panels to review the components that will be installed on your system.
To review the licenses, click on the license agreements hyperlink at the bottom of the page.
Enable the checkbox to accept the terms and conditions of the license agreements.
If you want SDK Manager to download all setup files to a location other than the default path, go to the Download folder located at the bottom of the screen, then update the path you want to use.

For more information about the Download & Install folders, refer to Offline Install.
Select Continue to proceed to the next step.
STEP 03: Installation#
Before the installation begins, SDK Manager prompts you to enter your
sudopassword.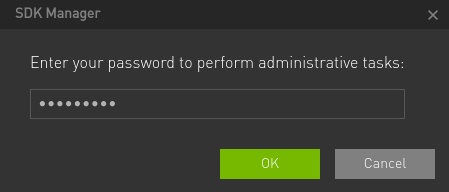
The display shows the progress of the download and installation of the software.

Select Pause / Resume to toggle the download and installation process.
At the top, you can toggle between the Details and Terminal tabs. The Terminal tab displays detailed information about the download and installation, with any errors highlighted.
On the Terminal tab, you can use the Filter text field to filter and search for specific information.
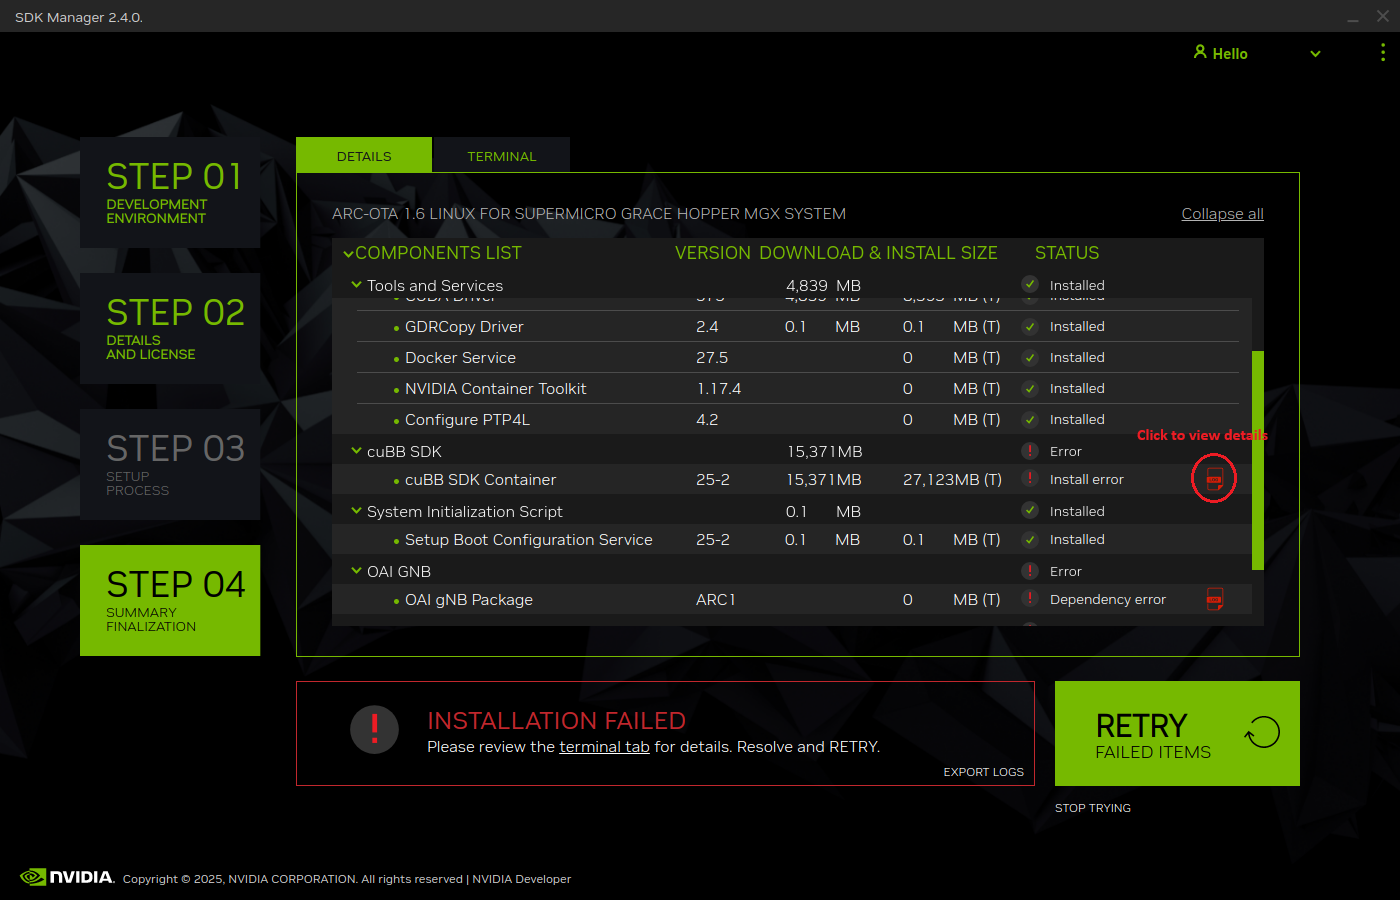
STEP 04: Finalize Setup#
From STEP 04 Summary Finalization, there is a summary of the components that were installed, along with any warnings or errors that were encountered.
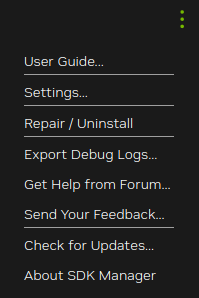
The Export Debug Logs link creates a ZIP file of all log files created during installation. This ZIP file is located in the same folder path where the SDK Manager installer downloaded all components.
Alternatively, click the menu icon in the top right corner of the window (”⋮”), and choose Export Debug Logs from the drop-down menu in the top-right corner.
Consult the Error Messages for information about any errors you may encounter.
Click Finish and Exit to complete the installation.
Recommended Recovery Steps#
There are many causes of various installation errors. Below is a checklist of common installation issues, which may help you recover from a broken installation.
Review the summary table to identify which component failed.
Expand the group with the “Error” status.
When you find the failed component, click the details icon to the right of Install Error to be redirected to the Terminal tab, which will display the exact error.
If the error is related to an environmental issue, such as a broken apt repository or missing prerequisite, try to fix it manually, then click the Retry Failed Items button.
