Deployment Guide
Set up a Linux VM in vCenter.
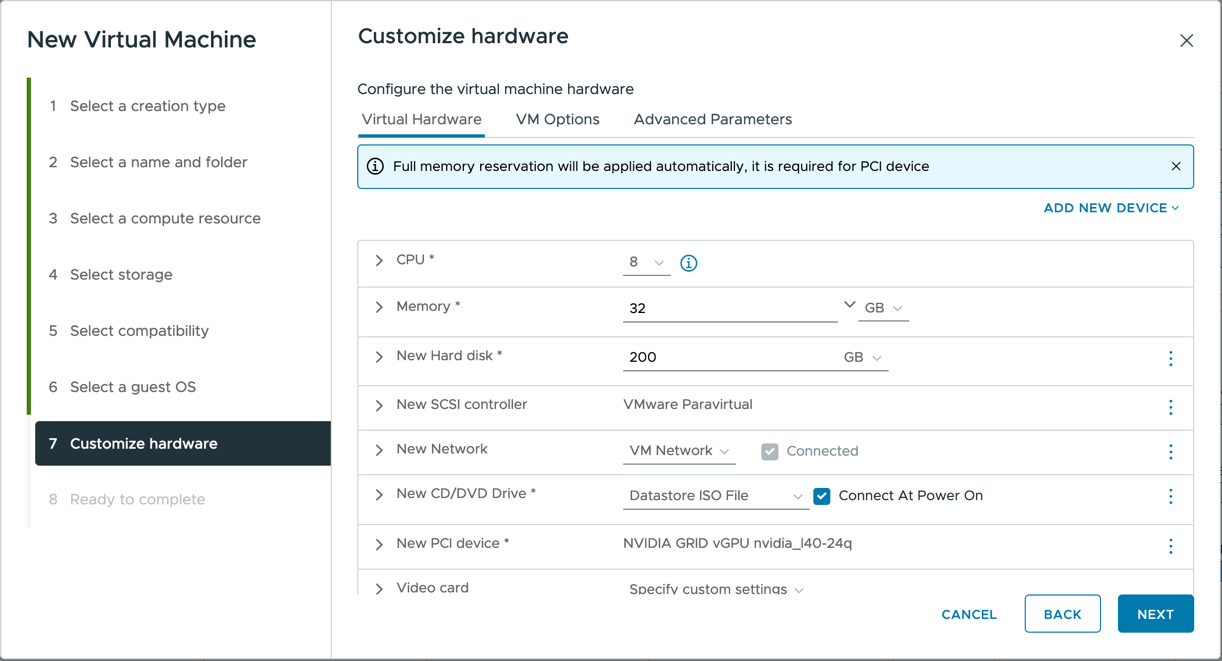
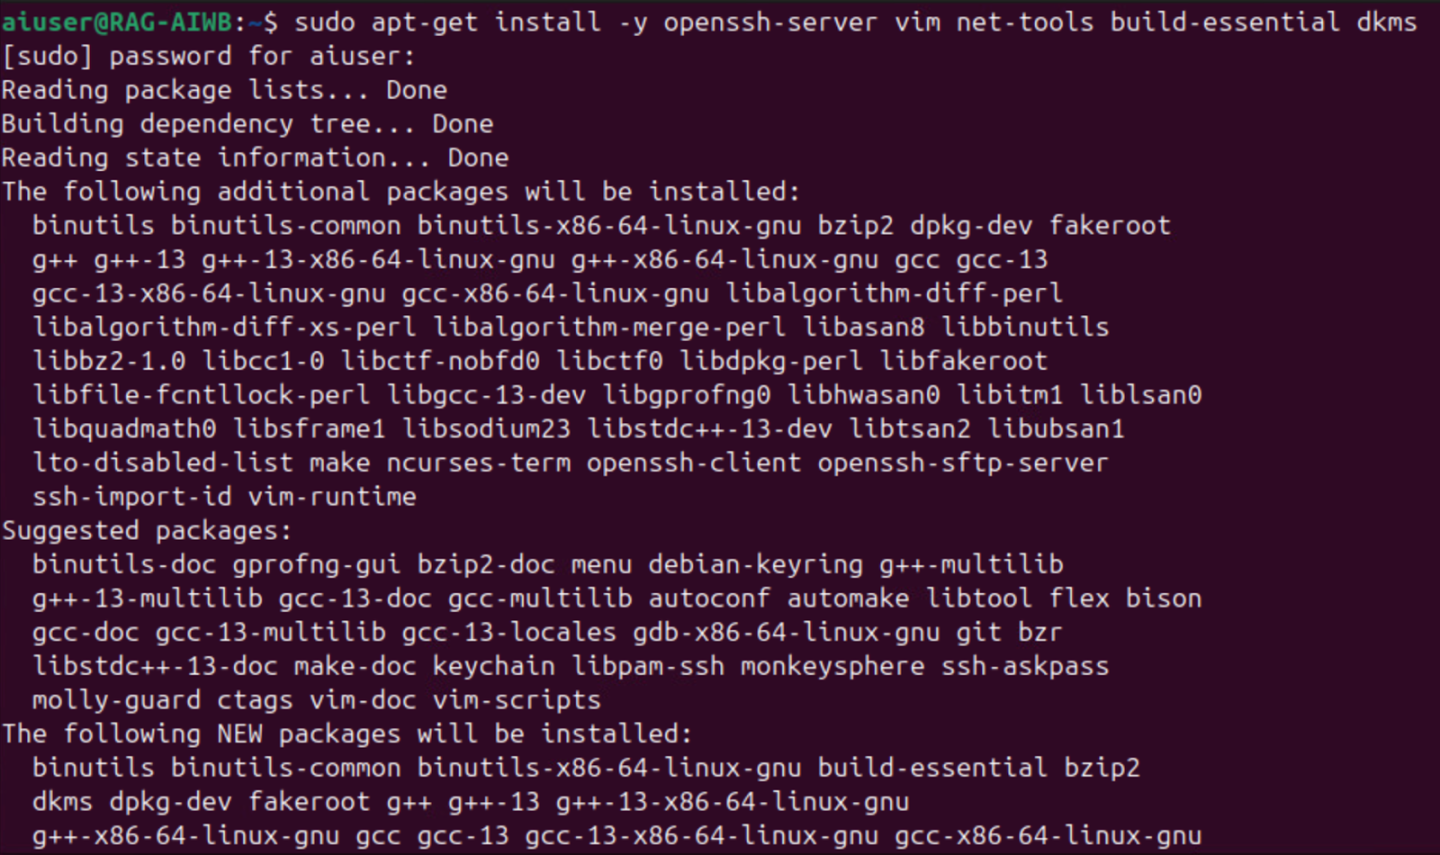
Install Ubuntu and set up the necessary dependencies listed below:
open-vm-tool (reboot required after installation)
openssh-server
vim
net-tools
build-essential
dkms
fuse3
libfuse2
Blacklist nouveau driver
            $ sudo vim /etc/modprobe.d/blacklist.conf
$ blacklist nouveau
$ options nouveau modeset=0

Update initramfs, then reboot.
            $ sudo update-initramfs -u
$ sudo reboot
Install your preferred remoting protocol (i.e., NoMachine, Horizon, VNC). The rest of this guide will use NoMachine as the remote protocol.
Download and install NVIDIA vGPU software.
            $ sudo chmod +x nvidia-linux-grid-xxx_xxx.xx.xx_amd64.deb
$ sudo dpkg -i nvidia-linux-grid-xxx_xxx.xx.xx_amd64.deb

Once the driver utility has completed installation, reboot, then run the
nvidia-smicommand to verify the driver has been installed correctly.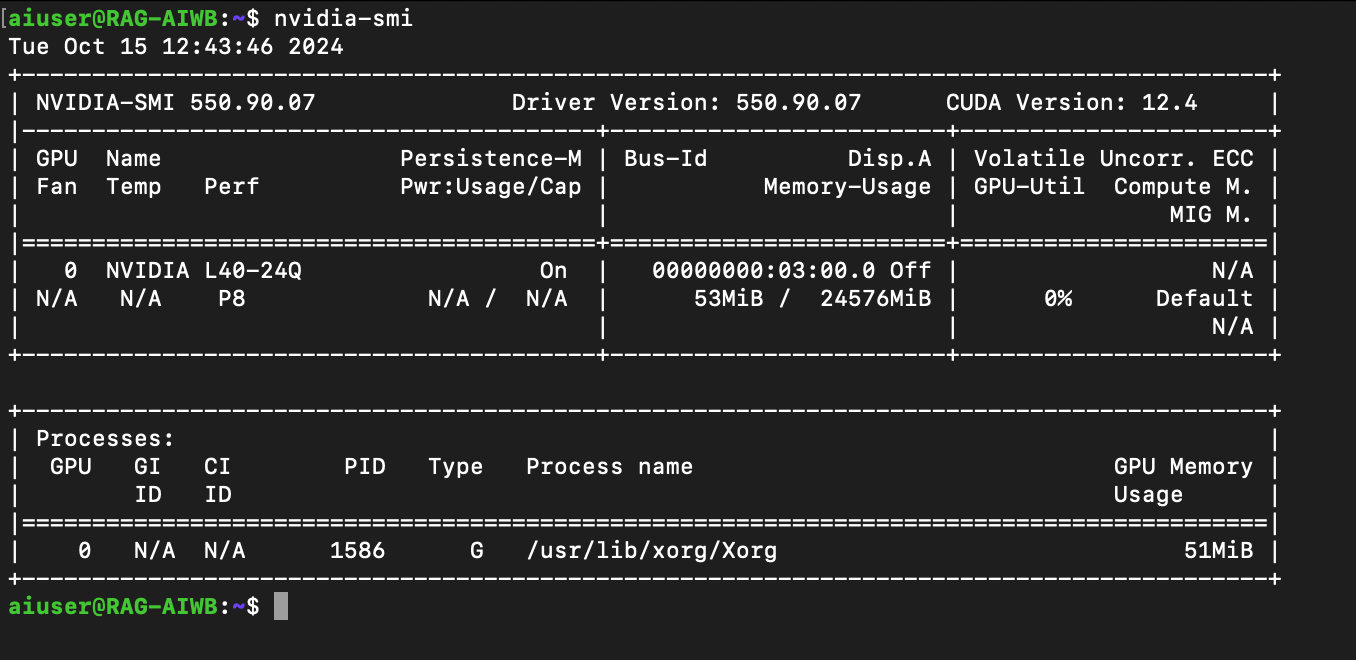
At this point, the VM setup is complete. Next, install AI Workbench on the Ubuntu VW. AI Workbench can be downloaded from the NVIDIA website. The installation guide for Ubuntu can be found here.
WarningAfter you update AI Workbench on your local computer, you must also update any connected remote locations. For details, see Update AI Workbench on a Remote Computer.
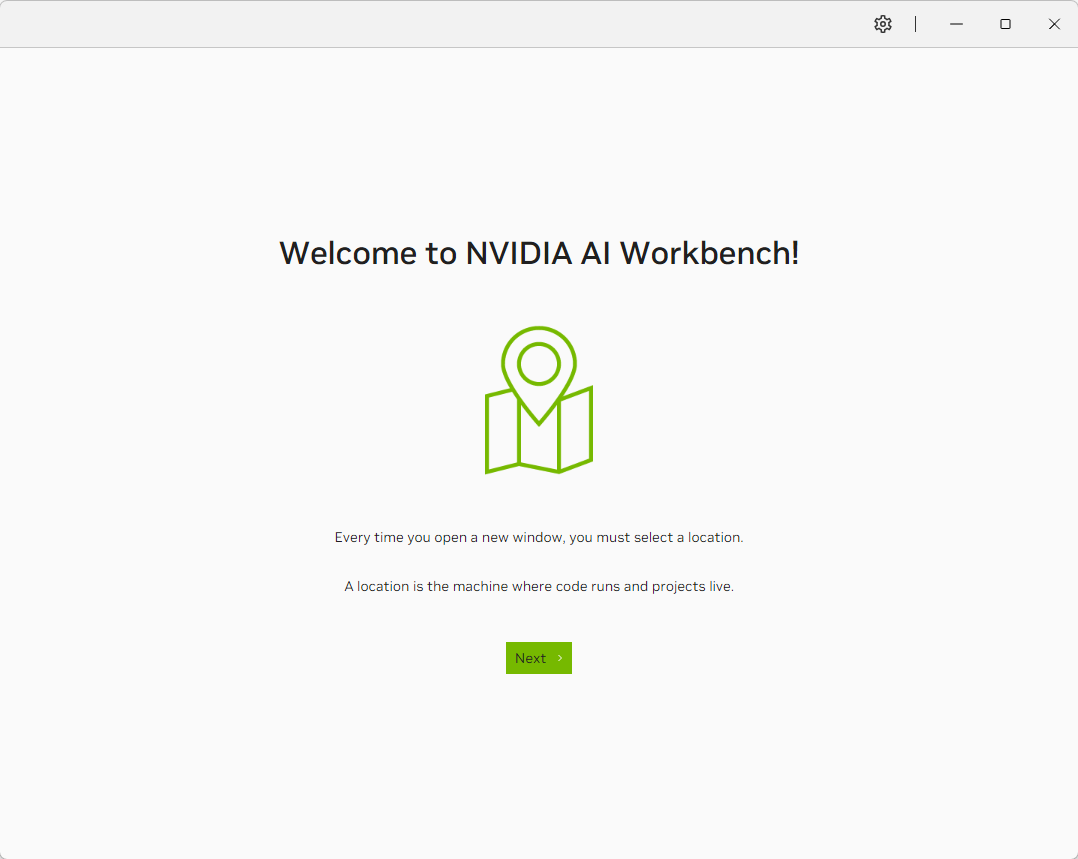
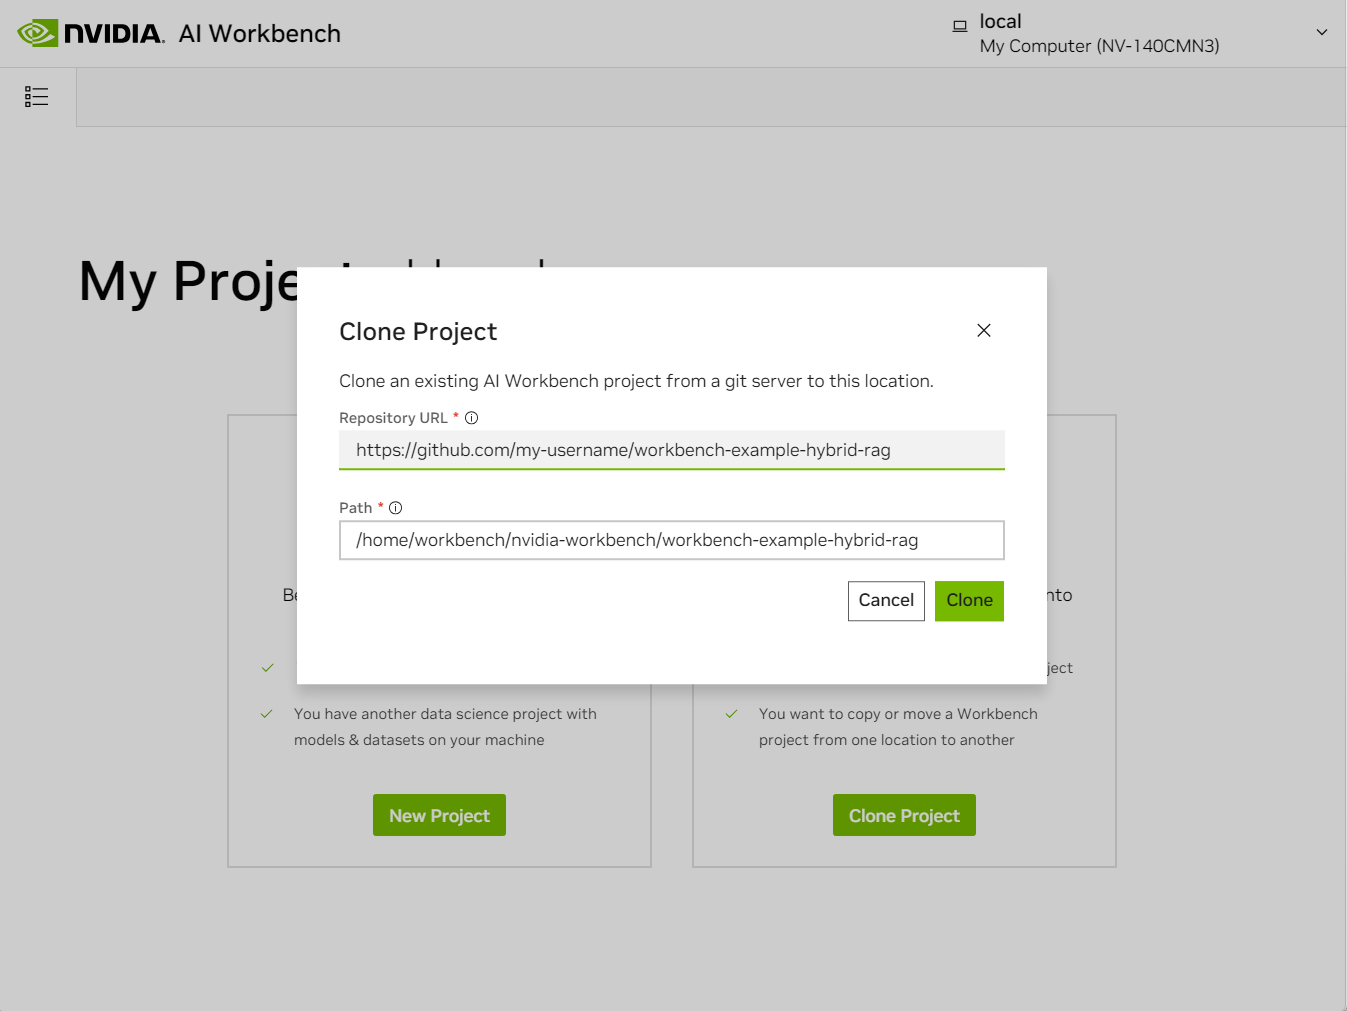
Clone the Hybrid RAG Project from GitHub. In AI Workbench, select Clone Project, then enter the repository URL to start the cloning process.
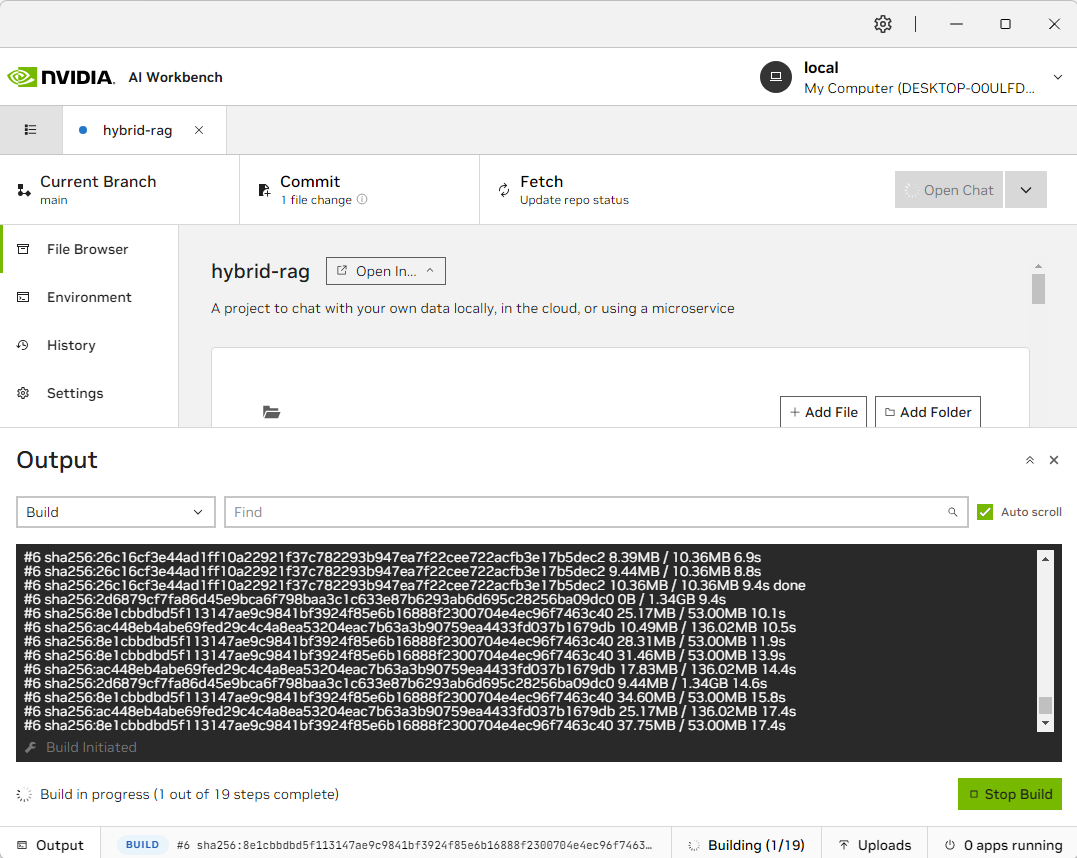
AI Workbench will take a few moments to pull down the repository. You can view the progress by clicking on the bottom status bar.
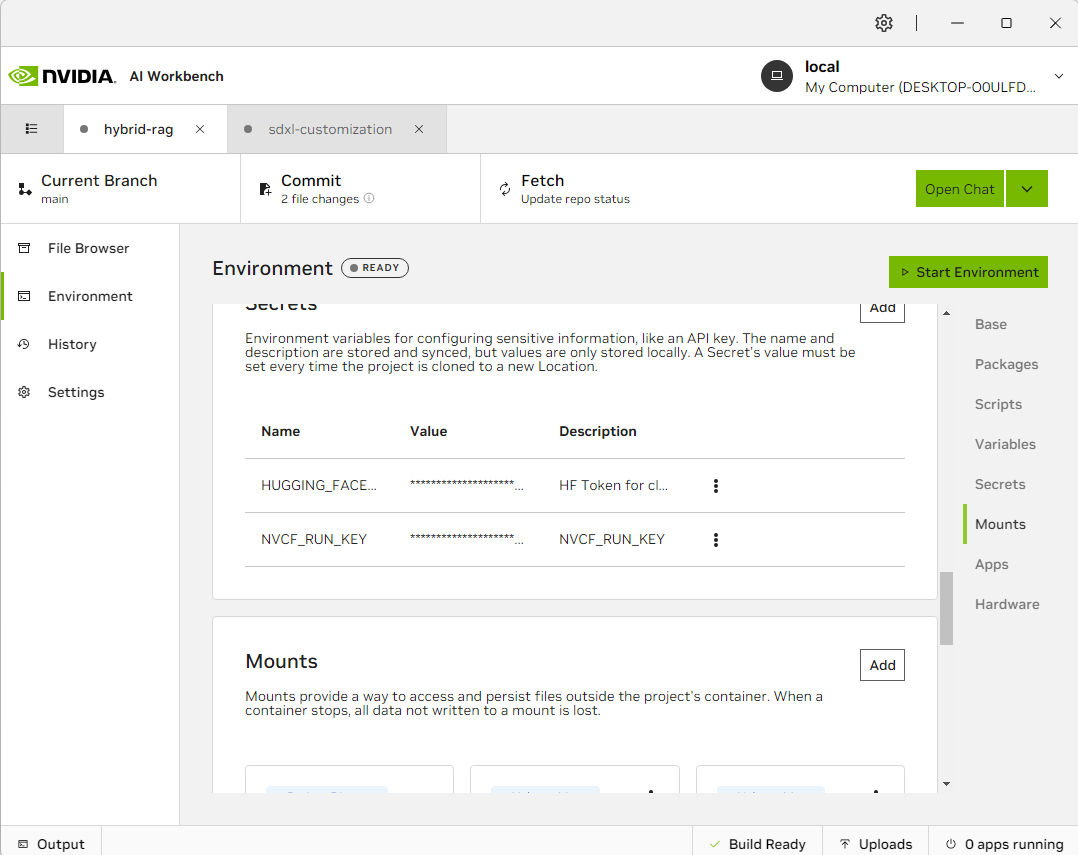
Once the build is completed, click the Environment tab on the left and scroll down to Secrets. To use the VM’s computing power for RAG inference, you are not required to have access to NGC but may need to enter a dummy value into the NVCF_Run_Key box (i.e., “asdf”). By doing this, you cannot use the cloud for inference. This guide will also utilize Llama-3-8B, a gated LLM. Create a HuggingFace account and request access to the LLM. Once done, you must create a new entry named HUGGING_FACE_HUB_TOKEN under Environment and enter your Huggingface Access Token.
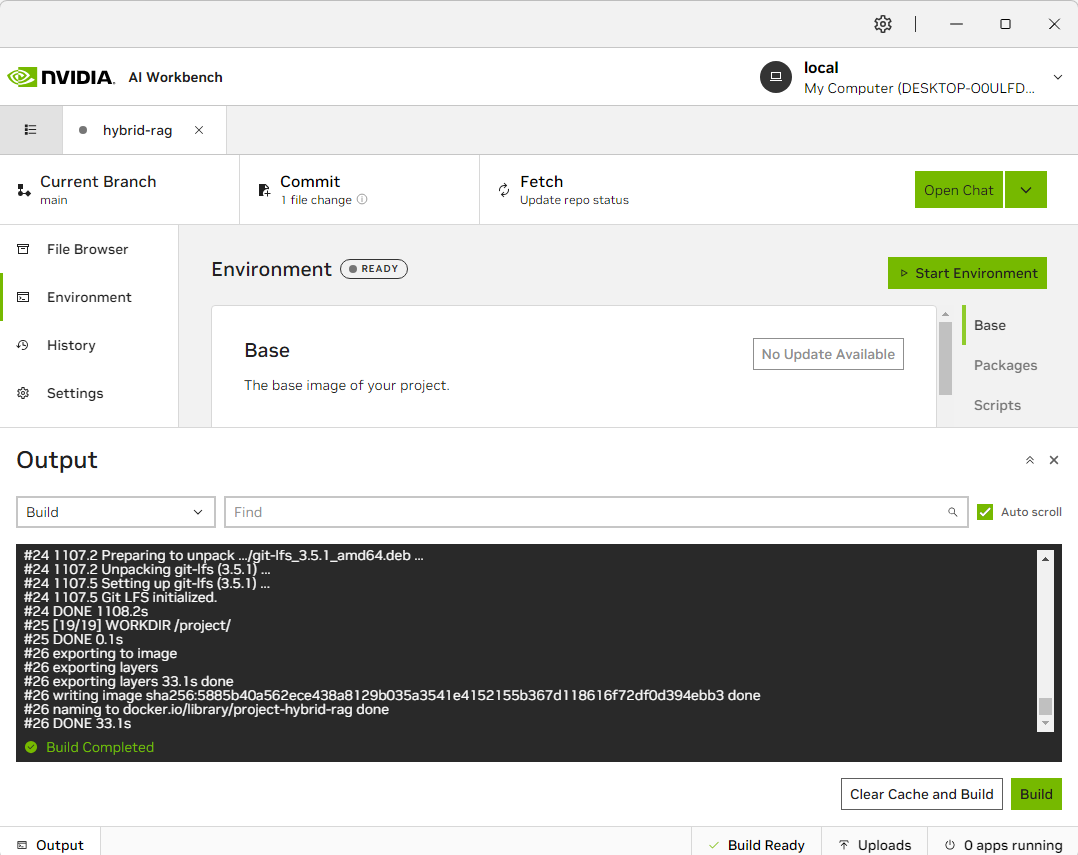
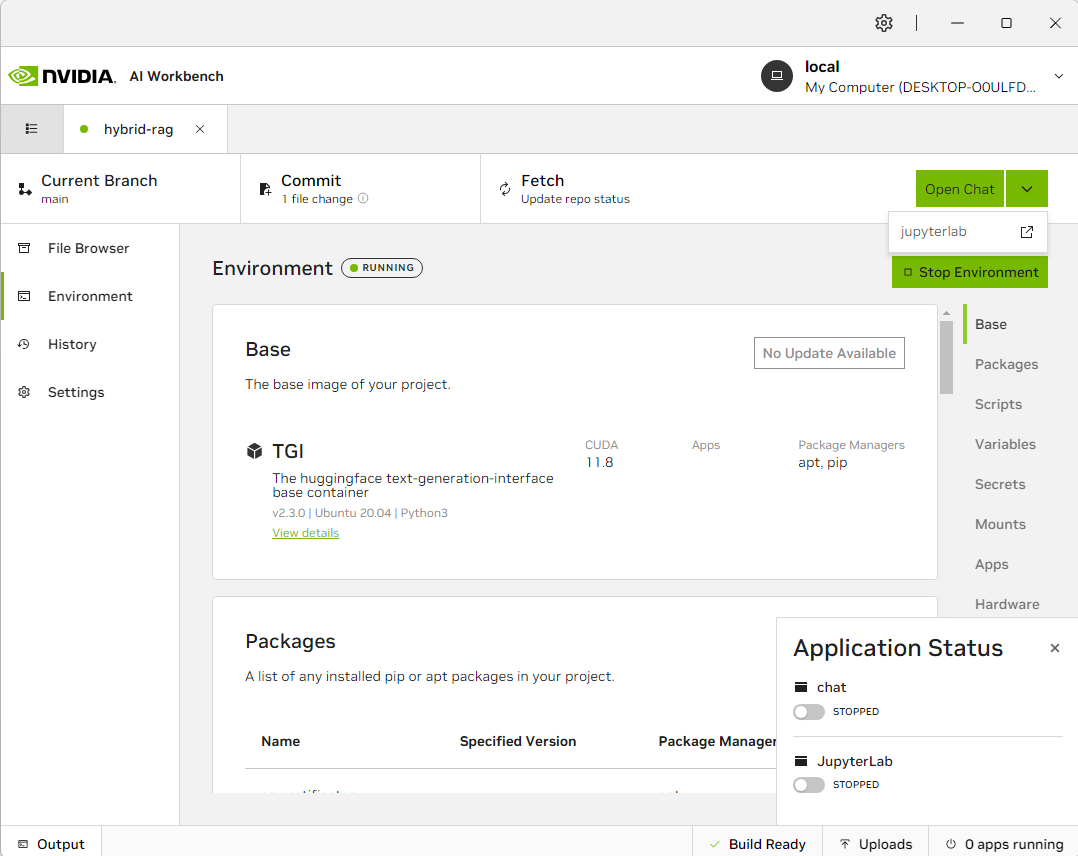
Once the secrets are entered, click Start Environment on the top right. This will start the container service for this model.
Once the container is started, select Jupyter Notebook to configure the model or run Chat to start the inference server. You can also bring up the status of each application by clicking on the status bar at the bottom right.
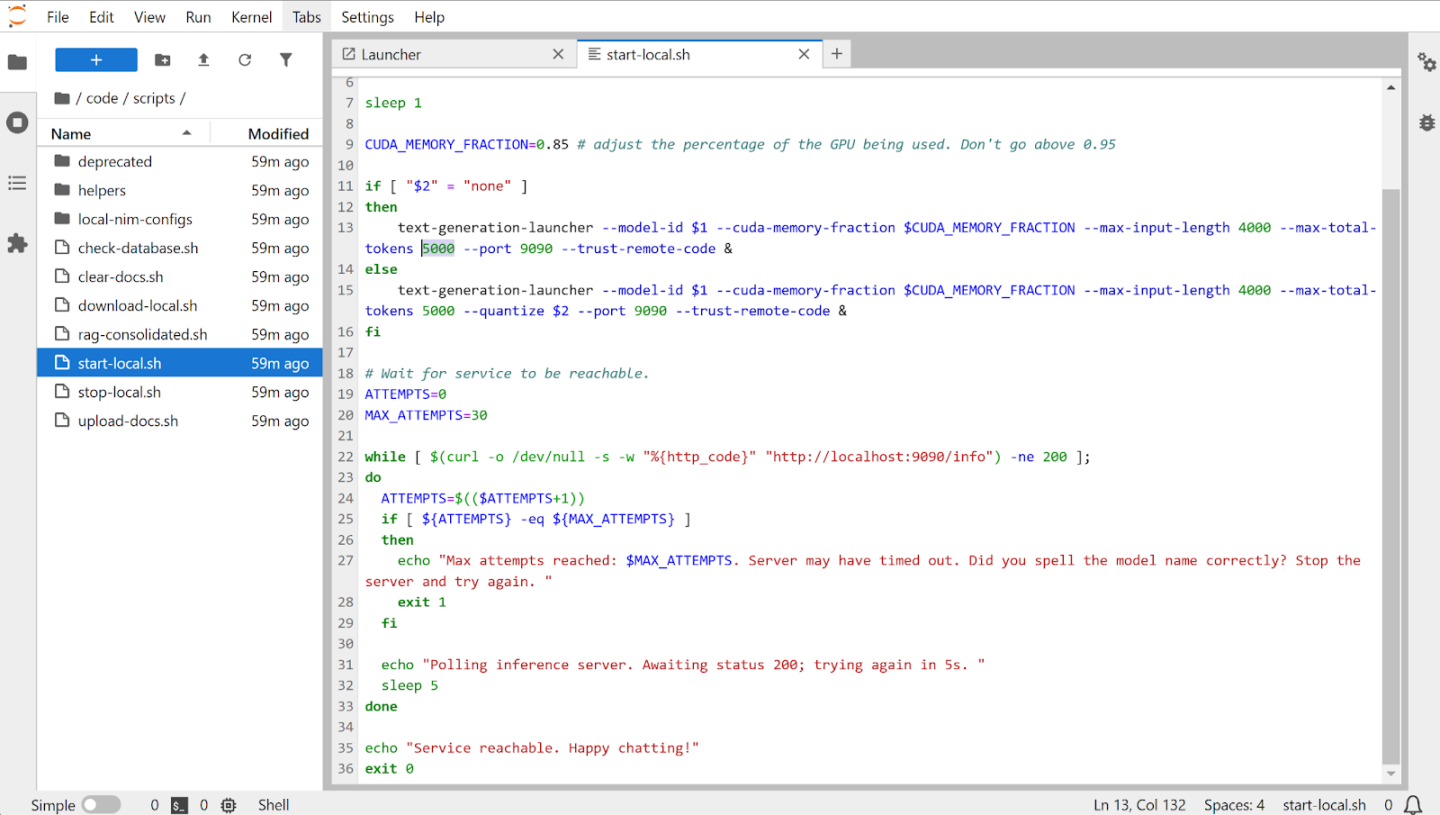
With AI Workbench, you can easily use the Jupyter Notebook function to alter and customize the RAG application. In the following screenshot, we adjust the maximum total tokens by accessing the start-local.sh file in Jupyter Notebook. Increasing the number of maximum tokens means the RAG server can support longer responses.
There are plenty more options to customize for the RAG Application. Learn more about all the available options for this RAG application here.
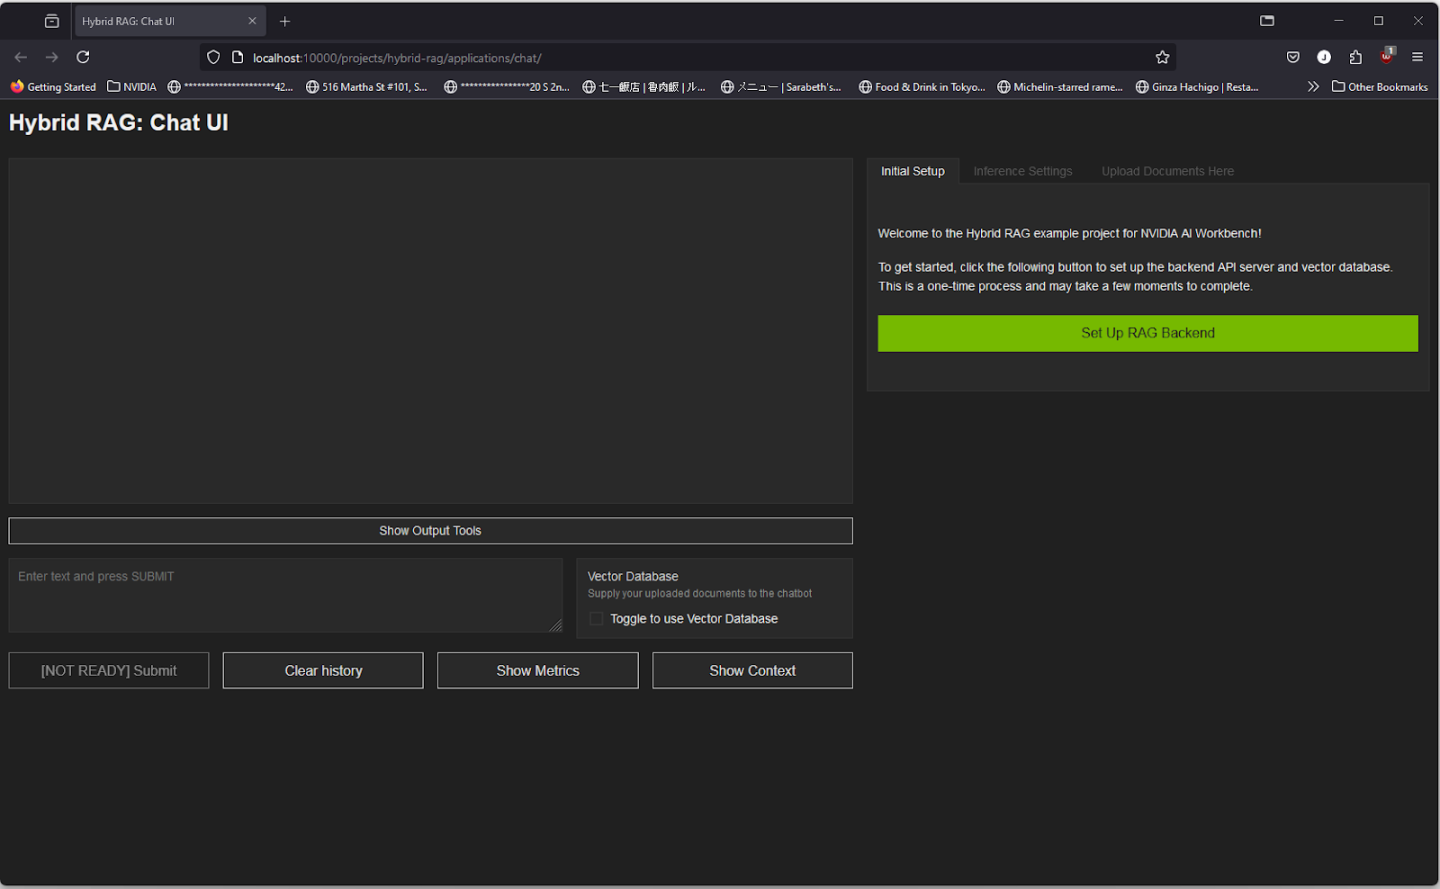
Now, the application is ready. It will open up as a webpage on your preferred browser. To initialize the RAG server, click Set Up RAG Backend on the right, starting the vector database.
We will use the local system for inference. Select Local System under Inference Mode, then uncheck the box for Ungated Models, check the box for Gated Models, and select meta-llama/Meta-Llama-3-8B-Instruct. Quantization will depend on your system configuration. In this guide, we will use 8-bit quantization. Once finished configuring the RAG server, click Load Model.
Using the local inference model also means no internet connection is needed once the model is loaded—all inferences and RAG processes happen within the VM, and the virtual GPU fully accelerates them.
This will begin downloading the Llama-3-8B model. This process can take up to 90 minutes, depending on the internet connection. You can also view the progress by using the bottom status bar in the AI Workbench window.
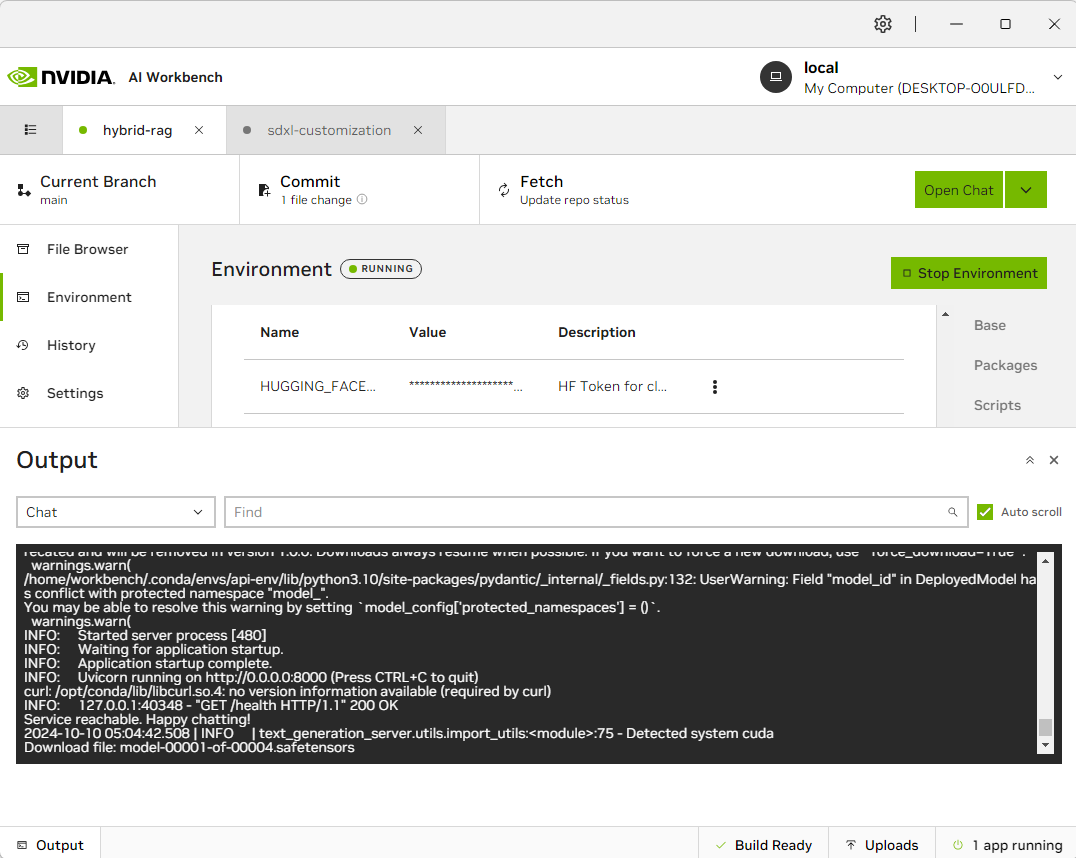
Once the model is loaded, click on Start Server to initialize the Chat server. It may take a few moments.
You may use the chat interface once the chat server is fully operational. To begin, let’s inquire about NVIDIA’s latest Blackwell GPU. As noted, since Llama3 was trained before the release of NVIDIA’s Blackwell, the Chat server cannot recognize Blackwell and cannot address our query.
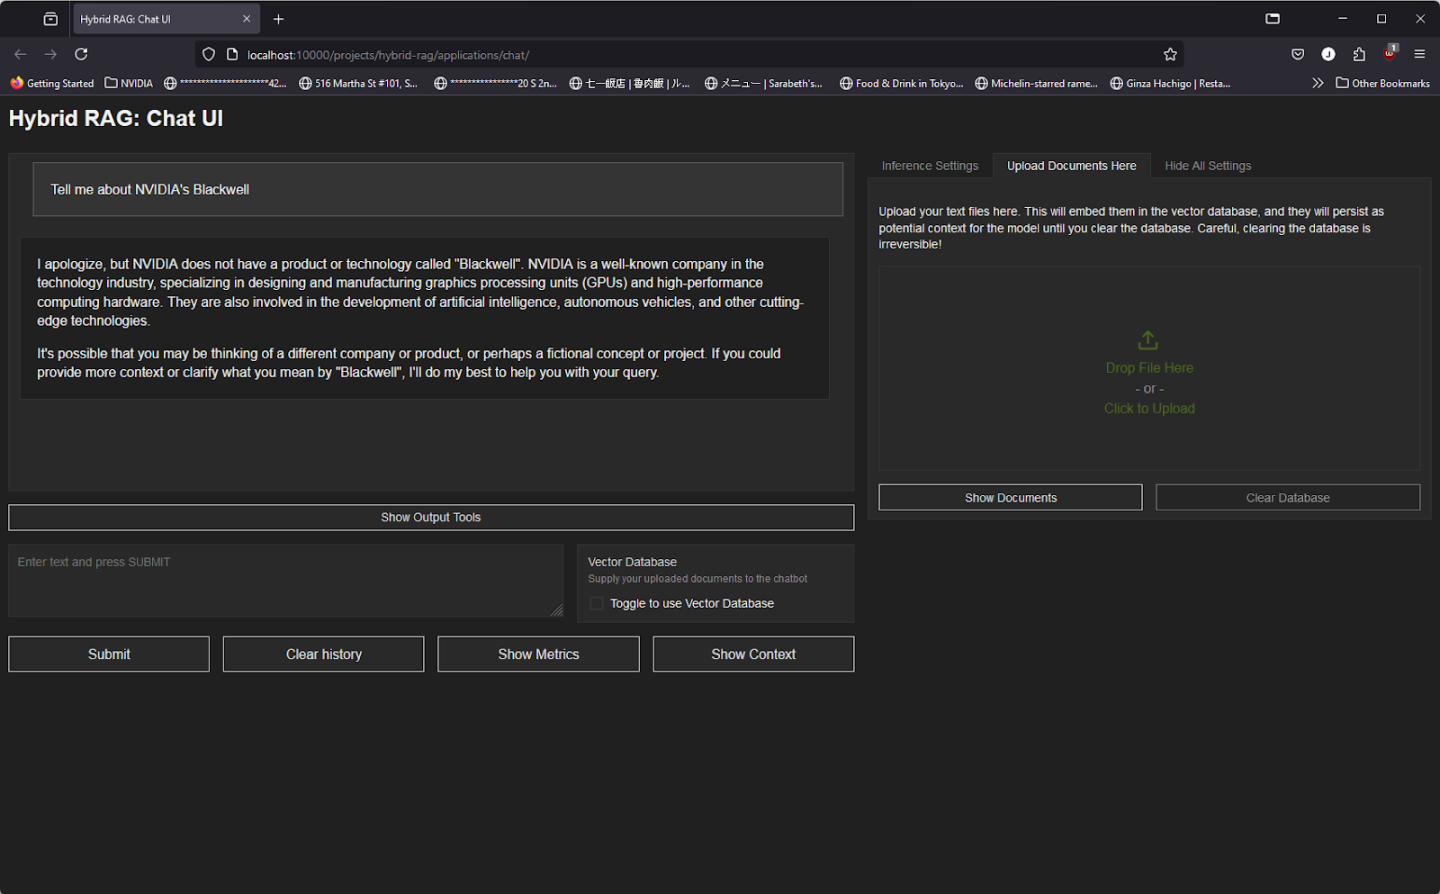
Now, let’s provide it with additional context by downloading NVIDIA’s press release on Blackwell GPU in PDF form. Once done, go back to the Chat server interface, select the “Upload Document Here” tab on the right side of the webpage, and Click Upload the PDF file we created earlier.
The RAG server may require a few moments to parse the data and feed it into the vector database. Once the RAG server has completed analyzing the document, we can pose the same question in the chat interface.
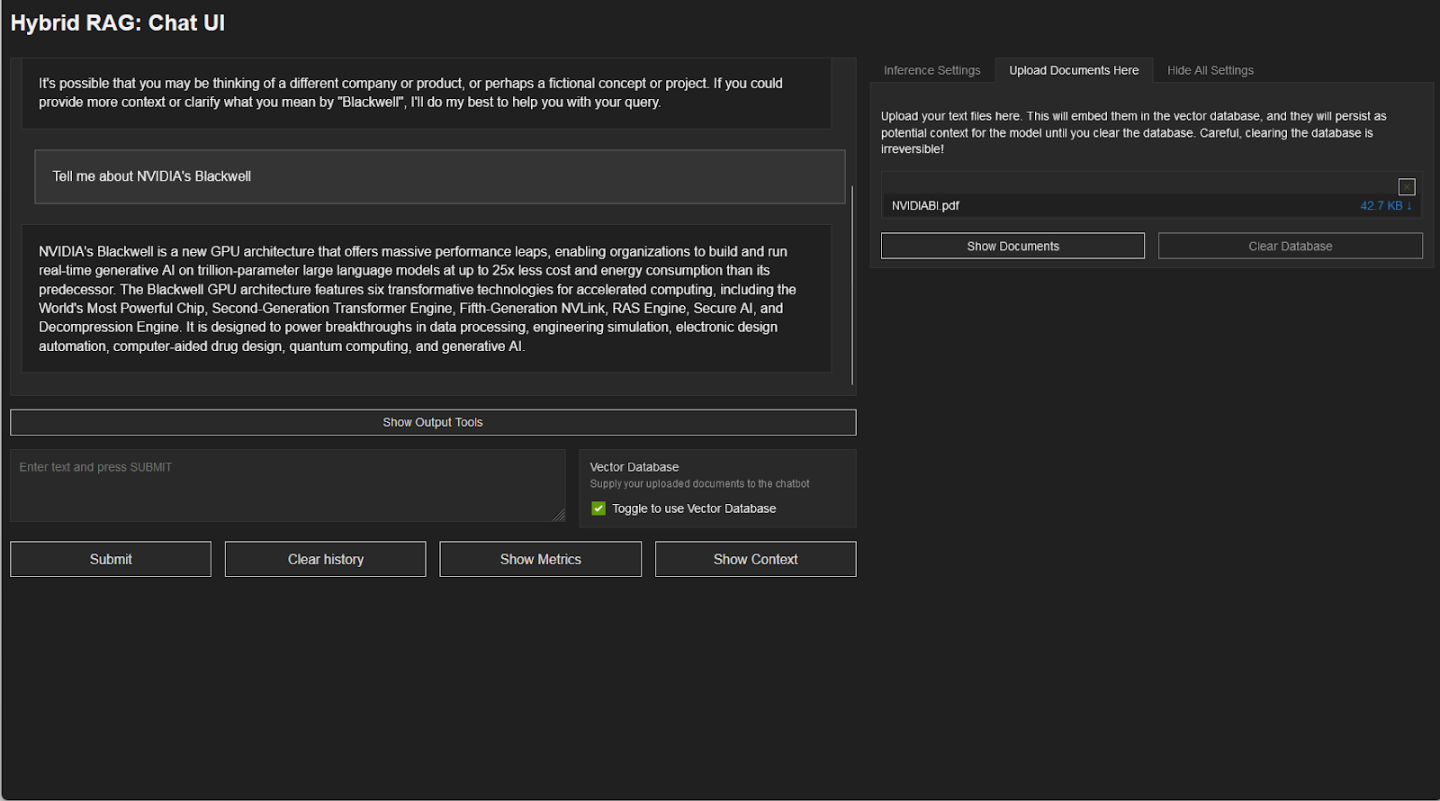
Now, the chat server can correctly describe the NVIDIA Blackwell GPU, complete with details of features that distinguish it from previous generations of GPUs.
With the vector database enabled, the model can now provide more pertinent information to our query without specifically being trained on this data. Additionally, the Show Context feature allows viewing the specific parts of the document the model used to generate its response.
For more information and tutorials, visit the GitHub page.