Quick Start Guide
This is the starting point to try out ACE Agent. Specifically, this Quick Start Guide enables you to deploy sample bots and interact with them.
Note
The sample bots illustrated in the documentation are meant for testing and demonstrating different capabilities of the NVIDIA ACE Agent. They are not optimized for best accuracy or performance.
Prerequisites
Before you start using NVIDIA ACE Agent, it’s assumed that you meet the following prerequisites. The current version of ACE Agent is only supported on NVIDIA data center GPUs.
You have access and are logged into NVIDIA GPU Cloud (NGC). You have installed the NGC CLI tool on the local system and you have logged into the NGC container registry. For more details about NGC, refer to the NGC documentation.
You have installed Docker and the NVIDIA container toolkit. Ensure that you have gone through the Docker post-installation steps for managing Docker as a non-root user.
You have access to an NVIDIA Volta, NVIDIA Turing, NVIDIA Ampere, NVIDIA Ada Lovelace, or an NVIDIA Hopper Architecture-based GPU.
You have
python >= 3.8.10andpip >= 23.1.2installed on your workstation.
Setup
Download the NVIDIA ACE Agent Quick Start scripts by cloning the GitHub ACE repostiory.
git clone git@github.com:NVIDIA/ACE.git
cd ACE
Go to the ACE Agent
microservicesdirectory.cd microservices/ace_agent
Set your NGC API key in the
NGC_CLI_API_KEYenvironment variable.export NGC_CLI_API_KEY=...
Deployment
The ACE Agent Quick Start package comes with a number of sample bots which can be found in the ./samples/ directory. In the Quick Start section, we will deploy the stock sample bot present at ./samples/stock_bot using the Docker Environment.
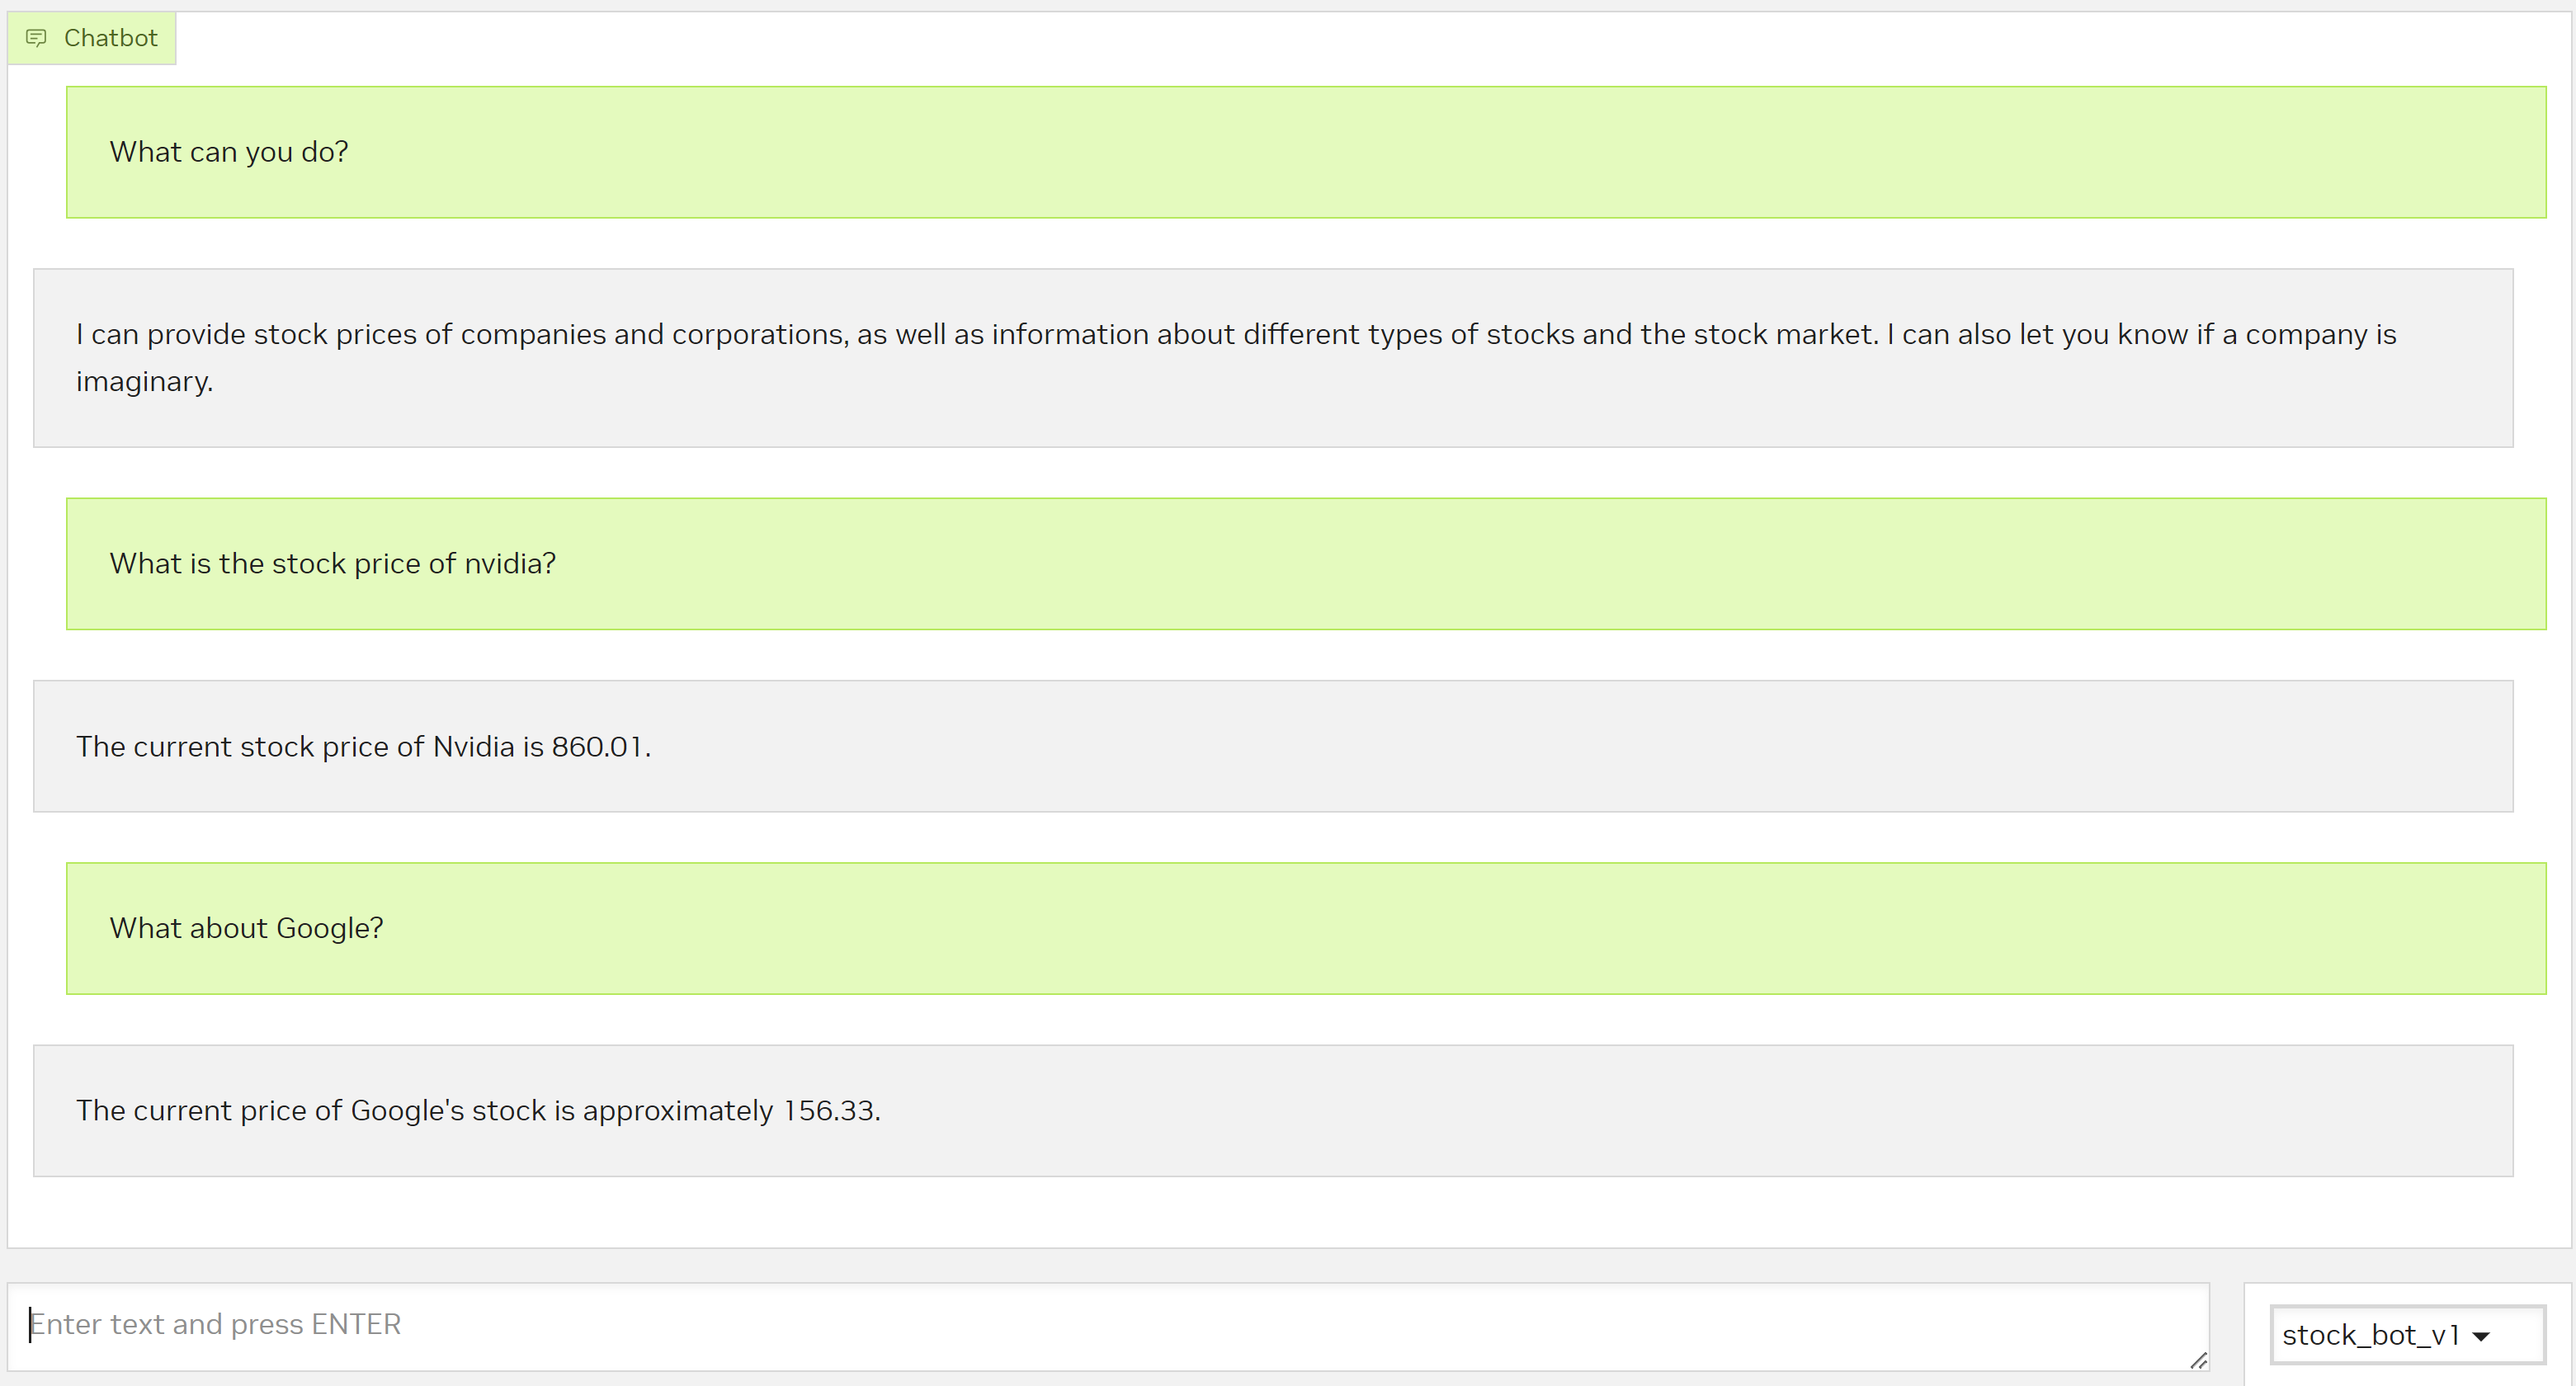
This is an example bot for retrieving live stock prices using Yahoo Finance API for a specified company or organization. This bot also provides answers to general queries related to the stock market and stocks. This bot only answers questions related to stock prices and the stock market and does not have the ability to answer any off-topic queries.
This bot uses the mixtral-8x7b-instruct-v0.1 model deployed via the NVIDIA API Catalog as the main model. The NVIDIA API Catalog provides 1000 free credits to get started. Alternatively, you can deploy the model on your own GPU infrastructure using NVIDIA NIM. NVIDIA NIM for LLMs brings state of the art GPU accelerated large language model serving.
Generate the API key for the NVIDIA API Catalog.
Navigate to the NVIDIA API Catalog.
Find the Mixtral 8x7B Instruct model card and click the card.
Click Get API Key and Generate API Key.
To try the bot out, set the
NVIDIA_API_KEYenvironment variable.
export NVIDIA_API_KEY="nvapi-XXX"
Deploy the sample bot for speech to speech conversations using the Docker Environment.
Bot configurations for the stock sample bot are present at
./samples/stock_bot/in the quickstart directory. Set theBOT_PATHenvironment variable relative to the current directory.export BOT_PATH=./samples/stock_bot/
Set the environment variables required for
docker-compose.yamlby sourcingdeploy/docker/docker_init.sh.source deploy/docker/docker_init.sh
Deploy the Speech and NLP models required for the bot which might take 20-40 minutes for the first time. For the stock sample bot, Riva ASR (Automatic Speech Recognition) and TTS (Text to Speech) models will be deployed.
docker compose -f deploy/docker/docker-compose.yml up model-utils-speech
Deploy the ACE Agent microservices. The following command deploys the Chat Controller, Chat Engine, Plugin server, and NLP server microservices.
docker compose -f deploy/docker/docker-compose.yml up speech-bot -d
Wait for a few minutes for all services to be ready. You can check the Docker logs for individual microservices to confirm. You will see log print
Server listening on 0.0.0.0:50055in the Docker logs for the Chat Controller container.
Try out the bot using a web browser. You can deploy a sample frontend application with voice capture and playback support as well as with text input-output support using the following command.
docker compose -f deploy/docker/docker-compose.yml up frontend-speech
You can interact with the bot using the URL
https://<workstation IP>:9001/.
For accessing the mic on the browser, we need to either convert
httptohttpsendpoint by adding SSL validation or update yourchrome://flags/oredge://flags/to allowhttp://<workstation IP>:9001as a secure endpoint.Alternatively, you can try using other sample clients packaged as part of ACE Agent Quick Start resource utilizing instructions from the Sample Clients section.
Stop deployment.
docker compose -f deploy/docker/docker-compose.yml down
Next Steps
For building bots similar to the sample Stock bot, refer to the Building a Bot using Colang tutorial section.
If you already have LangChain or LlamaIndex based agents or bots, you can quickly integrate with ACE microservices by following the Building LangChain-Based Bots tutorial section.
If your aim is to build a truly multimodal bot with much richer interactions, refer to the Building a Bot using Colang 2.0 and Event Interface tutorial section.
To understand more about the ACE Agent components and architecture, refer to the Architecture section.