Walkthrough: Project Dashboard for Onboarding, Monitoring and Managing Your Project#
This walkthrough introduces you to the Project Dashboard in NVIDIA AI Workbench <https://www.nvidia.com/en-us/deep-learning-ai/solutions/data-science/workbench/>__, where you can monitor and manage GPU usage, disk utilization, and project environment changes. For the full list of quickstarts, see Quickstart Guides.
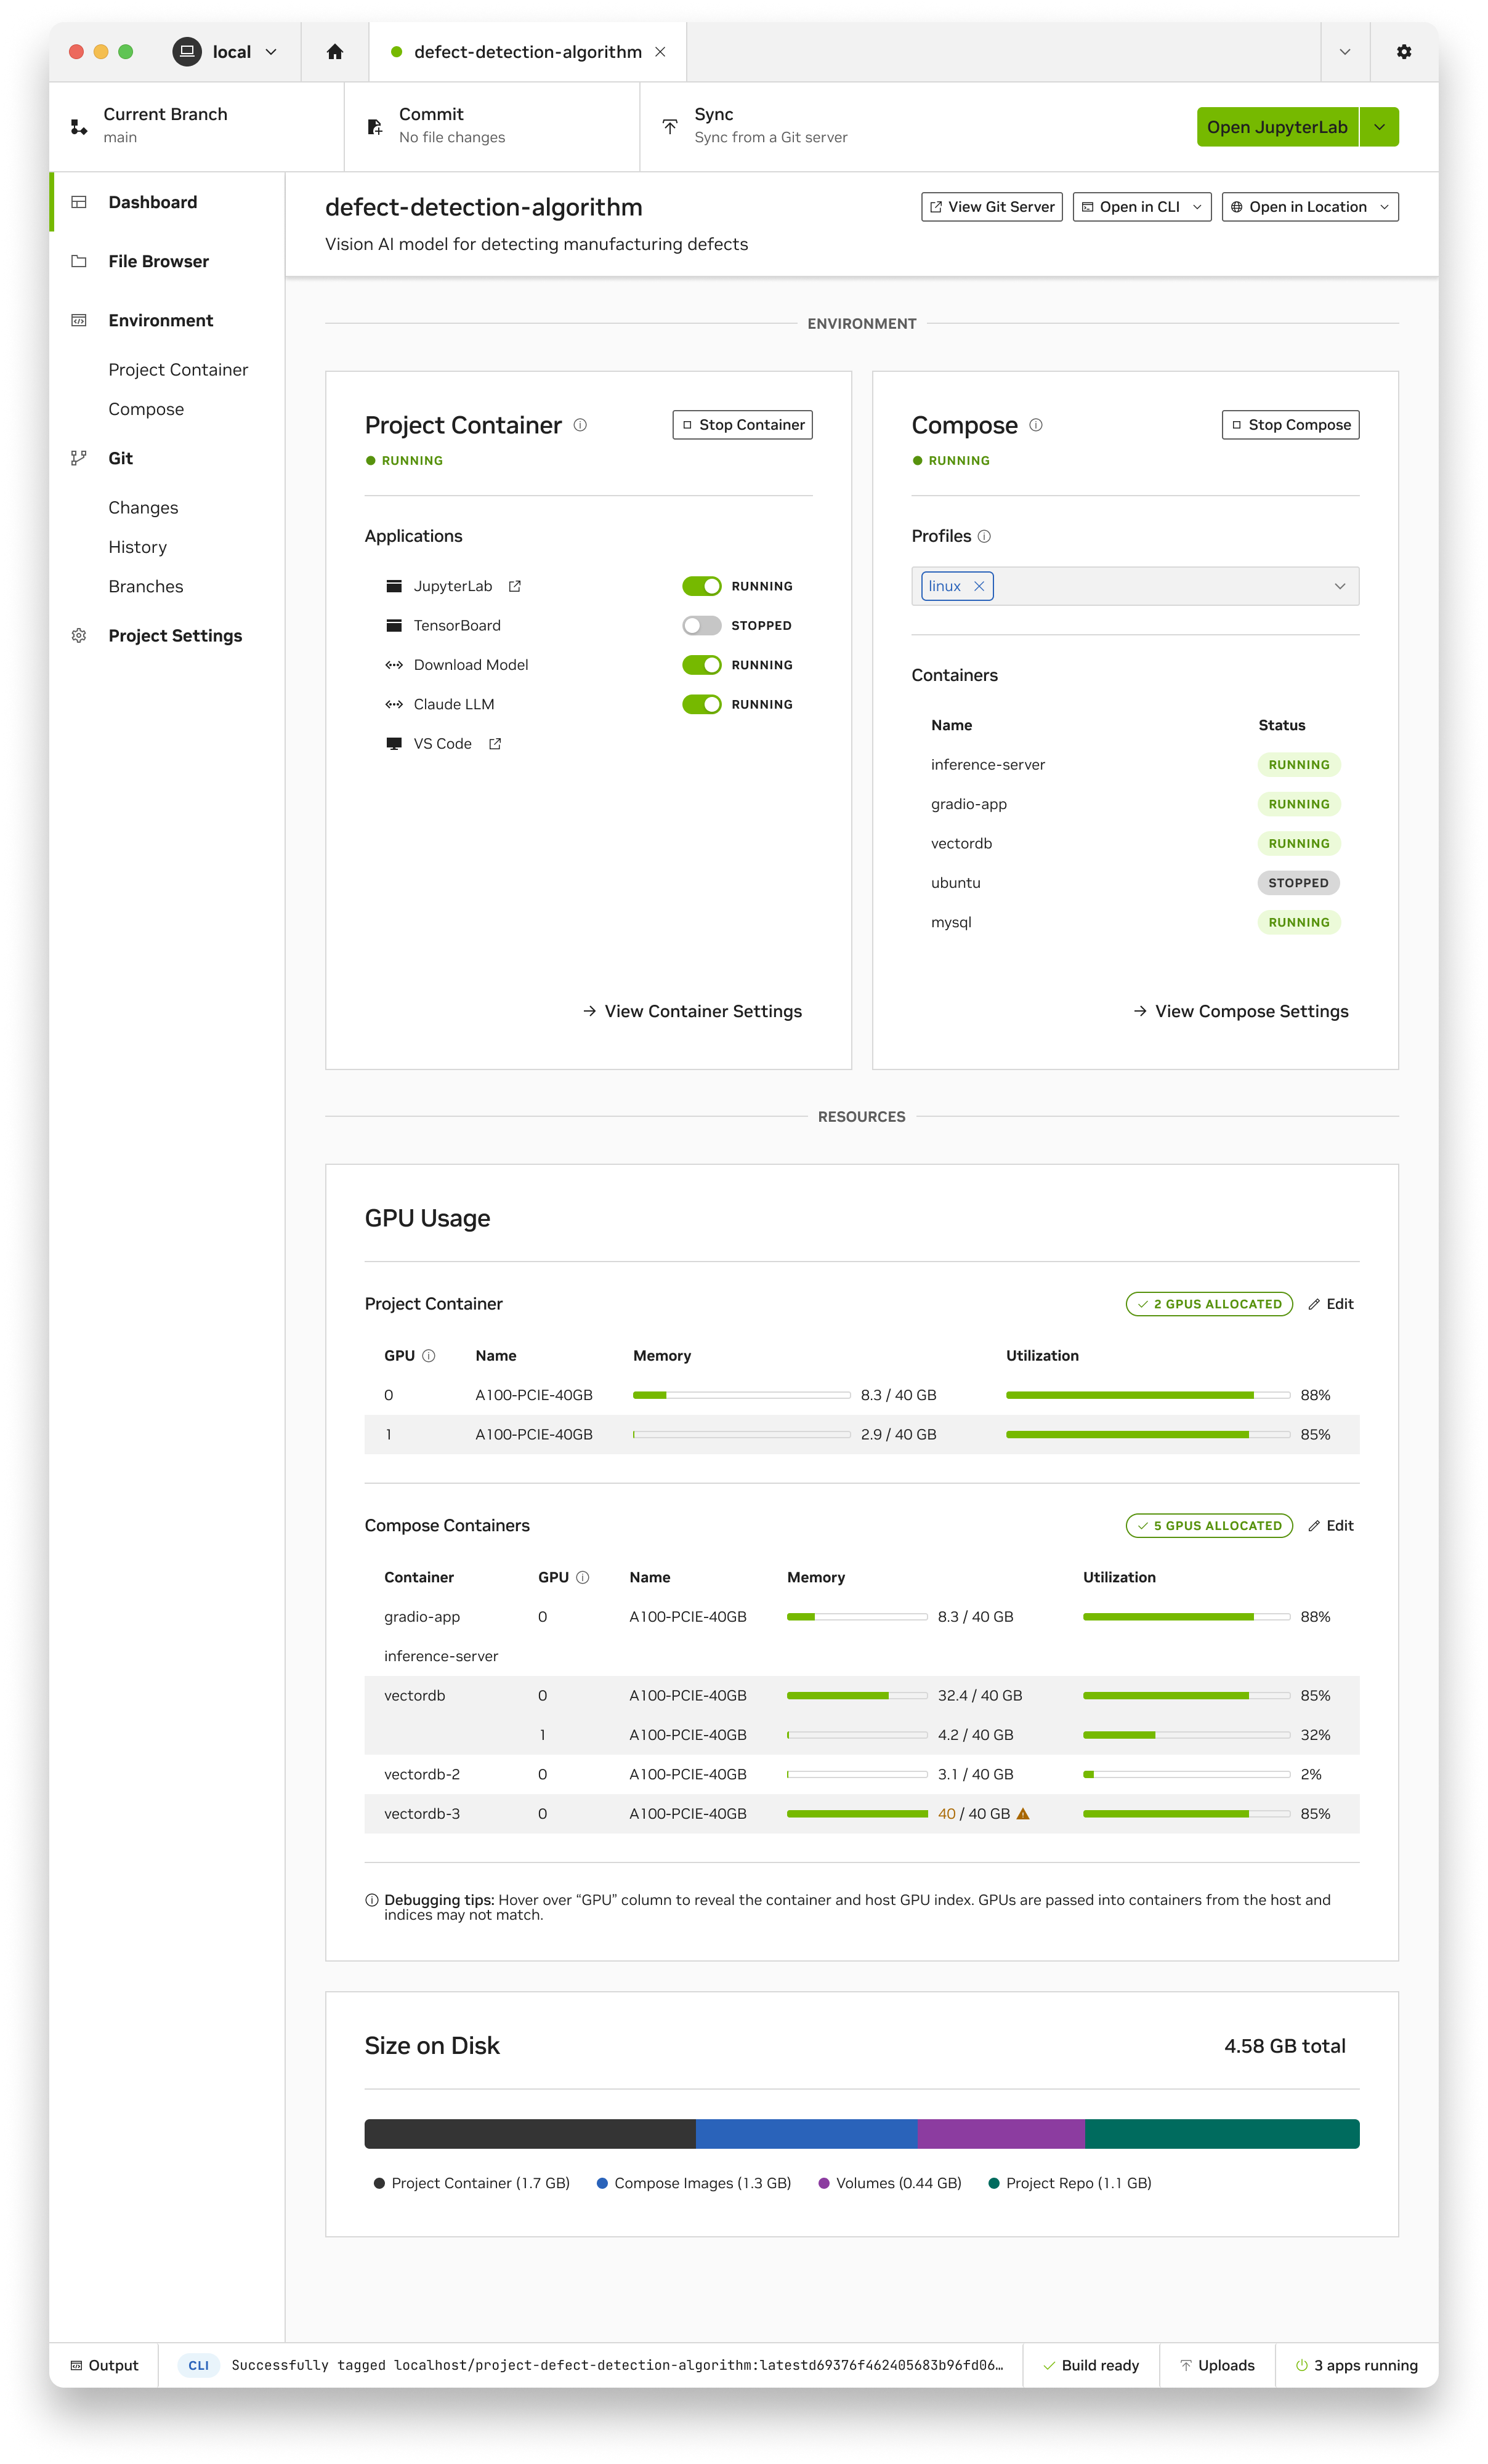
Each project in AI Workbench has a Project Dashboard—a central location to track project activity and get started quickly. This walkthrough will guide you through the Tutorial Project Dashboard, showing how to interact with key features.
In this walkthrough, you will use the AI Workbench Desktop Application to perform the following tasks:
Prerequisites#
Before starting, ensure you have the following:
NVIDIA AI Workbench is installed on your local system.
The Onboarding Project successfully cloned and available in your local Workbench. If you haven’t cloned it yet, either follow the instructions in The AI Workbench Onboarding Project and then learn how to use Git with the instructions in Version Control in AI Workbench.
Open the Tutorial Project#
Start AI Workbench and select the local location.
Open the Tutorial project from the list of available projects.
The Project Dashboard automatically opens, providing an overview of the project, system resources, and environment status.
Modifying the Get Started Section#
At the top of the Project Dashboard, the Get Started section provides onboarding instructions for new users.
This section pulls content from the project’s README file.
Only text under the ## Get Started markdown block appears in this section.
You can customize this section by editing the README file.
Try it out:
In the Project Dashboard, click View README to go to the file browser.
Click the three dots … on the right side to open a pop-up file editor for the README.
Locate the ## Get Started section in the markdown text. Delete the header but leave the rest of the text.
Click Save and return to the Project Dashboard. The Get Started section should be gone.
Reopen the README.md file, restore the ## Get Started header, and save it again.
Go back to the Project Dashboard—the Get Started section should reappear.
View Application State and Start and Stop Applications#
Your dashboard includes dedicated cards to help you manage your containerized environment and its associated applications. These cards give you an overview of the system’s current state and allow you to start and stop the individual components.
Go to the Project Dashboard - Locate the Applications section under the Project Container card.
Locate the application you want to manage.
To start the app, toggle the switch to Running or click the Start button.
To stop the app, toggle the switch to Stopped or click the Stop button.
The application’s status updates in real time, allowing you to monitor and manage workloads effortlessly.