Running Parabricks on AWS
This guide shows how to run Parabricks on an EC2 instance on AWS.
Nvidia Clara Parabricks is an accelerated compute framework that supports applications across the genomics industry, primarily supporting analytical workflows for DNA, RNA, and somatic mutation detection applications. With industry leading compute times, Parabricks rapidly converts a FASTQ file to a VCF using multiple, industry validated variant callers and also includes the ability to QC and annotate those variants. As Parabricks is based upon publicly available tools, results are easy to verify and combine with other publicly available datasets.
More information is available on the Clara Parabricks Product Page.
Detailed installation, usage, and tuning information is available in the Parabricks user guide.
In this section, we will show how to start an EC2 instance on AWS.
Begin by navigating to the EC2 console on AWS. The page should look something like this:
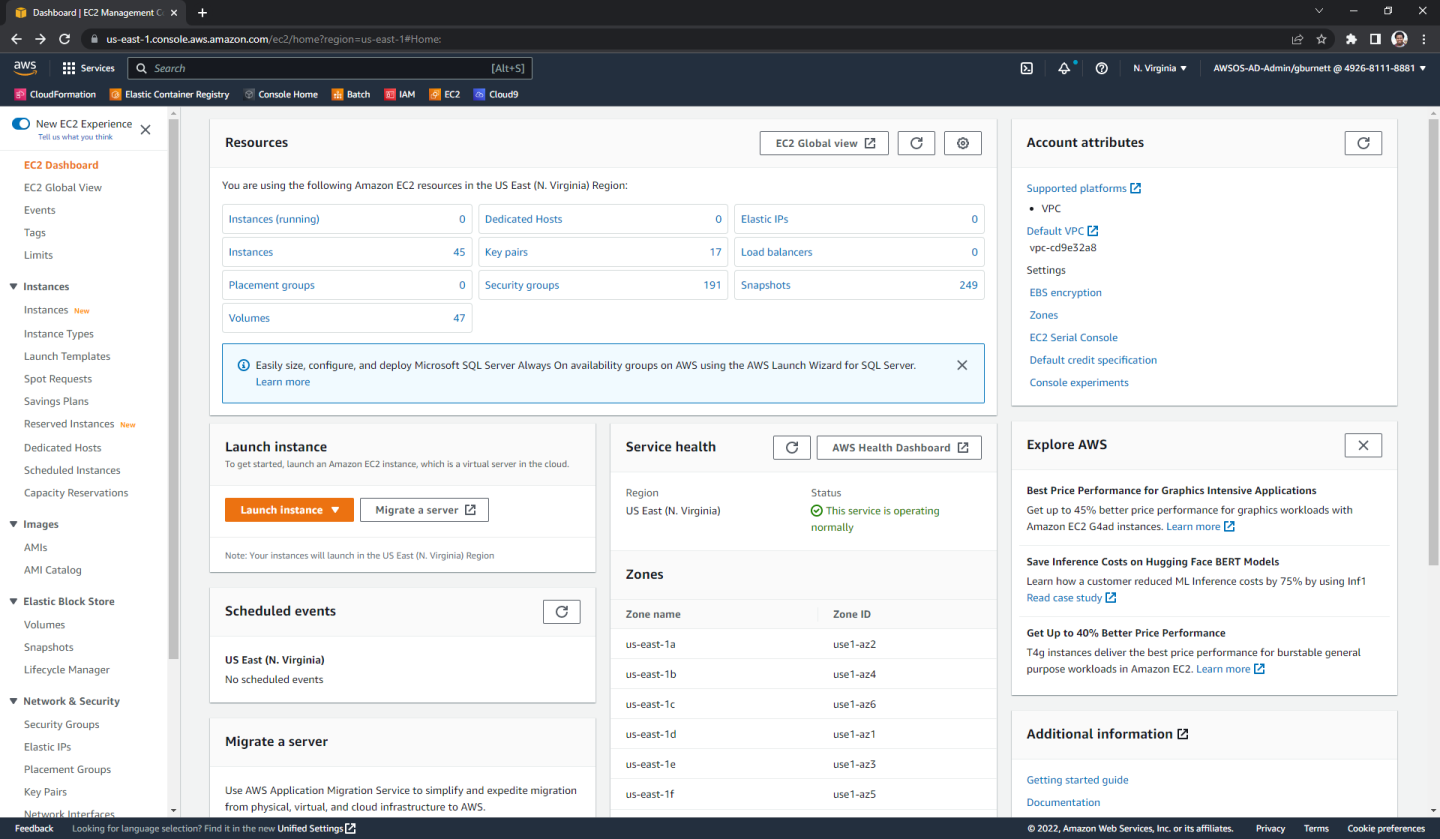
In the left sidebar under “Instances” click “Instances”. Here we can see all the instances we have created. Let’s create a new one where we will install Parabricks, by clicking “Launch instances” in the top right.
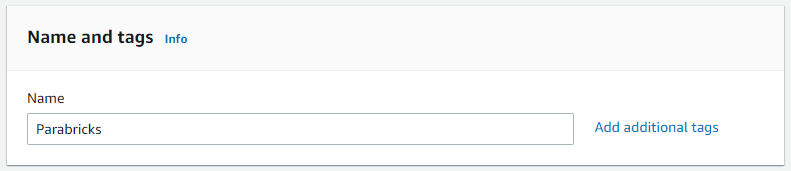
In this guide, we will name our instance “Parabricks” but it can be named anything.
We will use an Amazon Machine Image (AMI) that has all the software requirements for Parabricks. Under “Application and OS Images” search “Deep Learning AMI” and select any recent version.

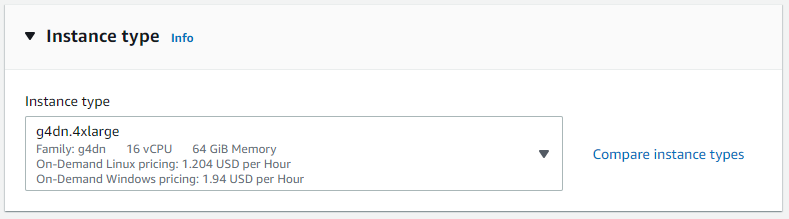
For installing and testing Parabricks, we will need an instance with at least 1 GPU. Under “Instance type” select “Compare instance types”. In the search bar type “g4dn.4xlarge” and select that instance type from the list of options. This instance has 1 NVIDIA T4 GPU with 16 vCPUs and 64 GB of RAM. Read more about g4dn instances on the AWS documentation.
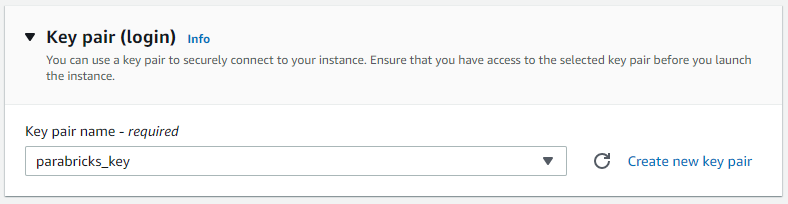
We need to select a key pair if we want to use SSH to log into the instance. For this tutorial, we will be logging into the instance using “EC2 Instance Connect” which does not require a key pair. In the “Key pair” dropdown, we will select the first options “Proceed without a key pair”.
However, if you do want to generate a key pair, select “Create new key pair”, give the key pair a name, and select “Create key pair”. The key will automatically download. Save this for a later step.
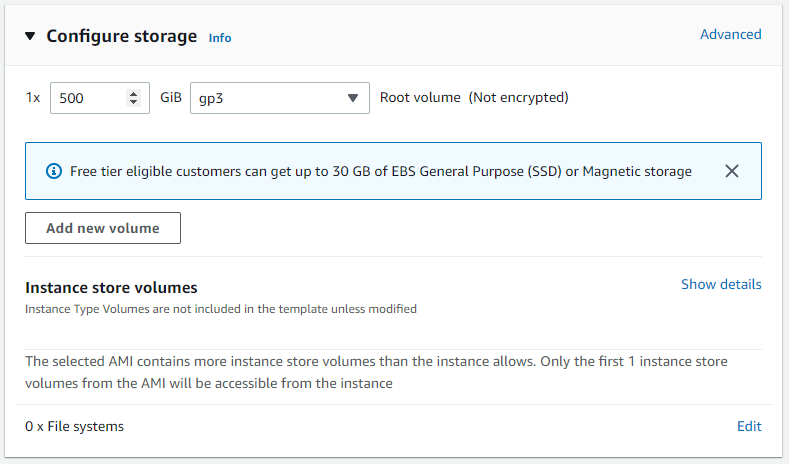
Lastly, we must increase the storage quota so that when we download and run our test data, we have enough disk space. Under “Configure storage” change the default Root volume size to 500 GB.
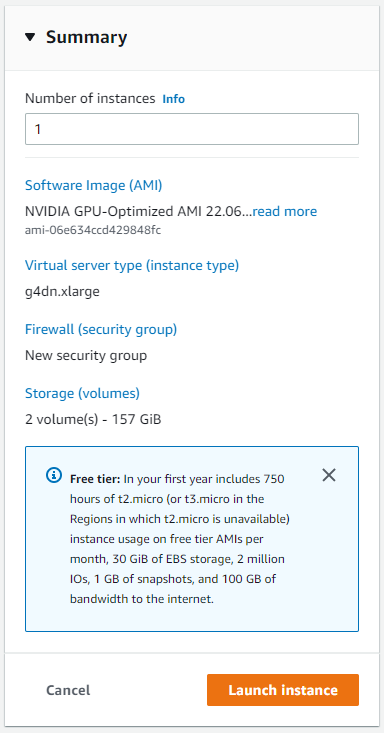
Our instance is ready to be launched now. Select “Launch instance”.
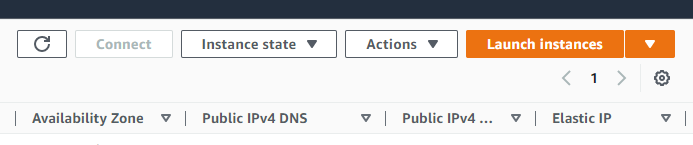
The instance should begin to launch. Navigate back to the “Instances” section of the left side panel and select “Instances" to confirm that the instance is running.

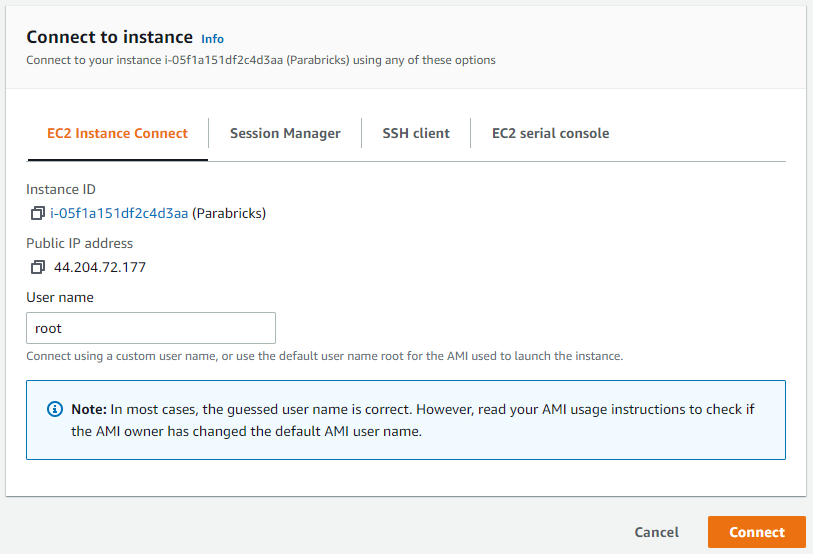
Click on the checkbox next to the instance and a box will appear in the top right saying “Connect”. Click that button. If you generated a key pair in the previous steps, you can use it to connect using the SSH client. However, we will be connecting using “EC2 Instance Connect” which does not require a key-pair. Click connect.
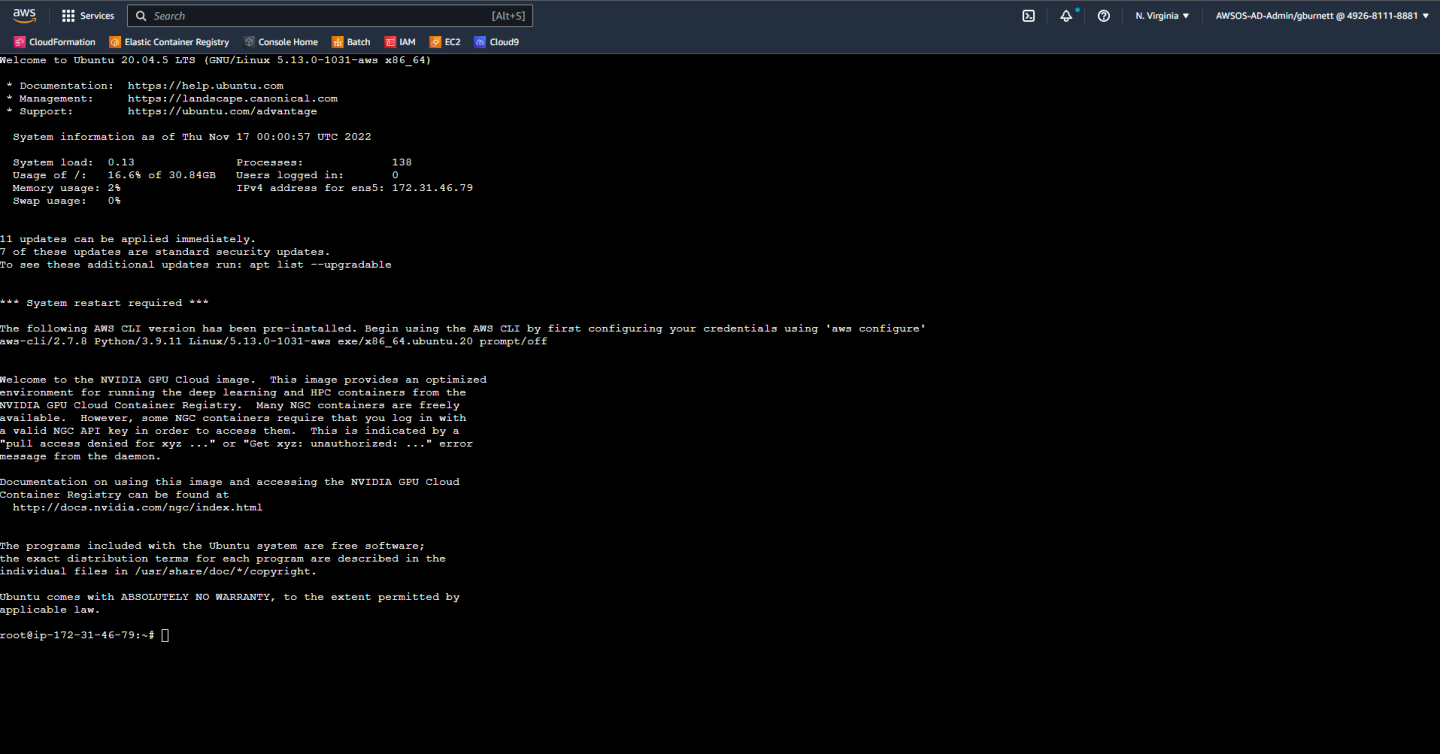
We are now greeted with a full terminal with our NVIDIA GPU-Optimized AMI pre-installed. We are not ready to start installing Parabricks.
We will install Parabricks into our instance that we just created. To do this, we will use the NVIDIA GPU Cloud (NGC) to download the Parabricks Docker image.
Visit the Parabricks page on NGC to get the Docker pull command for the latest version of Parabricks.
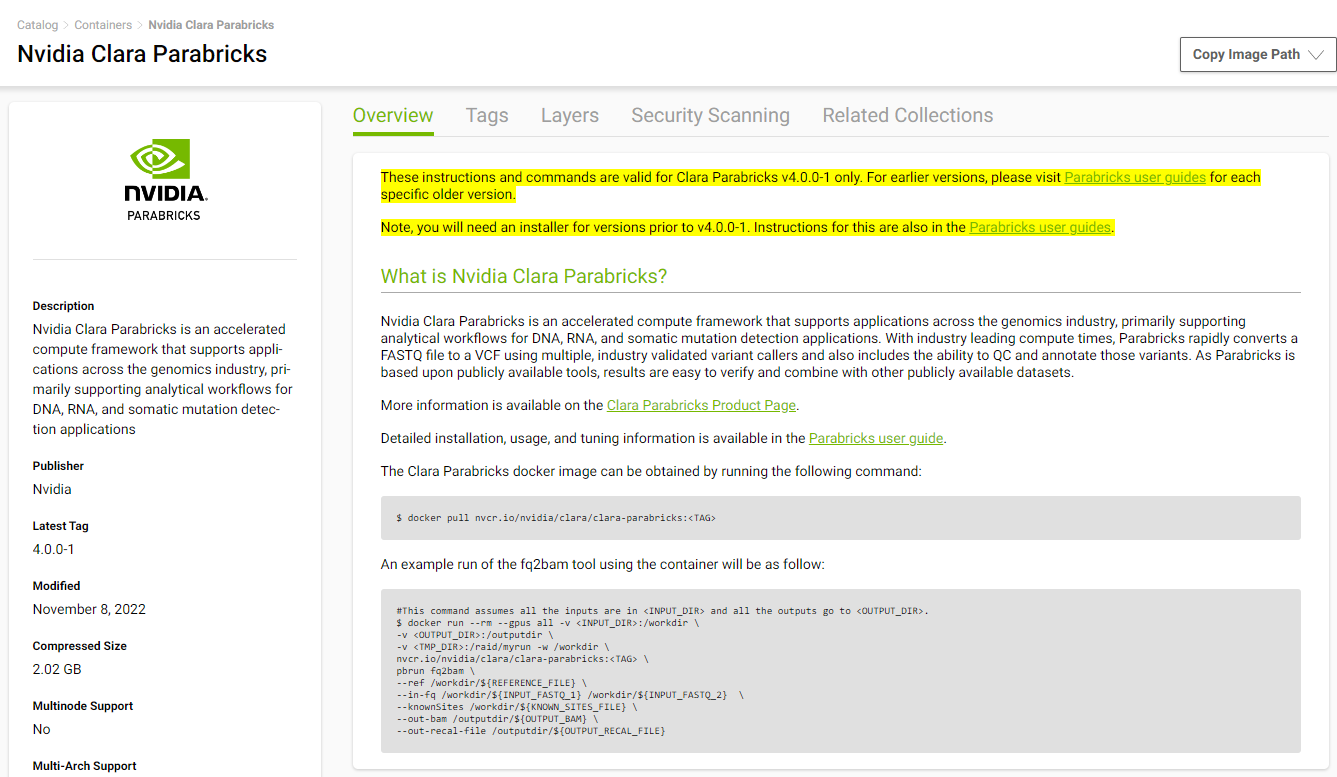
Back in our EC2 instance, let’s run the docker pull command:
docker pull nvcr.io/nvidia/clara/clara-parabricks:4.1.0-1
Now Parabricks is installed! Let’s run some sample data to test it.
Parabricks provides a small sample dataset as a test for the installation and hardware which can be downloaded using:
            wget -O parabricks_sample.tar.gz \
    "https://s3.amazonaws.com/parabricks.sample/parabricks_sample.tar.gz"
When the download completes, we can untar the data using:
tar xzvf parabricks_sample.tar.gz
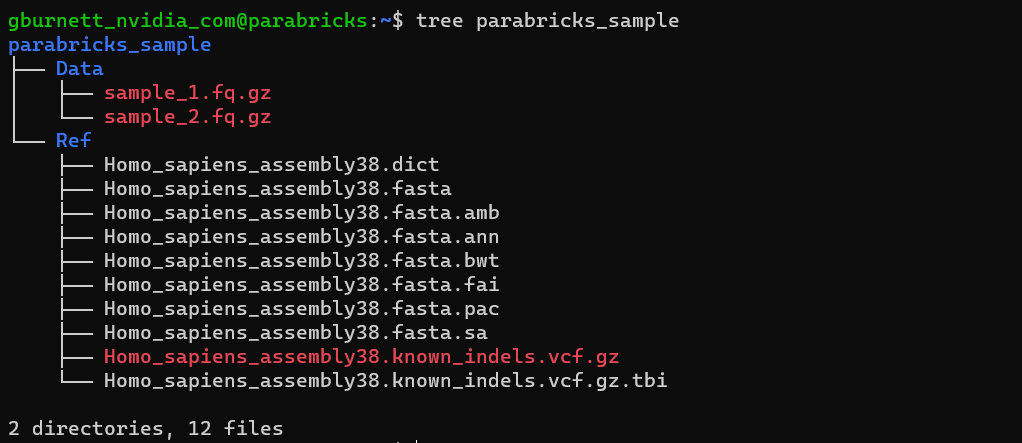
The parabricks_sample folder should look like this when we’re done:
Finally, we can run any of the Parabricks pipelines on it. Let’s run the germline pipeline using the following command:
             docker run --rm --gpus all \
     -v `pwd`:`pwd` \
     -w `pwd`/parabricks_sample \
     nvcr.io/nvidia/clara/clara-parabricks:4.1.0-1 \
     pbrun germline \
     --ref Ref/Homo_sapiens_assembly38.fasta \
     --in-fq Data/sample_1.fq.gz Data/sample_2.fq.gz \
     --knownSites Ref/Homo_sapiens_assembly38.known_indels.vcf.gz.tbi \
     --out-bam output.bam \
     --out-variants germline.vcf \
     --out-recal-file recal.txt
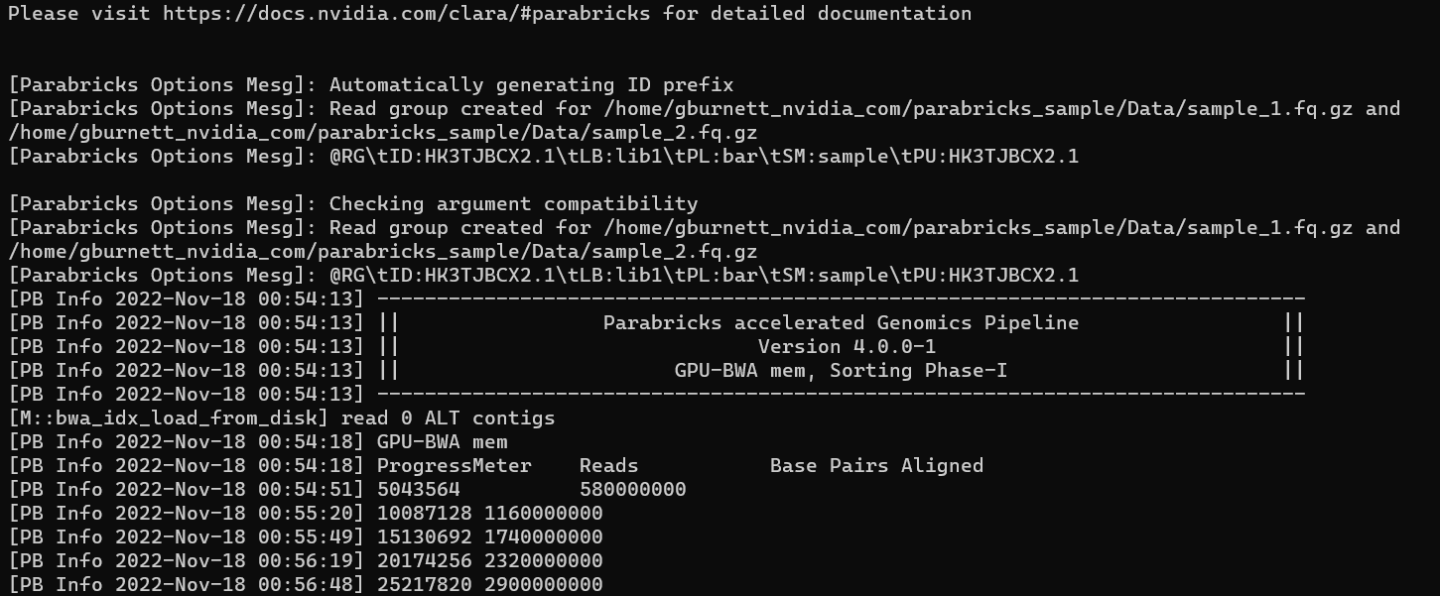
We can tell that Parabricks started correctly when we see the Parabricks banner and the ProgressMeter begins to populate with values:
This should take ~10 minutes to finish running. When it’s done, we should see the output files in the sample data directory:

Congratulations, we’ve just run our first Parabricks job!
We encourage you to expand on the demo in this guide by using your own data, trying other pipelines, and generally exploring what Parabricks has to offer. Check out the documentation for more information about the different pipelines available. You can also find our online developer community on the Parabricks forum, where you can ask questions and search through answers while you are learning how to use parabricks.