Running NVIDIA Parabricks on Azure
This guide shows how to run Parabricks on a compute instance on Azure.
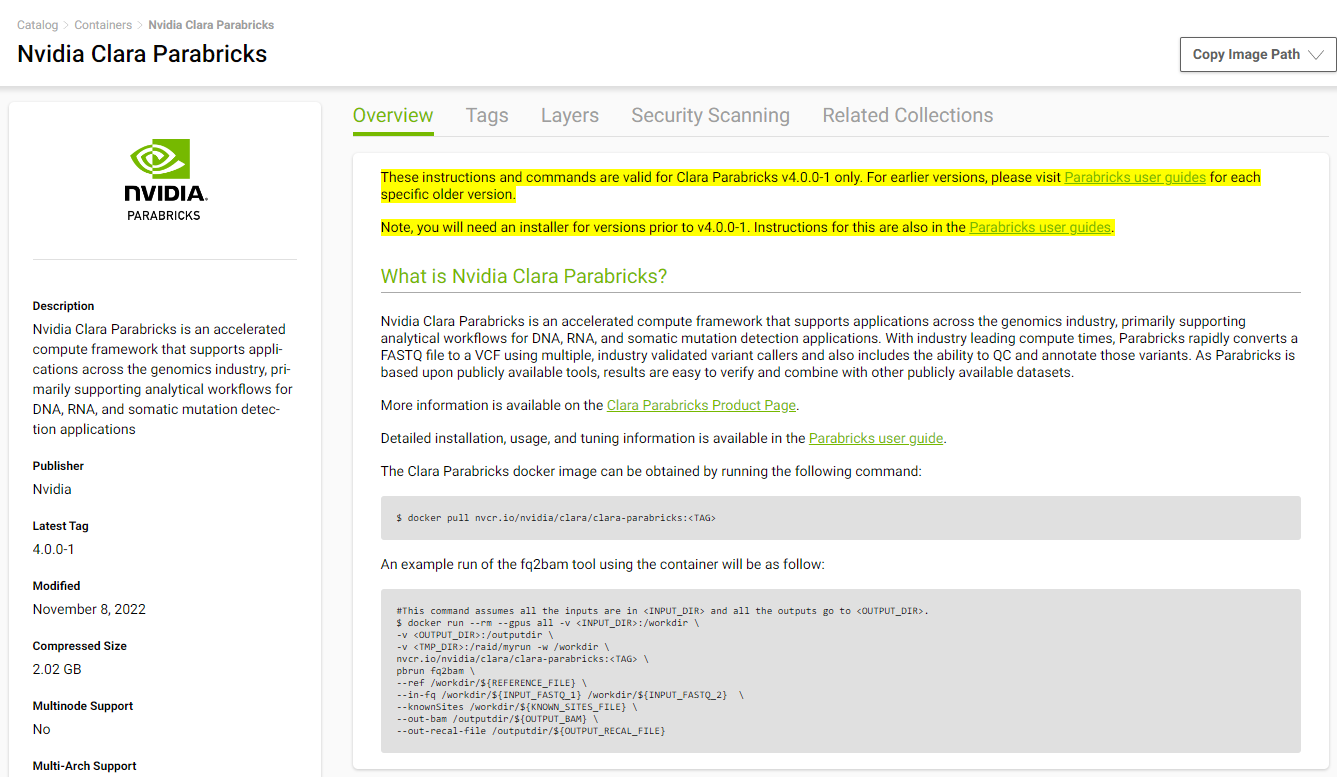
Parabricks is an accelerated compute framework that supports applications across the genomics industry, primarily supporting analytical workflows for DNA, RNA, and somatic mutation detection applications. With industry leading compute times, Parabricks rapidly converts a FASTQ file to a VCF using multiple, industry validated variant callers and also includes the ability to QC and annotate those variants. As Parabricks is based upon publicly available tools, results are easy to verify and combine with other publicly available data sets.
More information is available on the Parabricks Product Page.
Detailed installation, usage, and tuning information is available in the Parabricks user guide.
In this section, we will show how to start a Compute Instance on Azure.
Begin by navigating to the Azure Portal homepage and from the menu on the top left, select Virtual machines. This will take us to the Virtual machines page.
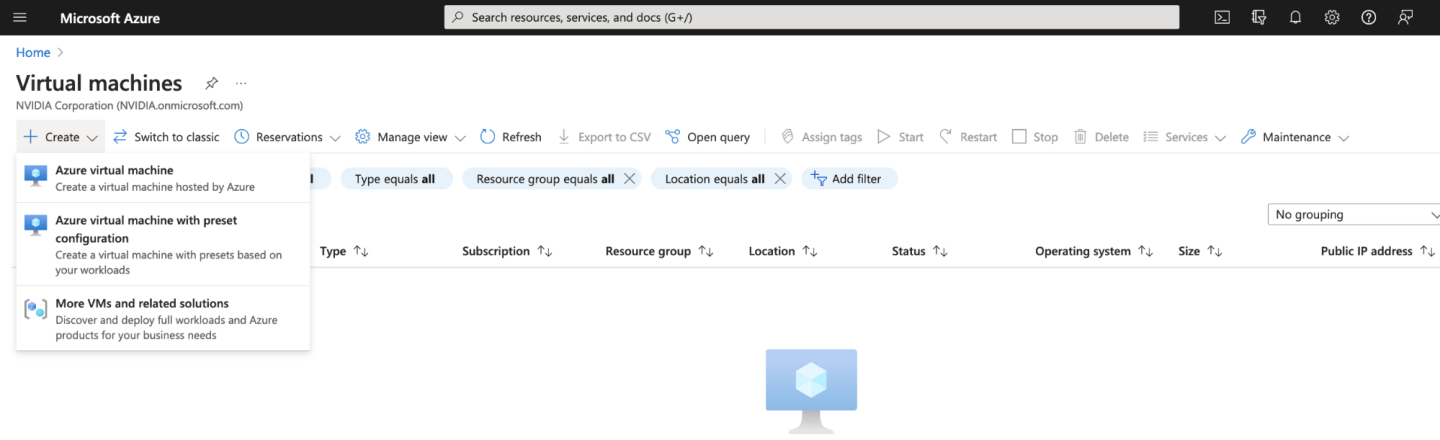
At the top of the page, select Create, and Azure virtual machine. Here we can configure all the settings for our Virtual machine. You will need to choose your Subscription, then choose or create a new Resource group. For our example we will create a Resource group called “Parabricks”.

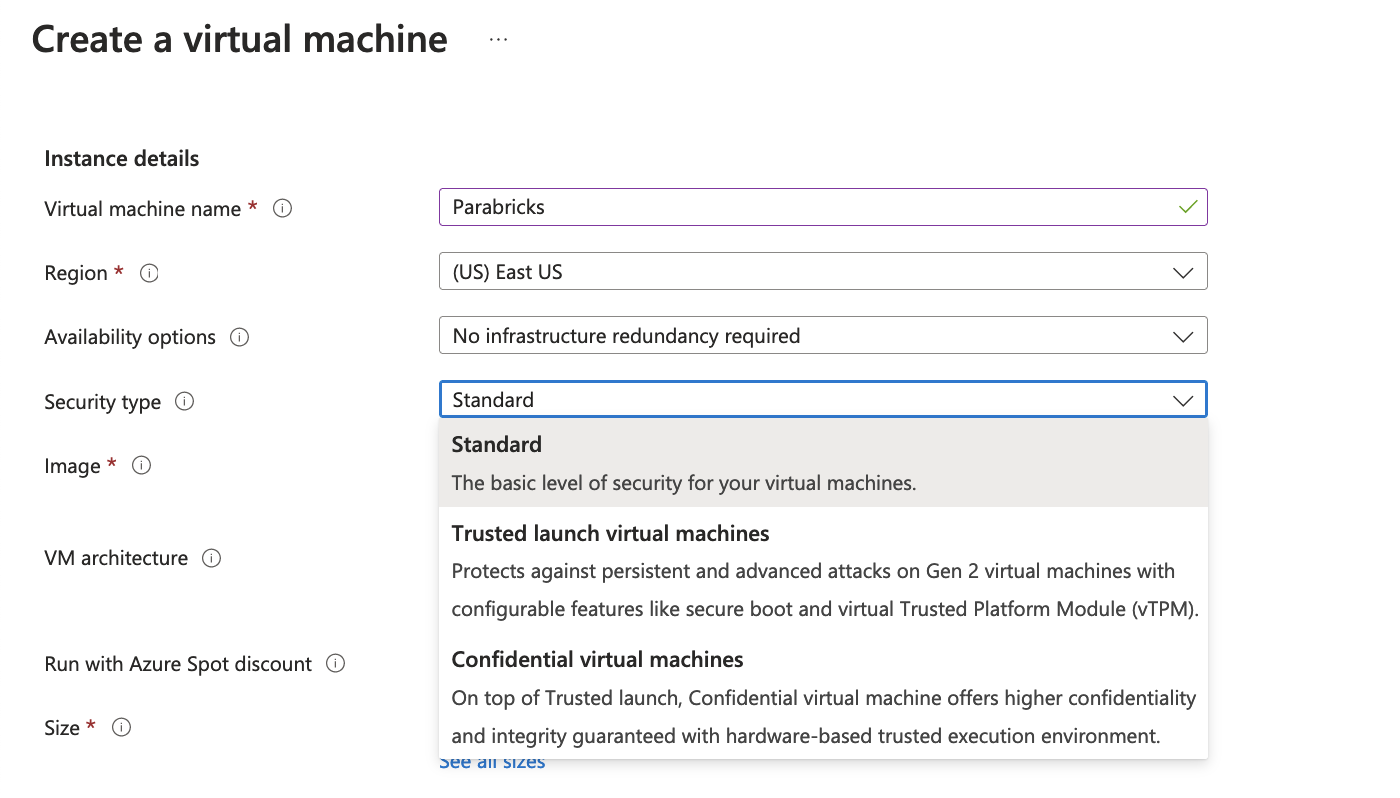
We then add the instance details, we will name our VM “Parabricks”, and select an appropriate region. We then choose the Security type as “Standard” as shown below.
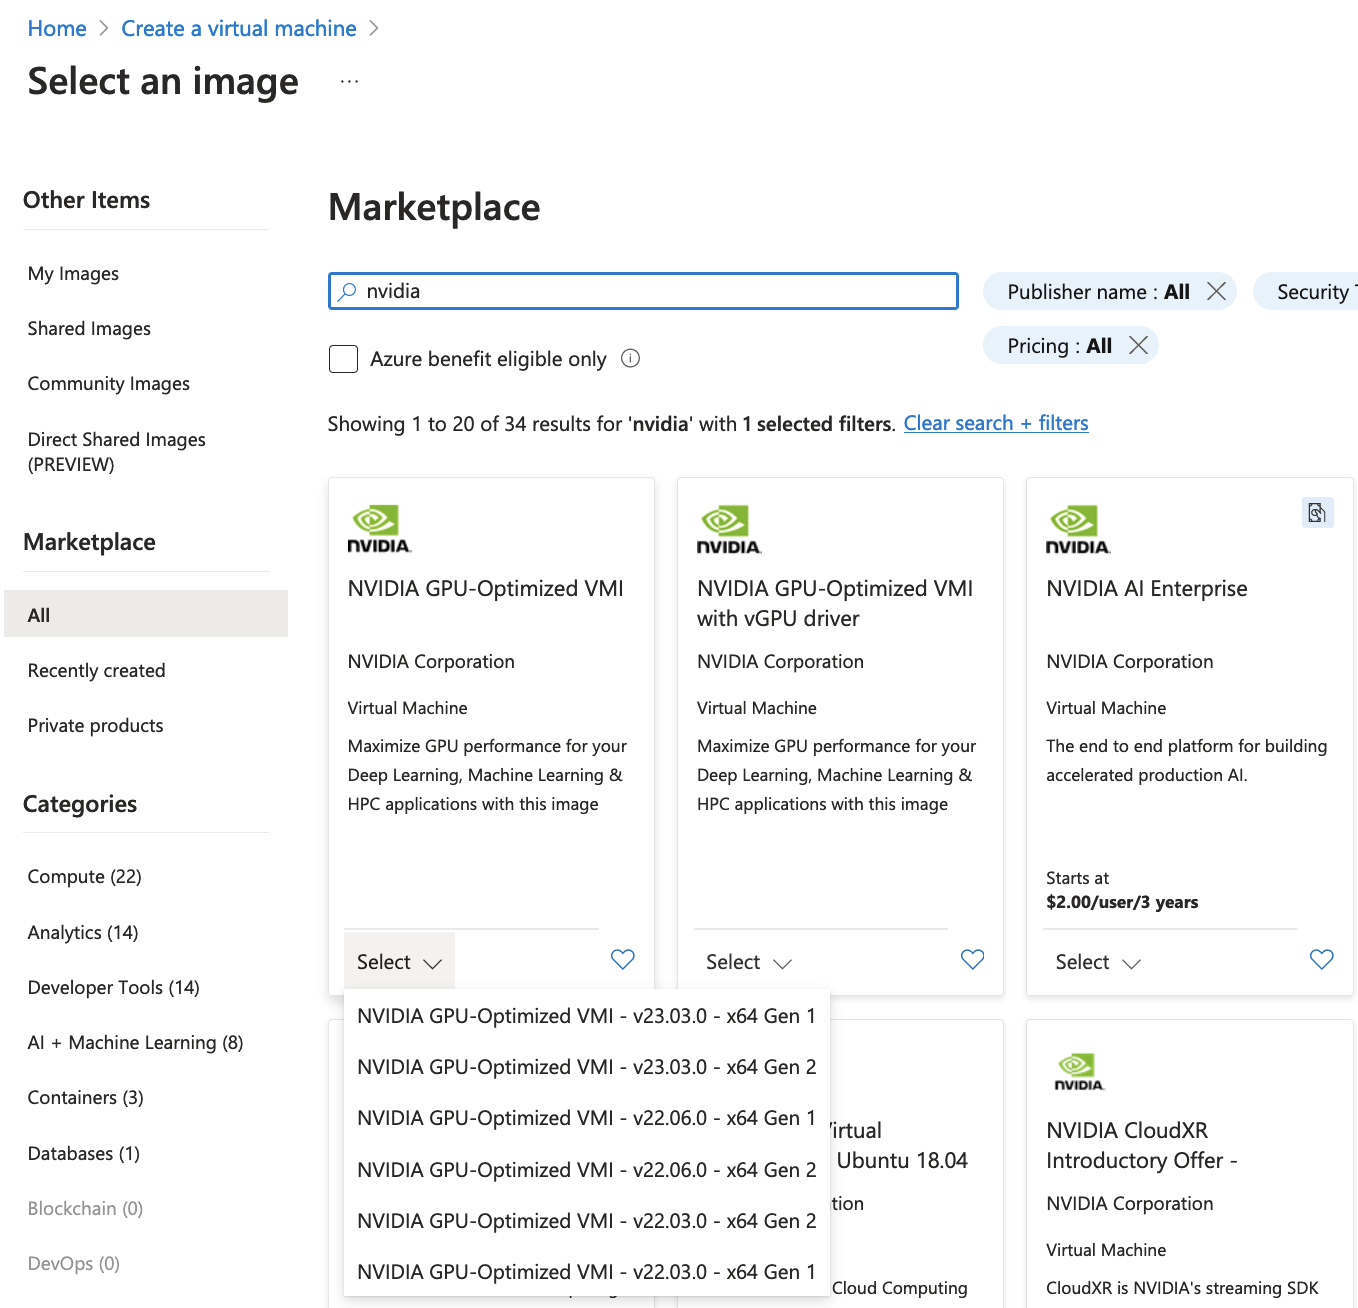
We choose an image by clicking on See all images. You can search for nvidia, and choose “NVIDIA GPU-Optimized VMI with vGPU driver” that will take care of the GPU Driver, and docker installation.
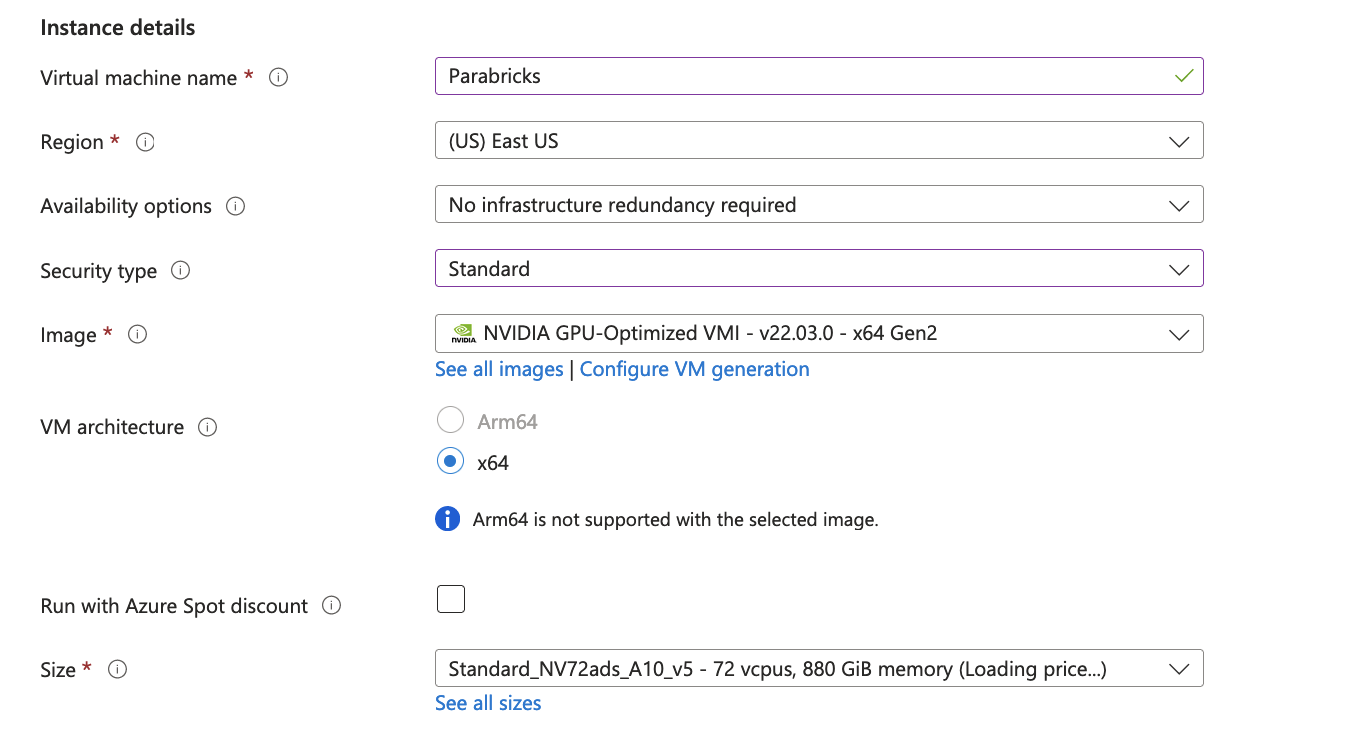
We then choose the Size for the GPUs that we want to be using.
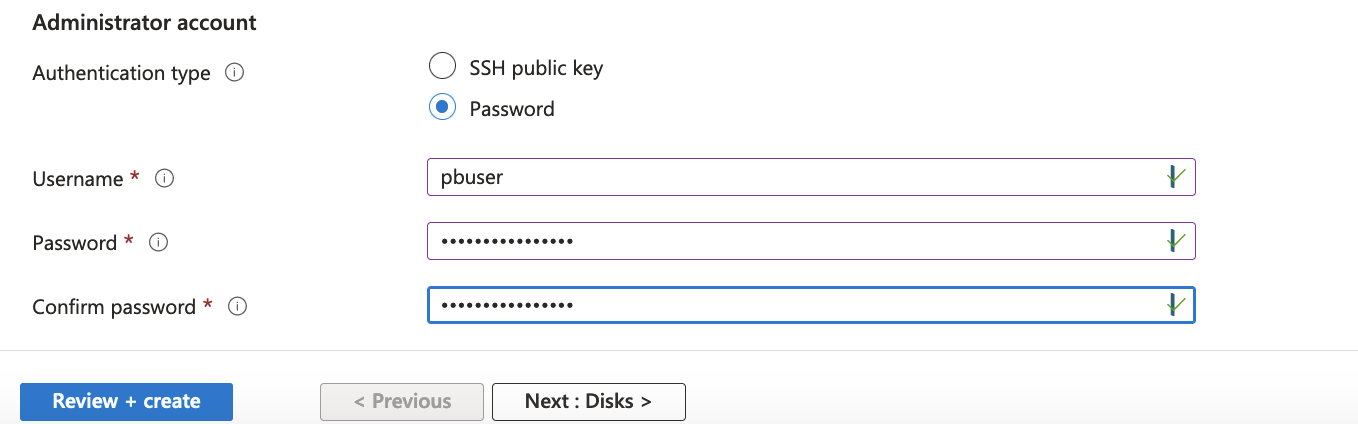
For the Administrator account, You can either use an SSH public key, or as shown below, use a Username and Password.
If you need Disks, Networking or other specifications related to your work, click on “Next:Disks >”. However, if you don’t need any of these click on “Review + create”. If everything is configured well you will have a page to review, and the message “Validation passed” at the top.
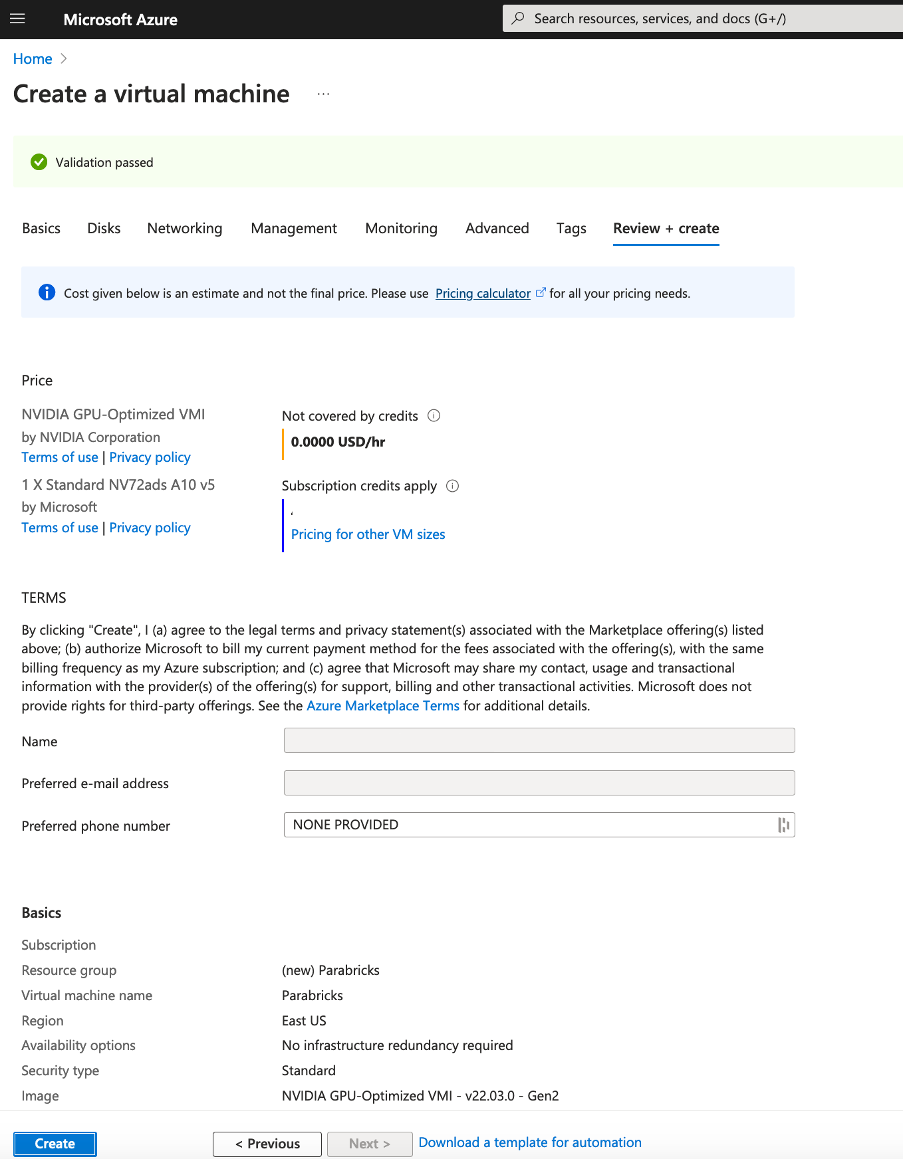
Review the details and click Create at the bottom of the page. You will land on a page saying “… Deployment in progress”. When it is complete, click the “Go to resource” button.
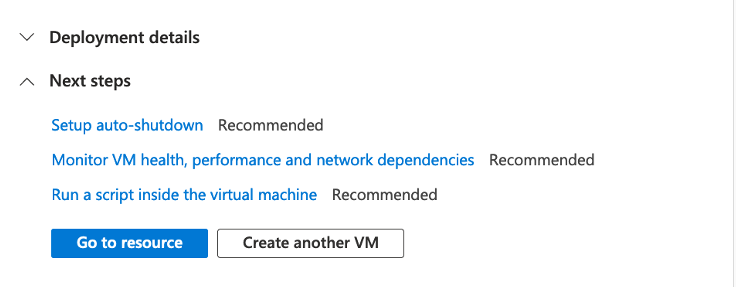
You should see a page like below. Click on Connect.
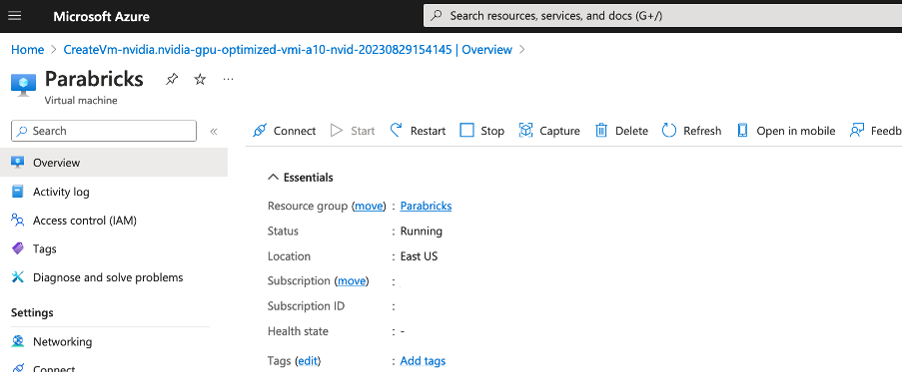
Once the instance is running click on Connect and use the IP information to ssh into your instance.
Verify that the driver is installed using nvidia-smi.
We will install Parabricks into our instance that we just created. To do this, we will use the NVIDIA GPU Cloud (NGC) to download the Parabricks Docker image.
Visit the Parabricks page on NGC to get the Docker pull command for the latest version of Parabricks.
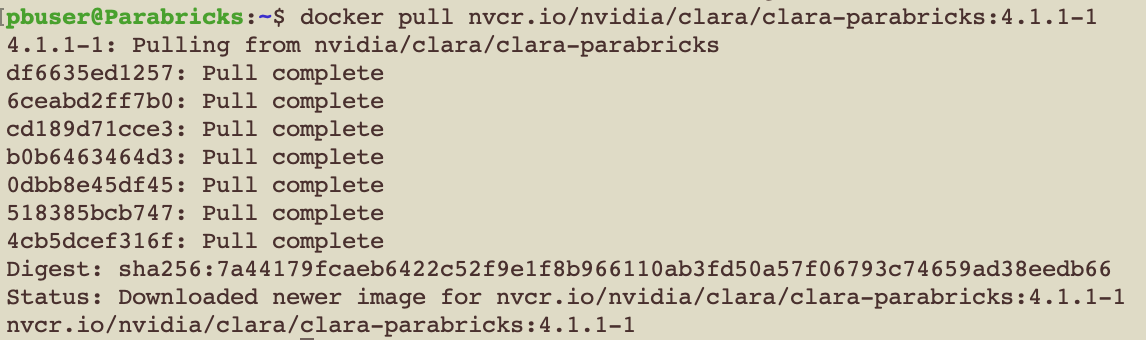
Back in our EC2 instance, let’s run the docker pull command:
$ docker pull nvcr.io/nvidia/clara/clara-parabricks:4.2.1-1
Parabricks is now installed. Let’s run some sample data to test it.
Parabricks provides a small sample dataset as a test for the installation and hardware which can be downloaded using:
            $ wget -O parabricks_sample.tar.gz \
     "https://s3.amazonaws.com/parabricks.sample/parabricks_sample.tar.gz"

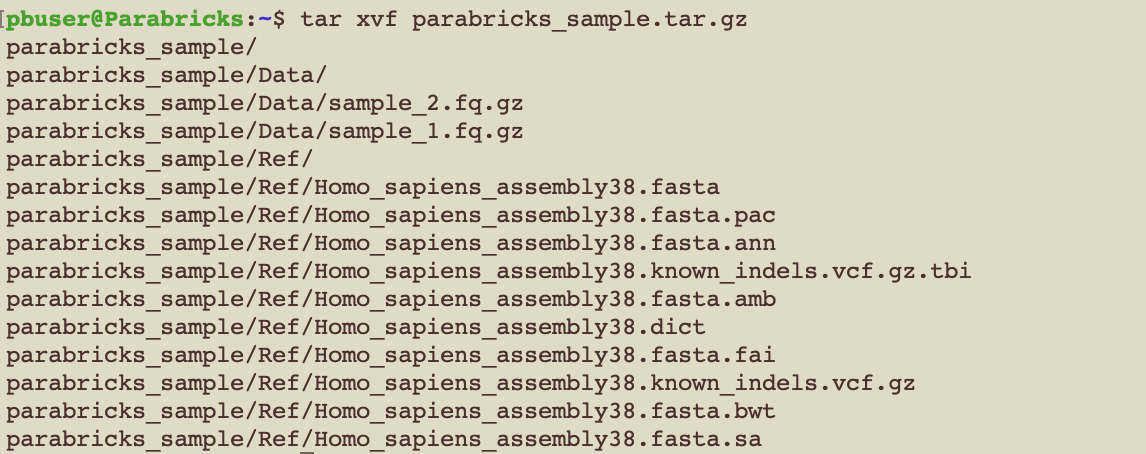
When the download completes we can untar the data using:
$ tar xvf parabricks_sample.tar.gz
And you should see something like below:
Finally, we can run any of the Parabricks pipelines on it. Let’s run the germline pipeline using the following command:
             $ docker run \
     --rm \
     --gpus all \
     --volume `pwd`:`pwd` \
     --workdir `pwd`/parabricks_sample \
     nvcr.io/nvidia/clara/clara-parabricks:4.2.1-1 \
     pbrun germline \
     --ref Ref/Homo_sapiens_assembly38.fasta \
     --in-fq Data/sample_1.fq.gz Data/sample_2.fq.gz \
     --knownSites Ref/Homo_sapiens_assembly38.known_indels.vcf.gz.tbi \
     --out-bam output.bam \
     --out-variants germline.vcf \
     --out-recal-file recal.txt
We can tell that Parabricks started correctly when we see the Parabricks banner and the ProgressMeter begins to populate with values:
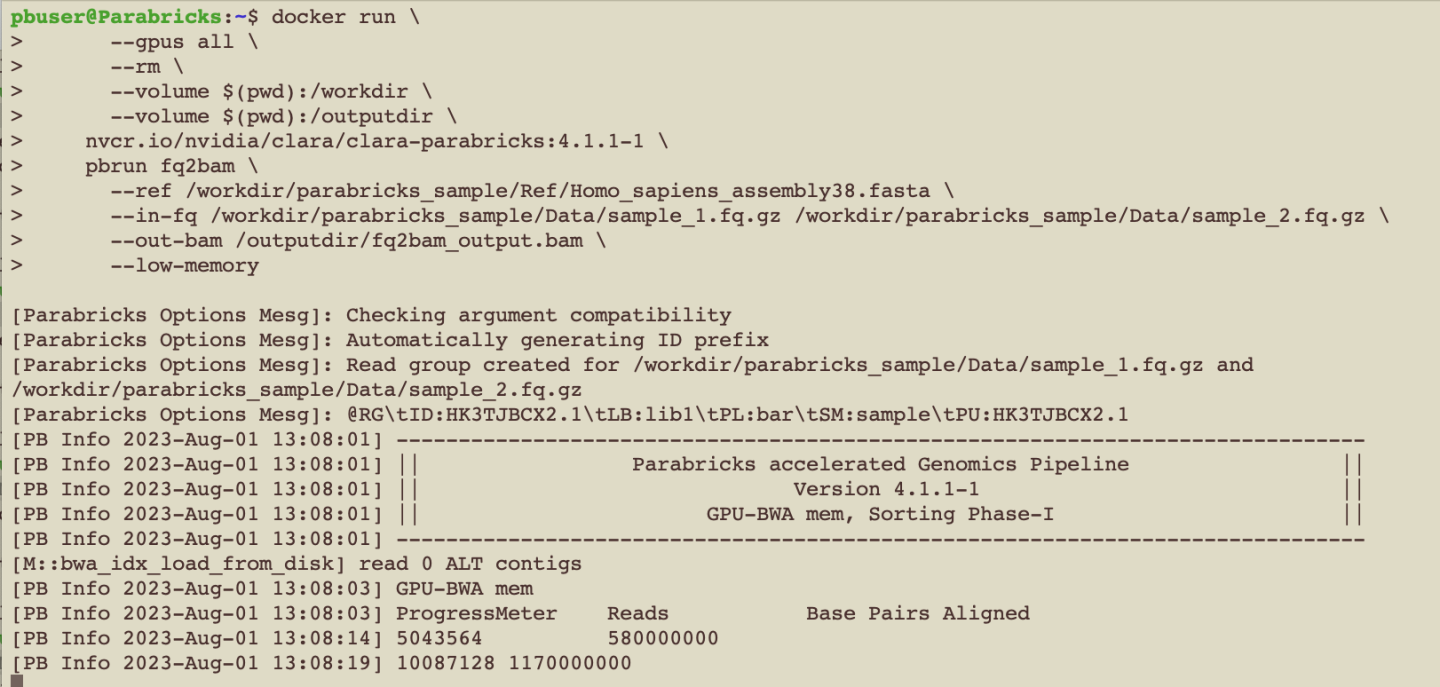
This should take ~10 minutes to finish running. When it’s done, we should see the output files in the sample data directory.
We encourage you to expand on the demo in this guide by using your own data, trying other pipelines, and generally exploring what Parabricks has to offer. Check out the documentation for more information about the different pipelines available. You can also find our online developer community on the Parabricks forum, where you can ask questions and search through answers while you are learning how to use Parabricks.