Running NVIDIA Parabricks on OCI
This guide shows how to run Parabricks on a GPU shape on OCI.
Parabricks is an accelerated compute framework that supports applications across the genomics industry, primarily supporting analytical workflows for DNA, RNA, and somatic mutation detection applications. With industry leading compute times, Parabricks rapidly converts a FASTQ file to a VCF using multiple, industry validated variant callers and also includes the ability to QC and annotate those variants. As Parabricks is based upon publicly available tools, results are easy to verify and combine with other publicly available data sets.
More information is available on the Parabricks Product Page.
Detailed installation, usage, and tuning information is available in the Parabricks user guide.
In this section, we will show how to start an EC2 instance on OCI. |
Begin by navigating to the OCI control console GUI. After signing into your account, the GUI should look something like this:
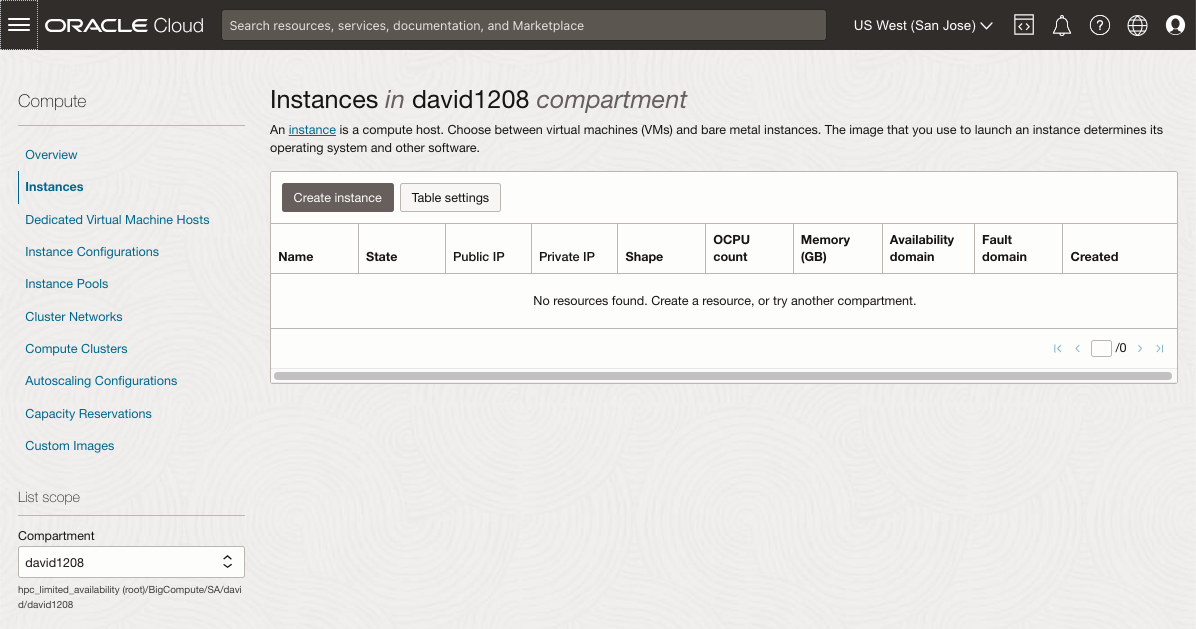
Tip: you may need to click the “3 white bars” in the top left, and then click “Instances” in the left sidebar before your GUI reaches this display. Double check your compartment in the left sidebar is correctly selected, and the cloud region in top right is also correctly selected.
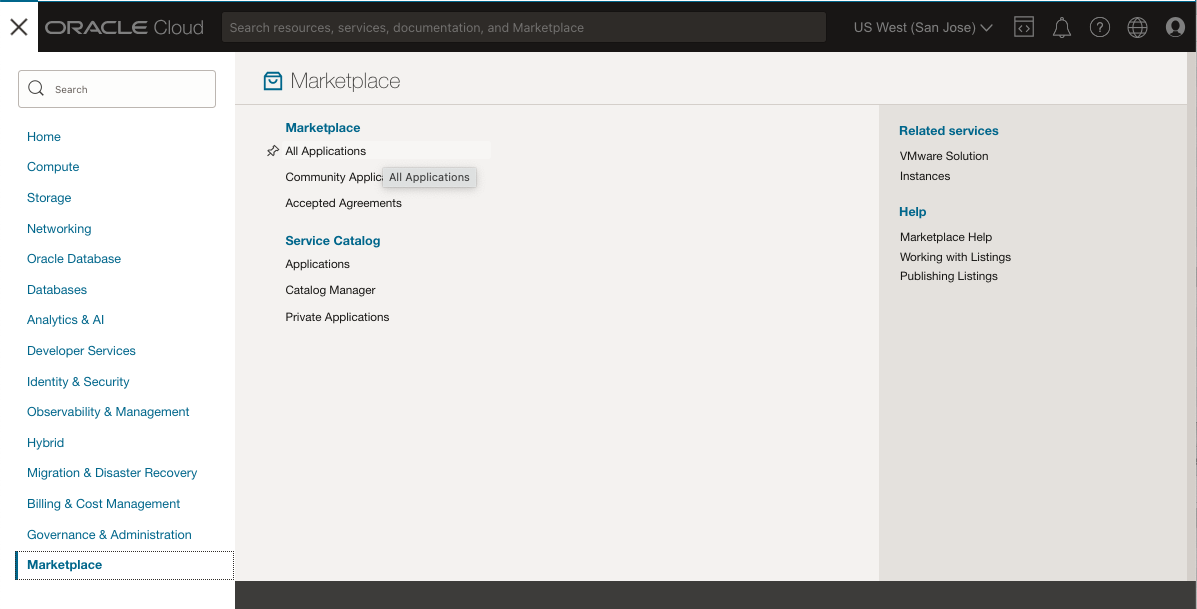
Now, click on the “3 white bars” in top left, and select “Marketplaces” which is the last entry in the left sidebar. The menu page will be updated to something like this:
Click “All Applications” in the menu, and a search bar will pop up. Search for “nvidia” and you will see multiple NVIDIA application tiles popping out, as in the following example page.
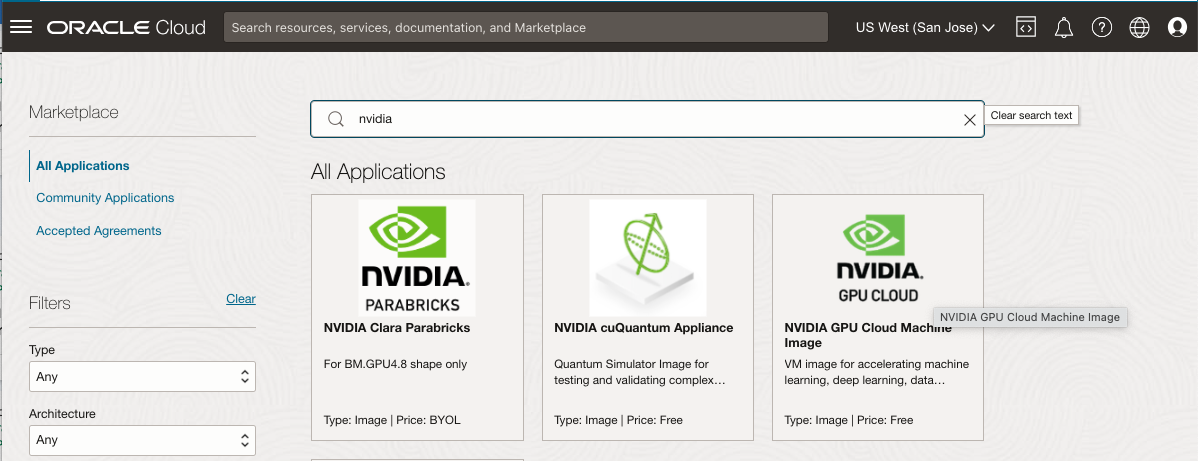
Click the one marked “NVIDIA GPU CLOUD” (NGC), and you will be brought to the launch page for NGC, as follows:
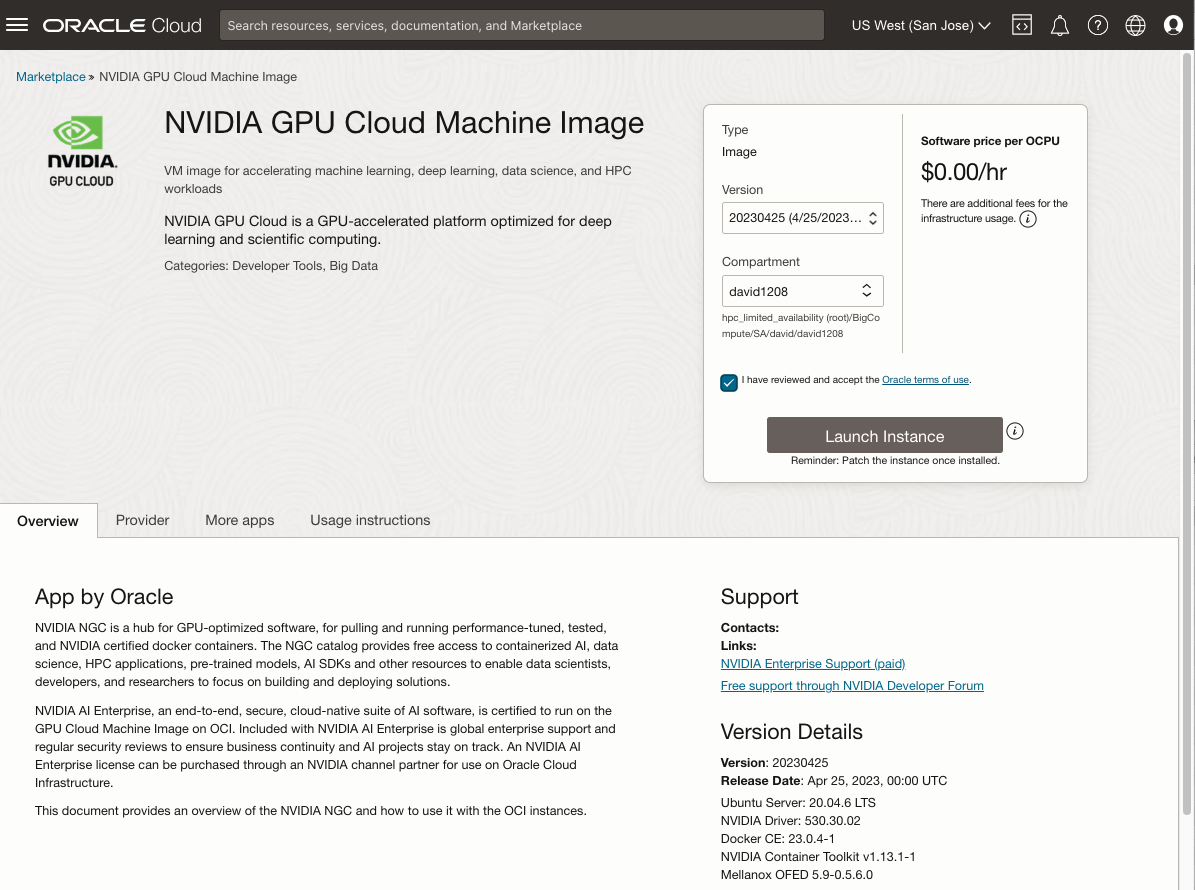
Please review the summary in “Version Details”. Also ensure the compartment is correctly selected. Review and accept the Oracle terms of use before checking the box. Click “Launch Instance” when you are ready.
Now you will be brought to the GUI for Create compute instance, as follows:
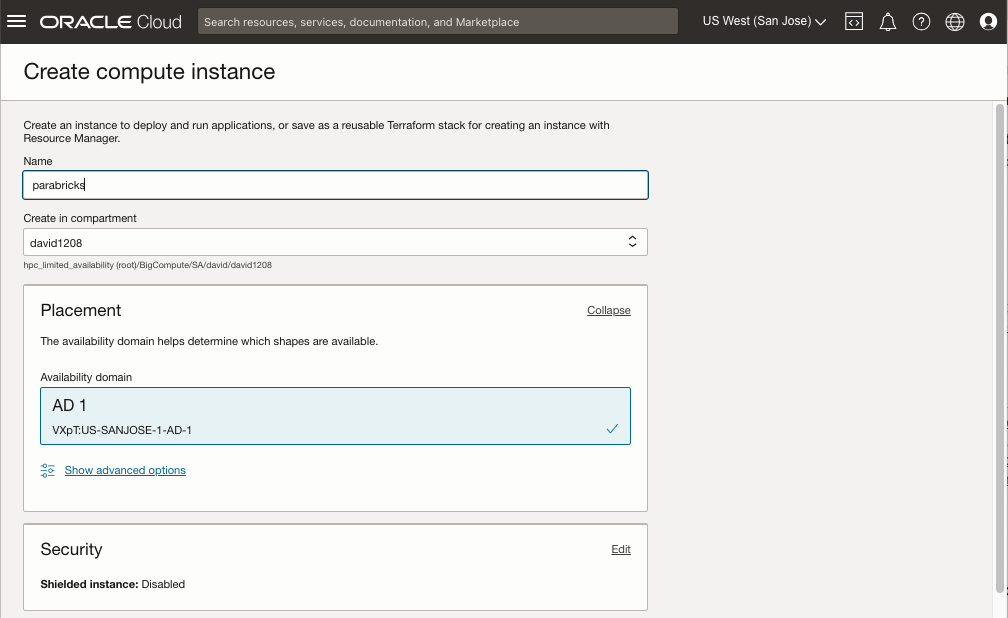
Review and edit the default data entry in the form. Tips:
Update the name of the instance as desired.
Double check the compartment is correctly selected.
Make sure the availability domain has the GPU shape that you plan to use.
Use default setting for “Security".
Now, scroll down the GUI to continue “Create compute instance”, as follows:
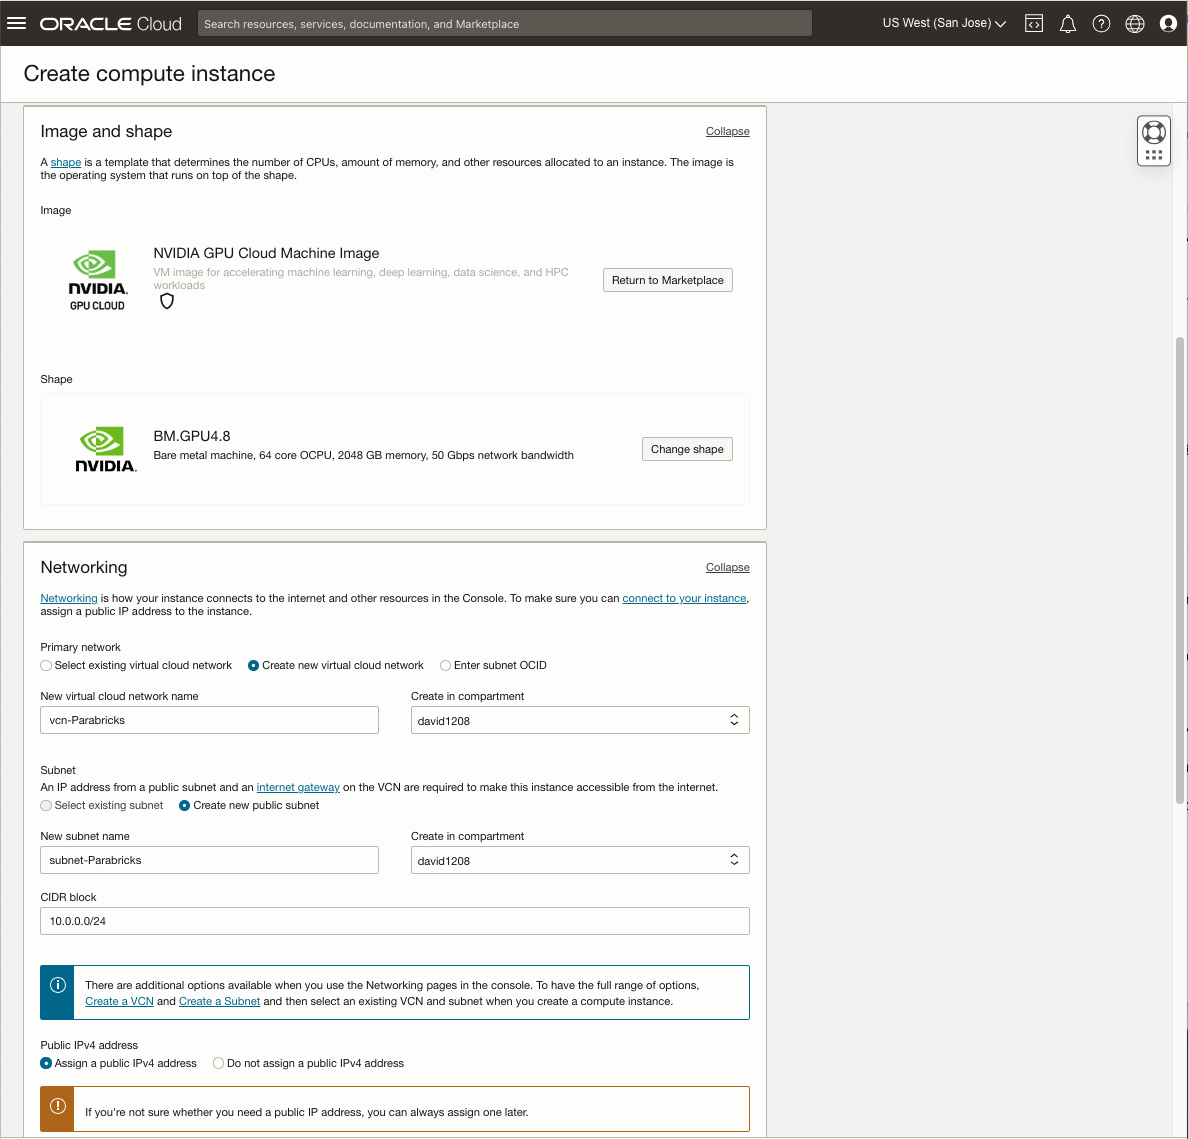
Review and edit the default data entry in the form. Tips:
The OS image should be “NVIDIA GPU Cloud Machine Image”, which is what you selected earlier from the Marketplace.
Select the GPU shape (instance). Information on how to change the default GPU shape will be provided at Appendix A at the end of this document.
In “Networking” section, select “Create new virtual cloud network” if this is the first time that you create an instance in this region. Otherwise, you may choose to “Select existing virtual cloud network”.
You can similarly “Create new public subnet” or “Select existing subnet”.
Modify “New virtual cloud network name” and “New subnet name” as desired.
You can use default value for the CIDR block.
It's easier for the beginner to select “Assign a public IPv4 address" (the default).
Now, scroll further down to finish “Create compute instance”, as follows:
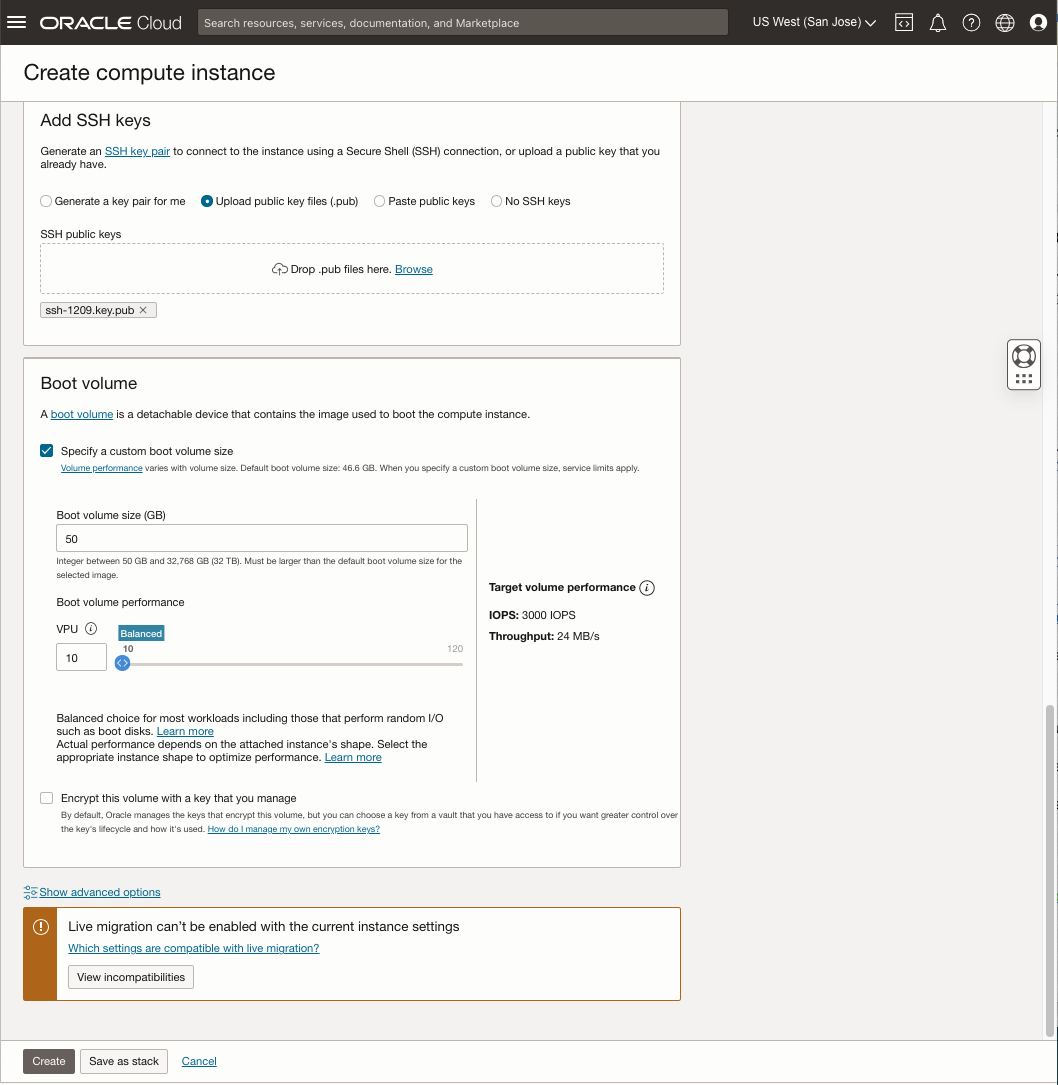
Review and edit the default data entry in the form. Tips:
Be sure to Generate, Upload or Paste your public key
Increase the boot volume size from 50 GB (the default) to 250 GB. Check “Specify a custom boot volume size”. The “Boot volume” GUI will be expended, allowing you to modify Boot volume size (GB). Change the default value from 50 to 200.
The default VPU value is 10. You may raise this value to improve boot volume performance at additional cost. Click

for more information.
The default disk size of 50 GB is sufficient for a Parabricks installation but it is not enough to run the validation test case.
Click “Create” to launch the compute instance. You will be brought to a new GUI page, as follows:

It will take about 1 minute for the banner in top left to turn from brown to green color, which means the instance has finished installing basic OS software, and it will need a few more minutes before the instance is ready for you to sign in.
Find and copy the public IP address from the right column of this GUI. It is 129.146.60.48 in this example.
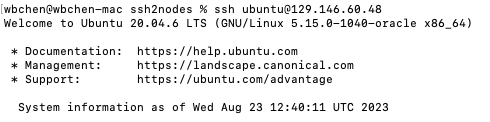
You can sign into the new GPU instance using ssh (be sure to properly set up your public key). For this example, the command is
$ ssh ubuntu@129.146.60.48
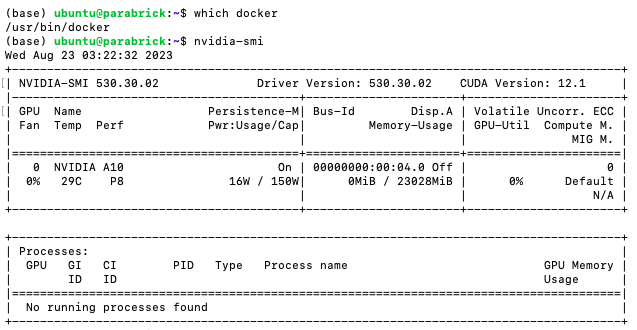
Tip: Double check that docker is installed and available in your $PATH, and also double check the status of the GPU card:
            $ which docker
$ nvidia-smi
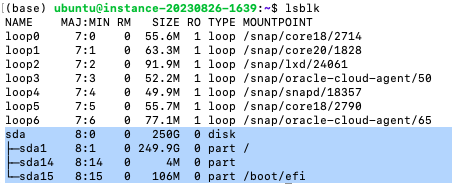
Tip: use lsblk to check if you have 25GB, as follows:
$ lsblk
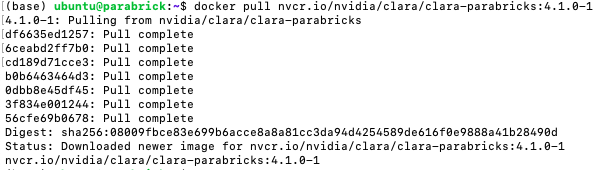
We will install Parabricks into the instance that we just created. Visit the Parabricks page on NGC to get the Docker pull command for the latest version of Parabricks.
Briefly, the Parabricks docker image can be obtained by running the following command:
$ docker pull nvcr.io/nvidia/clara/clara-parabricks:4.2.1-1
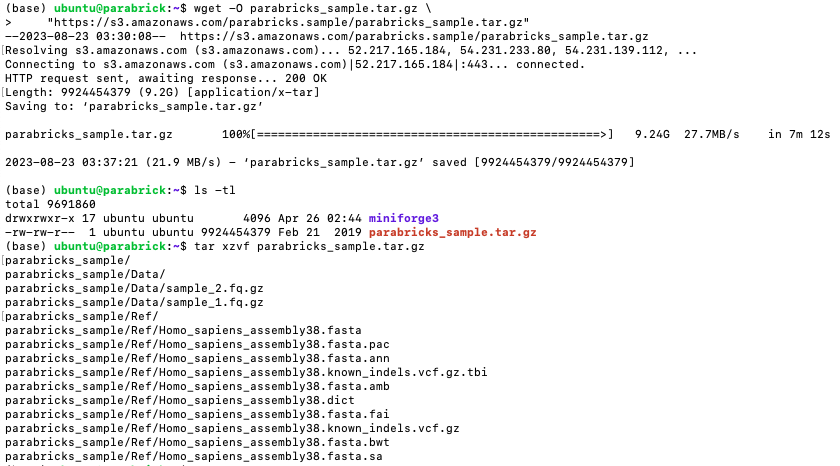
Parabricks is now installed! Let’s run some sample data to test it. Download the sample test dataset (9.9 GB) and unpack the tar file. Unpacking the tar file will require an additional 14 GB of storage:
            $ wget -O parabricks_sample.tar.gz \
  https://s3.amazonaws.com/parabricks.sample/parabricks_sample.tar.gz
$ tar xzvf parabricks_sample.tar.gz
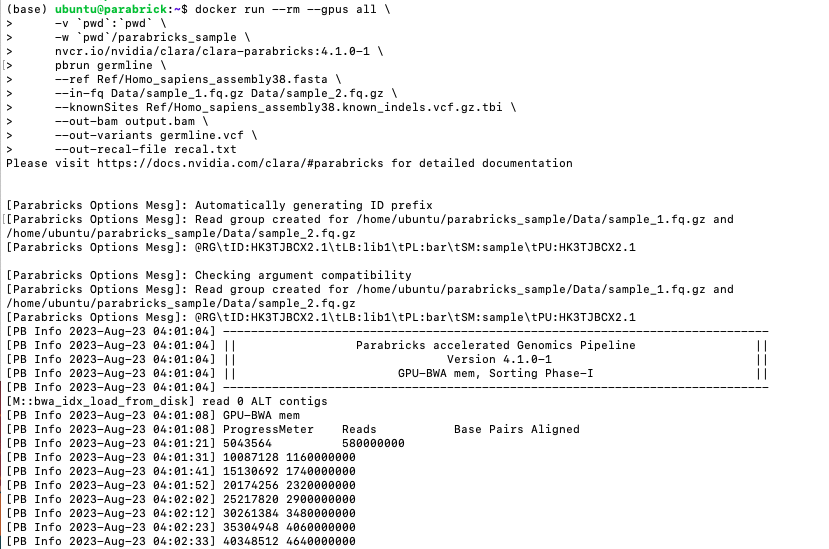
Finally, we can run any of the Parabricks pipelines on it. Let’s run the germline pipeline using the following command:
             $ docker run \
     --rm \
     --gpus all \
     --volume `pwd`:`pwd` \
     --workdir `pwd`/parabricks_sample \
     nvcr.io/nvidia/clara/clara-parabricks:4.2.1-1 \
     pbrun germline \
     --ref Ref/Homo_sapiens_assembly38.fasta \
     --in-fq Data/sample_1.fq.gz Data/sample_2.fq.gz \
     --knownSites Ref/Homo_sapiens_assembly38.known_indels.vcf.gz.tbi \
     --out-bam output.bam \
     --out-variants germline.vcf \
     --out-recal-file recal.txt
We can tell that Parabricks started correctly when we see the Parabricks banner and the Progress Meter begins to populate with values:
This should take up to ~10 minutes to finish the test job, depending on your selection of GPU card(s). This is the end of the output on your screen:

We encourage you to expand on the demo in this guide by using your own data, trying other pipelines, and generally exploring what Parabricks has to offer. Check out the documentation for more information about the different pipelines available. You can also find our online developer community on the Parabricks forum, where you can ask questions and search through answers while you are learning how to use Parabricks.