JetPack 6.x Update Path#
This page describes the JetPack 6.x update path for Jetson Orin Nano Developer Kit. Use this path when the developer kit has older factory firmware and must be updated before booting JetPack 6.x or the JetPack 7.2 Jetson ISO.
Jetson Orin Nano Developer Kit uses Jetson UEFI firmware stored in QSPI-NOR flash memory. The firmware must be compatible with the JetPack release you boot.
Some developer kits shipped with factory firmware that cannot boot JetPack 6.x or JetPack 7.2. If your kit has older firmware, update Jetson UEFI/QSPI firmware through the JetPack 6.x update path before booting the target JetPack image.
Important
JetPack 7.2 installation requires JetPack 6.x-generation Jetson UEFI/QSPI firmware. If the developer kit is still on older factory firmware, complete this JetPack 6.x update path first.
When This Page Is Needed#
Use this page if:
You are setting up a new Jetson Orin Nano Developer Kit and do not know its firmware version.
You want to install JetPack 7.2 but the developer kit may still have older factory firmware.
You try to boot JetPack 6.x or JetPack 7.2 and the system does not reach the Ubuntu desktop.
You want to move from the factory firmware to a firmware version compatible with newer JetPack releases.
You want to use the microSD-only update flow instead of NVIDIA SDK Manager.
If your developer kit firmware is already compatible with the target JetPack release, you can skip to Quick Start Guide.
Setup Methods#
Use this method when you do not have an Ubuntu host PC available.
You need:
Jetson Orin Nano Developer Kit
64GB or larger UHS-1 microSD card
Computer with Internet access and an SD card reader
DisplayPort display and USB keyboard, or a USB to TTL serial cable for advanced headless access
Included 19V power supply
JetPack 5.1.3 SD card image for the firmware bridge step
Target JetPack SD card image, such as JetPack 6.2.x
Use NVIDIA SDK Manager if you have an Ubuntu x86_64 host PC and want a guided setup flow.
SDK Manager is also the preferred method when you want to flash Jetson Linux directly to a NVMe SSD instead of using microSD as the main boot media.
See BSP Setup for SDK Manager setup guidance.
Overall Flow#
The microSD-only firmware update flow has these major stages:
The flow covers these major stages:
Check whether Jetson UEFI firmware is newer than version
36.0.If firmware is older than
36.0, boot JetPack 5.1.3 from microSD to schedule the first firmware update.Reboot and let the firmware update run.
Install the Jetson Orin Nano QSPI updater package.
Reboot and let the QSPI update run.
Power off and replace the JetPack 5.1.3 microSD card with the target JetPack boot media.
Boot the target JetPack release and complete first-boot setup.
Reboot once more if the target JetPack release schedules an additional Jetson UEFI firmware update.
Switch to MAXN SUPER mode when setup is complete.
Note
The complete flow can involve multiple reboot cycles. Do not remove power while a firmware update is in progress.
Check Jetson UEFI Firmware Version#
First check whether the developer kit already has firmware compatible with the target JetPack release.
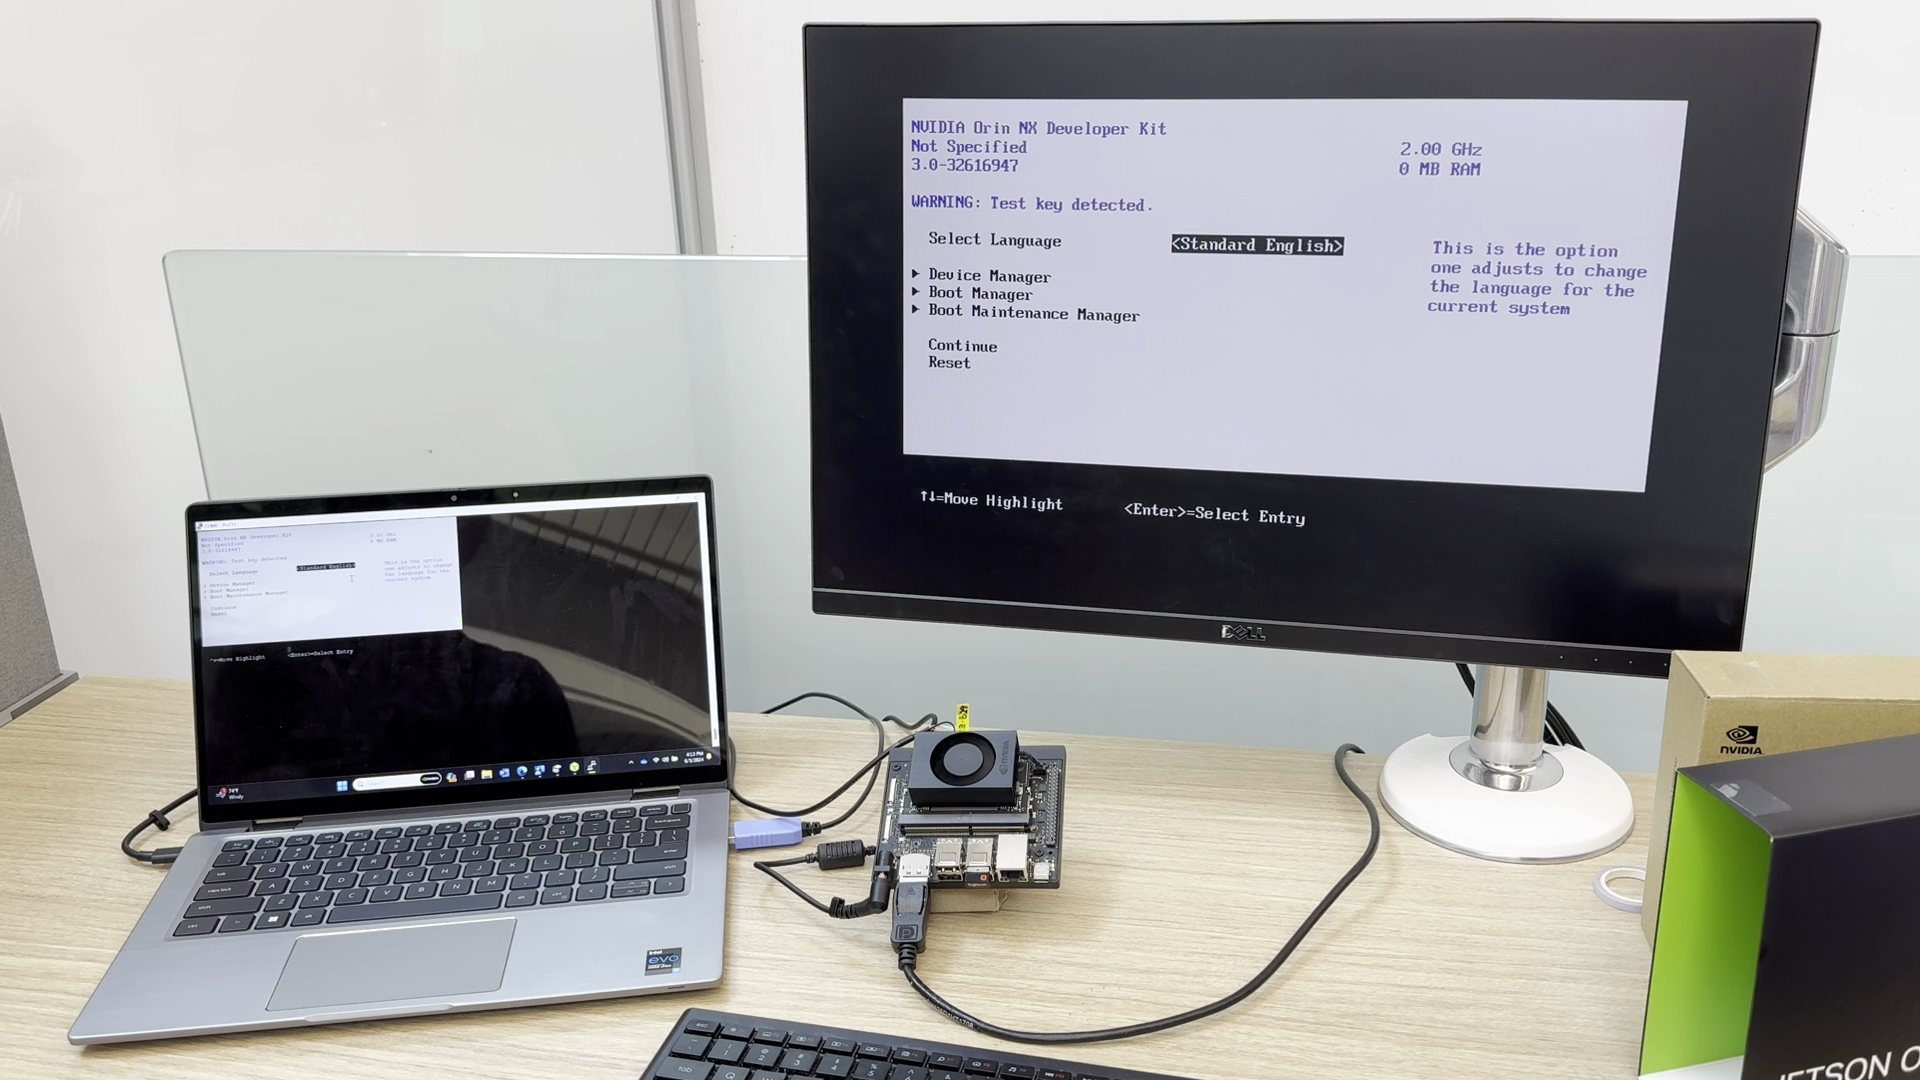
Connect a DisplayPort monitor and USB keyboard to the developer kit.
Connect the included 19V power supply.
Repeatedly press Esc after the NVIDIA boot splash appears.
In the UEFI setup menu, check the firmware version line near the top of the screen.
If the firmware version is newer than
36.0, skip to Boot the Target JetPack SD Card.
Use this method if you do not have a monitor attached.
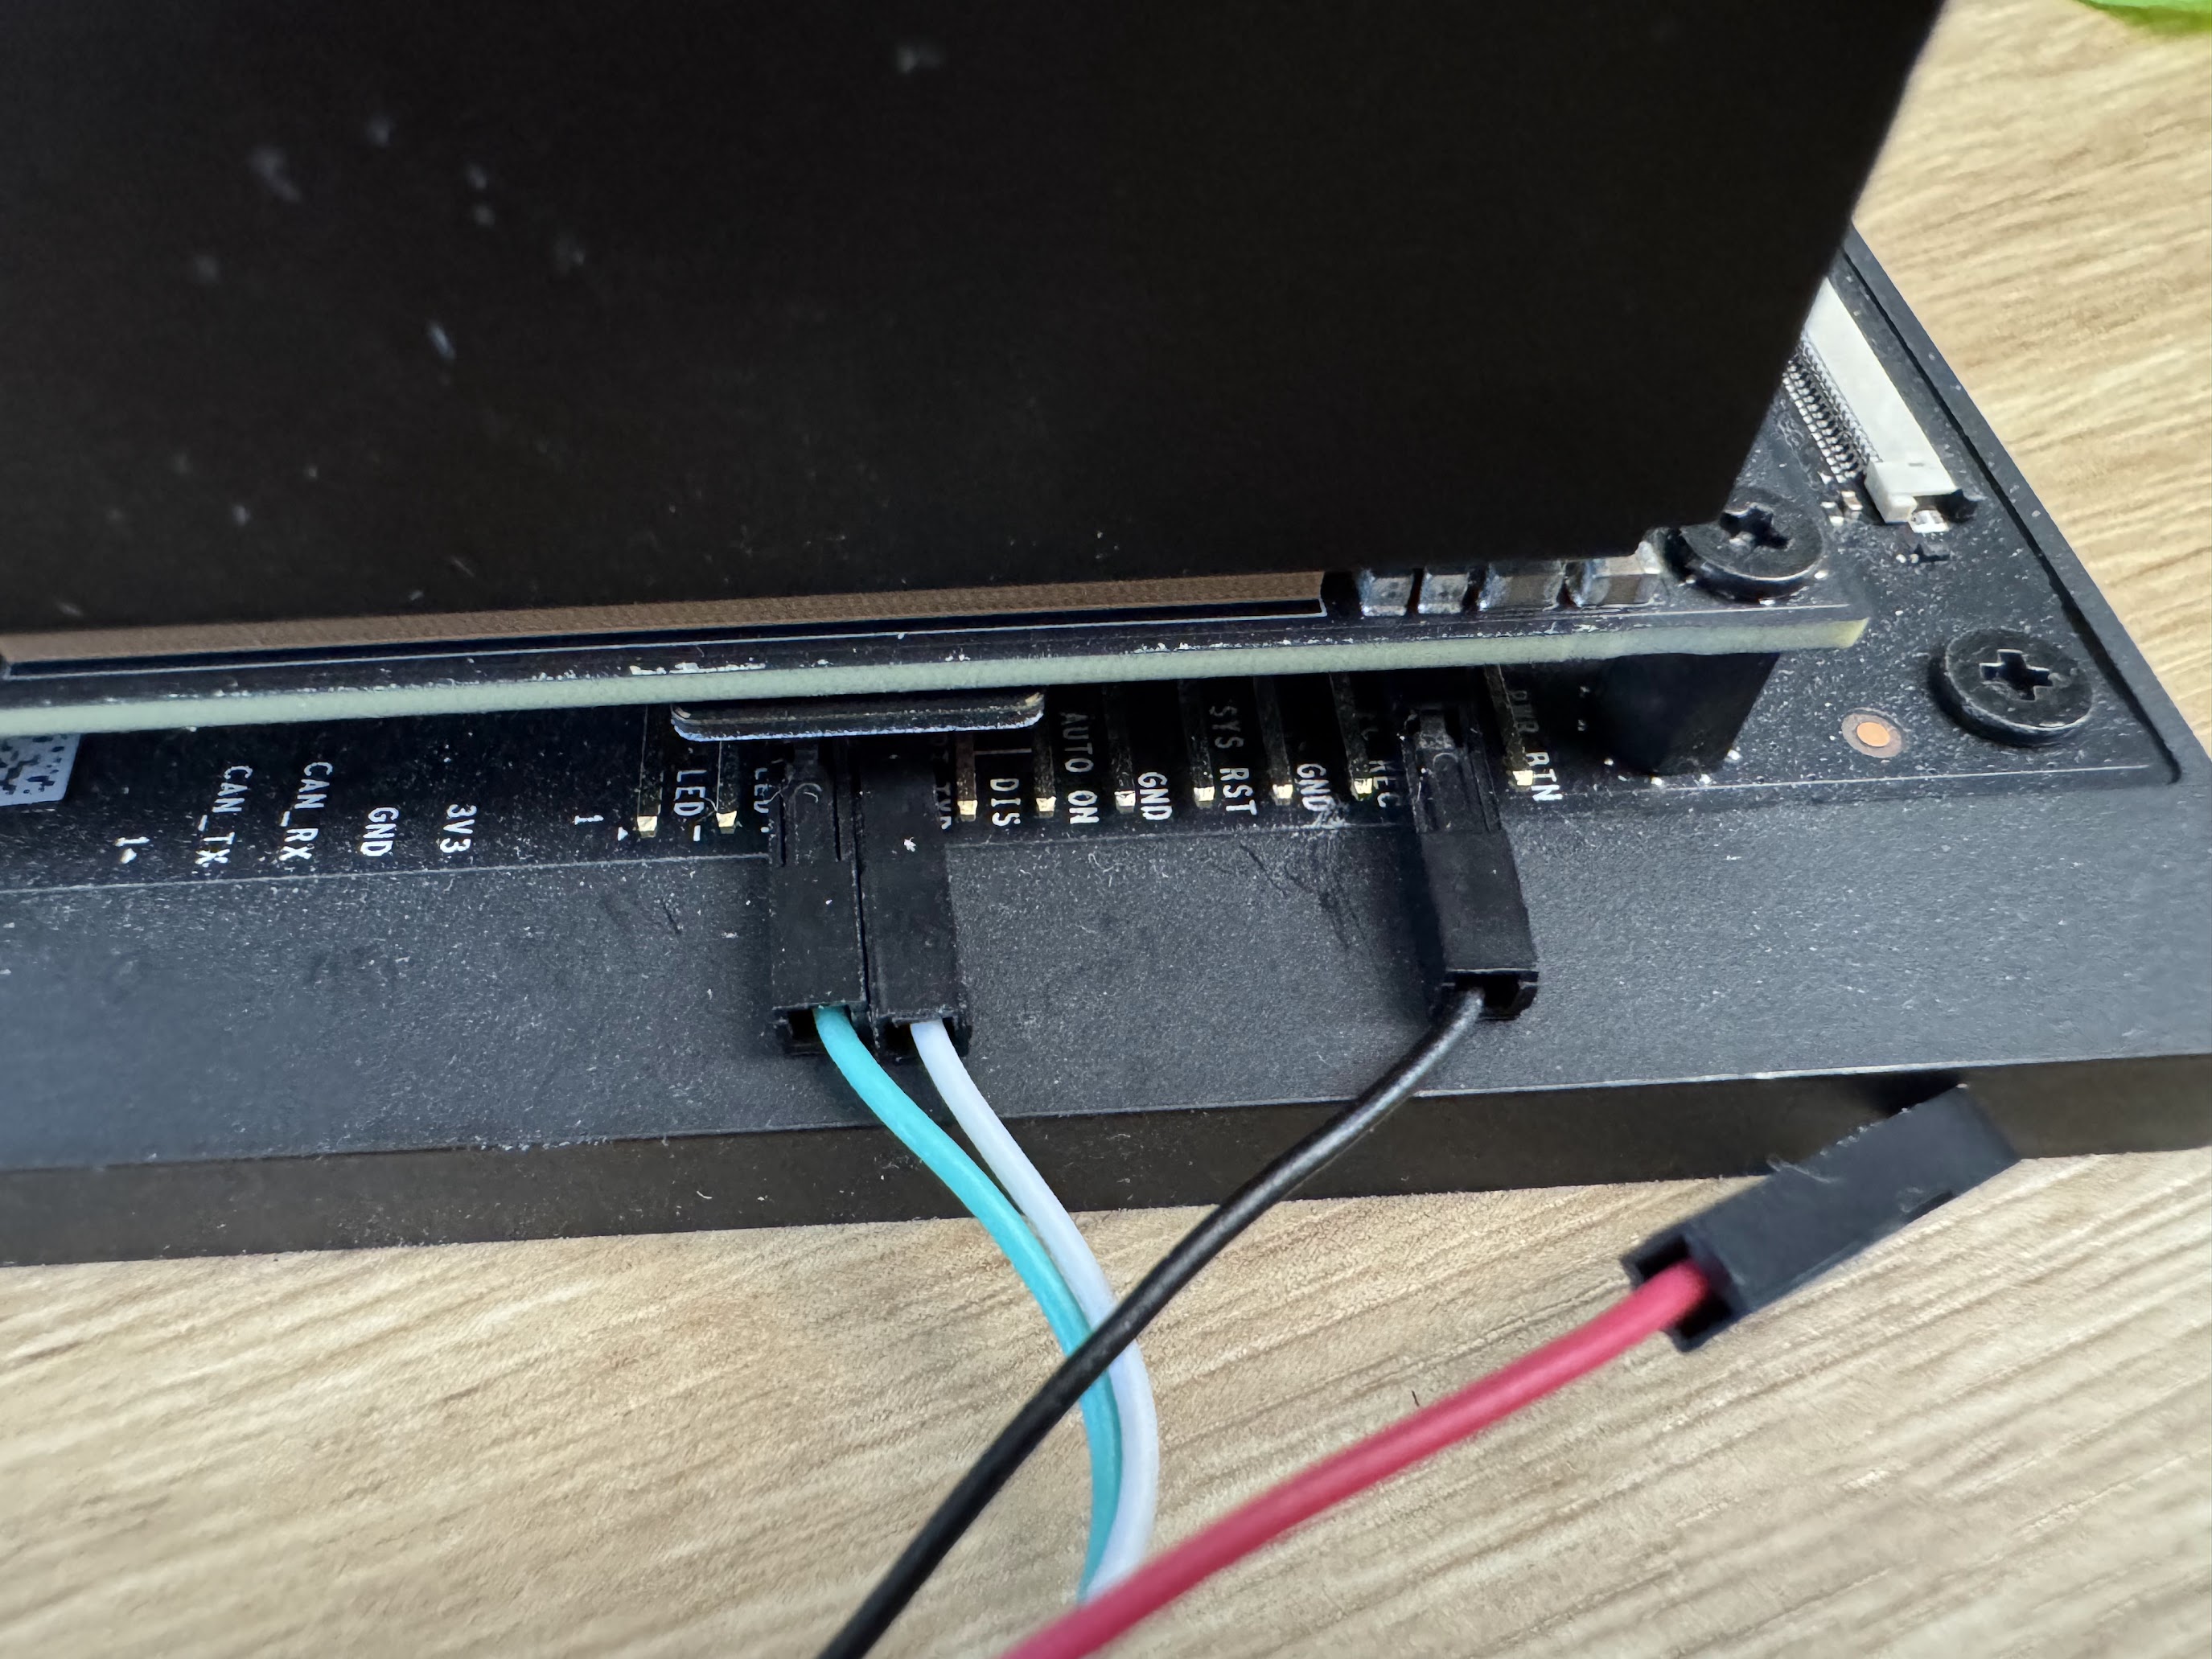
Connect a USB to TTL serial cable to the Button Header on the carrier board.
RXDpin 3 connects to the adapter TX wire.TXDpin 4 connects to the adapter RX wire.GNDpin 7 connects to the adapter ground wire.
Open a serial console on your PC.
Connect the included 19V power supply.
Repeatedly press Esc in the serial console.
In the UEFI setup menu, check the firmware version line near the top of the output.
Note
For Button Header details, see the Jetson Orin Nano Developer Kit Carrier Board Specification from the Jetson Download Center.
This method is less precise and is useful only as a quick check.
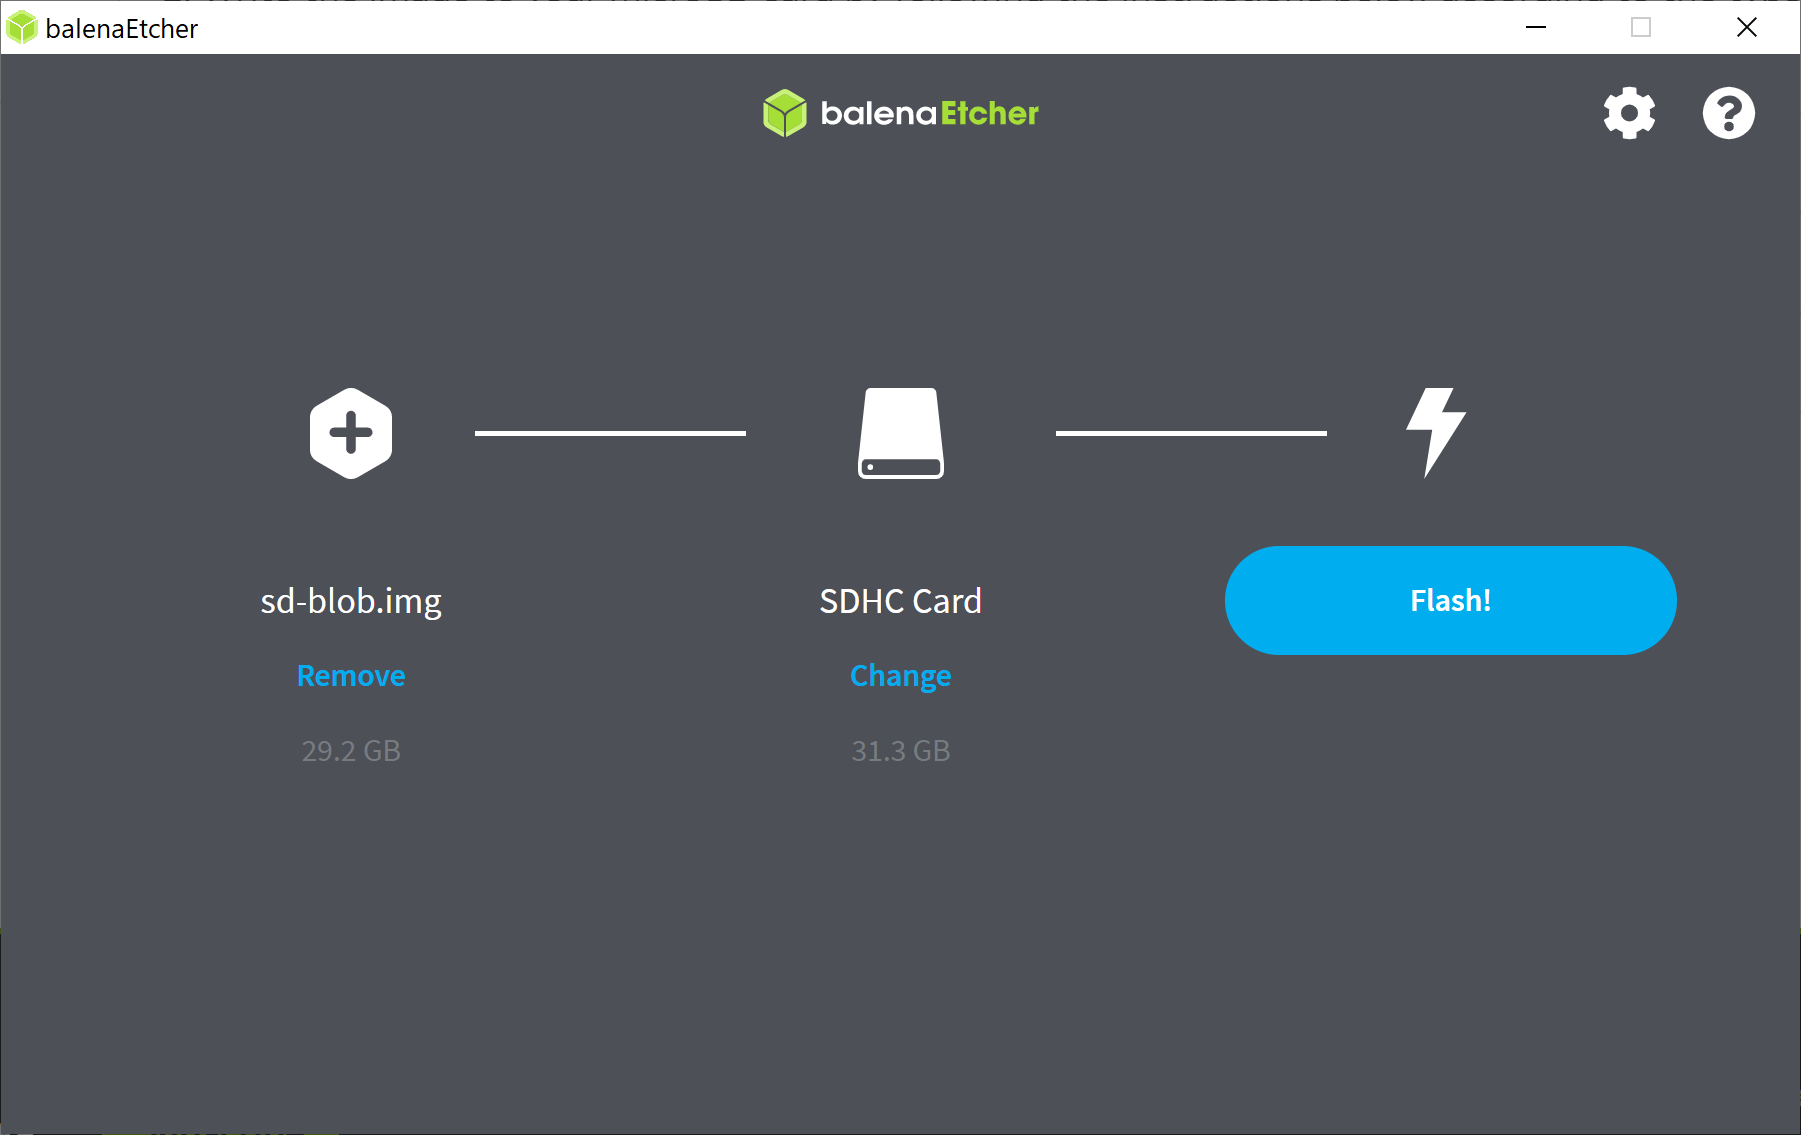
Write the target JetPack image to the microSD card.
Insert the microSD card and power on the developer kit.
Wait for Ubuntu first-boot setup.
If the Ubuntu desktop does not appear and the display remains black or drops to a UEFI shell, the developer kit may have firmware that is too old for the target JetPack image.
Warning
Avoid repeatedly booting an incompatible JetPack image or leaving the device at a black screen for an extended time. Power off the developer kit and use the JetPack 5.1.3 firmware bridge flow below.

Determine Whether QSPI Update Is Required#
If the firmware version is older than 36.0, update the QSPI firmware before booting a JetPack 6.x or newer microSD card.
Continue with Boot JetPack 5.1.3 SD Card.
If the firmware version is 36.x or newer, the developer kit is already prepared for JetPack 6.x releases.
Continue with Boot the Target JetPack SD Card.
Boot JetPack 5.1.3 SD Card#
JetPack 5.1.3 is used as a bridge release to activate firmware update support on older developer kits.
Download the latest JetPack 5.1.3 SD card image for Jetson Orin Nano Developer Kit from the JetPack 5.1.3 page.
Warning
Use the updated JetPack 5.1.3 image. The updated image filename is
JP513-orin-nano-sd-card-image_b29.zip.Write the JetPack 5.1.3 image to the microSD card.
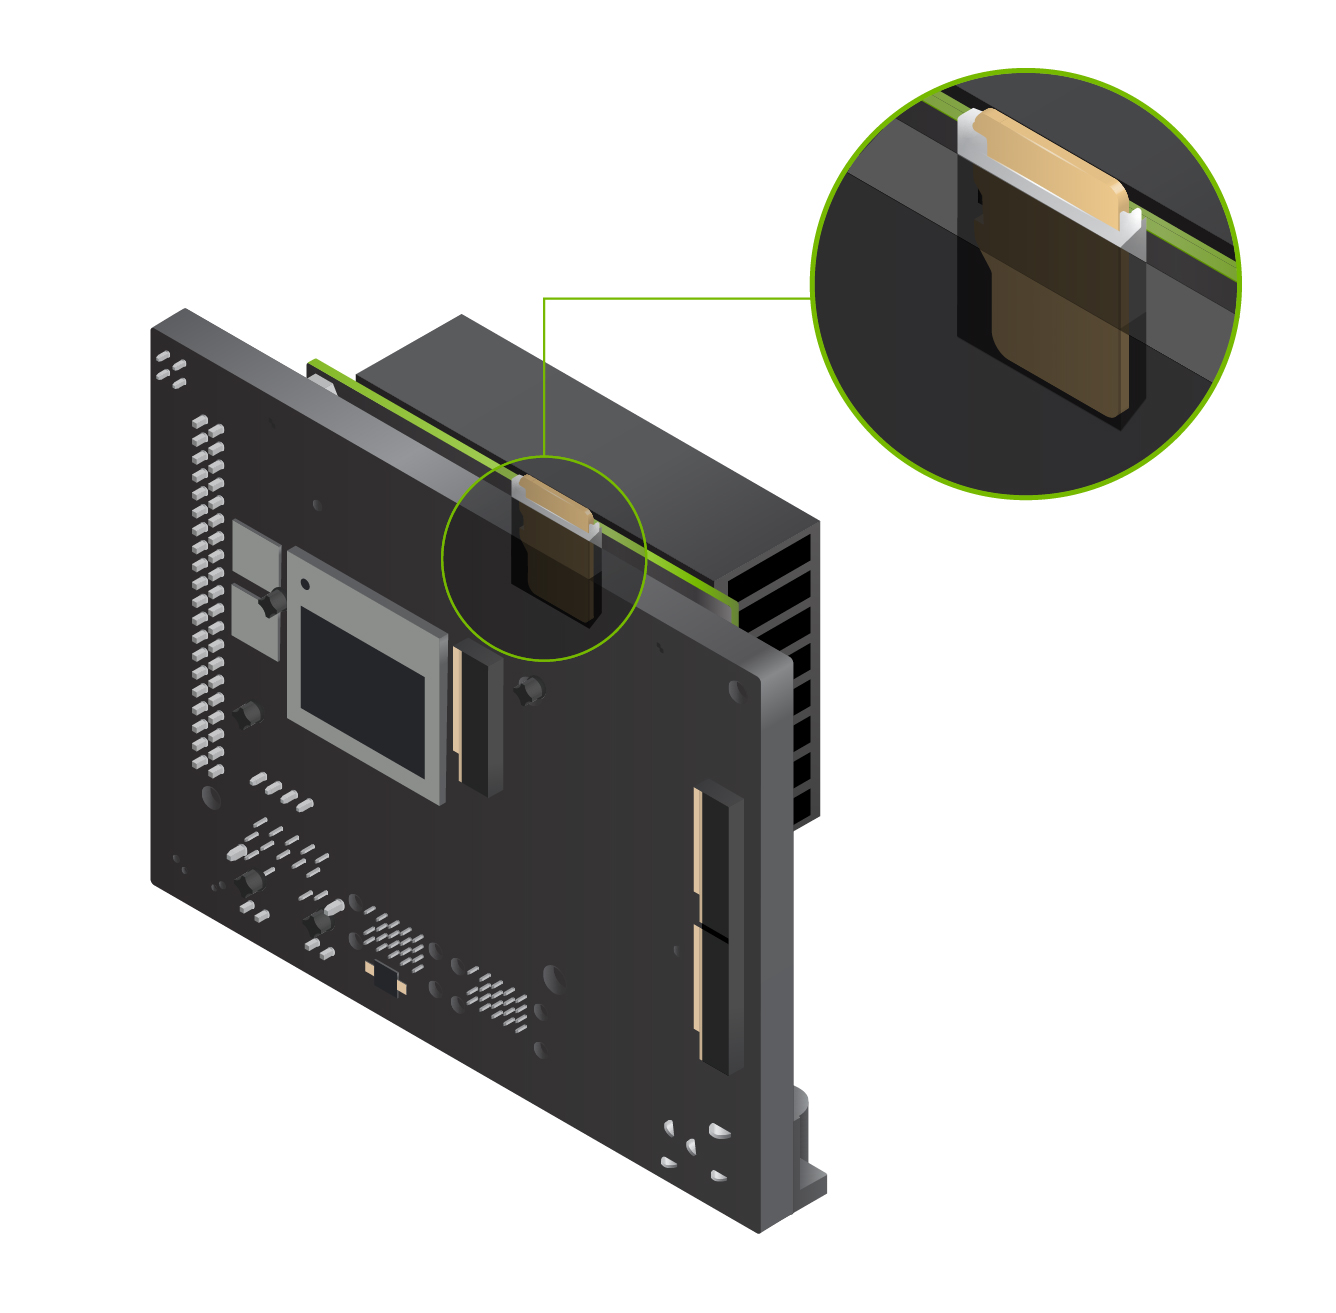
Insert the microSD card into the slot on the underside of the Jetson Orin Nano module.
Connect the included 19V power supply.
Complete the first-boot Ubuntu setup.
Connect the developer kit to the Internet.
Confirm Bootloader Update Scheduling#
After JetPack 5.1.3 boots, a background service schedules the firmware update.
If a desktop notification appears for the bootloader update, allow the system to complete the scheduled update.
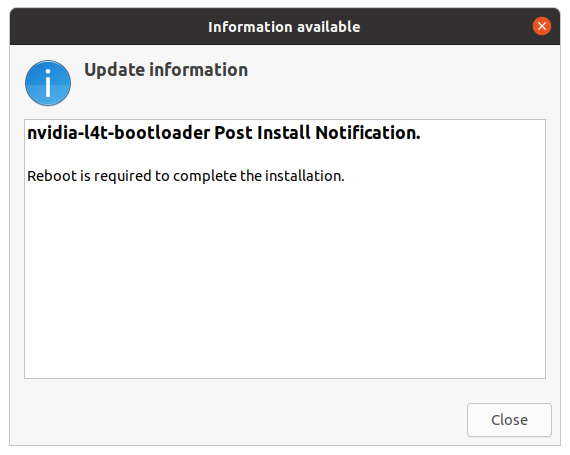
Check the bootloader configuration service:
sudo systemctl status nv-l4t-bootloader-config
A completed scheduling run shows the service as inactive with a successful exit status.
Reboot and Observe the Firmware Update#
Reboot the developer kit after confirming that the bootloader update is scheduled.
Use the Ubuntu desktop power menu and select Restart.
sudo reboot
During reboot, observe the firmware update progress.
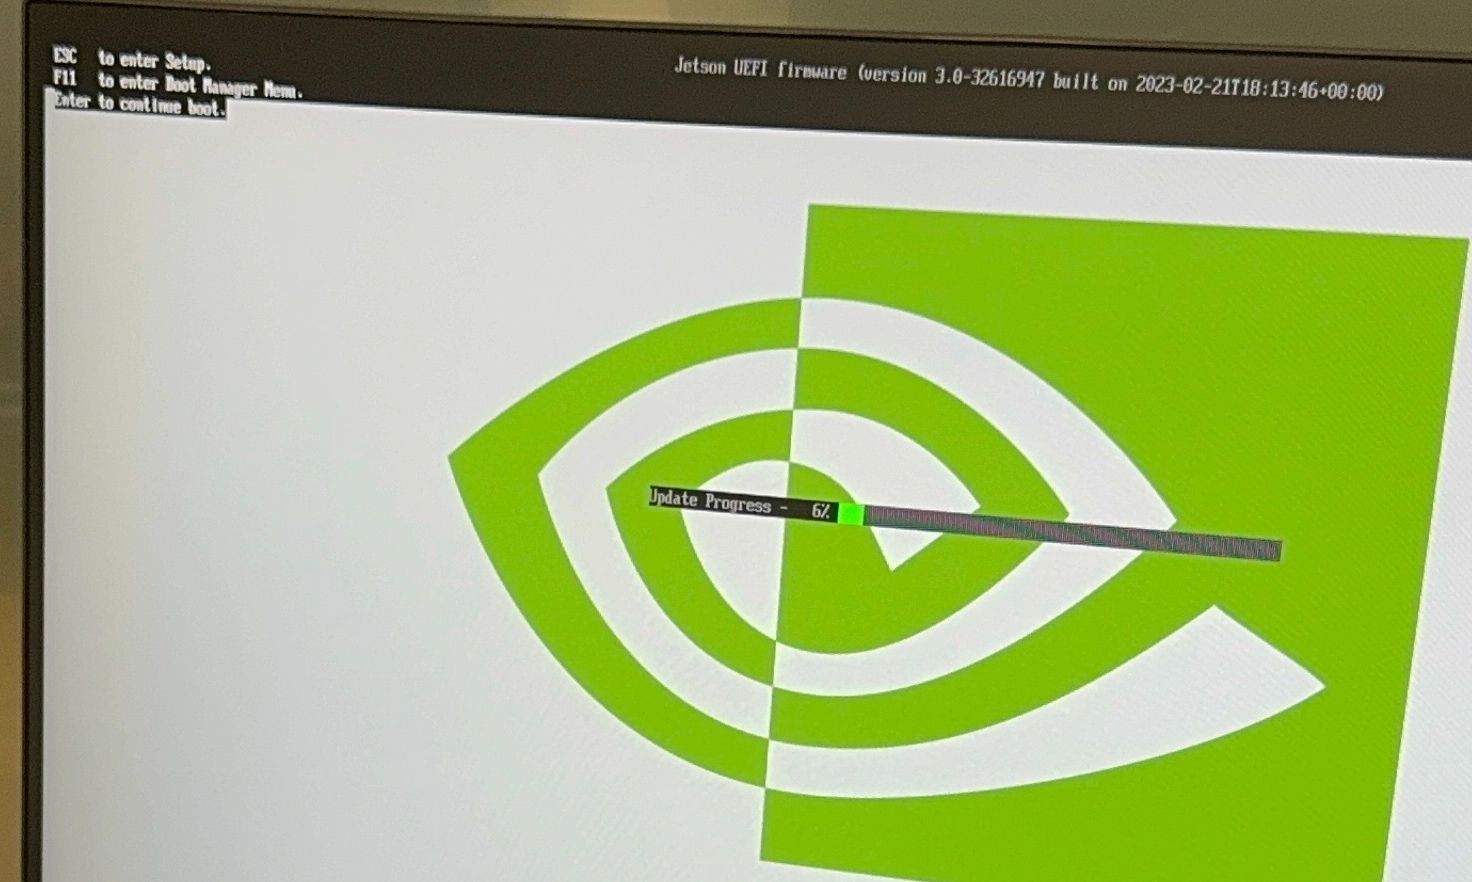

After this step, the developer kit boots JetPack 5.1.3 again with updated UEFI firmware.
Install the QSPI Updater#
After the first firmware update, install the Jetson Orin Nano QSPI updater package.
Confirm the firmware version:
sudo nvbootctrl dump-slots-info
Example output:
Current version: 35.5.0
Capsule update status: 0
Current bootloader slot: A
Active bootloader slot: A
num_slots: 2
slot: 0,             status: normal
slot: 1,             status: normal
Install the QSPI updater:
sudo apt update
sudo apt install nvidia-l4t-jetson-orin-nano-qspi-updater
Reboot the developer kit and allow the QSPI update to complete.
Attention
After the QSPI update completes, the developer kit firmware is ready for JetPack 6.x, but the JetPack 5.1.3 microSD card is no longer the target boot media. Power off the developer kit and insert the target JetPack microSD card.
Boot the Target JetPack SD Card#
After QSPI update completes, boot the target JetPack release.
Download the target JetPack SD card image. For JetPack 6.2.1, use the JetPack 6.2.1 page.
Write the image to the microSD card.
Insert the microSD card into the Jetson Orin Nano module.
Connect the included 19V power supply.
Complete first-boot Ubuntu setup.
Check whether an additional Jetson UEFI firmware update was scheduled:
sudo systemctl status nv-l4t-bootloader-config
Note
JetPack 6.2.x may schedule an additional Jetson UEFI firmware update after first boot. JetPack 7.2 installation requires JetPack 6.x-generation Jetson UEFI/QSPI firmware before booting the Jetson ISO. Always confirm that the developer kit firmware is compatible with the JetPack release you are booting.
To install Jetson Linux directly to a NVMe SSD, use the Jetson ISO or NVIDIA SDK Manager path described in BSP Setup.
Reboot and Complete Final Firmware Update#
If the target JetPack release schedules another firmware update, reboot once more.
Use the Ubuntu desktop power menu and select Restart.
sudo reboot
During boot, the firmware update screen may show progress from a JetPack 6.x firmware version to a newer version.
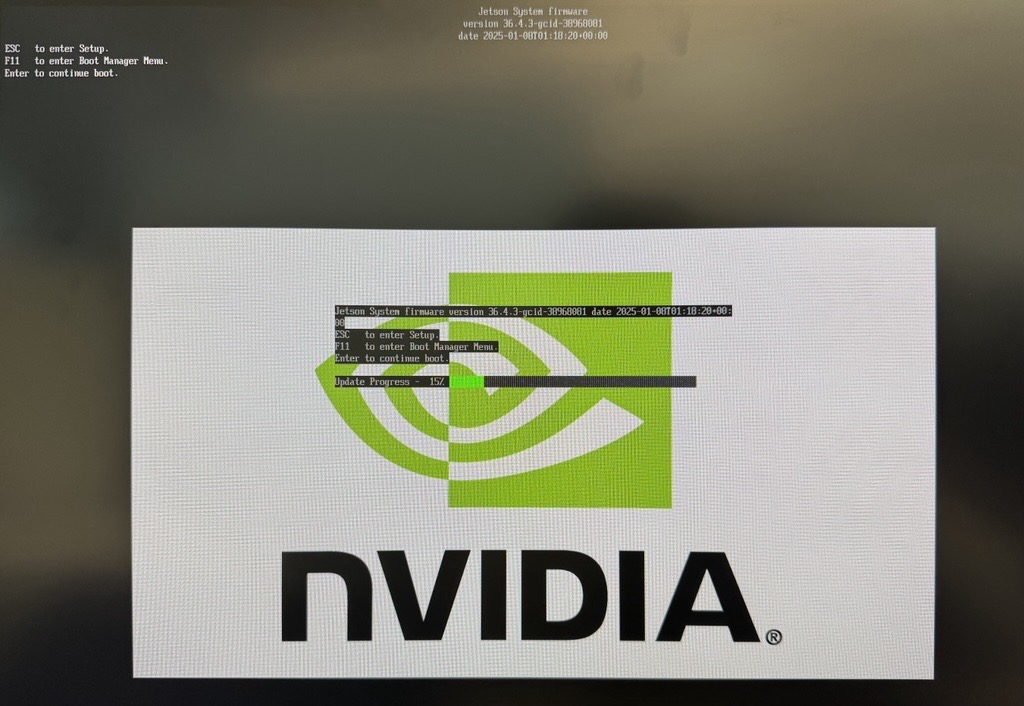
Example serial output:
Jetson System firmware version 36.3.0
ESC   to enter Setup.
F11   to enter Boot Manager Menu.
Enter to continue boot.
Update Progress - 10% *****+++++++++++++++++++++++++++++
After the update completes, the developer kit boots back into the target JetPack release.
Next Steps#
Continue with Quick Start Guide if you want to complete the JetPack 7.2 setup flow.
Continue with BSP Setup for updating or installing any JetPack release.
Review How-to Guides for power, Force Recovery, camera, and common operational tasks.