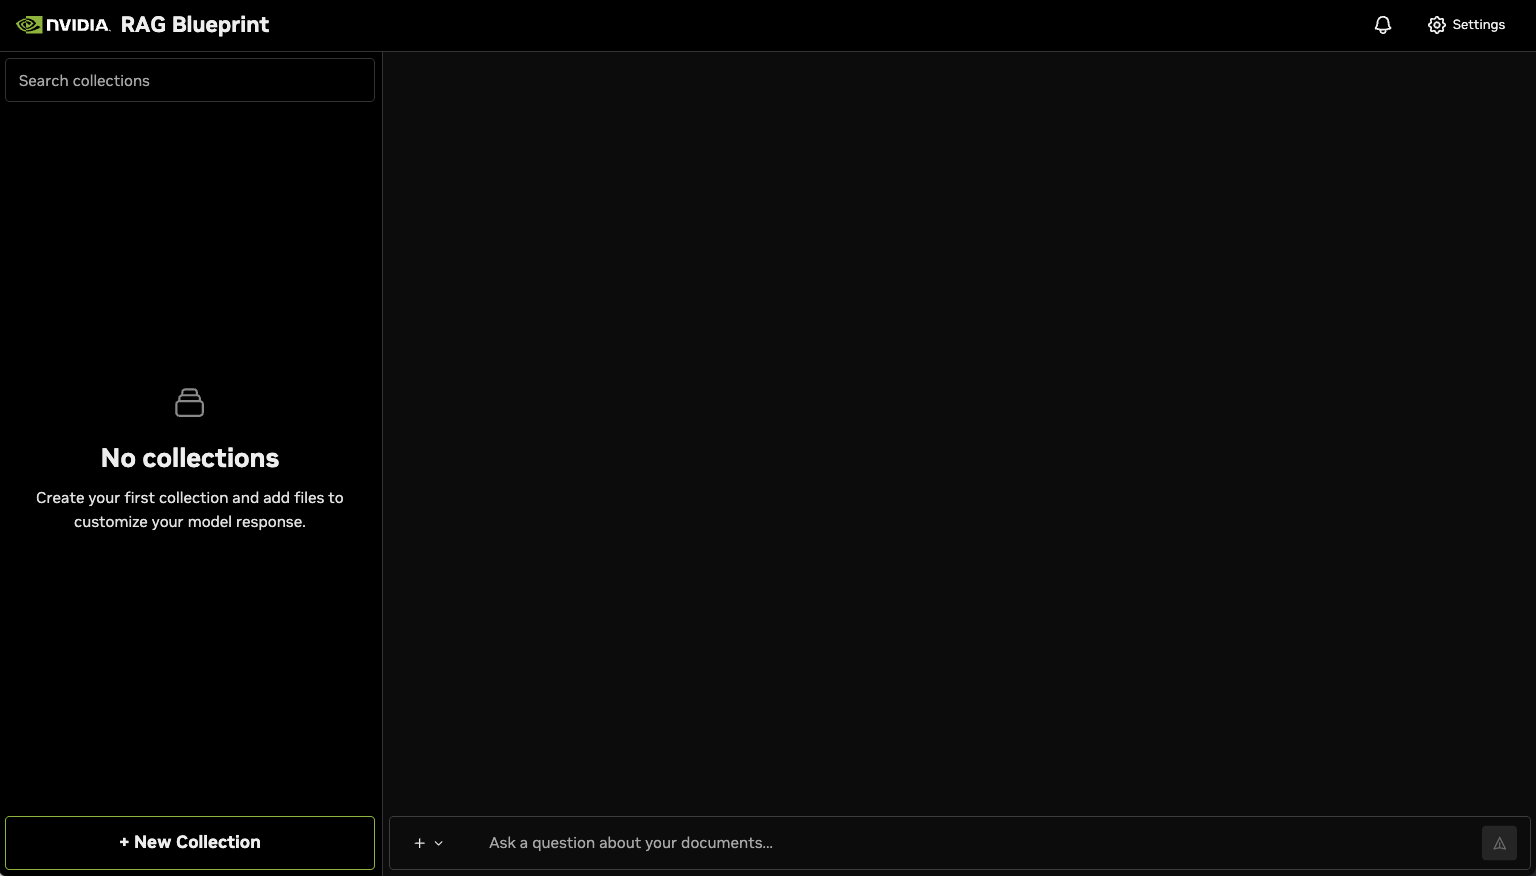
User Interface for NVIDIA RAG Blueprint#
After you deploy the NVIDIA RAG Blueprint, use the following procedure to start testing and experimenting in the NVIDIA RAG Blueprint User Interface (RAG UI).
Important
The RAG UI is provided as a sample and for experimentation only. It is not intended for your production environment.
Getting Started#
Open a web browser and navigate to
http://localhost:8090for a local deployment orhttp://<workstation-ip-address>:8090for a remote deployment.The RAG UI appears.
Click New Collection to add a new collection of documents. The Create New Collection dialog appears.
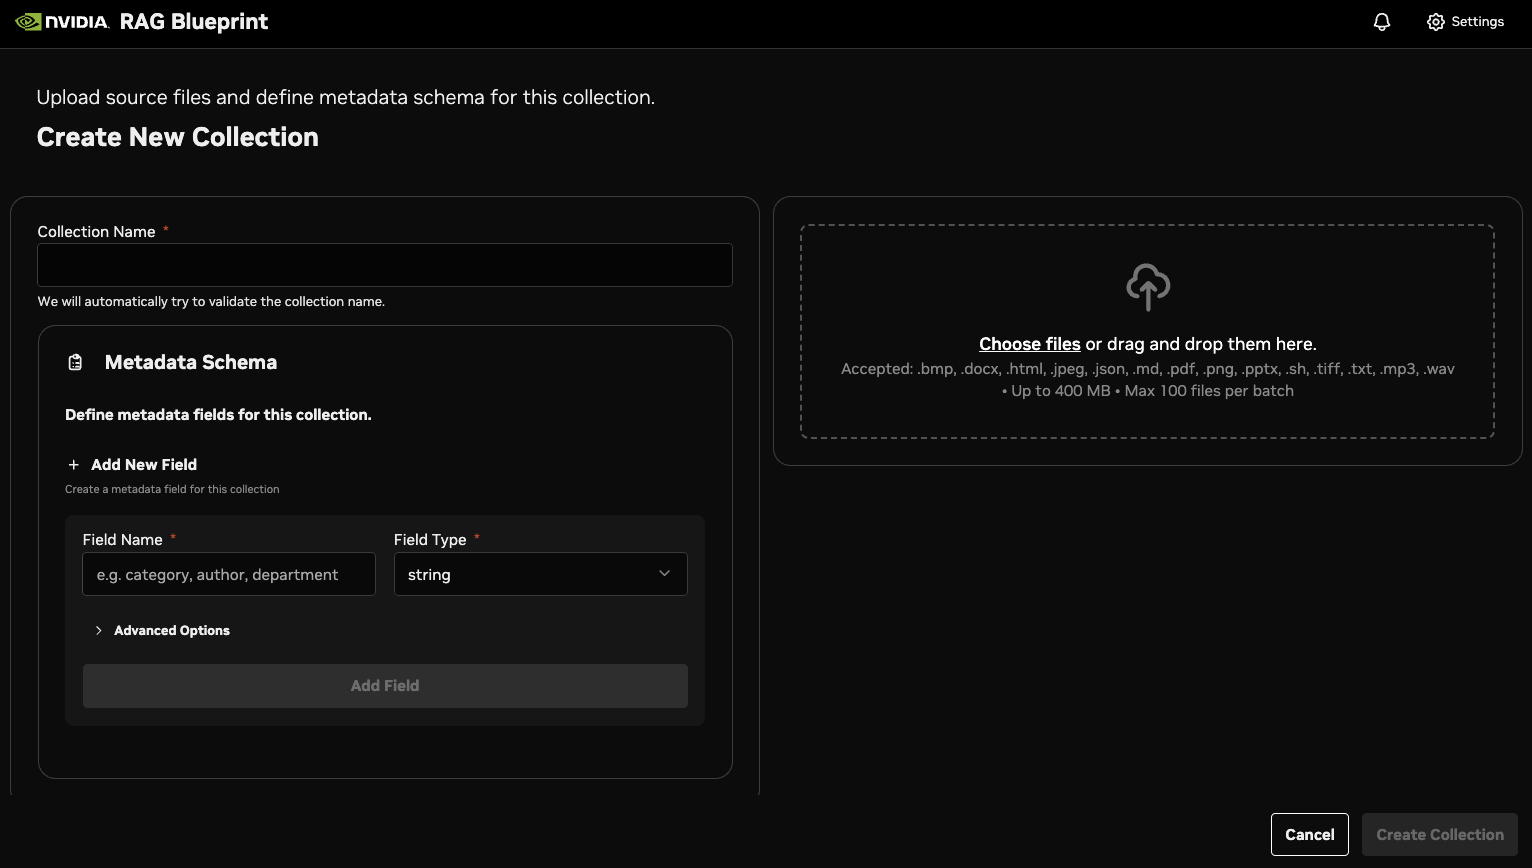
Choose some files to upload in the collection. Wait while the files are ingested.
The following file types are supported:
Documents:
.pdf,.docx,.pptx,.txt,.md,.html,.jsonImages:
.png,.jpeg,.bmp,.tiffAudio:
.mp3,.wavVideo:
.mp4,.mov,.avi,.mkv
Note
The UI file upload interface has a hard limit of 100 files per upload batch. When selecting more than 100 files, only the first 100 are processed. For bulk uploads beyond this limit, use multiple upload batches or the programmatic API.
Create two collections, one named test_collection_1 and one named test_collection_2.
For Collections, add the two collections that you created.
In Ask a question about your documents, submit a query related (or not) to the documents that you uploaded to the collections. You can query a minimum of 1 and a maximum of 5 collections. You should see results similar to the following.
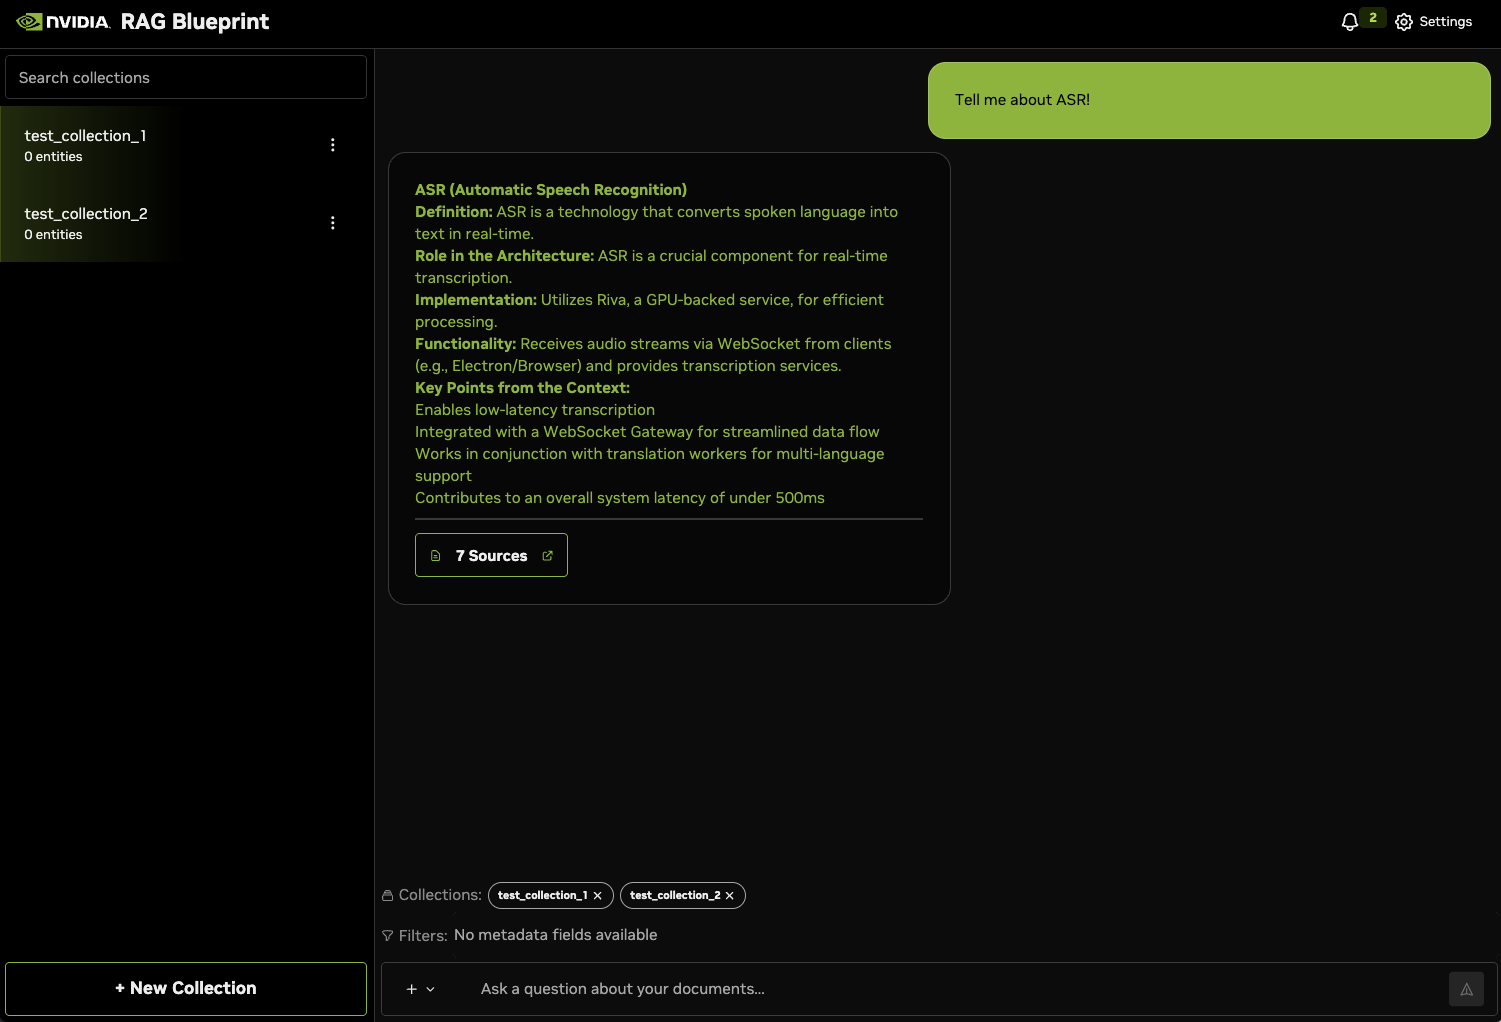
(Optional) Click Sources to view the documents that were used to generate the answer.
(Optional) Click Settings to experiment with the settings to see the effect on generated answers.
Chat Features#
The chat interface provides several features beyond basic question answering.
Image Attachments#
You can attach images to your chat messages for visual analysis:
Click the + icon in the chat input area
Select Add image
Choose one or more image files (JPEG, PNG, GIF, or WebP, up to 10MB each)
The attached images appear as previews above the input
Type your question and send
Note
Image analysis requires VLM Inference to be enabled in Settings > Feature Toggles.
Citations and Sources#
When citations are enabled, responses include source references:
Look for numbered citations in the response text
Click Sources to expand the citations panel
Each citation shows:
The source document name
A relevance score indicating how well the content matched your query
A preview of the relevant text or image content
Clear Chat#
To clear your conversation history:
Click the + icon in the chat input area
Select Clear chat
Confirm the action in the dialog
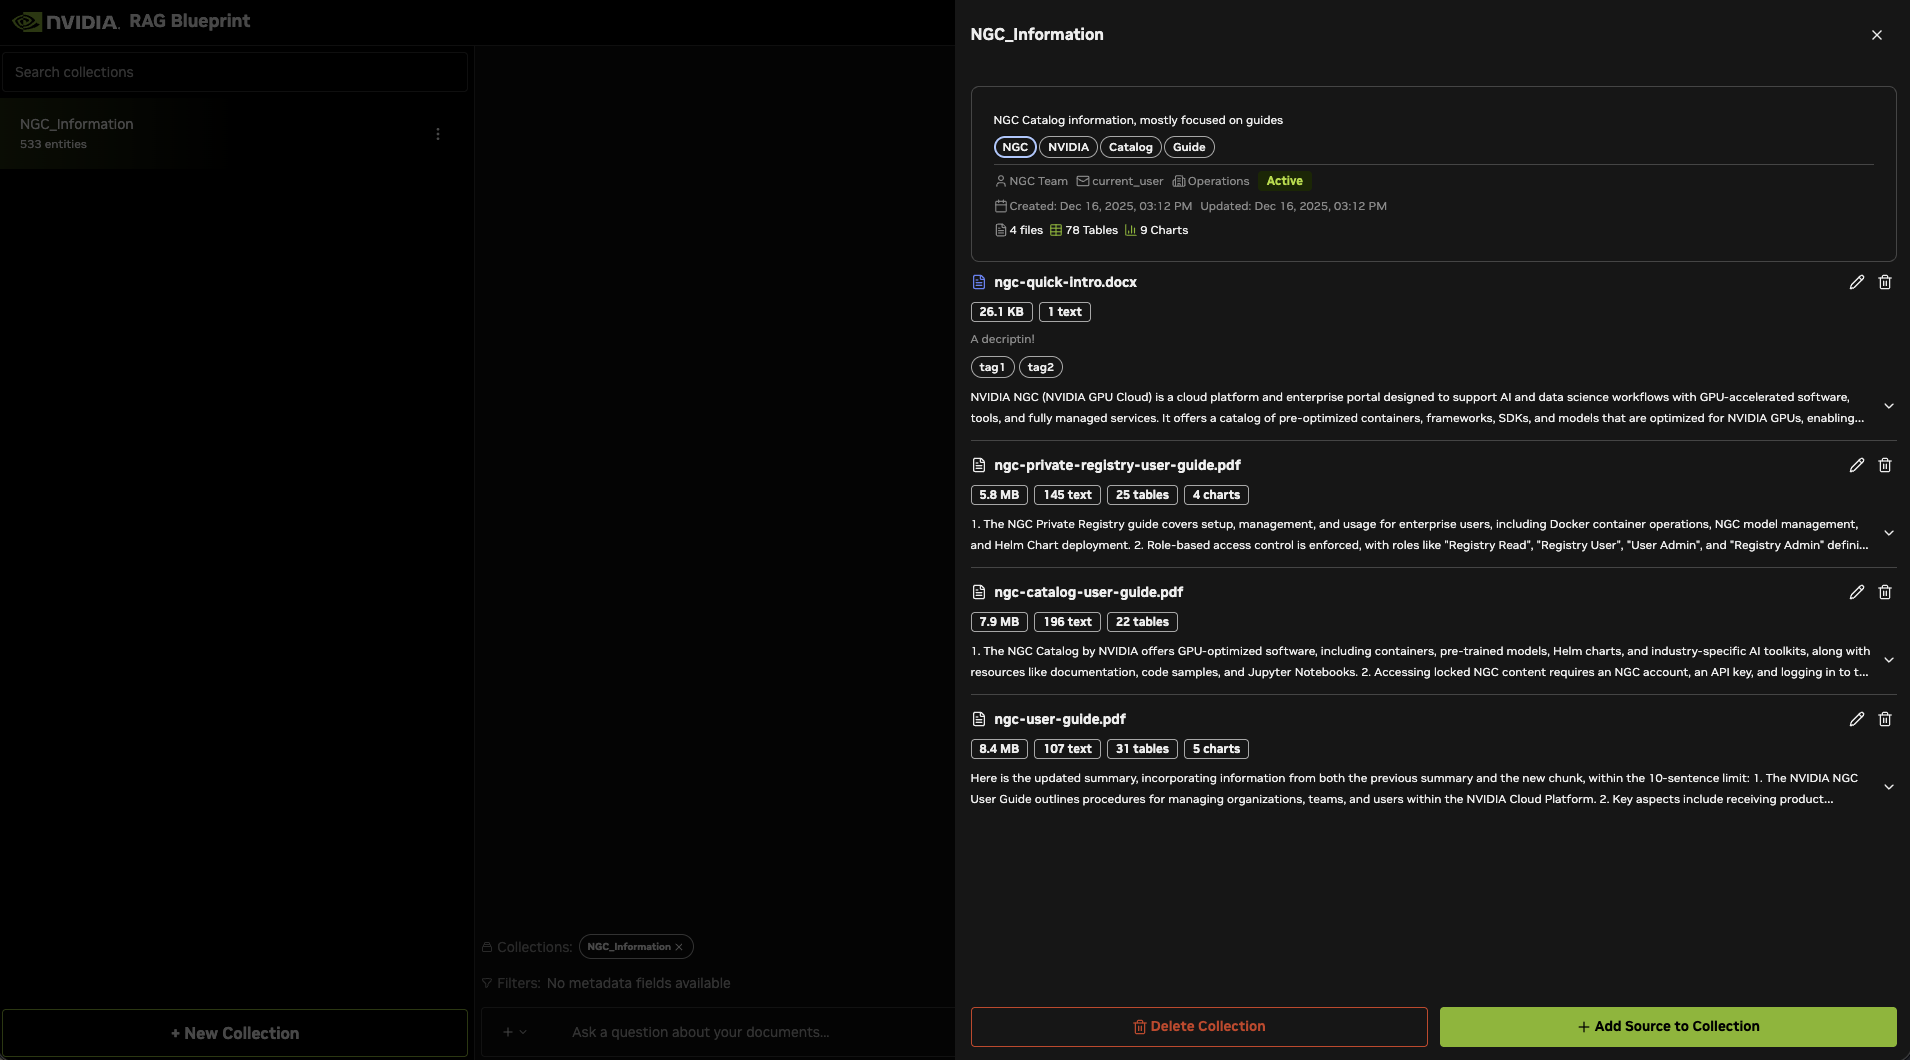
Data Catalog#
The RAG UI provides data catalog capabilities for organizing and managing your document collections with rich metadata.
Collection Metadata#
When creating a collection, you can expand the Data Catalog section to specify:
Description: A text description of the collection’s purpose and contents
Tags: Keywords or labels for categorization and discoverability
Owner: The person or team responsible for the collection
Business Domain: The organizational domain or department (e.g., Engineering, Legal, HR)
Status: The collection’s current state (Active, Archived, or Deprecated)
Custom Metadata Schema#
You can define custom metadata fields that apply to all documents in a collection:
When creating a new collection, use the Metadata Schema Editor
Click Add Field to create a new metadata field
For each field, specify:
Name: The field identifier
Type: Choose from string, integer, float, boolean, array, or datetime
When uploading documents, you can fill in values for each metadata field
Custom metadata enables advanced filtering when querying your collections.
Viewing Collection Details#
Click on any collection name in the sidebar to open the collection drawer. The drawer displays:
Collection Catalog Info Panel: Shows all metadata including description, tags, owner, business domain, and status
Content Metrics: Displays the total file count and content type indicators (tables, charts, images, audio)
Documents List: All documents in the collection with their individual metadata

Document-Level Information#
Each document in a collection can have:
Description: A summary or note about the document
Tags: Document-specific labels for filtering and organization
Custom Metadata: Values for fields defined in the collection’s metadata schema
To edit document information:
Click on a collection to open the collection drawer
Find the document you want to edit
Click the pencil icon next to the document
Update the description and/or tags
Click Save to apply changes
Metadata Filtering#
You can filter query results based on document metadata using the Filter Bar.
Adding Filters#
Click in the Filters area above the chat input
Select a metadata field from the dropdown
Choose an operator (varies by field type):
Text fields: =, !=, like, in, not in
Number fields: =, !=, >, <, >=, <=, in, not in
Boolean fields: =, !=
Datetime fields: before, after, =, !=, >, <
Array fields: array_contains, array_contains_all, array_contains_any
Enter or select a value
Press Enter to add the filter
Combining Filters#
You can add multiple filters and combine them with AND or OR logic:
Click the logic button between filters to toggle between AND/OR
Remove filters by clicking the X on the filter chip
Document Summarization#
The RAG UI supports automatic document summarization during ingestion. When enabled, the system generates AI-powered summaries for each uploaded document.
Enabling Summarization#
Open the collection drawer by clicking on a collection name
Click Add Sources to open the upload panel
Expand the Collection Configuration section
Toggle Document Summarization to enable or disable
Note
Document summarization may increase processing time and costs depending on your deployment configuration. Summaries are generated asynchronously after document ingestion completes.
Viewing Summaries#
Once documents are ingested with summarization enabled:
Open the collection drawer
Expand any document in the documents list
The summary appears below the document metadata (if available)
Click on the summary to expand/collapse the full text
Settings#
The Settings panel provides configuration options for customizing RAG behavior. Access it by clicking the Settings icon in the header.
RAG Configuration#
Fine-tune the retrieval and generation parameters:
Setting |
Description |
Range |
|---|---|---|
Temperature |
Controls randomness in responses. Higher = more creative, lower = more focused. |
0.0 - 1.0 |
Top P |
Limits token selection to cumulative probability. Lower = more focused. |
0.0 - 1.0 |
Confidence Score Threshold |
Minimum confidence for document relevance. Higher = more selective. |
0.0 - 1.0 |
Vector DB Top K |
Number of documents to retrieve from the vector database. |
1 - 400 |
Reranker Top K |
Number of documents to return after reranking. |
1 - 50 |
Max Tokens |
Maximum number of tokens in the generated response. |
Varies |
Feature Toggles#
Enable or disable various features:
Feature |
Description |
Default |
|---|---|---|
Enable Reranker |
Uses reranking to improve document relevance. |
Enabled |
Include Citations |
Adds source citations to responses. |
Enabled |
Use Guardrails |
Applies NeMo Guardrails for safety filtering. |
Disabled |
Query Rewriting |
Rewrites queries for better retrieval. |
Disabled |
VLM Inference |
Enables vision-language model for image analysis. |
Disabled |
Filter Generator |
Auto-generates metadata filters from queries. |
Disabled |
Model Configuration#
Configure the AI models used for different tasks:
Chat/LLM Model: The language model for generating responses
Embedding Model: The model for creating document embeddings
Reranker Model: The model for reranking retrieved documents
Endpoint Configuration#
Set up custom API endpoints for LLM, embedding, and reranker services.
Notifications and Health Monitoring#
The RAG UI provides real-time notifications for tracking document ingestion and system health.
Ingestion Progress#
When you upload documents:
A notification appears showing the upload task
Progress updates display as documents are processed
The notification shows completion status (success or failure)
Click on a notification to view details
Health Notifications#
The UI automatically monitors backend services and shows notifications when issues are detected:
Databases: Vector database (Milvus/Elasticsearch) connectivity
NIM Services: LLM, embedding, and reranker model availability
Processing: Document ingestion service status
Health notifications include the service name, error details, and response time to help with troubleshooting.
Notification Management#
Click the bell icon in the header to view all notifications
Notifications show the collection name, document count, and status
Use Clear All to remove all notifications
Old notifications are automatically cleaned up after 24 hours
Known Issues and Troubleshooting#
The following issues might arise when you work with the RAG UI:
If you try to upload multiple files at the same time, you might see an error similar to
Error uploading documents: { code: 'ECONNRESET' }. In this case, use the API directly for bulk uploading.The RAG UI has a hard limit of 100 files per upload batch. For larger uploads, use multiple batches or the API. The default timeout for file uploads is 1 hour.
Immediately after document ingestion, there might be a delay before the UI accurately reflects the number of documents in a collection.
Document summaries may take additional time to generate after ingestion completes. The UI shows “Generating summary…” until the process finishes.