UCF Studio
The UCF Studio GUI enables you to create and build UCF application in a more user-friendly approach through Drag&Drop operations on a graph canvas.
Remote Access
UCF Studio supports remote access through only one streaming option.
Omniverse Streaming Client
WebRTC
Comparison of available options
Technology |
Devices |
Benefits |
|---|---|---|
Omniverse Streaming Client |
Windows and Linux |
Native desktop application. Supports streaming up to 4K at 60 frames per second. |
WebRTC |
Web browsers (all devices) |
Simple to distribute. Strong support across devices and platforms. |
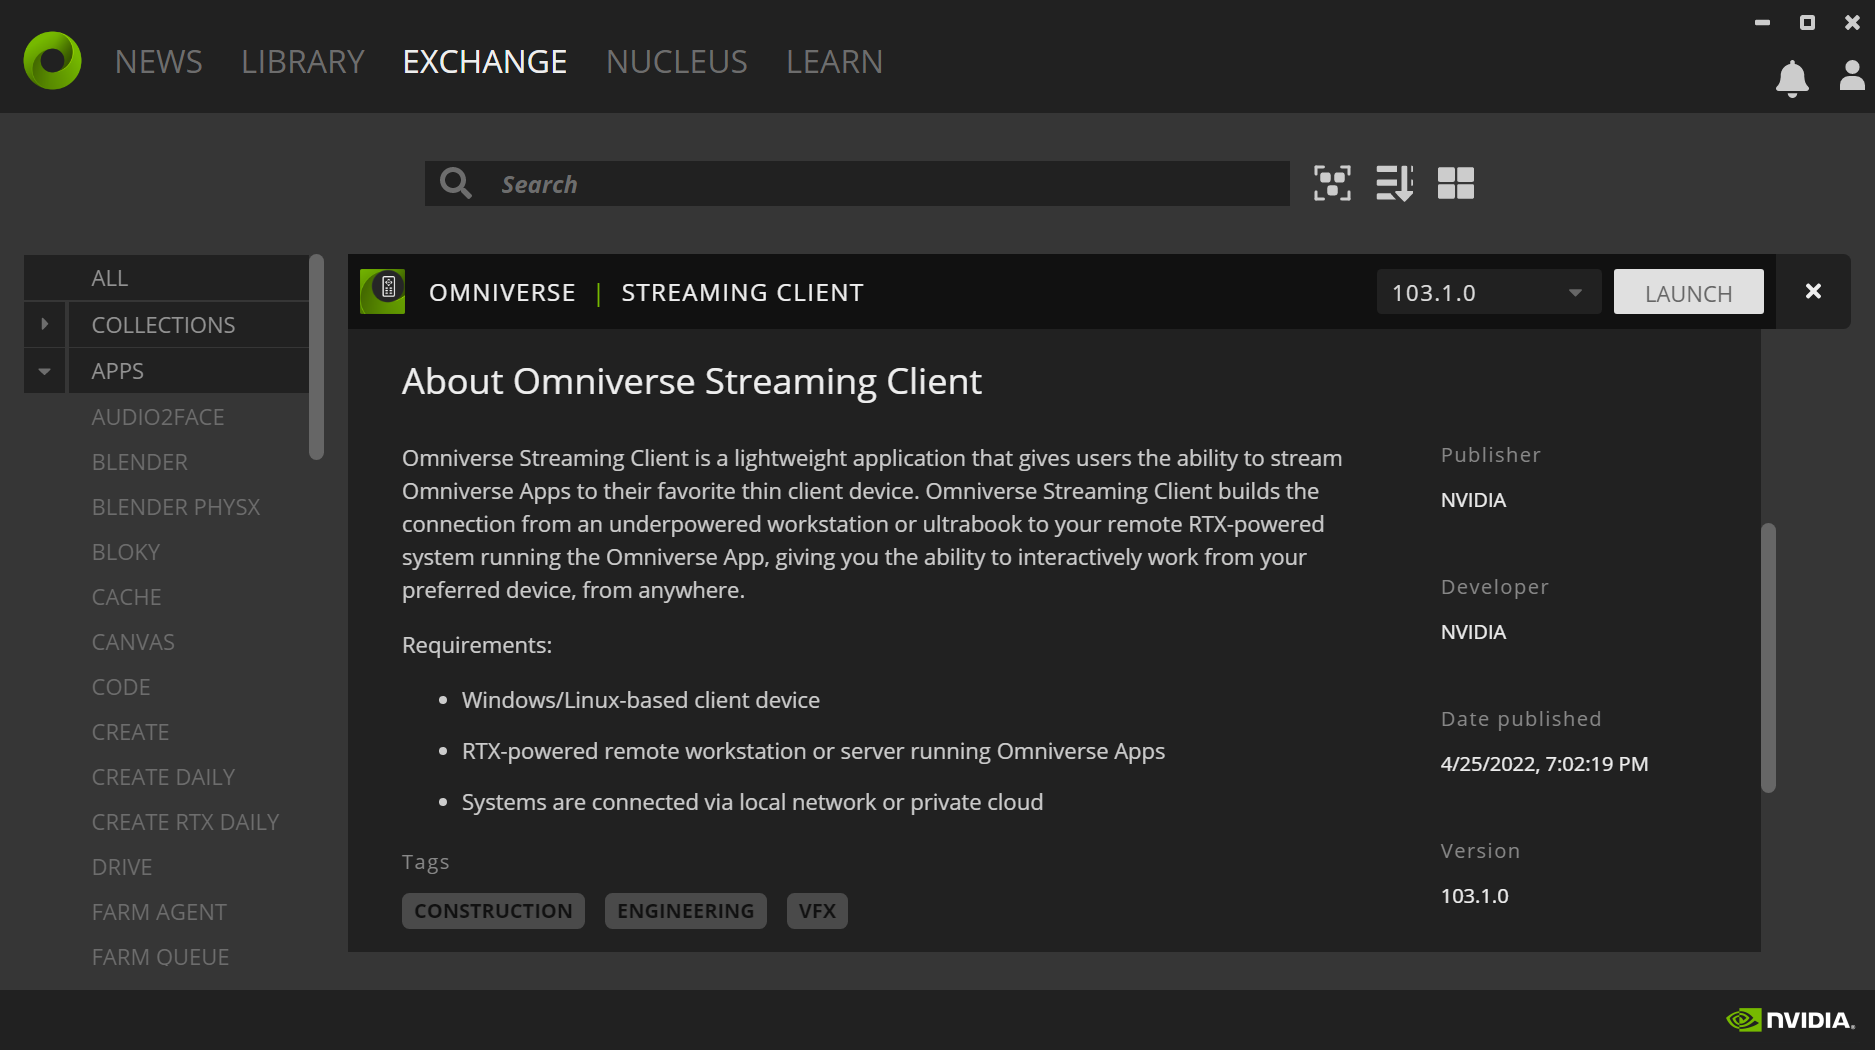
Omniverse Streaming Client
Omniverse Streaming Client is a lightweight application allowing Users to connect to Omniverse applications deployed on the network or over the Internet.
The application makes it possible to access a broad range of Omniverse applications, even from devices that would otherwise not meet the minimum requirements. Some of these workflows include:
Accessing Omniverse applications from low-powered devices or ultrabooks.
Facilitating the sharing resources over the network or the Internet, allowing Users to connect to Omniverse applications provisioned by IT resources.
Installation and Usage
To install the Omniverse Streaming Client on user machines:
From the Omniverse Launcher, select Exchange from the top-level menu bar.
From there, click Omniverse Streaming Client from the left-hand Apps sidebar.
In the detail page of Omniverse Streaming Client, click the Install button.
Once the download completes, and Omniverse Streaming Client is installed, click the Launch button to start the client.
When prompted, enter the IP address or URL of the remote machine which is broadcasting to interact with the remote session:
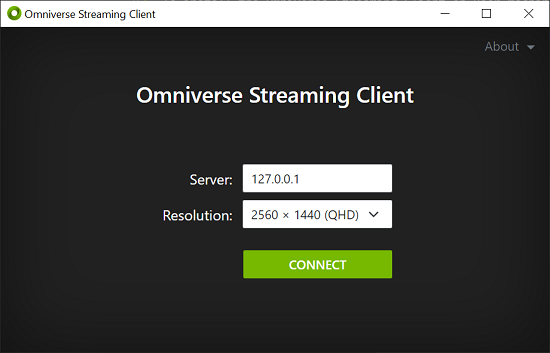
Configuration
Server
To launch UCF Studio with Omniverse Streaming Client, run the following command:
ucf_studio --enable-streaming ov-streaming
Should the host be located on the infrastructure of a third-party Cloud provider, it may additionally be required that the following ports be opened, and that firewall rules allow traffic inbound and outbound traffic:
TCP:
47995to48012TCP:
49000to49007TCP:
49100UDP:
47995to48012UDP:
49000to49007
Client
On Linux, the following packages may be required on machines where the client is installed: libavcodec, libavformat, libavutil. These packages can be installed using the following command:
sudo apt-get install libavcodec57 libavformat57 libavutil55
Windows environments do not require any additional dependencies or configuration, other than ensuring firewall rules do not restrict access to the ports listed above.
WebRTC streaming
By leveraging the new WebRTC live-streaming, it is now possible to stream UCF Studio to web browsers.
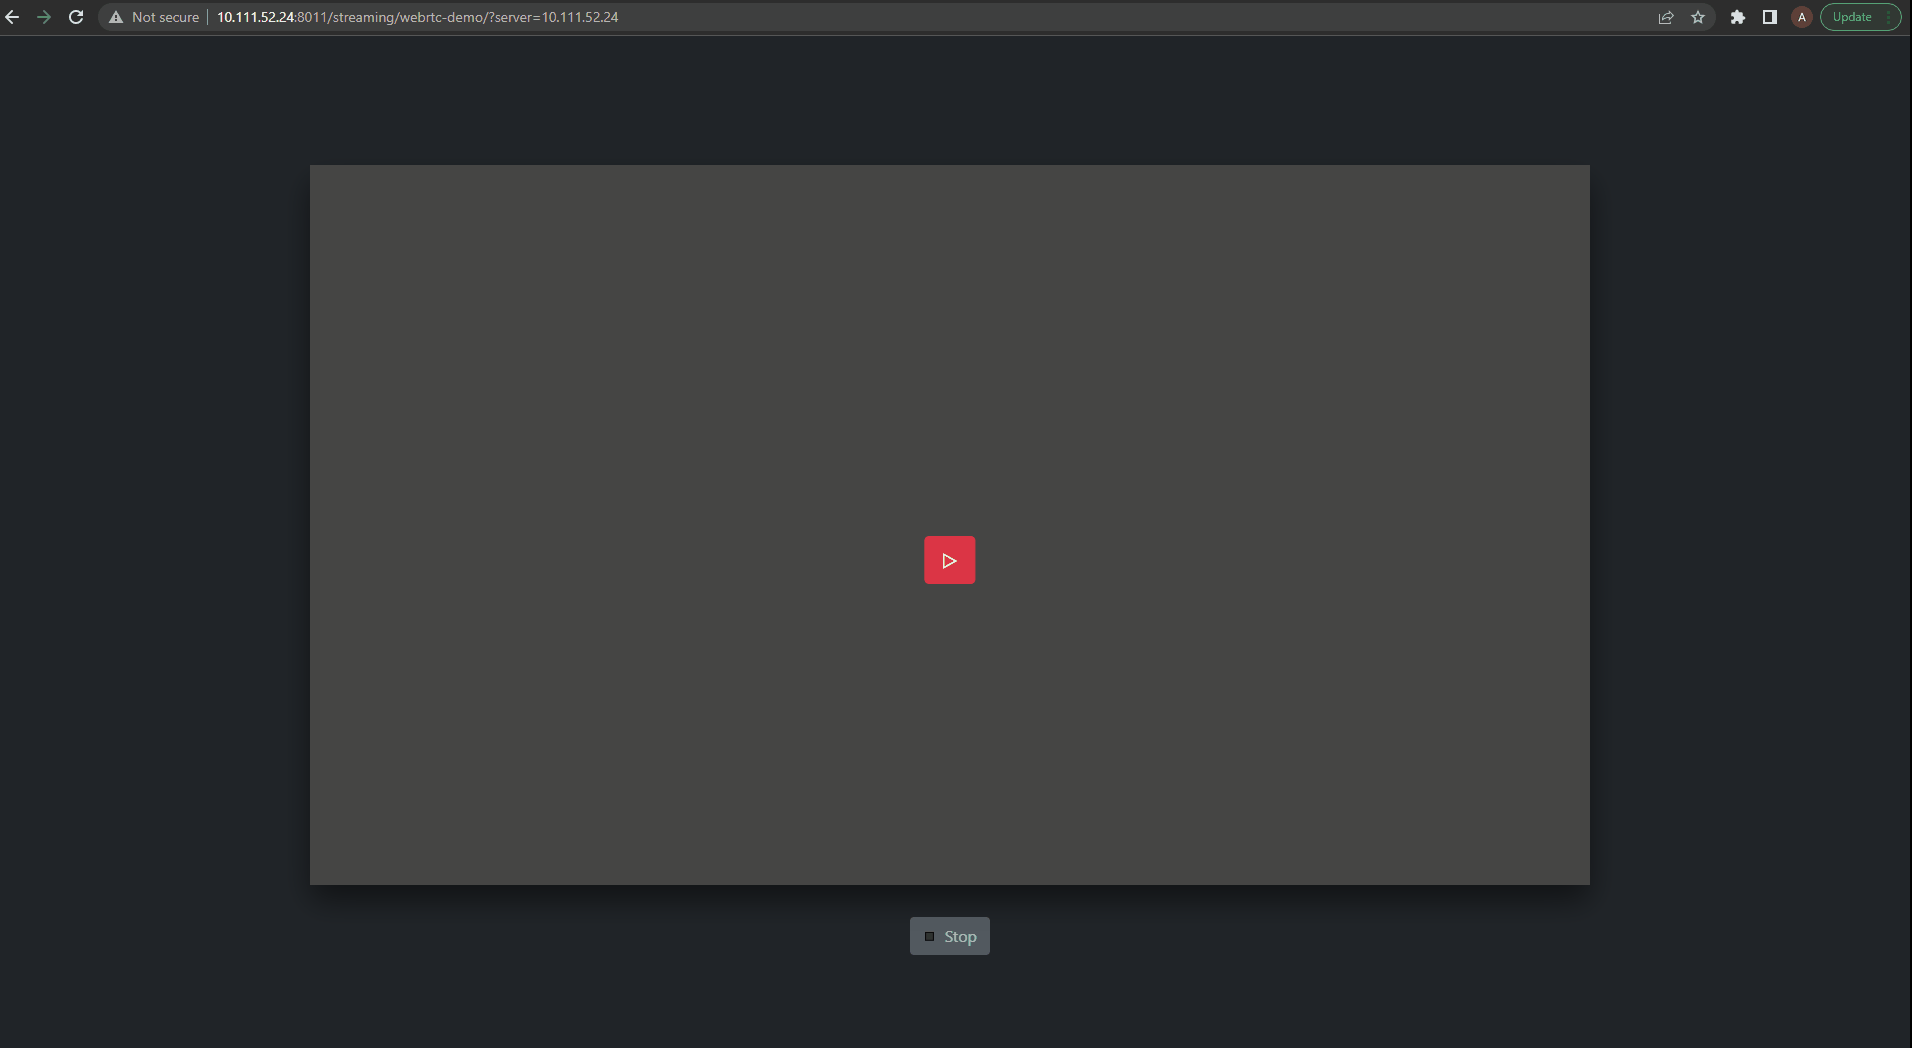
Using the WebRTC live-stream is a straightforward process:
In a command prompt or terminal, run the command:
ucf_studio --enable-streaming webrtcFind the IP address of the machine hosting the UCF Studio application on your local network
Navigate to the stream page in your favorite web browser:
http://<server IP address>:8011/streaming/webrtc-client?server=<server IP addressClick the “play” button to start streaming your application
Note
Sometimes the above URL is not accessible because the port 8011 might have been occupied, in the case we need to replace 8011 with the right HTTP port number displayed in the console.
For example, in the following log, the server started on port 8010 instead of 8011
[omni.services.transport.server.http.server] http server was meant to start on 8011 but port is taken, starting on port 8010 instead.
Current Limitations:
For a best user experience, it is recommended that only a single User at a time be provided with mouse or keyboard control while others remain in spectator mode.
WebRTC Streaming is supported only on RTX GPUs.
Copy/paste support is not yet available.
Repo Sync
Before opening an existing graph or creating a new graph, you must always make sure the local registry data be the latest. Having the local registry synced with the remote repository from NGC will get the local registry data updated. To perform a sync, you’ll always need to set up the repo by copying and pasting the API key through “Repo Setup” from “Registry” menu.
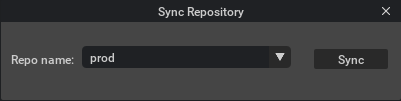
Registry sync can be triggered through the “Repo Sync” or “Fast Repo Sync” from Registry menu (The later one takes less time since it only fetches the latest versions of services instead of all available versions), and you’ll be prompted to select a remote repository to complete the sync:
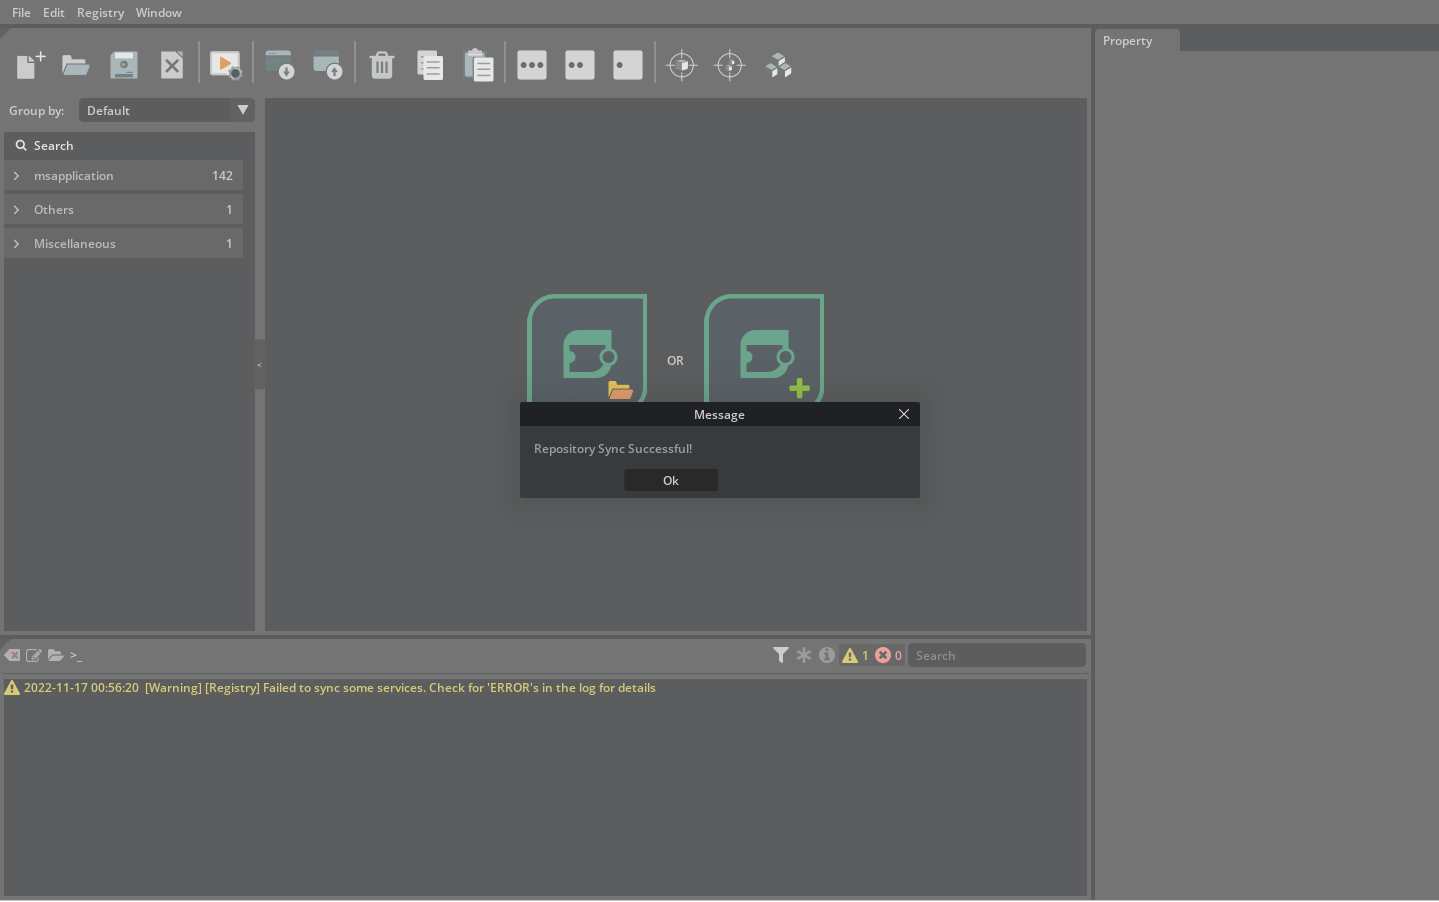
The sync process could take minutes. Once it is done, the catalog list on the left will get updated automatically:
Create a New Graph
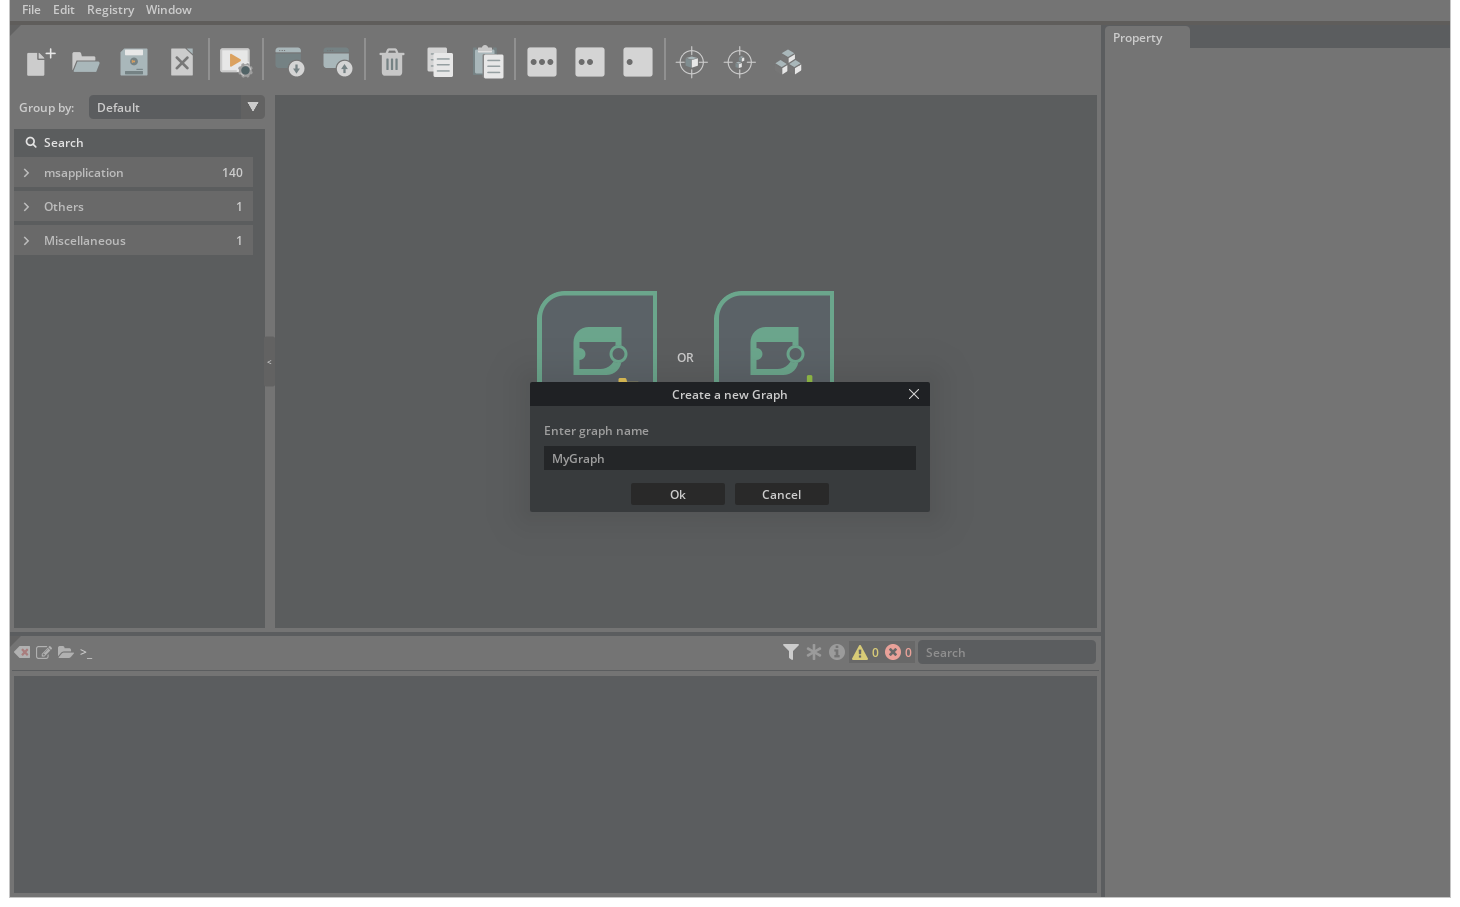
You can create a new graph through the “Create Graph” button from the landing page or “New Graph” (Ctrl + N) from the “File” menu, a customized name can be given to the graph before it is created.
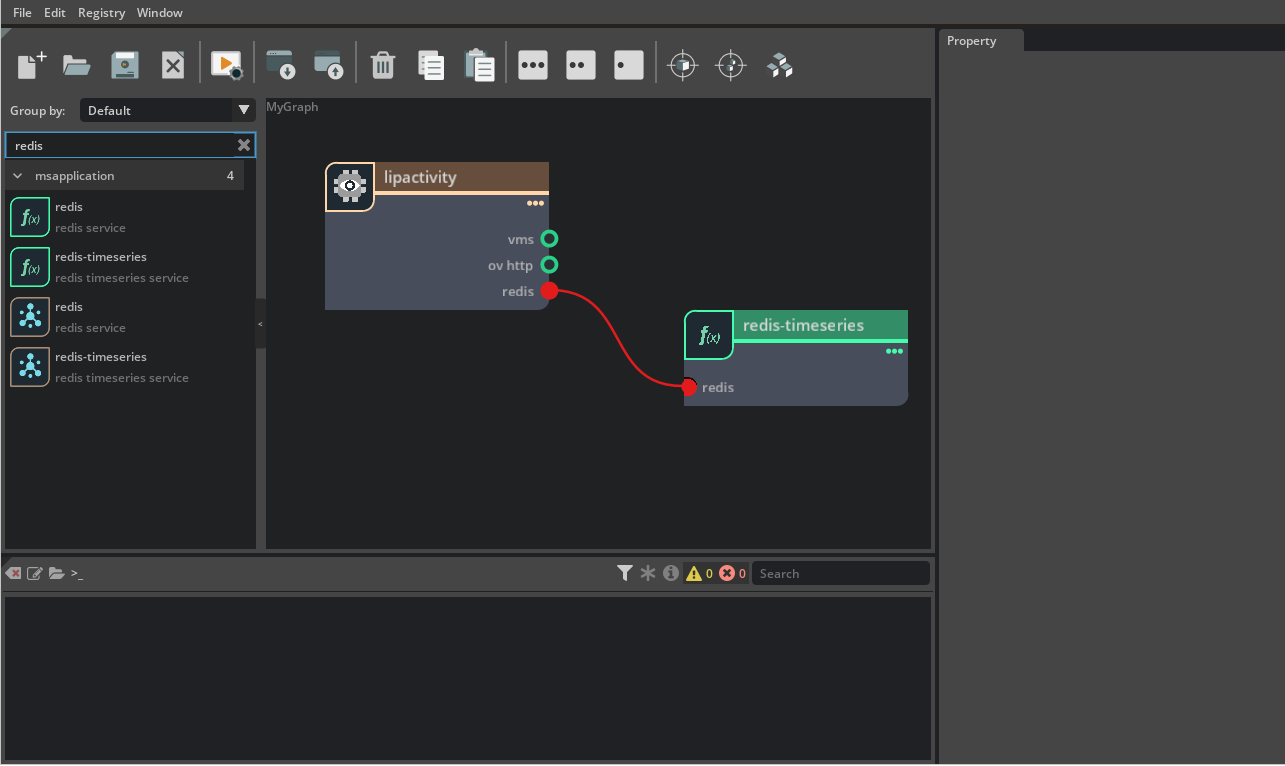
Add and Remove Microservices
Once a repo sync has been completed, all the available services from the registry will be listed in the catalog to the left of the graph canvas, to add a service to the graph a user can search for the needed service from the list and drag&drop it to the canvas.
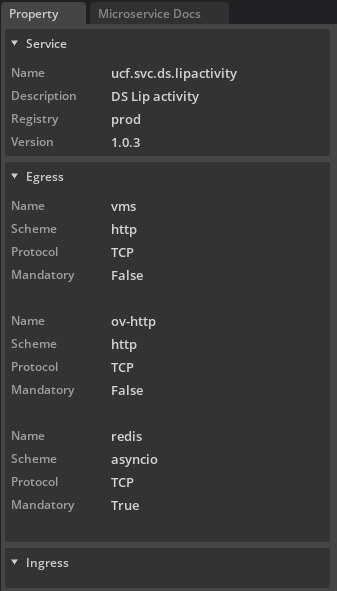
Before adding a service, you may want to know the specification details of that service, which will be showed in the Detail panel once a service is selected from the service list.
After adding a service to the graph canvas, change the name of the service node by double clicking on the name field.
To delete a service node from the graph, click it and press “DEL” key. Delete can also be done through “Edit” menu.
Multiple Selection
Multiple Selection is supported vi mouse and keyboard.
Select the nodes by drag a rectangle on the canvas, or select the nodes one by one by clicking on them while holding the “CTRL” key.
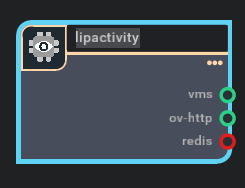
Connect and Disconnect Microservices
Connect two service nodes by dragging from a port in one node and dropping to a port of the other:
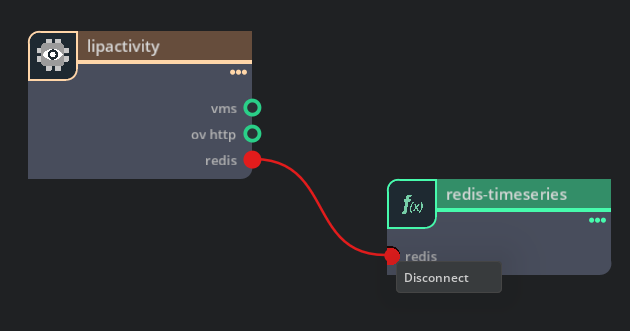
Disconnecting can be done via context menu triggered by a right click on the ingress port which is on the left side of a service node:
Copy/Cut/Paste a Service
To facilitate the editing process of a graph, Copy/Cut/Paste is supported. You may trigger the process from “Edit” menu or simply use “Ctrl + C” for copying, “Ctrl + X” for Cutting and “Ctrl + V” for pasting.
The copied/cut service node will be stored in the clipboard and an exact clone of the service node will be created in the subsequent “Paste” operation.
Undo and redo
A undo/redo pipeline is maintained for a graph which is under editing. You may choose to undo and redo the editing that includes:
Adding a Service
Removing a Service
Connecting Services
Disconnecting Services
Renaming a Service
Cutting a Service
Pasting a Service
Canvas Pan and Zoom
Pan the canvas using the middle key of the mouse, he/she can also zoom in/out the canvas through the wheel on the mouse.
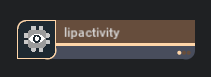
Node Collapse and Expansion
A node on the graph canvas has three states with different views, you may switch among them by clicking the small dots on the top-right corner of the node:
Expanded view
Minimized View
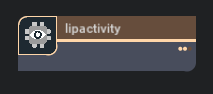
Collapsed View
You can also switch the view of all the nodes on the graph canvas all together through the buttons in the toolbar.
Graph Layout and Focus
Automatic layout is supported to arrange the nodes on the current graph to make them visually cleaner, you may also arrange them manually by moving the nodes.
While editing on a relatively complex graph, you may change the focus to specific node or the entire graph at any time.
All the above operations are supported from the canvas context menu or toolbar.
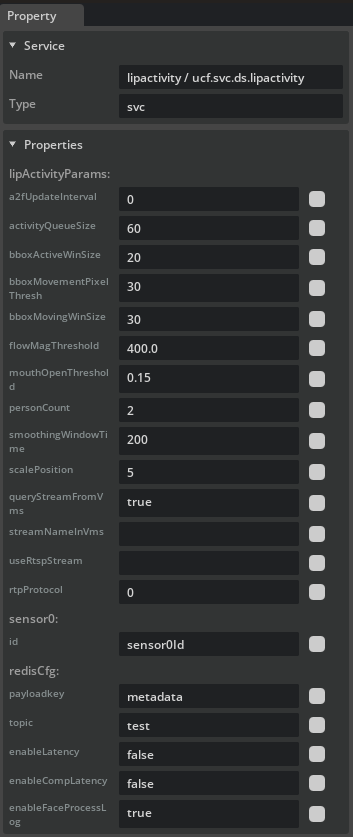
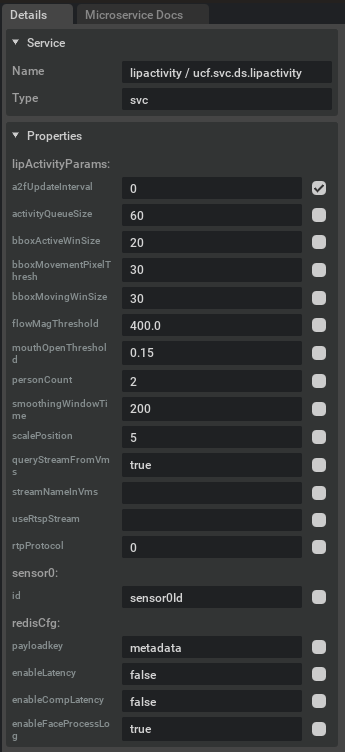
Inspect and Change Service Properties
Once a service node is selected, its details are showed in the detail panel which includes both its basic information and the properties. The properties are editable there so you can change their values at any time:
Save and Load a Graph
While editing a graph, save it as a YAML file at any time so that you can continue the editing by opening them again.
Graph Save can be done from “File” menu or with “Ctrl” + “S”. You can choose the location on their file system to save the graph file:
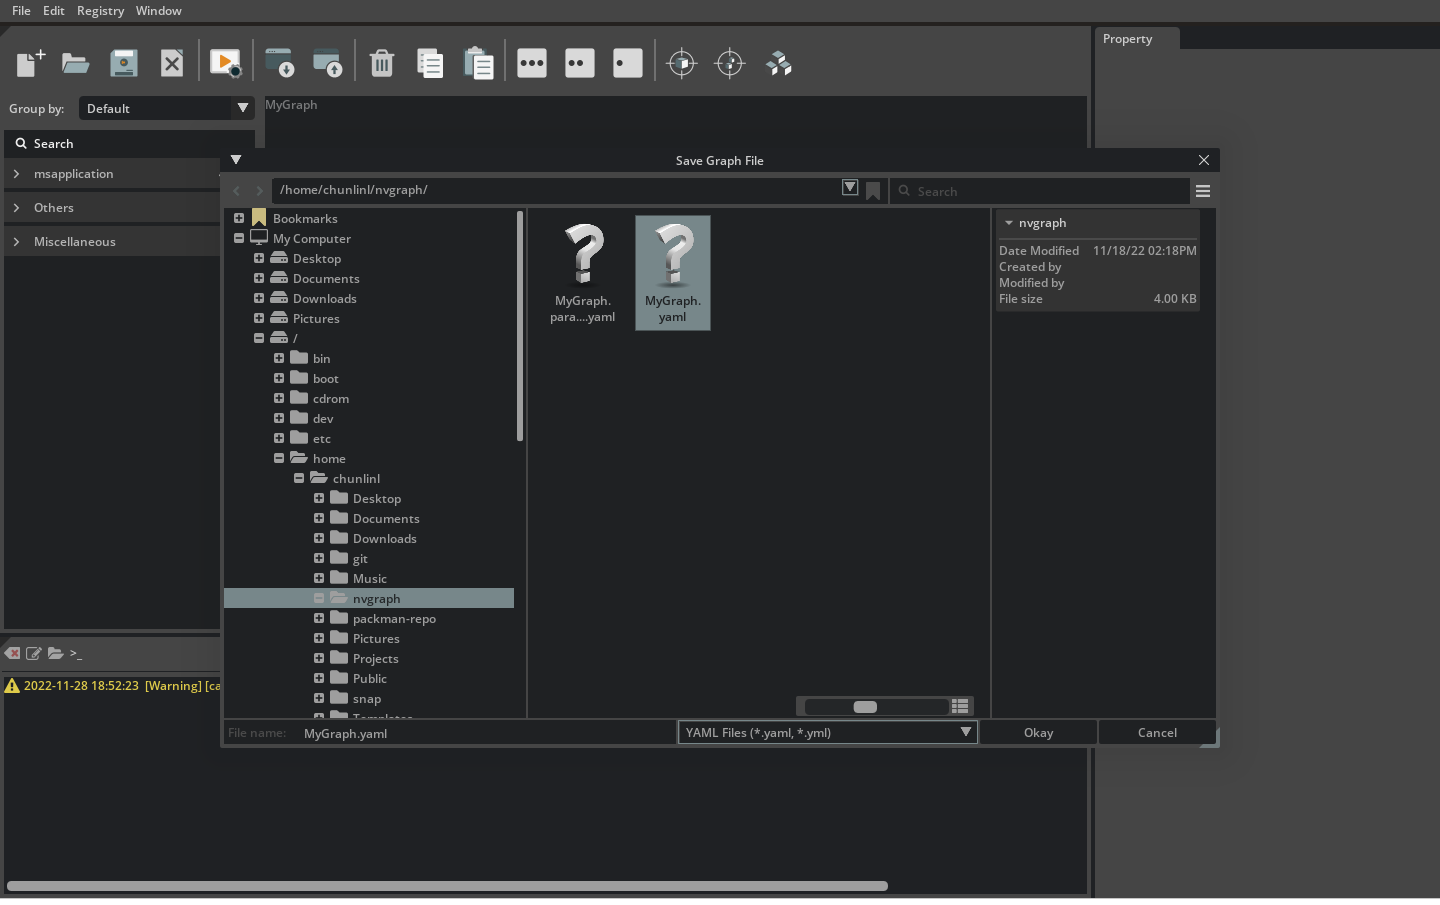
Similarly, you may also open a existing graph from the “File” menu or using the hot key, or from the landing page.
Import and Export Parameters
While the properties of a service instance can be saved together with the graph, they can also be exported to a separate file which then can be imported to override those values in the graph. Before exporting the parameters, you must find the parameter in the nodes and check the checkbox on the right side of the corresponding parameter:
You can also import parameters from parameter file, which will override the values of corresponding parameters in the current graph.
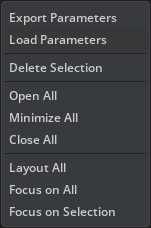
Both Import and Export Parameters are supported from the canvas context menu:
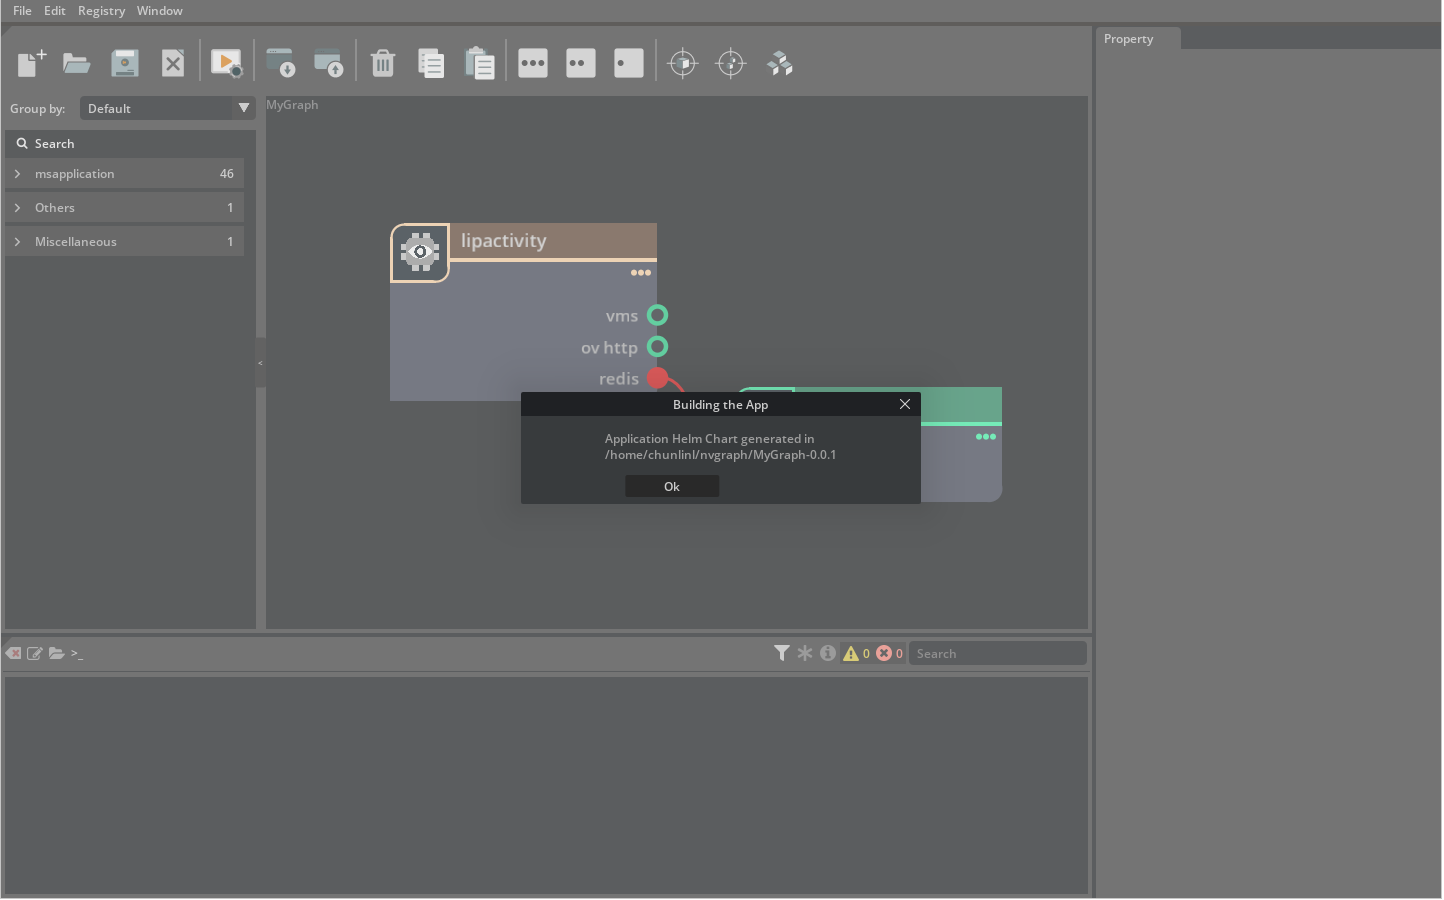
Build the App and Generate Helm Charts
Once you complete a graph, you can kick off the building process from either “File” menu (Ctrl + B) or toolbar, which will ask for an output folder in the file system and generates helm charts there: