Building VMware Horizon
VMware Horizon® is a platform for managing and delivering virtualized or hosted desktops and applications to end-users. Horizon allows you to create and broker connections to Windows virtual desktops, Linux virtual desktops, and Remote Desktop Server (RDS) - enabling hosted applications and desktops.
This chapter covers installing VMware Horizon Connection Server and its supporting components, including:
Prerequisites for VMWare Horizon Connection Server
Installing Horizon Connection Server
Registering the license
Registering vCenter Server
The Horizon Connection Server is not required for connections to NVIDIA vGPU VMs. The Horizon client can connect directly to VMs, desktops, and vApps using the View Agent Direct-Connection (VADC) plugin.
The following elements are required to install and configure VMWare Horizon Connection Server. For demonstration purposes, this guide will use the Horizon 8 2312 release.
A valid license for VMWare Horizon, which can be registered here.
Hardware Considerations:
-
Minimum: A 2.0 GHz processor or higher, 100 Mbps NIC, and 4GB RAM or higher
-
Recommended: 4 CPUs, 1 Gbps NICs, and at least 10 GB RAM for deployments of 50 or more desktops
-
You must install all Horizon Connection Server installation types, including standard, replica, and enrollment server installations, on a dedicated physical or virtual machine that meets these specific hardware requirements.
-
Important: The virtual machine that hosts Horizon Connection Server must have an IP address that does not change. In an IPv4 environment, configure a static IP address.
-
See Also: VMware Connection Server PreRequisites
-
Architectural Considerations:
-
A VMWare Horizon-supported operating system and Active Directory. The Connection Server host must not be a domain controller. Please refer to the VMWare knowledge base article for more information.
-
A compatible version of Horizon with versions of vCenter and ESXi. For details, please refer to the VMWare Product Interoperability Matrix.
-
When installing replicated Horizon Connector Server instances, you must configure them in the exact physical location and connect them over a high-performance LAN.
-
A Domain User Account with Administrator Privileges
-
It is recommended that you prepare a data recovery password
-
Software Considerations:
-
Remote Display Protocol and Software enable access to remote desktops and applications.
-
VMware’s Blast Extreme is a feature-rich display protocol that enables clients to connect to remote desktops and published applications. The Blast Extreme display protocol connects to a wide range of end-client devices and maintains network continuity in cases of network hiccups on Windows clients. Refer to the VMware Blast Extreme page for a complete list of VMware’s Blast display protocol advantages.
-
Before creating the Connection Servers virtual machine template, run Sysprep to generalize the VM; This ensures the VMs will have a unique SID when you clone it later to install primary and secondary Connection Servers.
-
Additional Considerations - First, clone a virtual machine from a VM template that does not have a Connection Server installed, run Sysprep on each cloned VM, and install the Connection Server on each virtual machine separately.
-
The Connection Server software cannot coexist on the same virtual or physical machine with any other VMware Horizon software components, including a replica server, Horizon Agent, or Horizon Client.
-
Review the Getting Started page of VMware Horizon documentation. It provides a roadmap for implementing Horizon as a server and links to a list of helpful VMware education courses.
Please consult the requirements listed in VMware Connection Server Prerequisites.
To find the most recent version of Horizon Connection Server, please refer to VMware Horizon Documentation for release information.
VMware Horizon 8 2312 is used to capture content for this guide. Text, images, and screen layout may differ from version to version.
Download the Connection Server file from the VMWare download site.
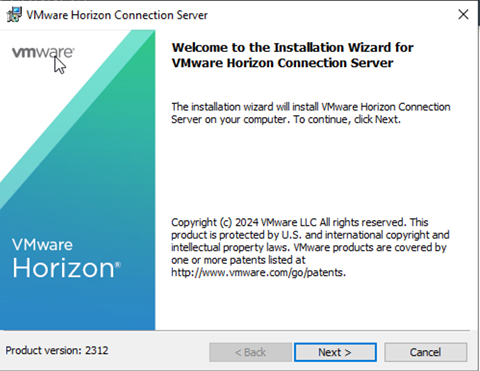
Navigate to the Connection Server installer and double-click the file to start the installation wizard. The installer filename is
VMware-Horizon-Connection-Server-x86_64-y.y.y-xxxxxx.exe, wherexxxxxxis the build number, andy.y.yis the version number.If prompted to allow the app to change your device, click Yes. The Welcome page of the wizard appears.
Click Next to display the End User License Agreement screen.
Accept the license agreement terms, then select Next to continue.
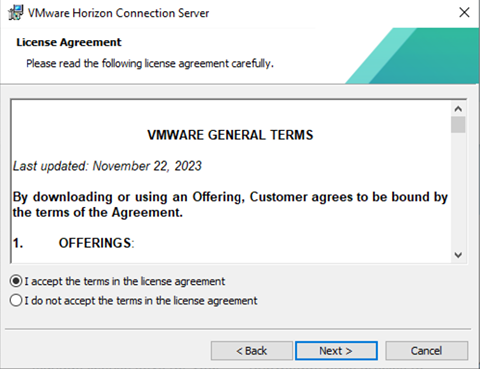
The Horizon installer displays the Destination Folder window.
Choose an install location and select Next.
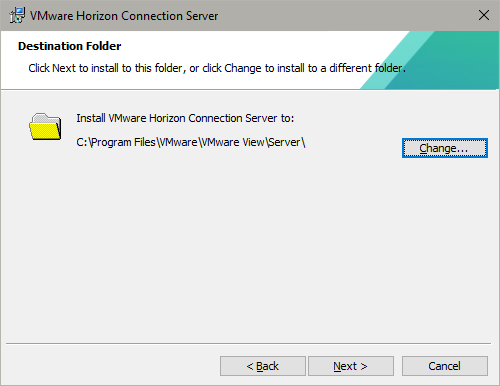
The Horizon installer displays the Installation Options screen. Configure the following:
Set the Horizon Connection Server instance type to Horizon Standard Server.
Check the Install HTML Access checkbox
Select IP protocol version IPv4.
Click Next to continue.

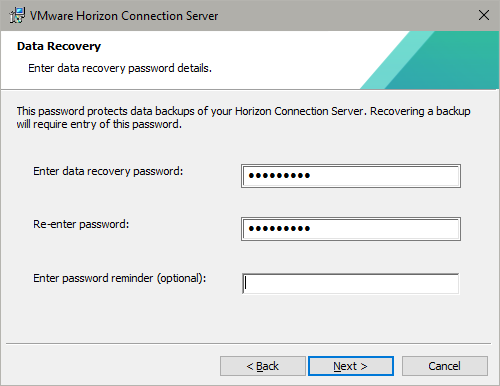
The Horizon installer displays the Data Recovery screen.
Enter and re-enter a data recovery password, then click Next to continue.
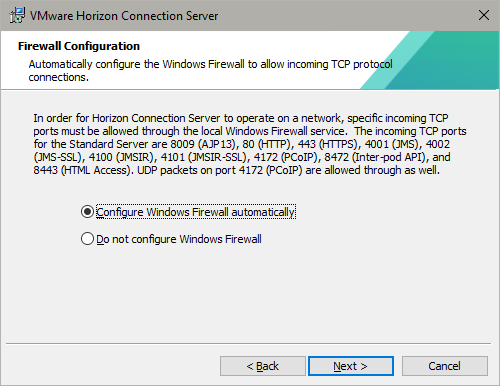
The Horizon installer displays the Firewall Configuration screen:
Check the Configure Windows Firewall automatically checkbox. Click Next.
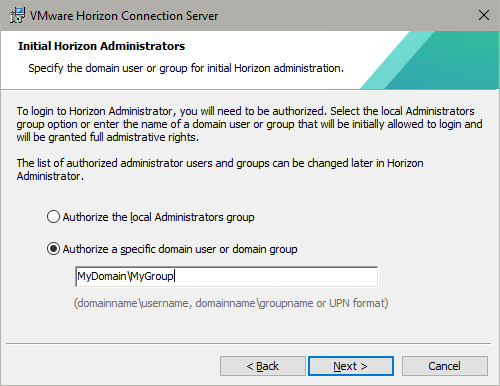
The Horizon installer displays the Initial Horizon Administrators screen.
NVIDIA recommends authorizing an Active Directory domain group.
The Horizon install the User Experience Improvement Program screen:
Check or clear the Join the VMware Customer Experience Improvement Program based on preference. Select the appropriate values in the remaining fields, then click Next to continue.
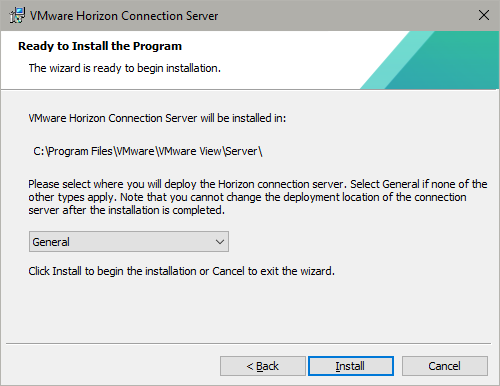
Leave General as the default on the Ready to Install page to indicate that you are deploying the Connection Server as an on-premises environment.
Click Install to complete the installation.
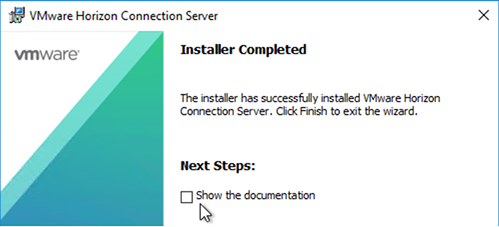
The Horizon installer displays the Installer Completed screen.
Click Finish to exit the installer.
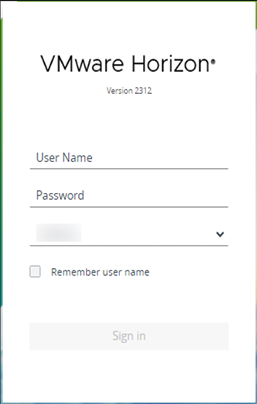
Open the browser page at https://<host>/admin, where <host> is FQDN hostname on the server you installed Horizon.
Generate a license key from VMWare Product Registration if you have not already done so.
Connect to the Horizon web console to open the Horizon Administrator:
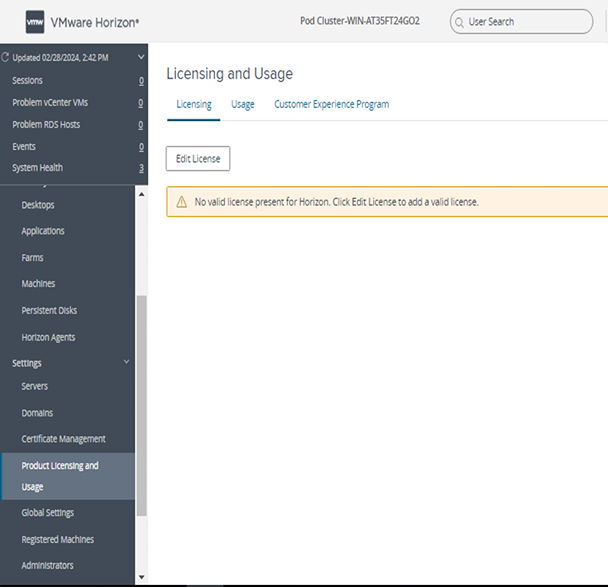
Horizon defaults to the Product Licensing and Usage page. Horizon pre-selects the Licensing and Usage tab in the right-hand pane. Select the Edit License button - Horizon Administrator displays the Edit License window:
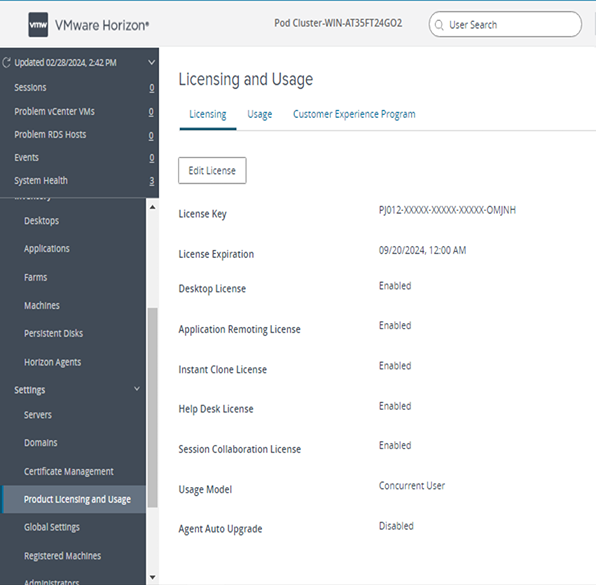
Enter your License key in the License serial number field. Click OK to decode and apply for the license.
Verify that the license is enabled by looking for the Enabled messages in the License Expiration, Desktop License, Application Remoting License, and Instant Clone lIcense part of the Licensing and Usage window.
vCenter Server creates and manages the virtual machines used in Horizon desktop pools. The Connection Server uses a secure channel (TLS/SSL) to connect to the vCenter Server instance.
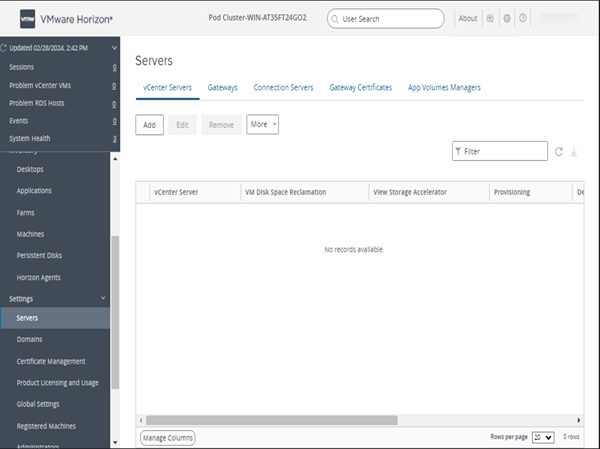
In the left-hand pane of the Horizon Administrator window, select Settings > Server, which takes you to the vCenter servers tab, then click the Add button.
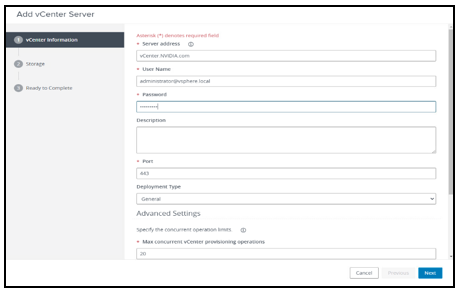
On the Add vCenter Server page, complete the following text boxes before clicking Next:
Server Address - Enter the fully qualified domain name (FQDN) of the vCenter Server instance.
Username and Password - Use the format name@domain.com for the name of the vCenter Server user account.
You can leave the default settings for the other text boxes. (Do Not Use View Composer)
If an Invalid Certificate Detected prompt is displayed:
-
Click View Certificate.
-
In the Certificate Information window, review the thumbprint of the default self-signed certificate that was generated during installation, then click Accept.
-
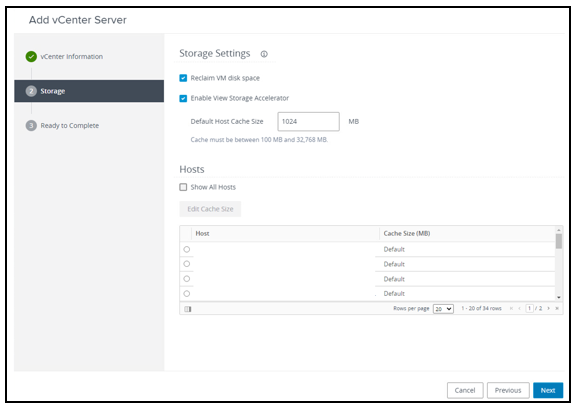
Click Next on the rest of the wizard pages to accept the defaults.
On the Ready to Complete page, select Submit.
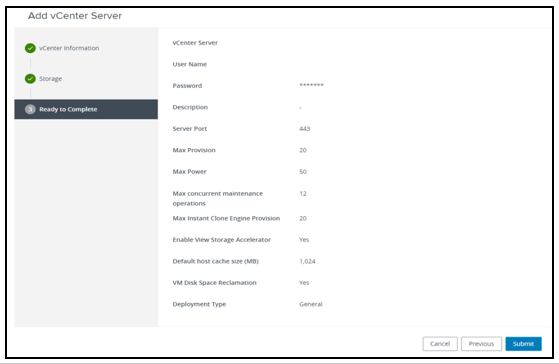
You are returned to the Servers > vCenter Servers tab, and the server you just added will appear in the list.