Quickstart#
Overview#
Deploy a vision agent in 10 minutes
This guide will walk you through the steps to deploy a vision agent using the VSS Blueprint. You’ll create a simple vision agent that you can upload videos to, ask questions about the videos, and generate reports. Afterwards, you can explore adding agent workflows such as video summarization, search, and alerting.
The following diagram illustrates a conceptual architecture of the base vision agent that you’ll deploy:

Key Features of the Base Vision Agent:
Upload videos to a video management system and connect the agent to it through the MCP service.
Report generation tool which utilizes a LLM and VLM to generate reports from the videos.
Video understanding tool which utilizes a VLM to perform video understanding tasks, such as Q&A.
What’s being deployed#
VSS Agent: Agent service that orchestrates tool calls and model inference to answer questions and generate outputs
VSS Agent UI: Web UI with chat, video upload, and different views
VSS Video IO & Storage (VIOS): Video ingestion, recording, and playback services used by the agent for video access and management
Nemotron LLM (NIM): LLM inference service used for reasoning, tool selection, and response generation
Cosmos Reason 2 (NIM): Vision-language model with physical reasoning capabilities
Phoenix: Observability and telemetry service for agent workflow monitoring
Prerequisites#
Before you begin, ensure all of the prerequisites are met. See Prerequisites for more details.
Download Sample Data and Deployment Package#
Configure NGC Access#
Note
Before proceeding, ensure that NGC CLI is installed on your system. For installation instructions, see Install NGC CLI in the Prerequisites.
# Setup NGC access
export NGC_CLI_API_KEY='your_ngc_api_key'
Download Sample Data#
Perform this on the machine from which you may use the web-browser.
This can be done using NGC CLI as documented below, or downloaded from the NGC UI directly.
# Download sample data
ngc \
    registry \
    resource \
    download-version \
    nvidia/vss-developer/dev-profile-sample-data:3.0.0

tar \
    -xf \
    dev-profile-sample-data_v3.0.0/dev-profile-sample-data.tar.gz \
    -C </path/to/extract/to>

rm -rf dev-profile-sample-data_v3.0.0
Download the Deployment Package#
Perform this on the machine where you intend to deploy the agent.
# Download the VSS package from NGC

ngc \
  registry \
  resource \
  download-version \
  'nvidia/vss-developer/dev-profile-compose:3.0.0'

# Extract the deployment package

tar \
  -zxvf \
  dev-profile-compose_v3.0.0/deploy-dev-profile-compose.tar.gz
Deploy#
Step 1: Deploy the Agent#
Based on your GPU, run the following command to deploy the agent:
deployments/dev-profile.sh up -p base
deployments/dev-profile.sh up -p base -H RTX6000PROBW
deployments/dev-profile.sh up -p base -H L40S
This deployment uses the following defaults:
Host IP: Primary IP from
ip routeLLM mode: local_shared
VLM mode: local_shared
LLM model: nvidia-nemotron-nano-9b-v2
VLM model: cosmos-reason2-8b
This command will download the necessary containers from the NGC Docker registry and start the agent. Depending on your network speed, this may take a few minutes.
Note
NGC API Key: The deployment requires an NGC CLI API key. You can either set it as an environment variable (export NGC_CLI_API_KEY='your_ngc_api_key') or pass it as a command-line argument using -k 'your_ngc_api_key'.
Note
For advanced deployment options such as hardware profiles, NIM configurations, and model selection, see Advanced Deployment Options.
Note
Switch Agent Workflows: You can deploy different agent workflows by changing the -p argument:
base: Base vision agent (this quickstart)search: Search Workflowalerts: Alert workflows
Once complete, check that all the containers are running and healthy:
docker ps
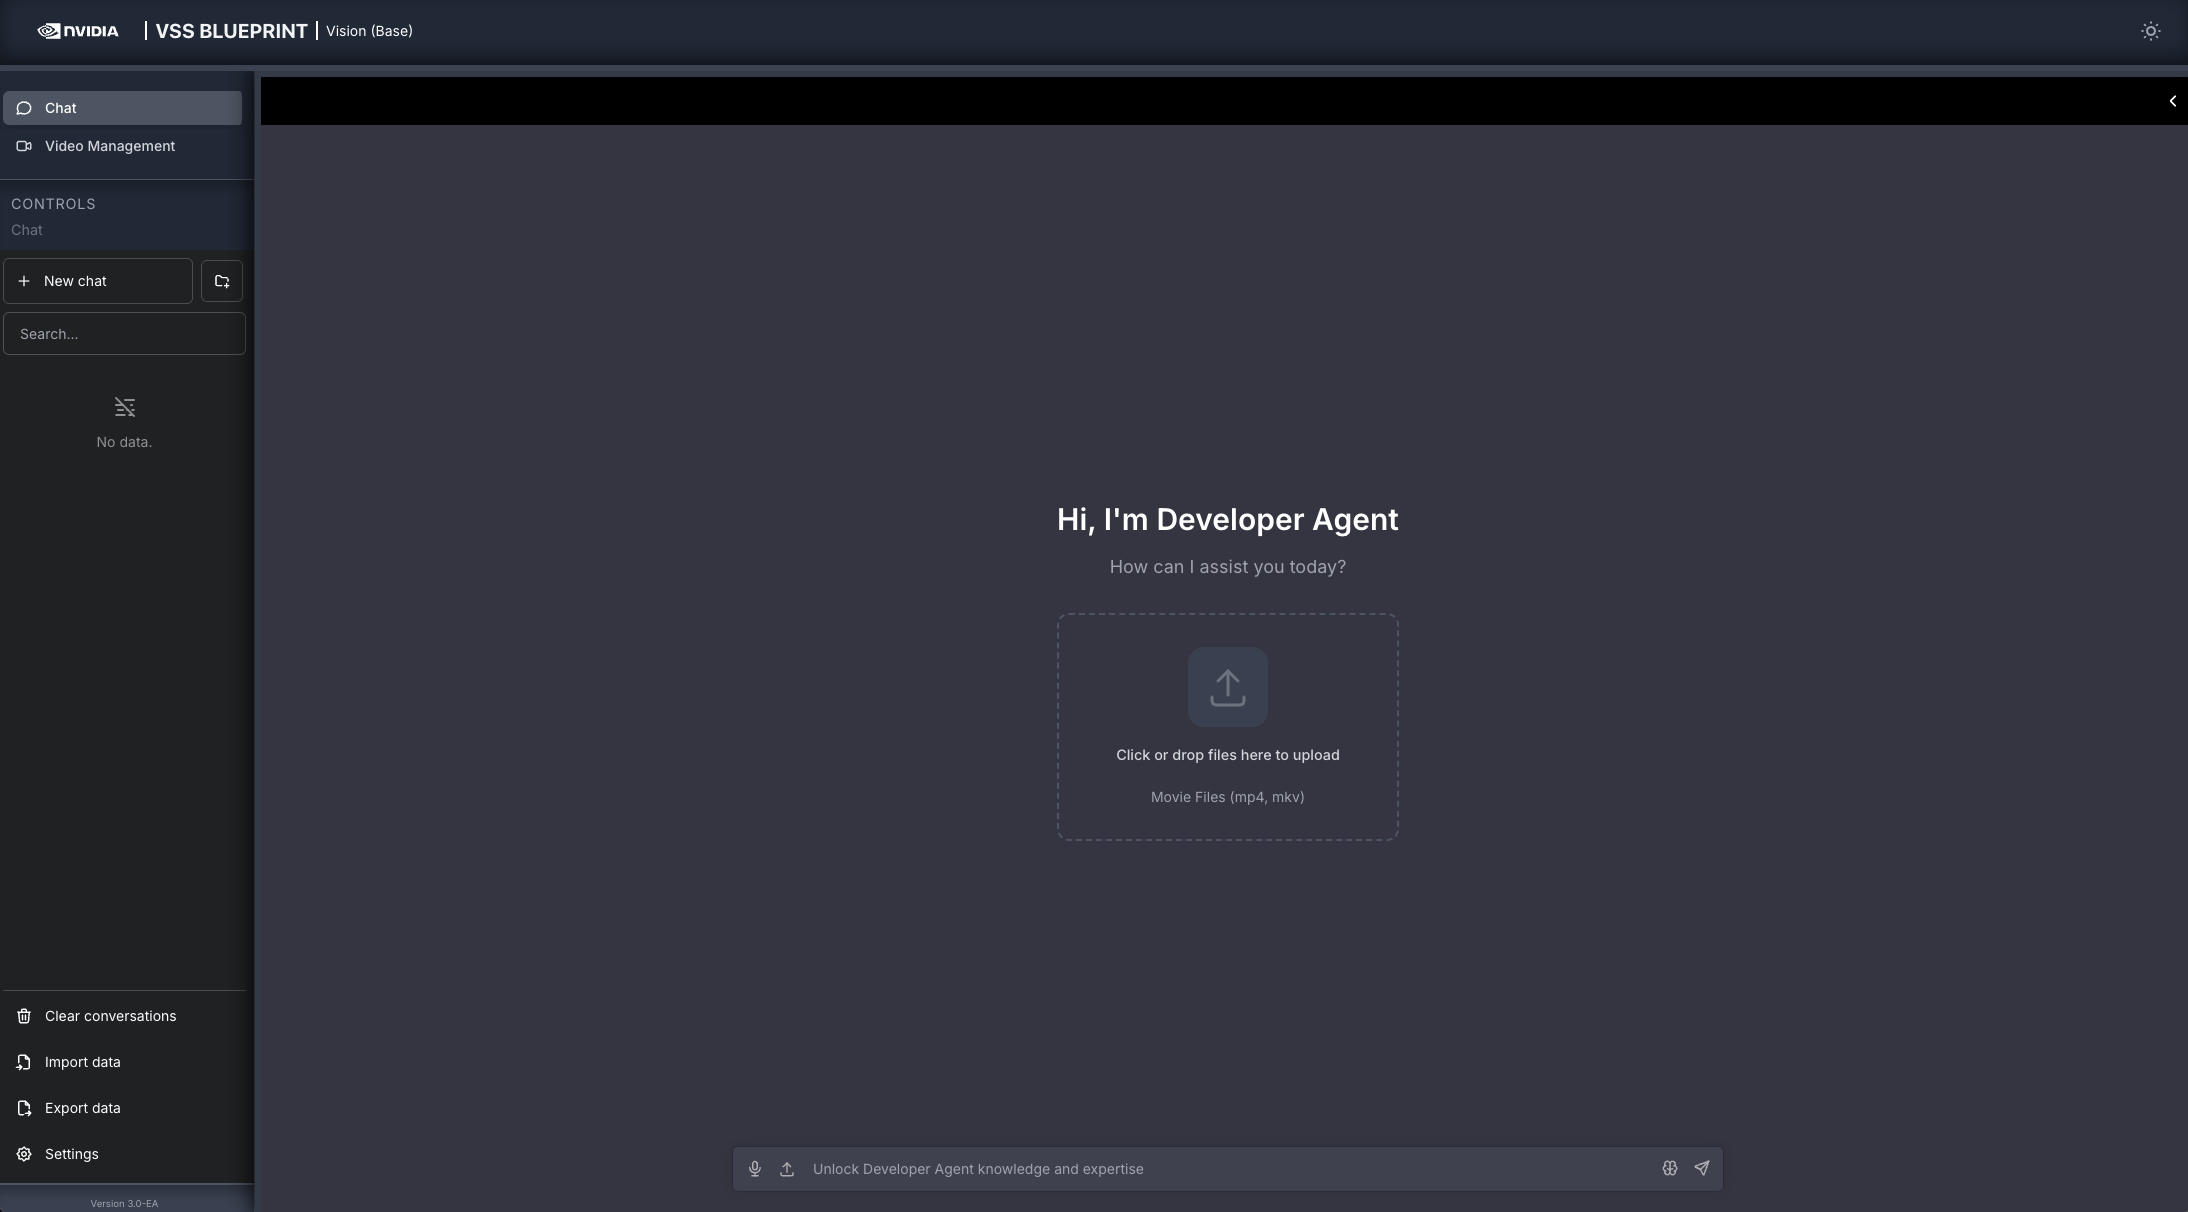
Once all the containers are running, you can access the agent UI at http://<HOST_IP>:3000/.
Step 2: Upload a video#
In the chat interface, drag and drop the video warehouse_safety_0001.mp4 into the chat window.
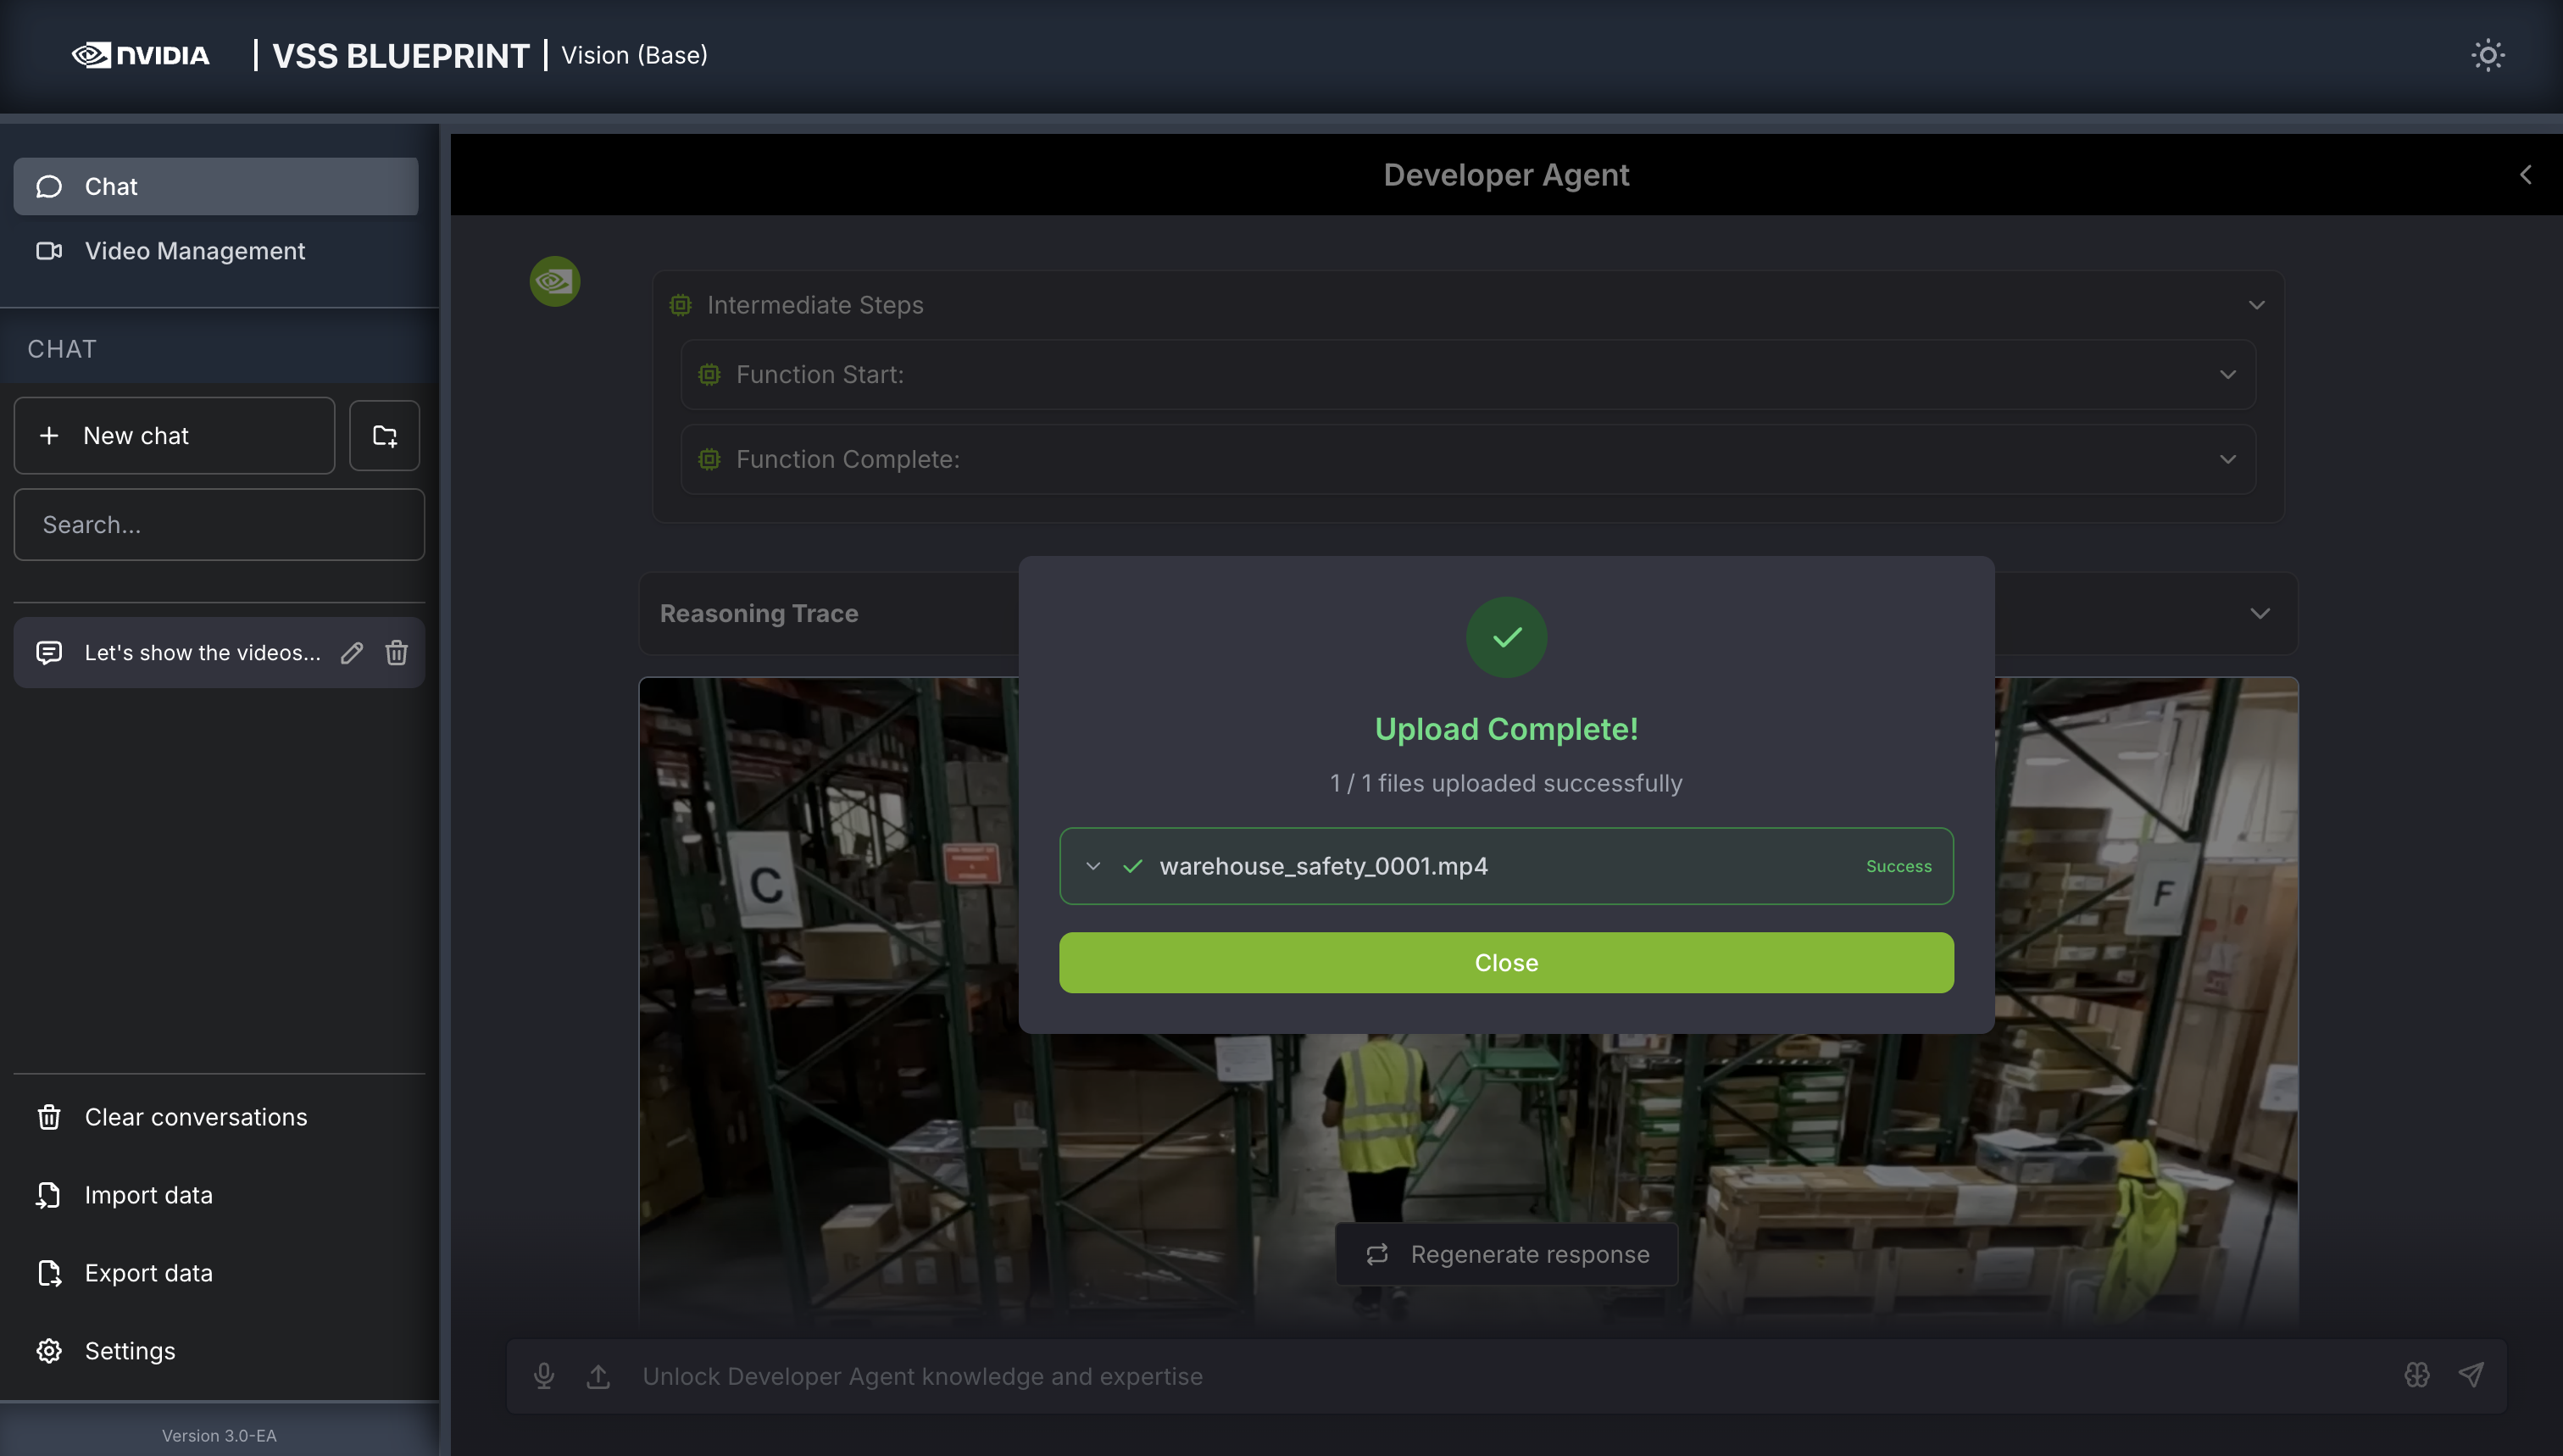
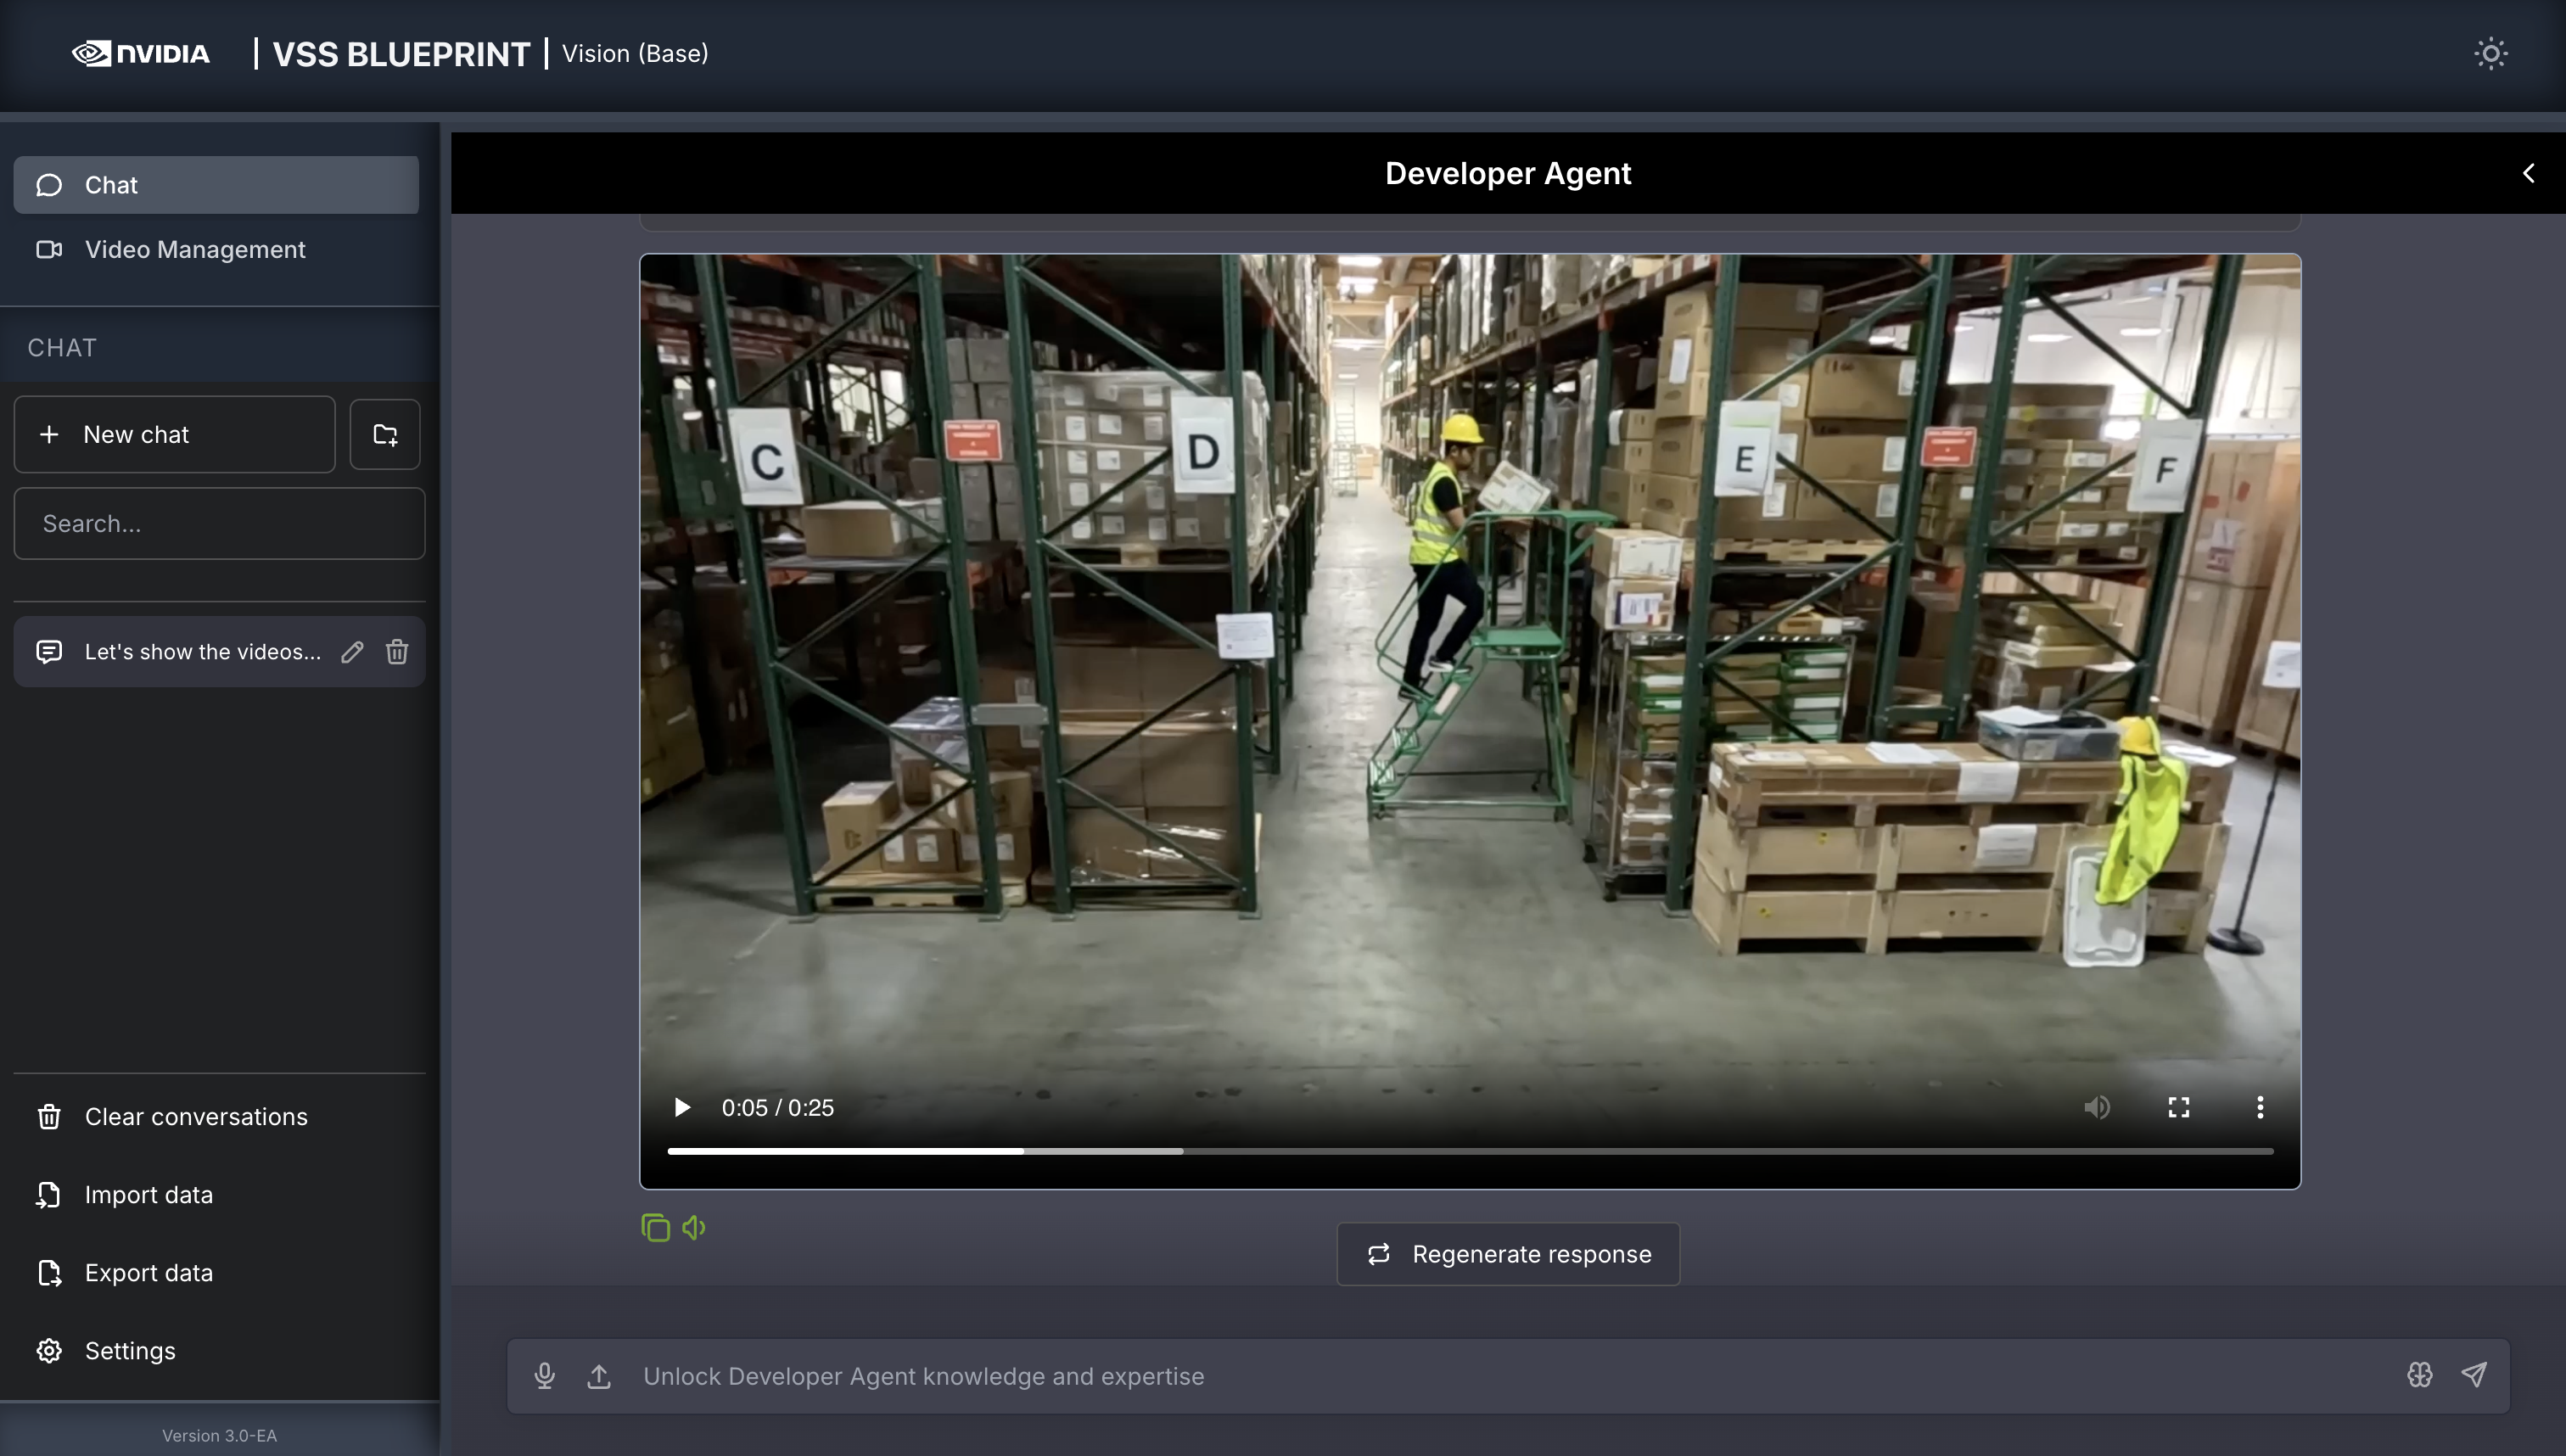
Once the video is uploaded, the agent will respond with the playback clip.
Step 3: Ask the Agent questions#
You can now ask the agent questions about the video. Here is an example:
Is the worker wearing PPE?
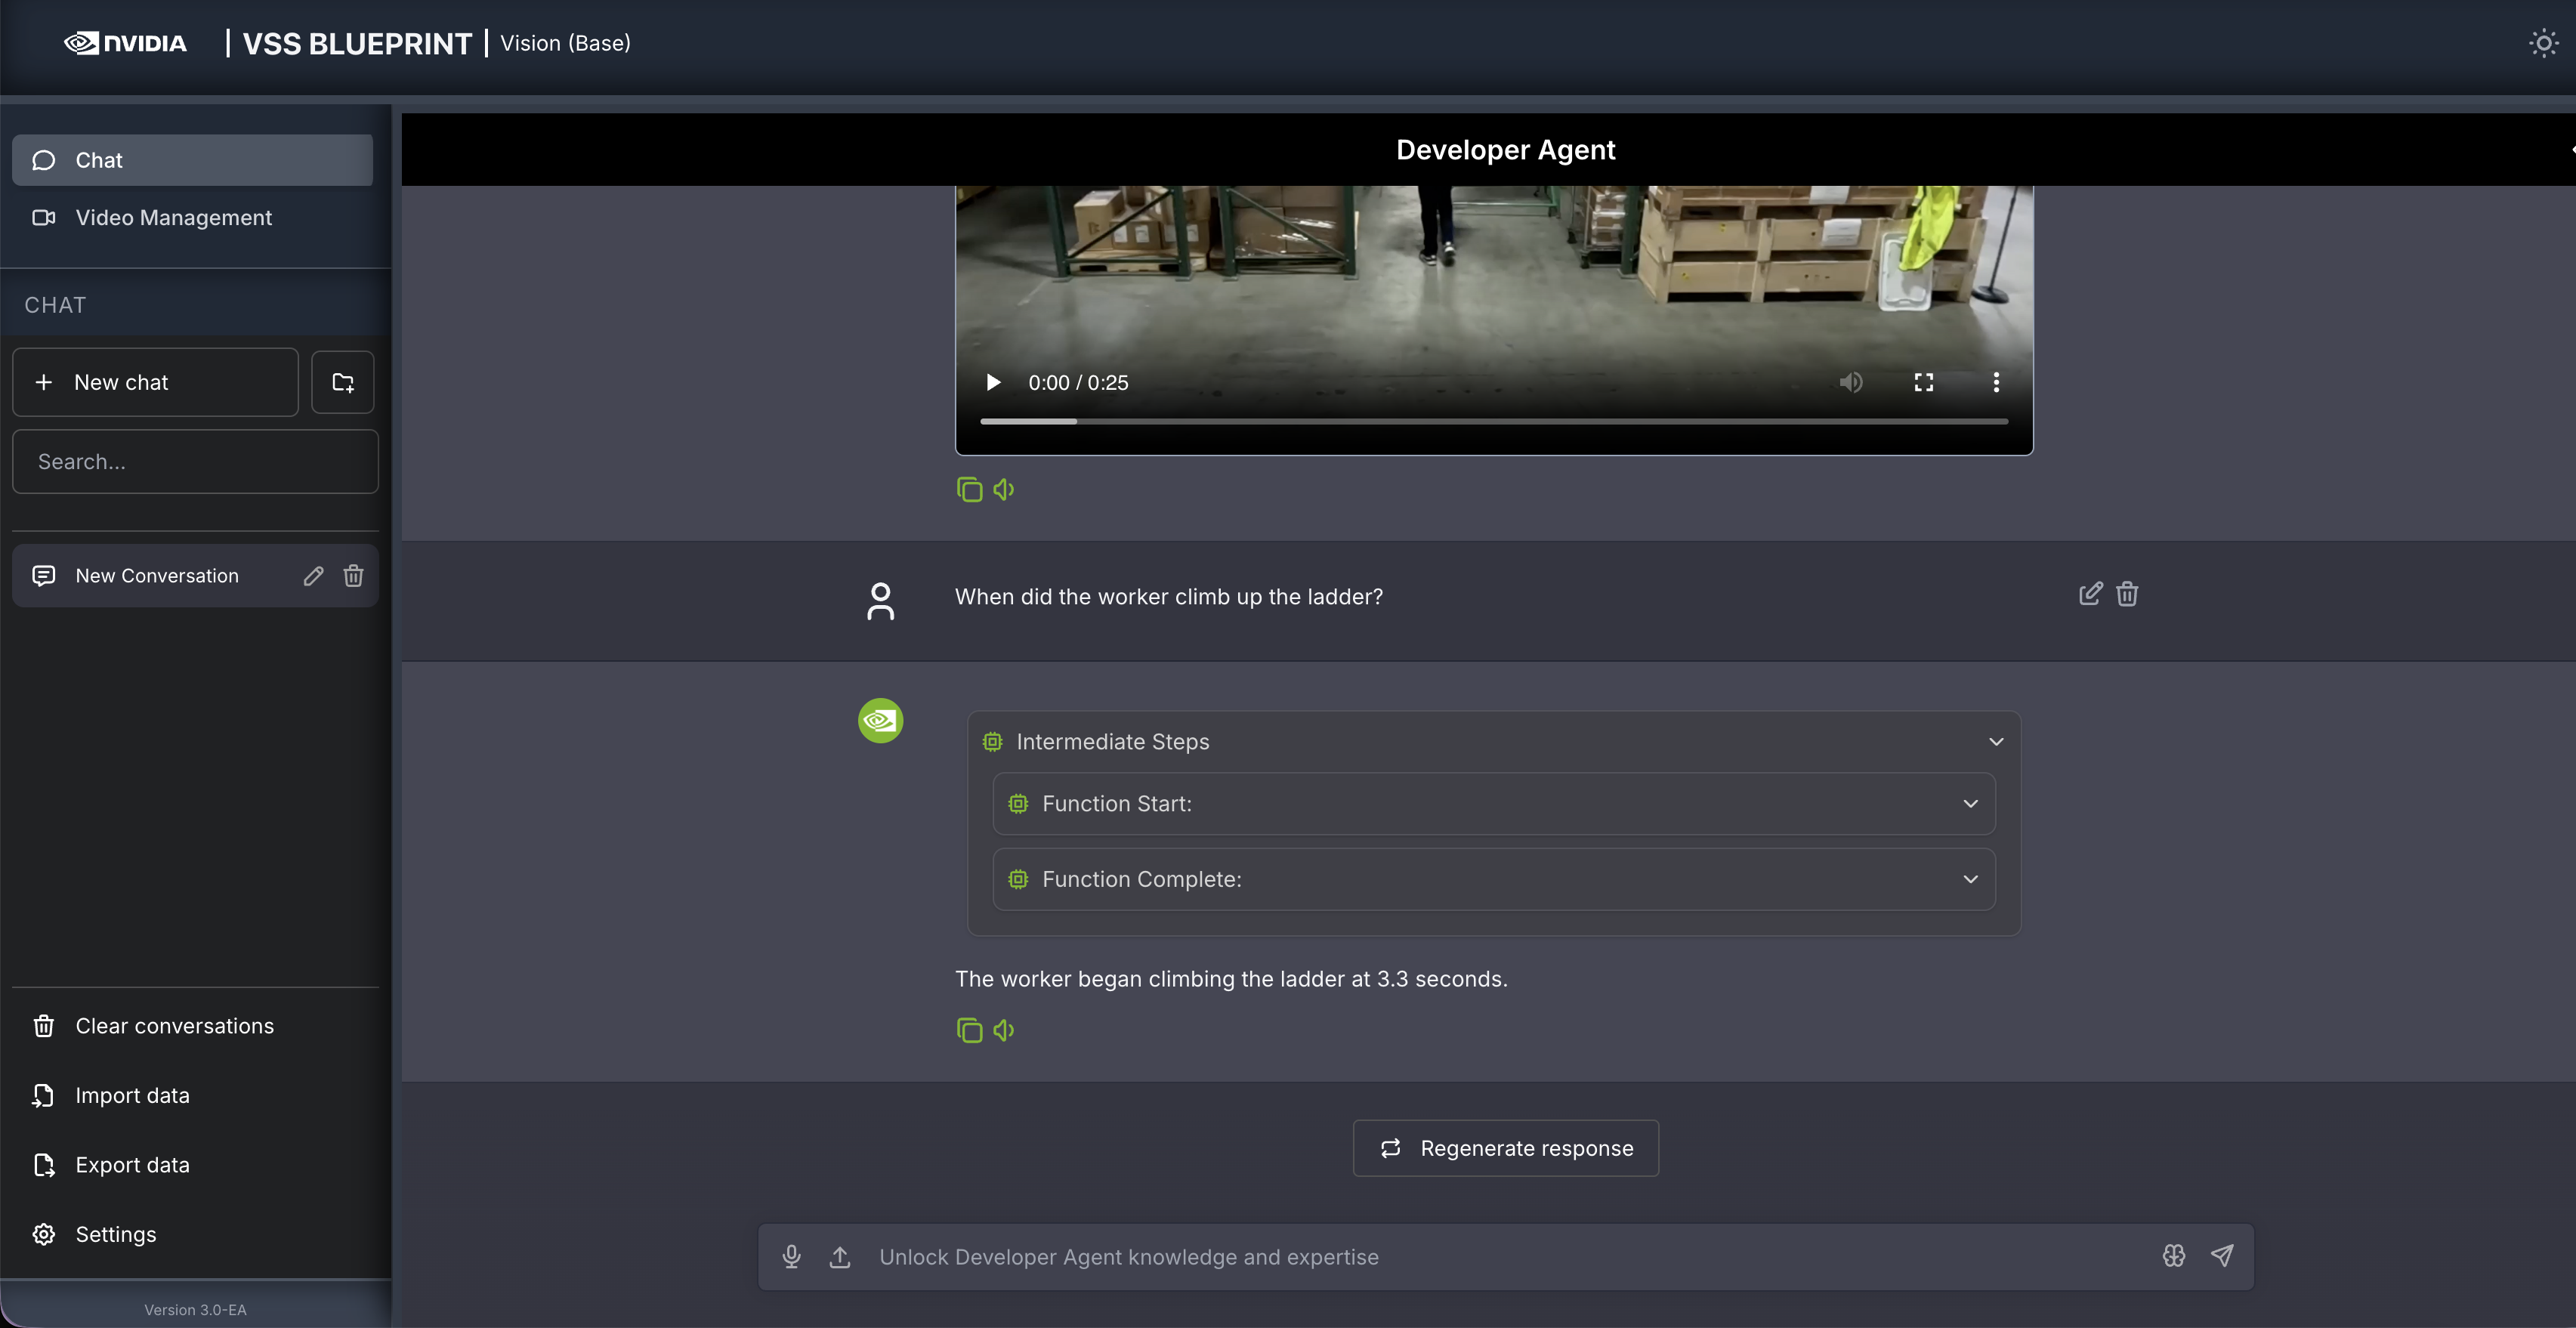
The agent will show the intermediate steps of the agent’s reasoning while the response is being generated and then output the final answer.

Follow up questions can be asked, for example:
When did the worker climb up the ladder?
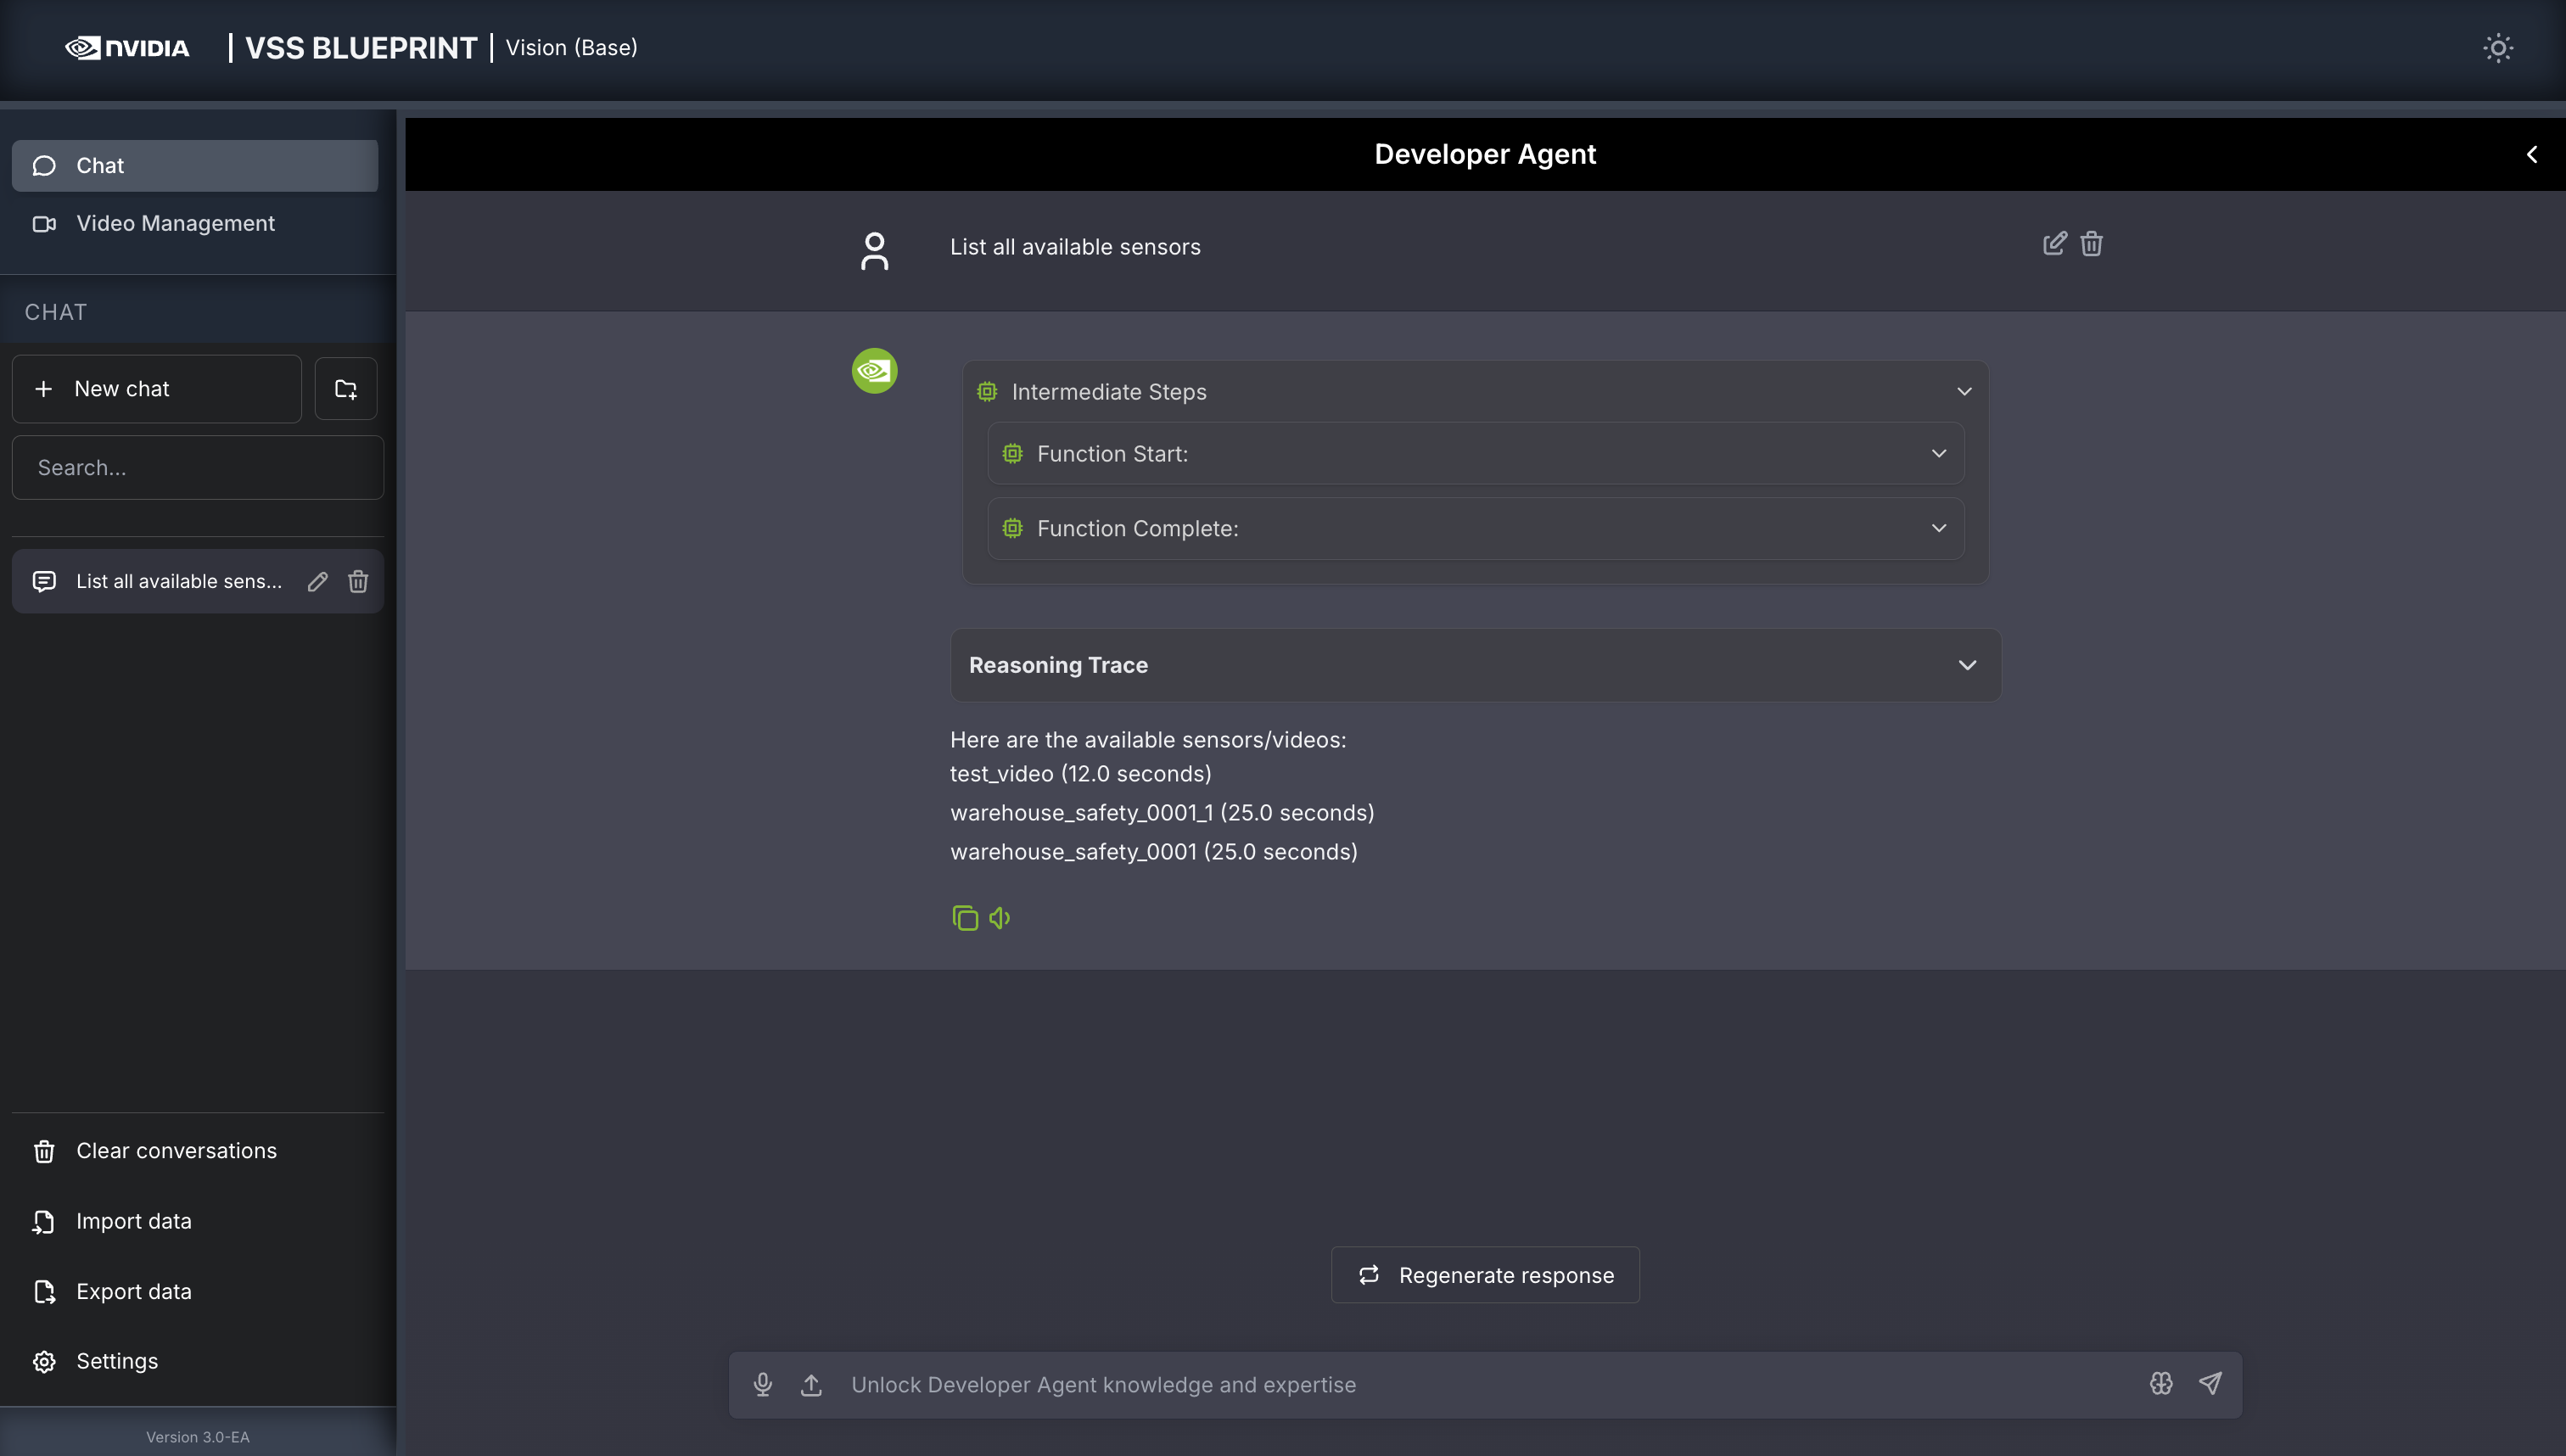
Other examples of general supported queries include:
List all available sensors
Fetch the video for <sensor-id/video-file-name>
Take a snapshot of <sensor-id/video-file-name> at <timestamp>
Step 4: Generate a report#
You can also ask the agent to generate a report about the video. Here is an example prompt to generate a report about the video:
Can you generate a report for this video?
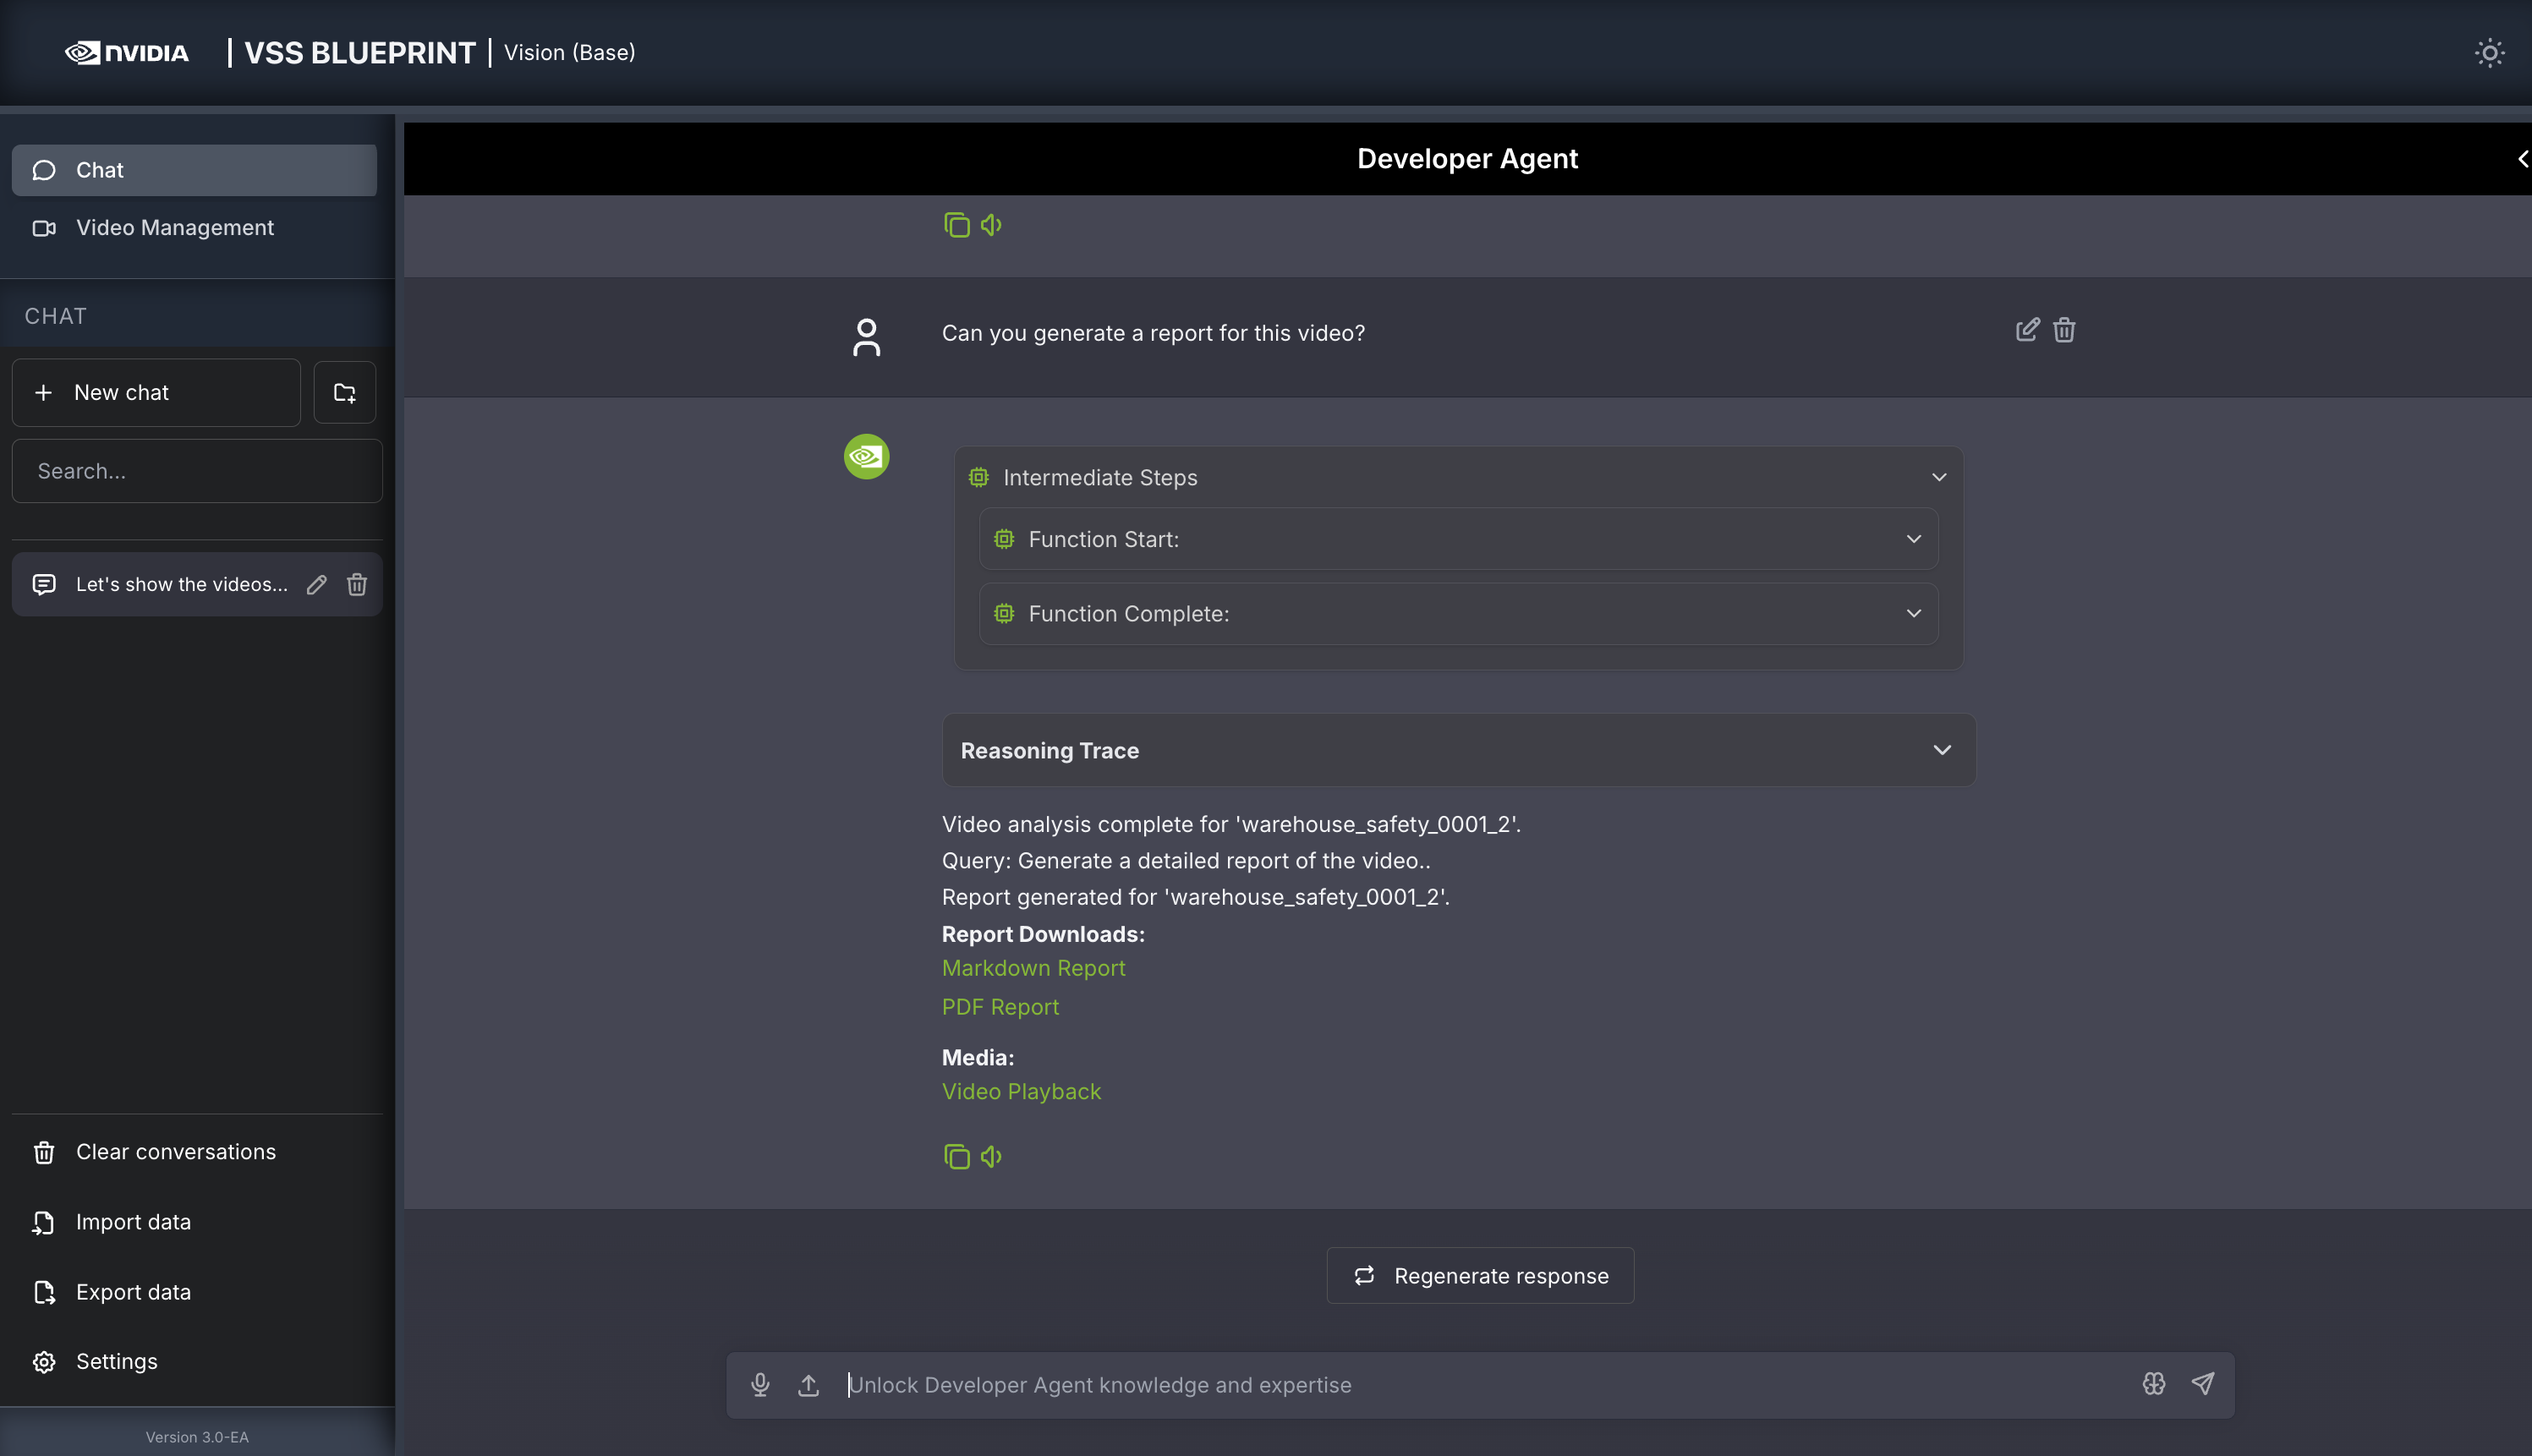
For any video clip, a report can be generated and then follow-up questions can be asked about the report or video content. Here is what this may look like:
Can you generate a report for <sensor-id/video-file-name>
Follow up questions (Example: If the report mentions a truck at 0:05, you may ask: “What color was the truck at 0:05?”)
Give me a snapshot of the video at <timestamp>.
Step 5: Teardown the Agent#
To teardown the agent, run the following command:
deployments/dev-profile.sh down
This command will stop and remove the agent containers.
Next steps#
Once you’ve familiarized yourself with the base vision agent, you can test other videos and explore adding agent workflows, such as video summarization, search, and alerting.
Additionally, you can dive deeper into the agent tools for report generation, video understanding, and video management.
Appendix: Advanced Deployment Options#
The deployment script supports additional configuration options for advanced use cases. To view all available options, run:
deployments/dev-profile.sh --help
Hardware Profile#
Specify the hardware profile to optimize for your GPU:
deployments/dev-profile.sh up -p base -H RTX6000PROBW
Available hardware profiles: H100 (default), L40S, RTX6000PROBW
Host IP Configuration#
Manually specify the host IP address:
deployments/dev-profile.sh up -p base -i '<HOST_IP>'
Default: Primary IP from ip route
Externally Accessible IP#
Optionally specify an externally accessible IP address for services that need to be reached from outside the host:
deployments/dev-profile.sh up -p base -e '<EXTERNALLY_ACCESSIBLE_IP>'
LLM and VLM Configuration#
Configure the LLM and VLM (NVIDIA Inference Microservice) modes independently:
deployments/dev-profile.sh up -p base --llm-mode local --vlm-mode local
Available modes:
local_shared(default): Shared local NIM instancelocal: Dedicated local NIM instanceremote: Use remote NIM endpoints
Constraint: Both --llm-mode and --vlm-mode must be local_shared, or neither can be local_shared.
For remote LLM and VLM, specify the base URLs:
deployments/dev-profile.sh up -p base \
  --llm-mode remote \
  --vlm-mode remote \
  --llm-base-url https://your-llm-endpoint.com \
  --vlm-base-url https://your-vlm-endpoint.com
Optionally, for remote LLM, you can provide an NVIDIA API key:
deployments/dev-profile.sh up -p base \
  --llm-mode remote \
  --llm-base-url https://your-llm-endpoint.com \
  --nvidia-api-key your_nvidia_api_key
Note
To deploy your own remote NIM endpoint, refer to the NVIDIA NIM Deployment Guide for instructions on setting up NIM on your infrastructure.
Model Selection#
Specify custom LLM and VLM models:
deployments/dev-profile.sh up -p base \
  --llm llama-3.3-nemotron-super-49b-v1.5 \
  --vlm cosmos-reason2-8b
Available LLM models: nvidia-nemotron-nano-9b-v2, nemotron-3-nano, llama-3.3-nemotron-super-49b-v1.5, gpt-oss-20b
Available VLM models: cosmos-reason1-7b, cosmos-reason2-8b, qwen3-vl-8b-instruct
Note
Only the default models nvidia-nemotron-nano-9b-v2 (LLM) and cosmos-reason2-8b (VLM) have been verified on local and local_shared NIM modes.
Device Assignment#
Assign specific GPU devices for LLM and VLM:
deployments/dev-profile.sh up -p base \
  --llm-device-id 0 \
  --vlm-device-id 1
Note: --llm-device-id is not allowed if --llm-mode is remote. --vlm-device-id is not allowed if --vlm-mode is local_shared or remote.
VLM Custom Weights#
The VSS Blueprint supports using VLM custom weights to improve anomaly detection accuracy for specific scenarios or domains.
Download Custom Weights
Before using custom weights, you need to download them from NGC or Hugging Face. For detailed instructions on downloading custom weights, see the VLM Custom Weights section in Prerequisites.
Deploy with Custom Weights
Once you have downloaded custom weights to a local directory, specify the path when deploying:
deployments/dev-profile.sh up -p base \
  --vlm-custom-weights /path/to/custom/weights
To skip custom weights entirely (no download, no environment variable set):
deployments/dev-profile.sh up -p base \
  --vlm-custom-weights None
Dry Run#
To preview the deployment commands without executing them:
deployments/dev-profile.sh up -p base -d
Note: The -d or --dry-run flag is also available for the down command.
Known Issues#
cosmos-reason2-8b NIM can not be restarted after being stopped or container crash. To restart, you need to redeploy the entire blueprint.