EKS (Elastic Kubernetes Service)#
Overview#
Added in version 3.1.
Amazon EKS is a managed Kubernetes service to run Kubernetes in the AWS cloud. NVIDIA AI Enterprise, the end-to-end software of the NVIDIA AI platform, is supported to run on EKS. In the cloud, Amazon EKS automatically manages the availability and scalability of the Kubernetes control plane nodes responsible for scheduling containers, managing application availability, storing cluster data, and other key tasks. This guide provides details for deploying and running NVIDIA AI Enterprise on EKS clusters with GPU Accelerated nodes.
Note
The NVIDIA Terraform Modules offer an easy way to deploy Managed Kubernetes clusters that can be supported by NVIDIA AI Enterprise when used with supported OS and GPU Operator versions.
Prerequisites#
NVIDIA Enterprise License via BYOL or a Private Offer
Install the AWS CLI
Install the EKS CLI
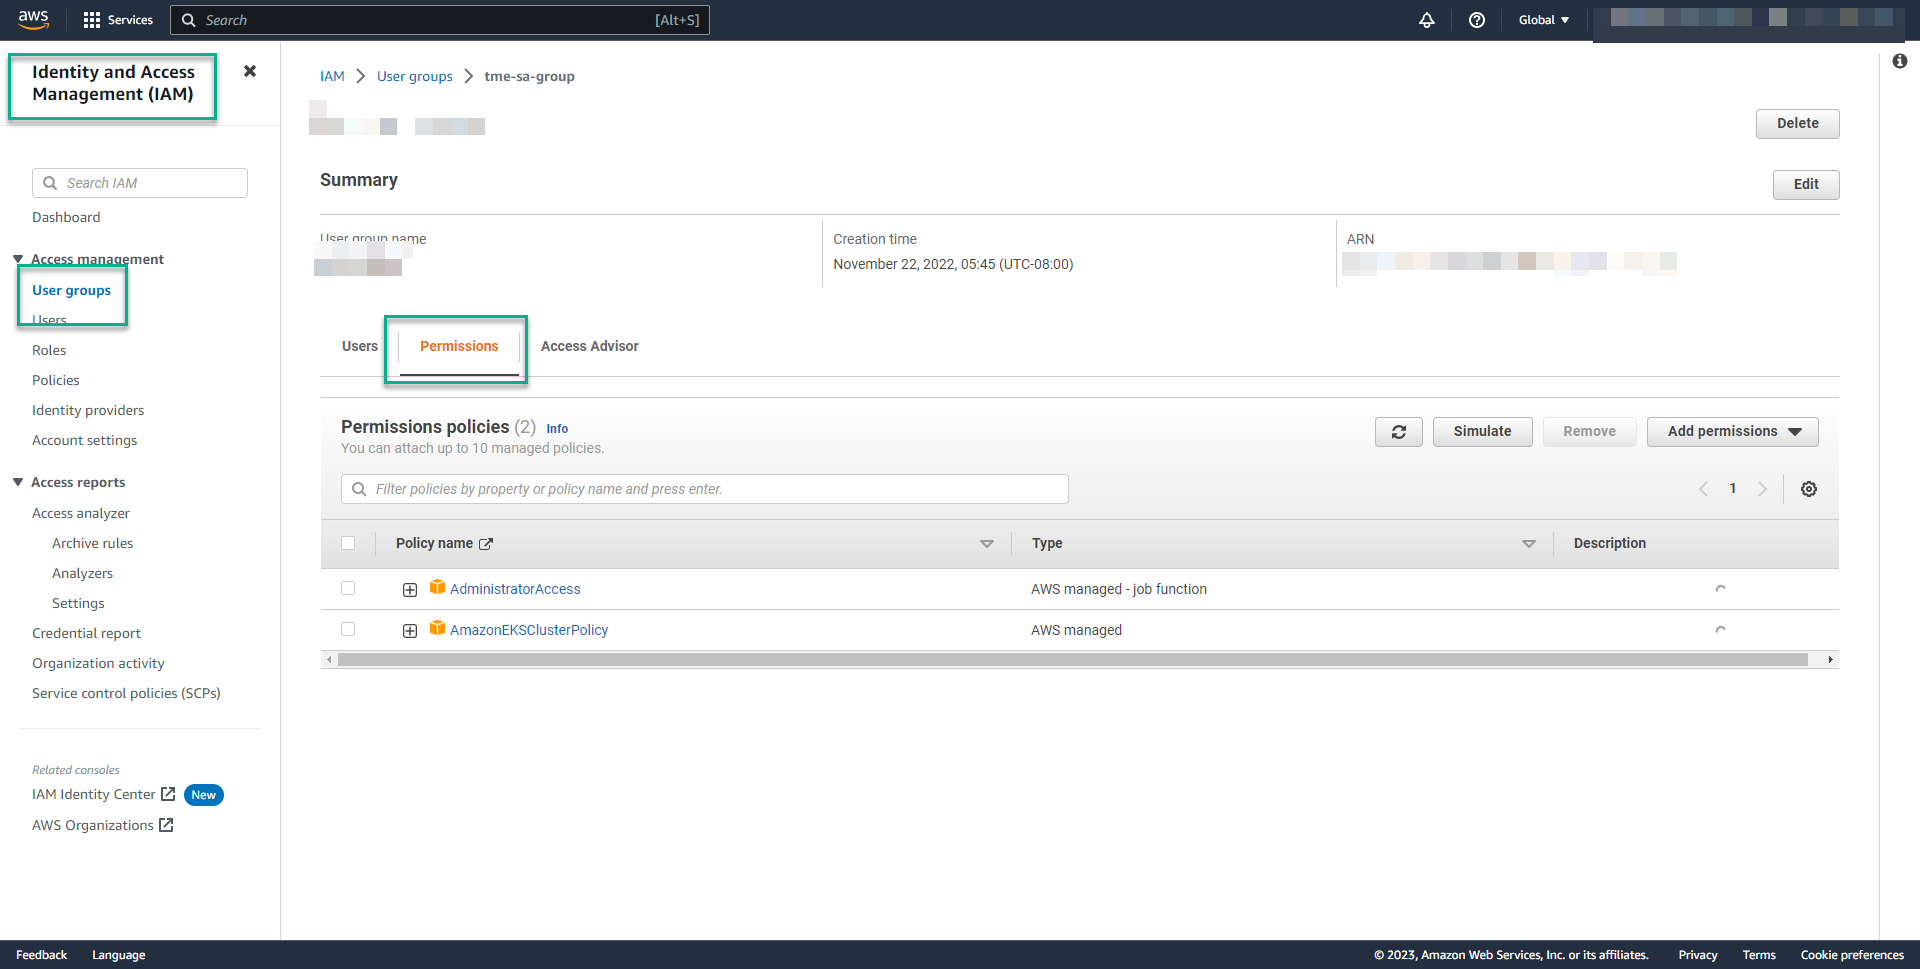
AWS IAM role to create EKS Cluster with the following permissions:
Administrator Access
AmazonEKSClusterPolicy
AWS EKS Cluster Prerequisites
Important
Please note that release versions will differ within your local environment. As of this document’s publication, eksctl version 0.133.0 was used and validated. Please refer to Getting started with Amazon EKS for release note history as well as any topics not covered within this document’s scope.
Create a EKS Cluster#
AWS configuration#
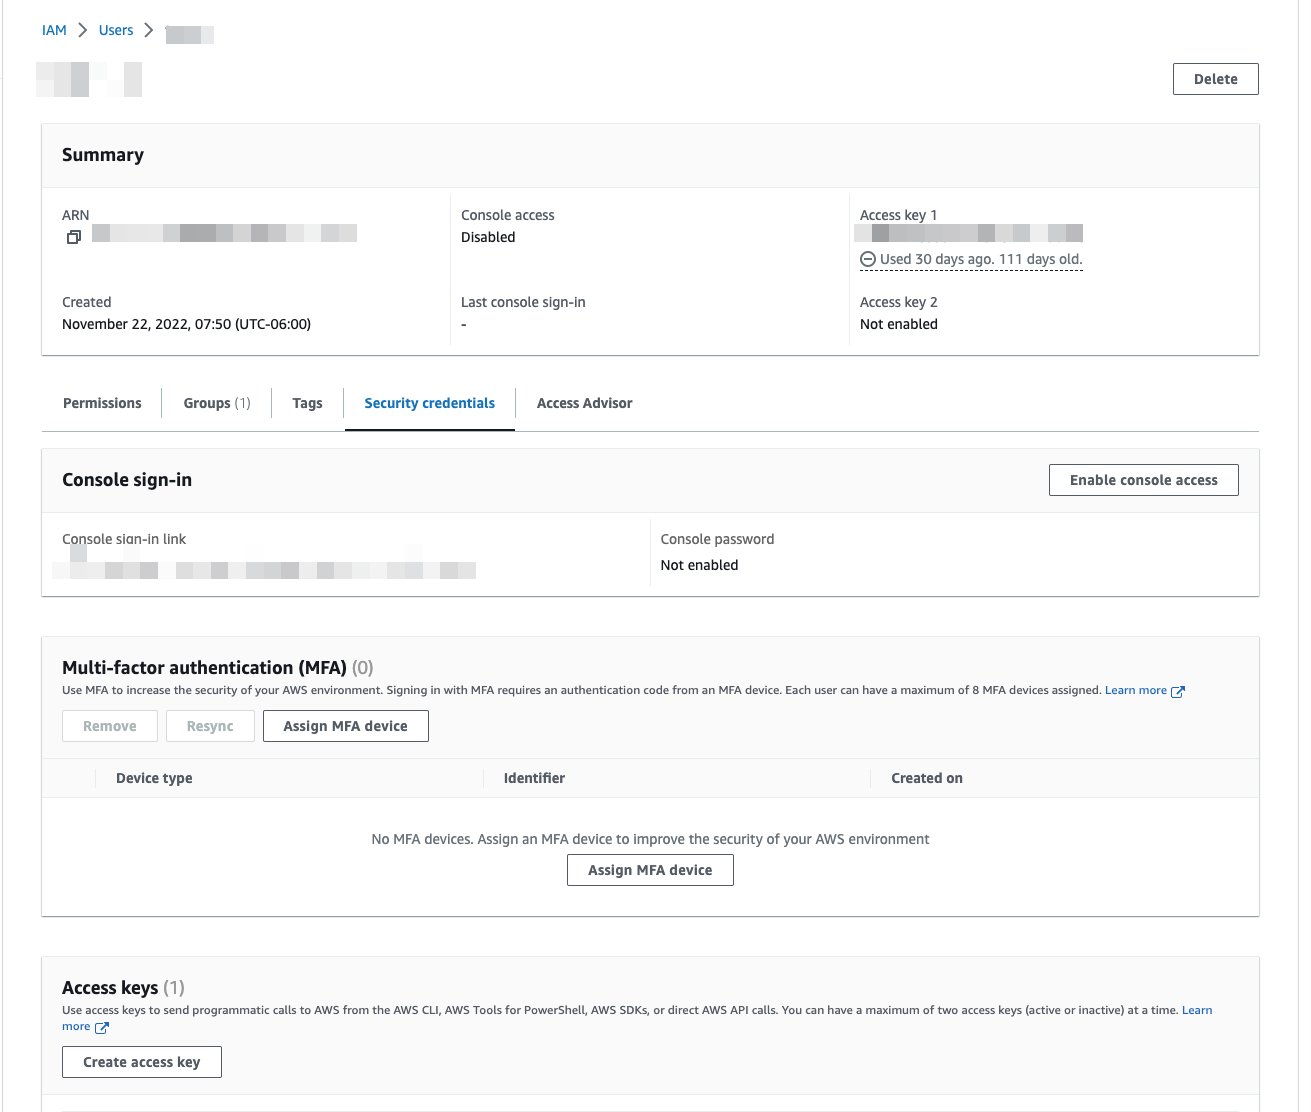
First we will get AWS credentials from the AWS console as per below, click on Access keys and proceed further
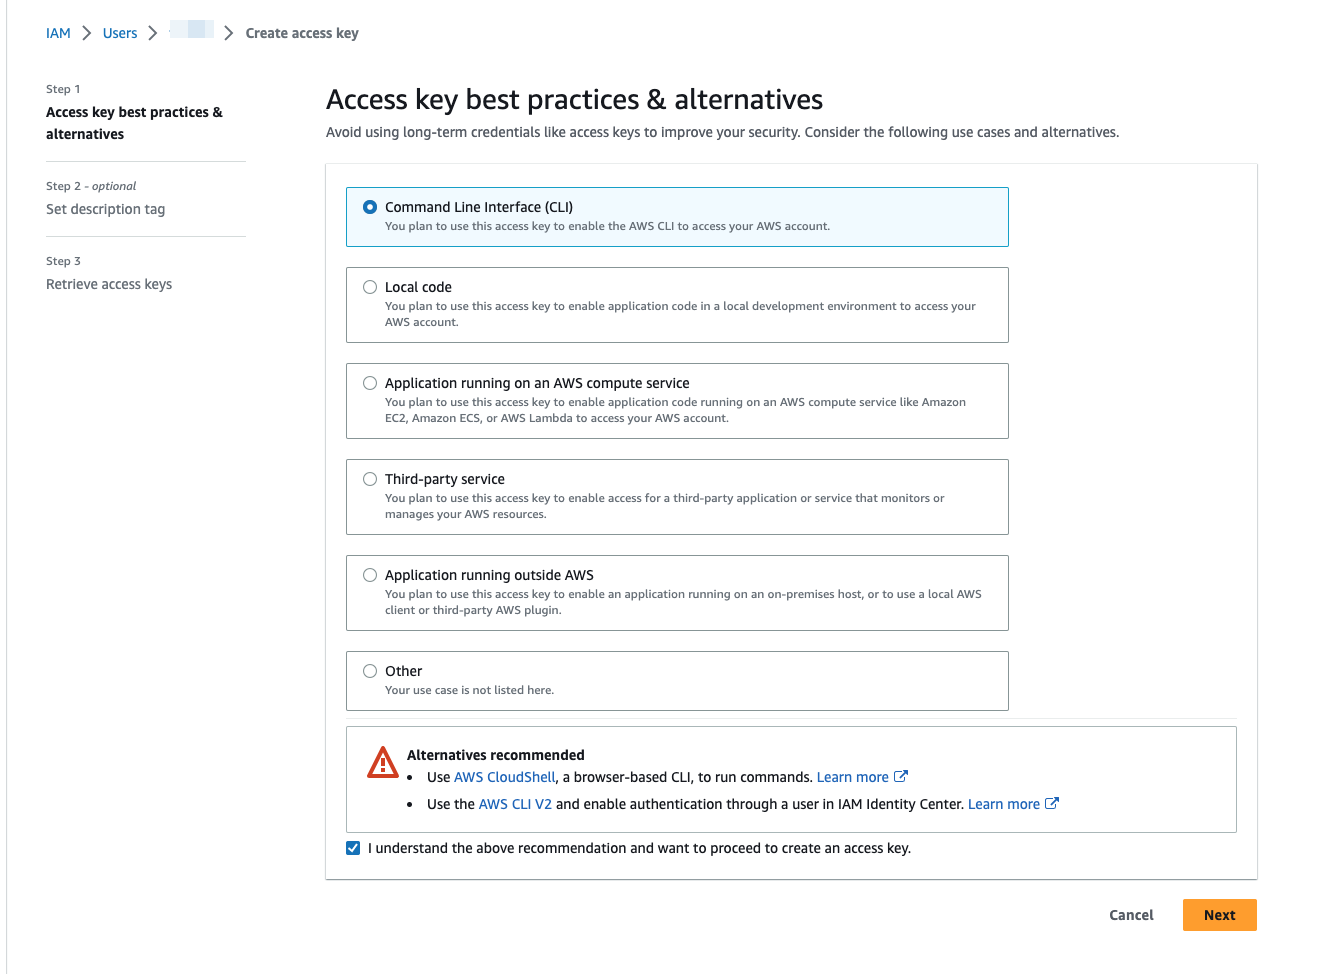
Select Command Line Interface and proceed to Next
Download the .csv file for future reference and configure the credentials on your system with AWS CLI.
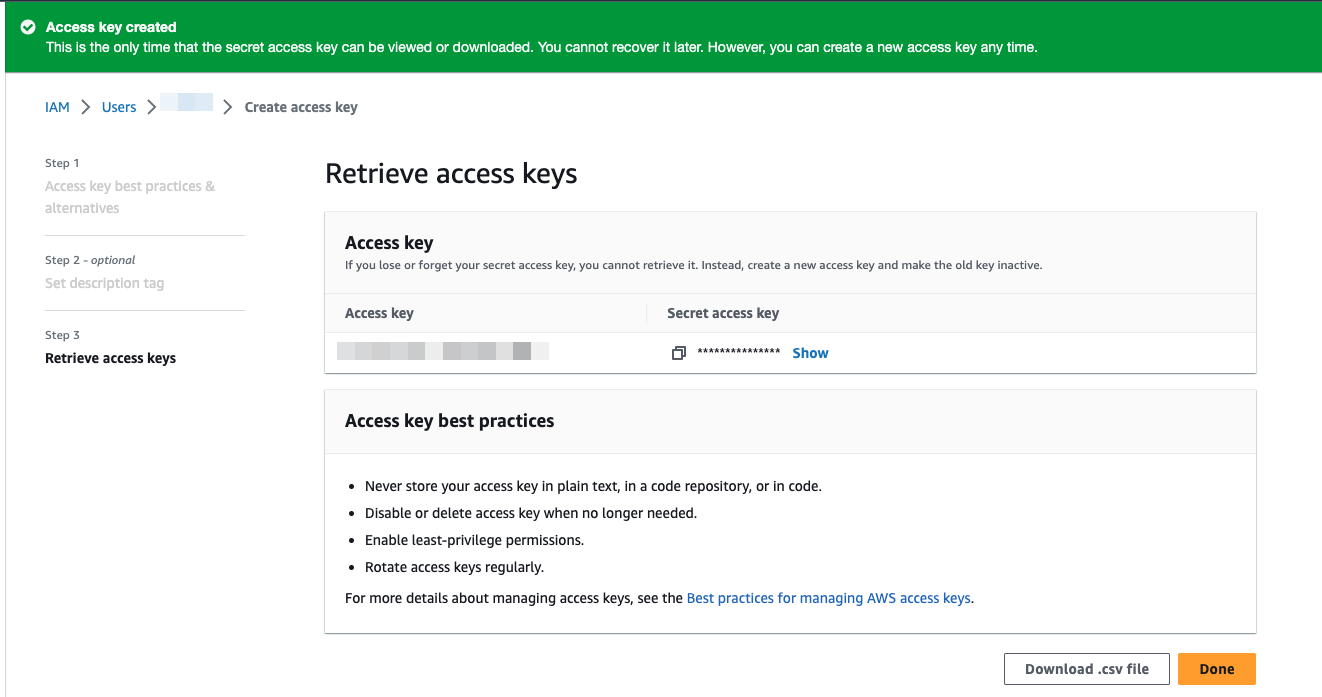
aws configure
Below is an example output:
1AWS Access Key ID [None]:
2AWS Secret Access Key [None]:
3Default region name [None]:
4Default output format [None]:
Important
Depending on your organizations security practices you may need to use Temporary security credentials. Further details for using AWS STS can be found in the Temporary security credentials in IAM documentation.
Create a cluster-config.yaml as per below with details mentioned.
Important
Replace the ami and amiFamily with the appropriate values from here: https://cloud-images.ubuntu.com/aws-eks/
 1apiVersion: eksctl.io/v1alpha5
 2kind: ClusterConfig
 3metadata:
 4  name: <eks-cluster-name>
 5  region: us-west-1
 6  version: "1.25"
 7nodeGroups:
 8- name: gpu-nodegroup
 9  # grab AMI ID for Ubuntu EKS AMI here: https://cloud-images.ubuntu.com/aws-eks/
10  # using AMI ID for us-west-1 region: ami-00687acd80b7a620a
11  ami: ami-00687acd80b7a620a
12  amiFamily: Ubuntu2004
13  instanceType: g4dn.xlarge
14  minSize: 1
15  maxSize: 1
16  volumeSize: 100
17  desiredCapacity: 1
18  overrideBootstrapCommand: |
19      #!/bin/bash
20      source /var/lib/cloud/scripts/eksctl/bootstrap.helper.sh
21      /etc/eks/bootstrap.sh ${CLUSTER_NAME} --container-runtime containerd  --use-max-pods false  --kubelet-extra-args "--max-pods=60" "--node-labels=${NODE_LABELS}"
Choose the region and update the AMI accordingly with respect to the region. Ensure that <eks-cluster-name> that the user provides is identical in both sections of the .yaml file. Choose the AMI that’s designed for the EKS cluster, you can get the AMI’s information from here.
Run the below command to create a EKS cluster.
eksctl create cluster -f cluster-config.yaml --install-nvidia-plugin=false
Note
The creation of the cluster will take some time to complete.
Run the below command to verify the node information
kubectl get nodes -o wide
Example output result:
NAME                                           STATUS   ROLES    AGE     VERSION   INTERNAL-IP      EXTERNAL-IP    OS-IMAGE             KERNEL-VERSION    CONTAINER-RUNTIME
eks-<eks-cluster-name>-db9e3df9-r0jf           Ready    <none>   5m15s   v1.25.6   192.168.50.108   13.57.187.63   Ubuntu 20.04.6 LTS   5.15.0-1033-aws   containerd://1.6.12
Deploy the GPU Operator#
Now that the cluster and appropriate resources are created, the NVIDIA GPU Operator can be installed
Important
The commands below serve as an example and will be similar, albeit slightly different, to the latest version of the GPU Operator. Please refer to the latest GPU Operator release notes for more information.
First we will access our NGC API Key.
Log into your NGC account and generate a new API Key or locate your existing API key. Please refer to the Accessing NGC section of the Appendix.
Generate an API key for accessing the catalog
Next you must generate an API Key that will give you access to the NGC Catalog.
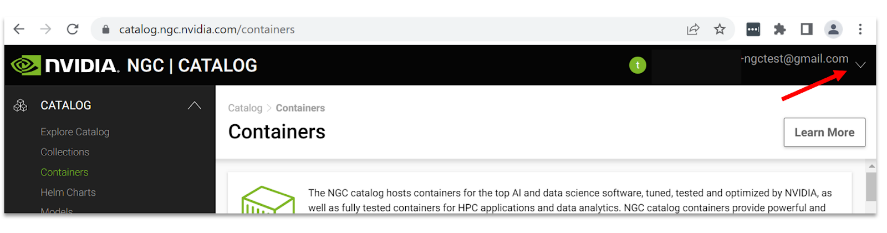
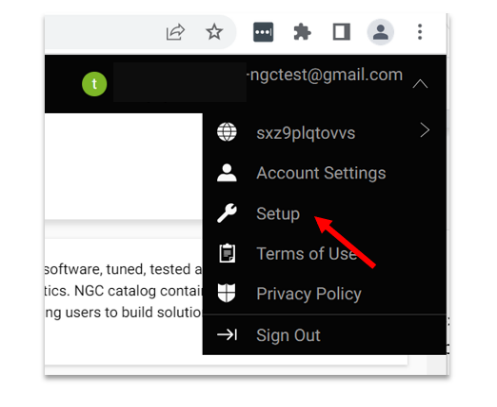
Navigate to the user account icon in the top right corner and select Setup.
Select Get API key to open the Setup > API Key page.
Select Generate API Key to generate your API key.
Select Confirm to generate the key, and copy it from the bottom of the page. NGC does not save your key, so store it in a secure place.

Note
Generating a new API Key invalidates the previously generated key.
Add the Helm repo and update with the below commands.
1helm repo add nvidia https://helm.ngc.nvidia.com/nvaie --username='$oauthtoken' --password=<YOUR API KEY>
2helm repo update
Create a NGC Secret with your NGC API key on “gpu-operator” namespace as per below.
1$ kubectl create ns gpu-operator
2
3$ kubectl create secret docker-registry ngc-secret  \
4--docker-server=nvcr.io/nvaie --docker-username=\$oauthtoken \
5    --docker-password=<NGC-API-KEY> \
6--docker-email=<NGC-email> -n gpu-operator
Create an empty gridd.conf file, then create a configmap with NVIDIA vGPU Licence token file as per below
kubectl create configmap licensing-config -n gpu-operator --from-file=./client_configuration_token.tok --from-file=./gridd.conf
Note
The configmap will look for the file client_configuration_token.tok, if your token is in different form such as client_configuration_token_date_xx_xx.tok, then please run the below command:
mv client_configuration_token_date_xx_xx.tok client_configuration_token.tok
Install the GPU Operator from the NGC Catalog with a License token and the NVIDIA AI Enterprise driver repo.
Warning
If using K8s release prior to 1.25, then deploy GPU operator with PSP option enabled via the parameter option --psp.enabled=true. If using K8s release greater than or equal to 1.25, then deploy GPU operator without PSP option enabled
helm install gpu-operator nvidia/gpu-operator-3-0 --set driver.repository=nvcr.io/nvaie,driver.licensingConfig.configMapName=licensing-config --namespace gpu-operator
Important
Ensure that you have the correct role. Please refer to the AWS IAM Role documentation if you lack the required permissions.
Once installed, please wait at least 5 minutes and verify that all the pods are either running or completed as per below.
 1kubectl get pods -n gpu-operator
 2NAME                                                          READY   STATUS      RESTARTS   AGE
 3gpu-feature-discovery-fzgv9                                   1/1     Running     0          6m1s
 4gpu-operator-69f476f875-w4hwr                                 1/1     Running     0          6m29s
 5gpu-operator-node-feature-discovery-master-84c7c7c6cf-hxlk4   1/1     Running     0          6m29s
 6gpu-operator-node-feature-discovery-worker-86bbx              1/1     Running     0          6m29s
 7nvidia-container-toolkit-daemonset-c7k5p                      1/1     Running     0          6m
 8nvidia-cuda-validator-qjcsf                                   0/1     Completed   0          59s
 9nvidia-dcgm-exporter-9tggn                                    1/1     Running     0          6m
10nvidia-device-plugin-daemonset-tpx9z                          1/1     Running     0          6m
11nvidia-device-plugin-validator-gz85d                          0/1     Completed   0          44s
12nvidia-driver-daemonset-jwzx8                                 1/1     Running     0          6m9s
13nvidia-operator-validator-qj57n                               1/1     Running     0          6m
Verify the GPU Operator Installation#
Verify the NVIDIA GPU Driver loaded with below command.
kubectl exec -it nvidia-driver-daemonset-jwzx8 -n gpu-operator -- nvidia-smi
 1Defaulted container "nvidia-driver-ctr" out of: nvidia-driver-ctr, k8s-driver-manager (init)
 2Tue Feb 14 22:24:31 2023
 3+-----------------------------------------------------------------------------+
 4| NVIDIA-SMI 520.60.13    Driver Version: 520.60.13    CUDA Version: 12.0     |
 5|-------------------------------+----------------------+----------------------+
 6| GPU  Name        Persistence-M| Bus-Id        Disp.A | Volatile Uncorr. ECC |
 7| Fan  Temp  Perf  Pwr:Usage/Cap|         Memory-Usage | GPU-Util  Compute M. |
 8|                               |                      |               MIG M. |
 9|===============================+======================+======================|
10|   0  Tesla T4            On   | 00000000:00:04.0 Off |                    0 |
11| N/A   51C    P8    17W /  70W |      0MiB / 15360MiB |      0%      Default |
12|                               |                      |                  N/A |
13+-------------------------------+----------------------+----------------------+
14
15+-----------------------------------------------------------------------------+
16| Processes:                                                                  |
17|  GPU   GI   CI        PID   Type   Process name                  GPU Memory |
18|        ID   ID                                                   Usage      |
19|=============================================================================|
20|  No running processes found                                                 |
21+-----------------------------------------------------------------------------+
Note
nvidia-driver-daemonset-xxxxx will be different within your own environment for the above command to verify the NVIDIA vGPU Driver.
Verify the NVIDIA vGPU license information with below command
kubectl exec -it nvidia-driver-daemonset-jwzx8 -n gpu-operator -- nvidia-smi -q
Inspect the validator pod logs to ensure the GPUs are exposed and utilized.
Kubectl logs nvidia-cuda-validator-vkr14 -n nvidia-gpu-operator
Kubectl logs nvidia-device-plugin-validator-lsmnc -n nvidia-gpu-operator
Run Sample NVIDIA AI Enterprise Container#
Important
Container images will be similar, albeit slightly different when using the latest image. Please refer to Pulling and Running NVIDIA AI Enterprise Containers to find the latest images on NGC.
Create a docker-registry secret. This will be used in a custom yaml to pull containers from the NGC Catalog.
1kubectl create secret docker-registry regcred --docker-server=nvcr.io/nvaie --docker-username=\$oauthtoken --docker-password=<YOUR_NGC_KEY> --docker-email=<your_email_id> -n default
Create a custom yaml file to deploy an NVIDIA AI Enterprise Container and run sample training code.
nano pytoch-mnist.yaml
Paste the below contents into the file and save
 1---
 2apiVersion: apps/v1
 3kind: Deployment
 4metadata:
 5  name: pytorch-mnist
 6  labels:
 7    app: pytorch-mnist
 8spec:
 9  replicas: 1
10  selector:
11    matchLabels:
12      app: pytorch-mnist
13  template:
14    metadata:
15      labels:
16        app: pytorch-mnist
17    spec:
18      containers:
19        - name: pytorch-container
20          image: nvcr.io/nvaie/pytorch-2-0:22.02-nvaie-2.0-py3
21          command:
22            - python
23          args:
24            - /workspace/examples/upstream/mnist/main.py
25          resources:
26            requests:
27              nvidia.com/gpu: 1
28            limits:
29              nvidia.com/gpu: 1
30      imagePullSecrets:
31        - name: regcred
Check the status of the pod.
1kubectl get pods
View the output of the sample mnist training job.
1kubectl logs -l app=pytorch-mnist
The output will look similar to this.
 1~$ kubectl logs -l app=pytorch-mnist
 2Train Epoch: 7 [55680/60000 (93%)]      Loss: 0.040756
 3Train Epoch: 7 [56320/60000 (94%)]      Loss: 0.028230
 4Train Epoch: 7 [56960/60000 (95%)]      Loss: 0.019917
 5Train Epoch: 7 [57600/60000 (96%)]      Loss: 0.005957
 6Train Epoch: 7 [58240/60000 (97%)]      Loss: 0.003768
 7Train Epoch: 7 [58880/60000 (98%)]      Loss: 0.277371
 8Train Epoch: 7 [59520/60000 (99%)]      Loss: 0.115487
 9
10
11Test set: Average loss: 0.0270, Accuracy: 9913/10000 (99%)
Delete the EKS Cluster#
Run the below command to delete the EKS cluster.
eksctl delete cluster -f cluster_config.yaml