Pulling and Running NVIDIA AI Enterprise Containers#
The AI and data science applications and frameworks are distributed as NGC container images through the NVIDIA NGC Catalog. Each container image contains the entire user-space software stack that is required to run the application or framework; namely, the CUDA libraries, cuDNN, any required Magnum IO components, TensorRT, and the framework.
Execute the following workflow steps within the environment with which you would like to pull AI and data science containers into.
First you will need to sign into NGC with your NVIDIA account and password.

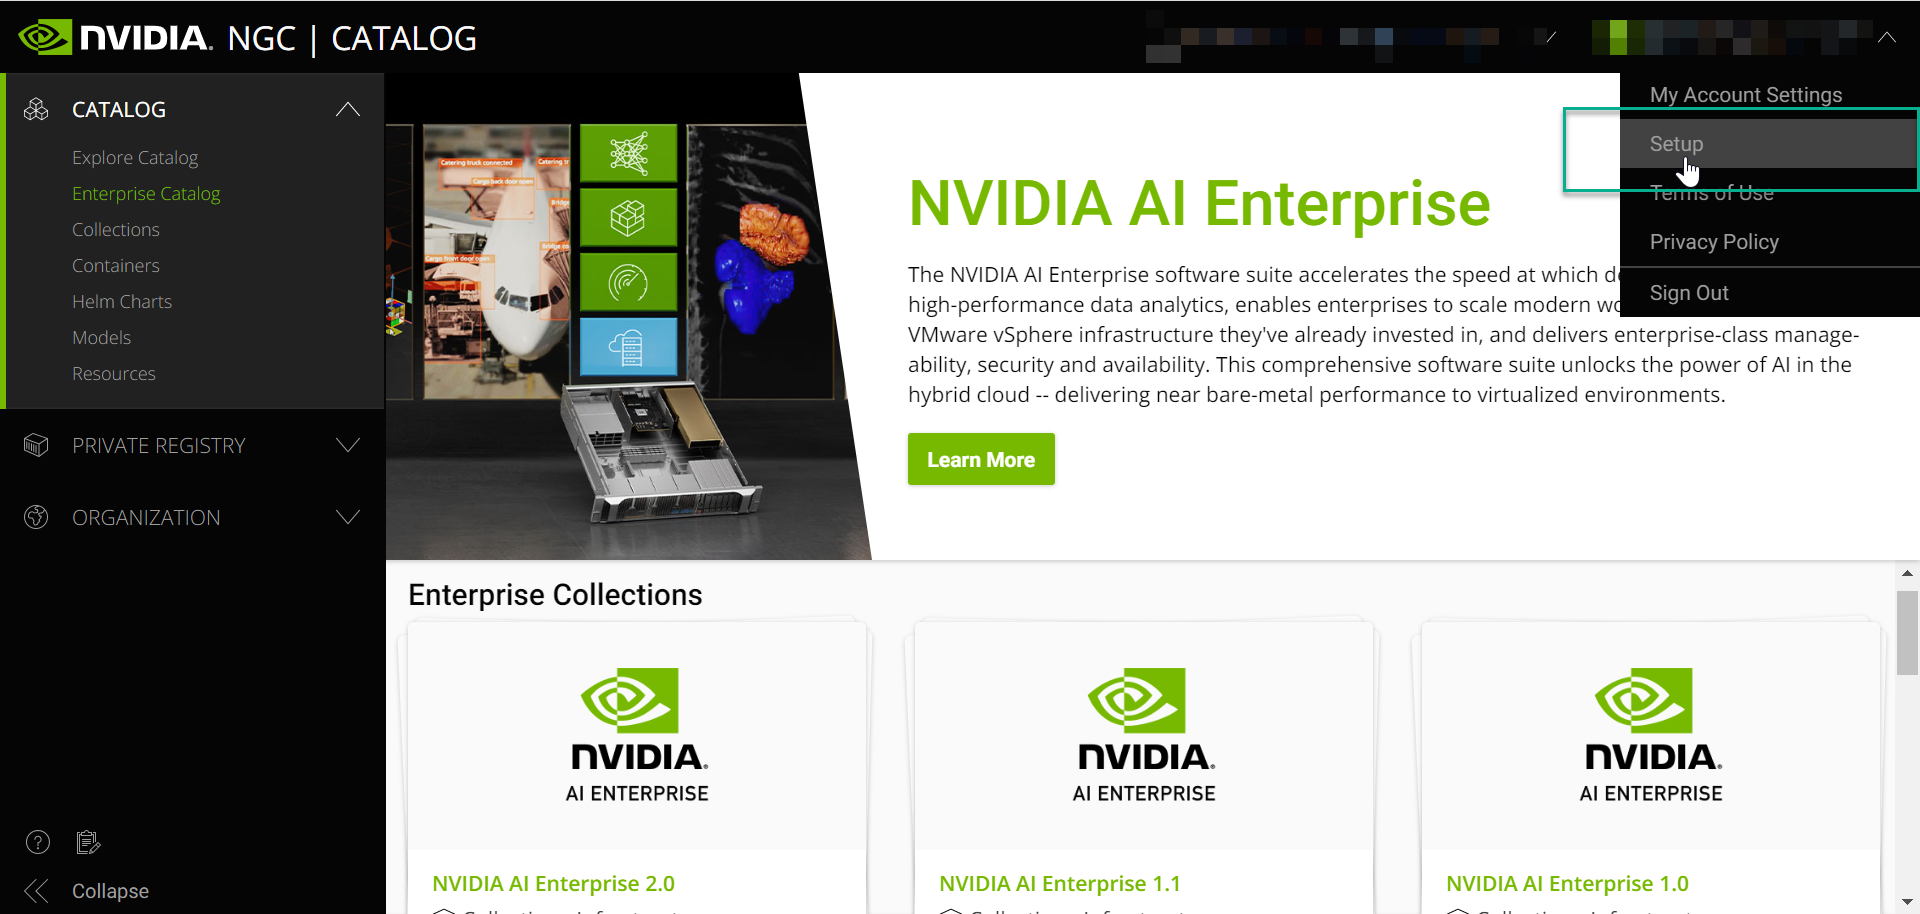
Navigate to setup.
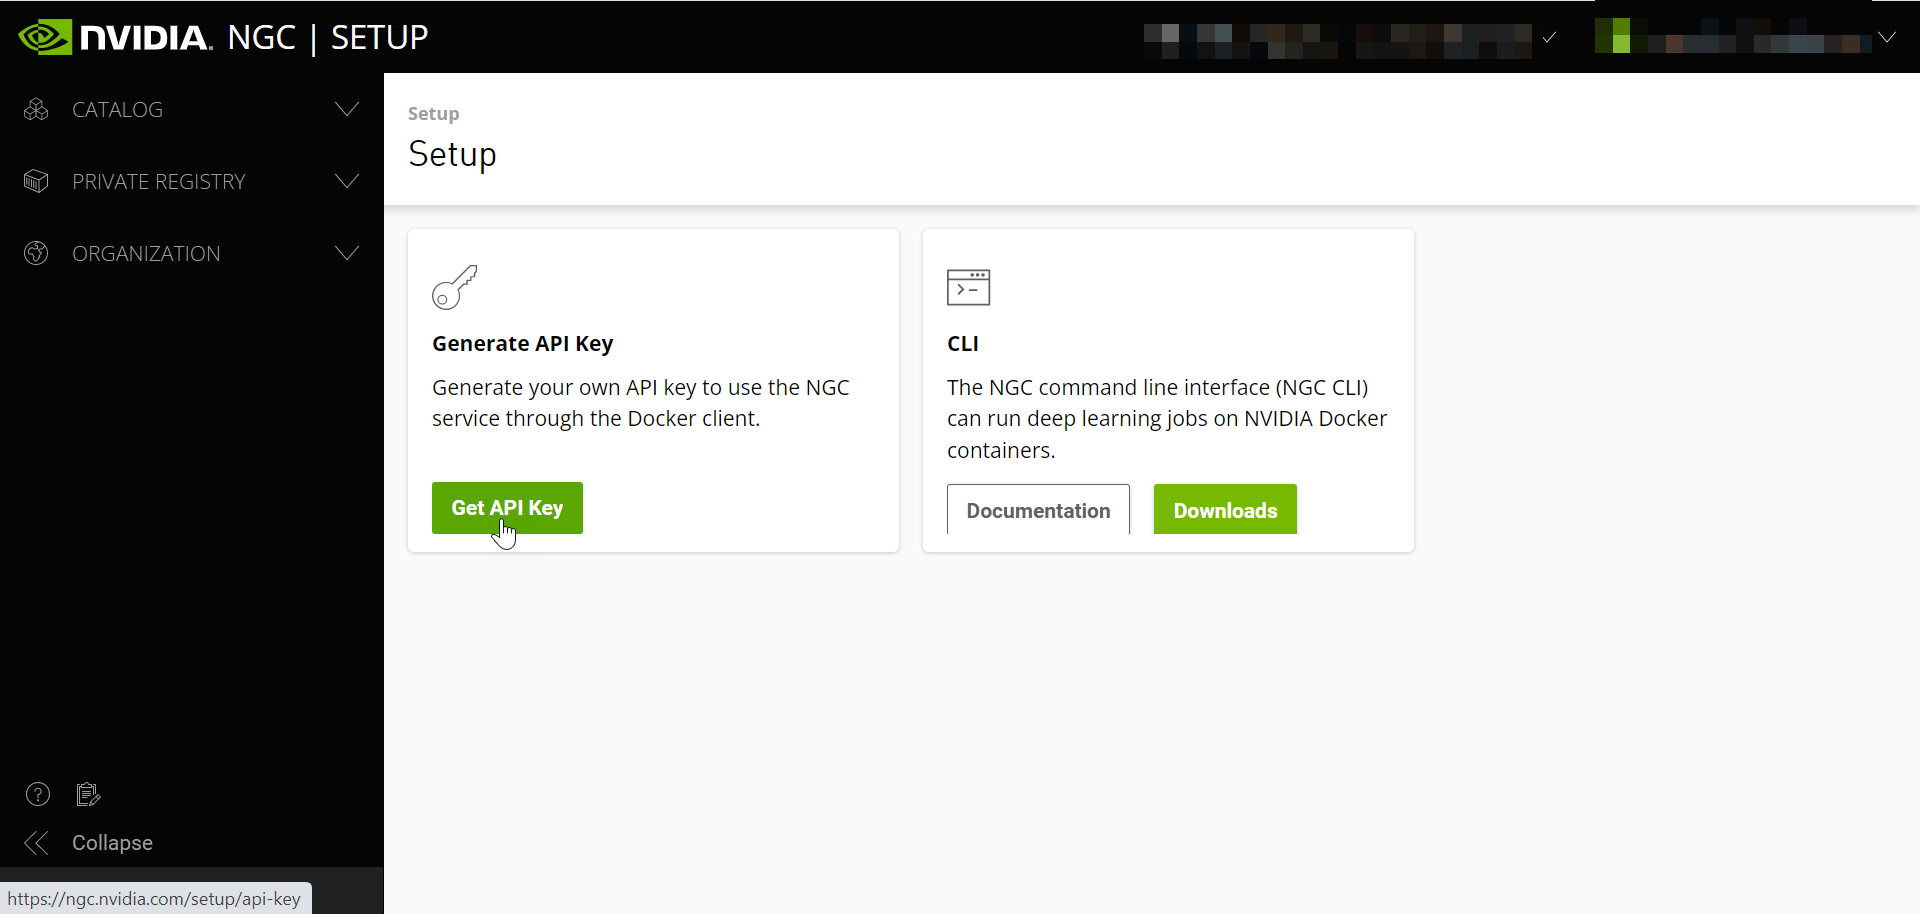
Select “Get API Key”.
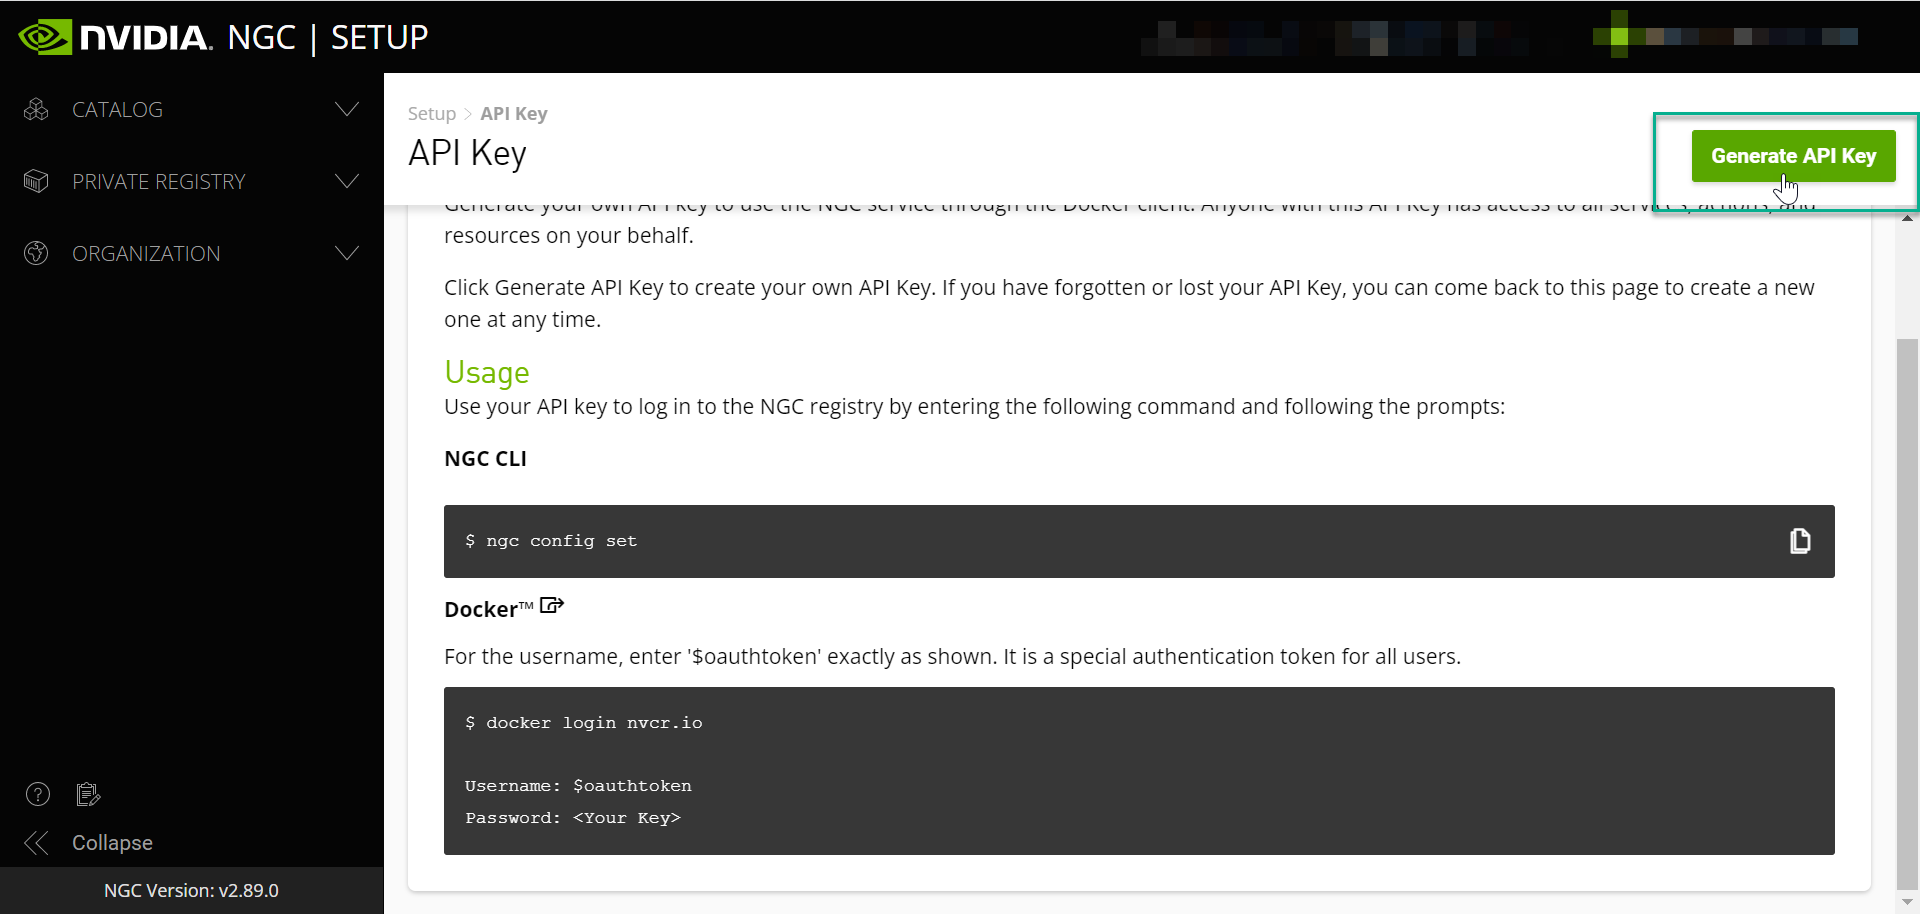
Generate your API key.
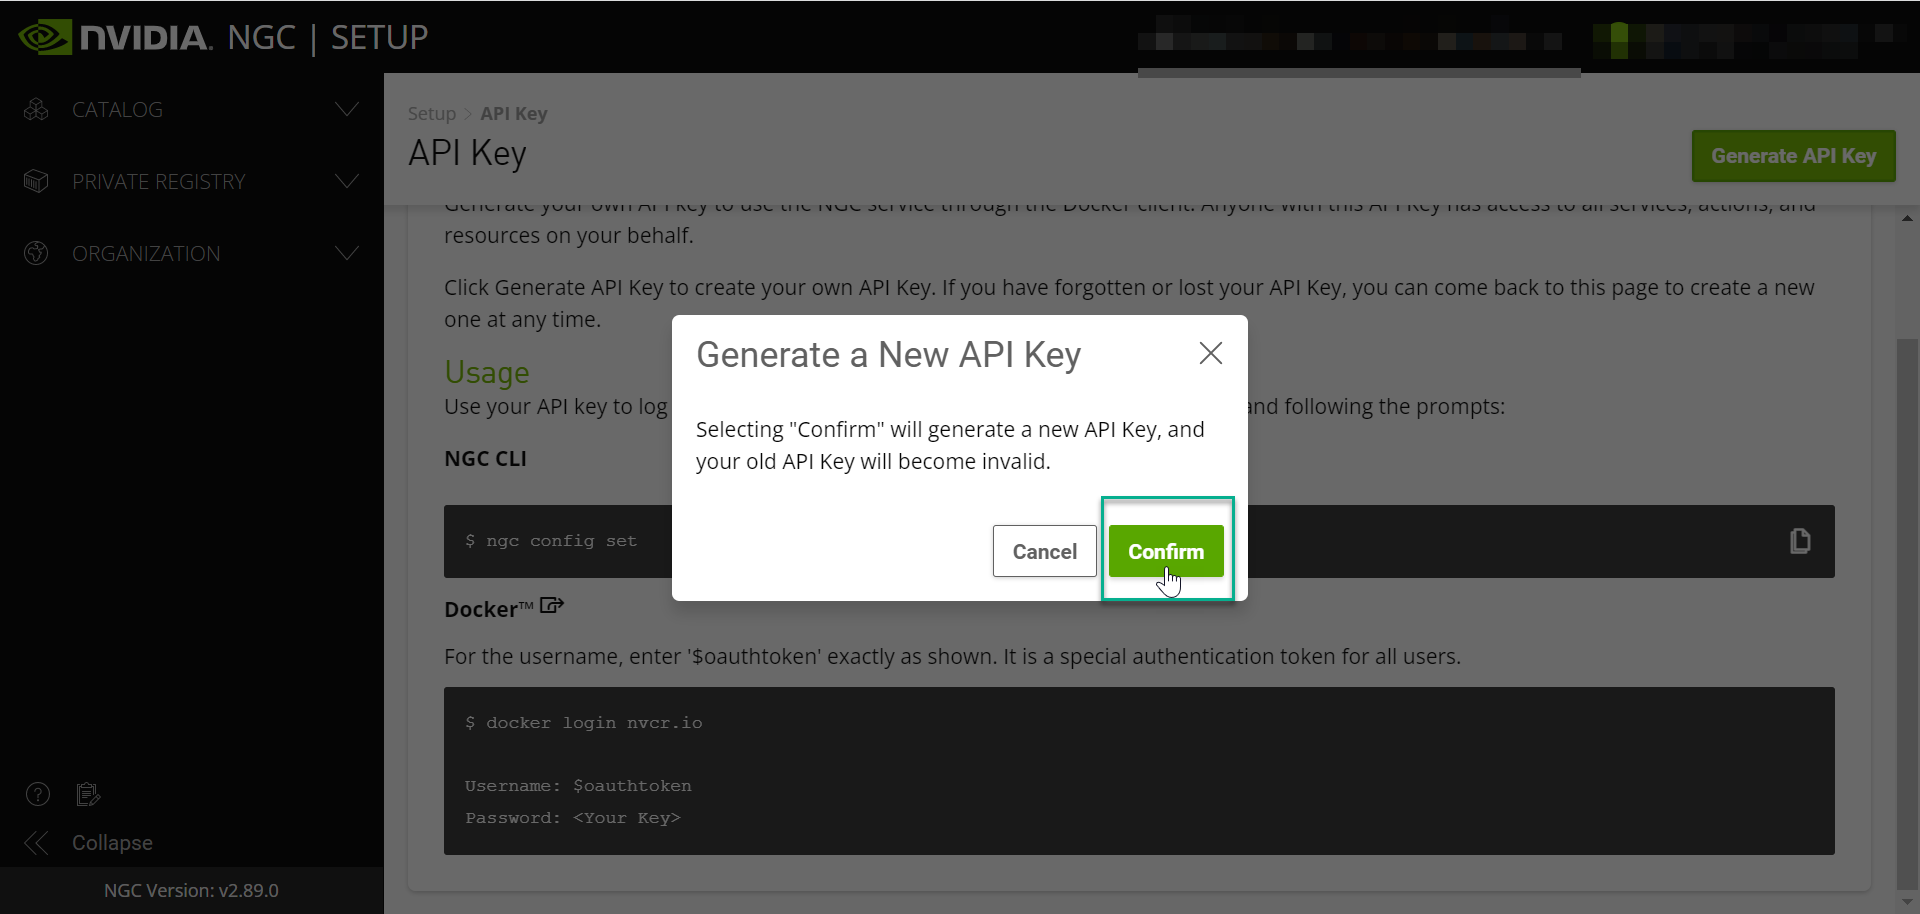
Confirm Generate a New API Key.
Copy your API Key to the clipboard
Note
Selecting confirm will generate a new API key, and your old API key will become invalid (if applicable).

When you are interacting with the repository from the command line you are required to use an API key if you want to pull locked container images or push back to the registry. The API key is unique to you and tied to your account.
Important
Keep your API key secret and in a safe place. Do not share it or store it in a place where others can see or copy it.
Return to the SSH session and/or environment terminal to log into Docker and begin pulling containers down from the NVIDIA AI NGC Catalog.
NGC Containter Registry Login#
Log into the NGC container registry.
docker login nvcr.io
When prompted for your username, enter the following text:
$oauthtoken
Note
The $oauthtoken username is a special username that indicates that you will authenticate with an API key and not a username and password.
When prompted for your password, paste your NGC API key as shown in the following example.
Username: $oauthtoken
Password: my-api-key
Note
When you get your API key as explained in Generating Your NGC API Key, copy it to the clipboard so that you can paste the API key into the command shell when you are prompted for your password.
An example container pull using Tensorflow has been provided with detailed steps in the below sections. We will use the “Pull Tag” function to easily copy and paste our container pull commands into the desired environment.
Using the NVIDIA AI Enterprise search filters, users can access GPU-optimized software for deep learning, machine learning, and HPC through the NGC catalog that provides containers, models, model scripts, and industry solutions.
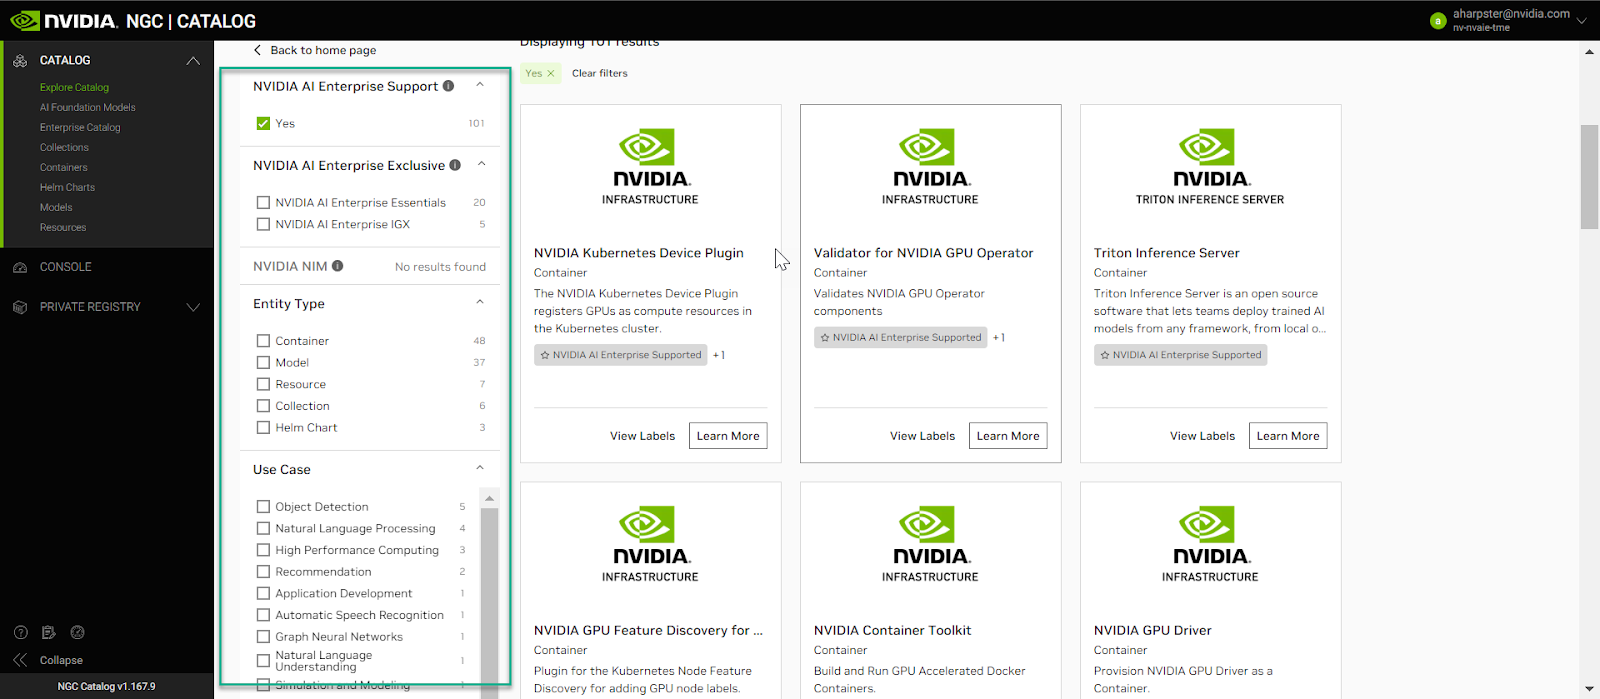
An example container pull using the NVIDIA RAPIDS Production Branch has been provided, and detailed steps are provided in the sections below using the NVIDIA AI Enterprise search filters. We will use the “Pull Tag” function to easily copy and paste our container pull commands into the desired environment.
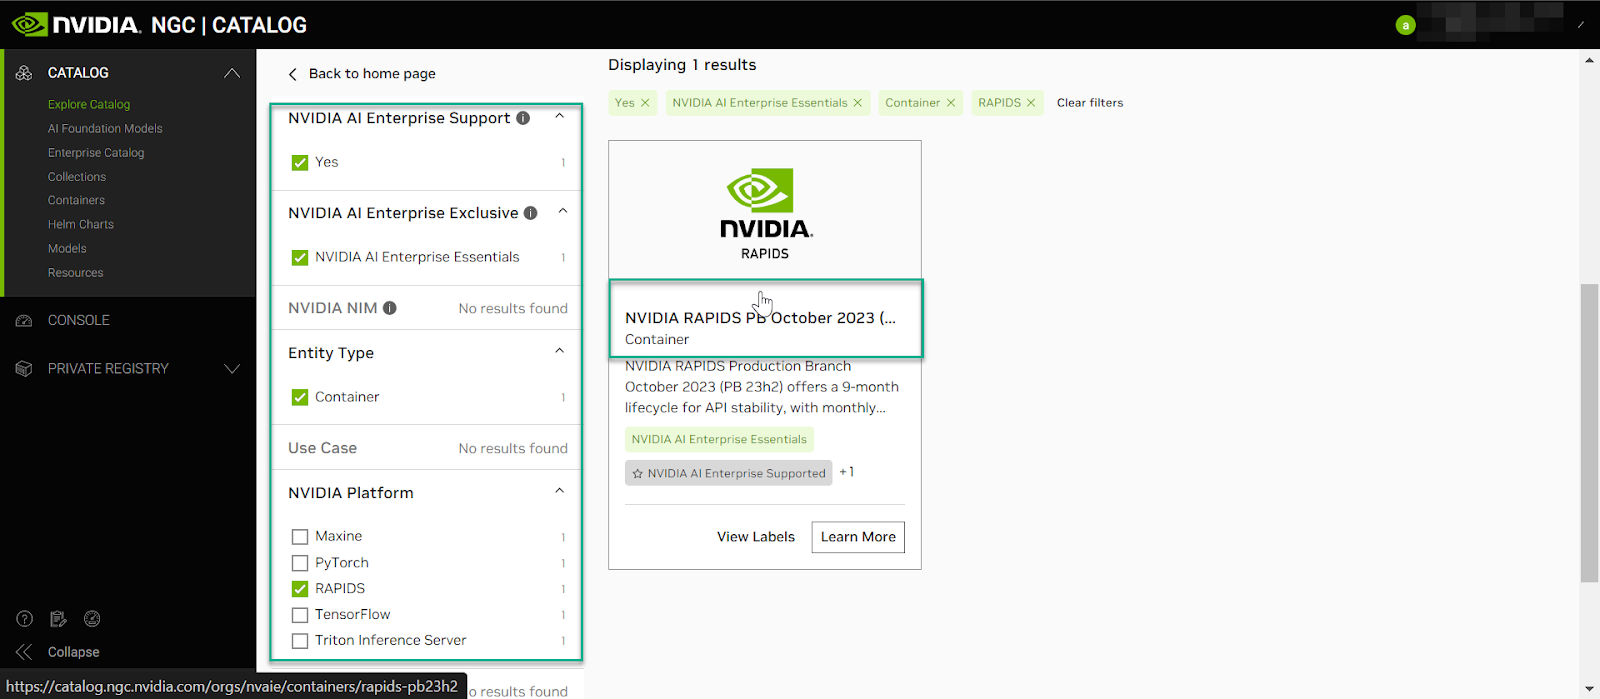
Navigate to the search filters and select NVIDIA AI Enterprise Support, NVIDIA AI Enterprise Essentials, Container, and Rapids, as shown in the image below.
Navigate to Get Container and copt the command to your clipboard.
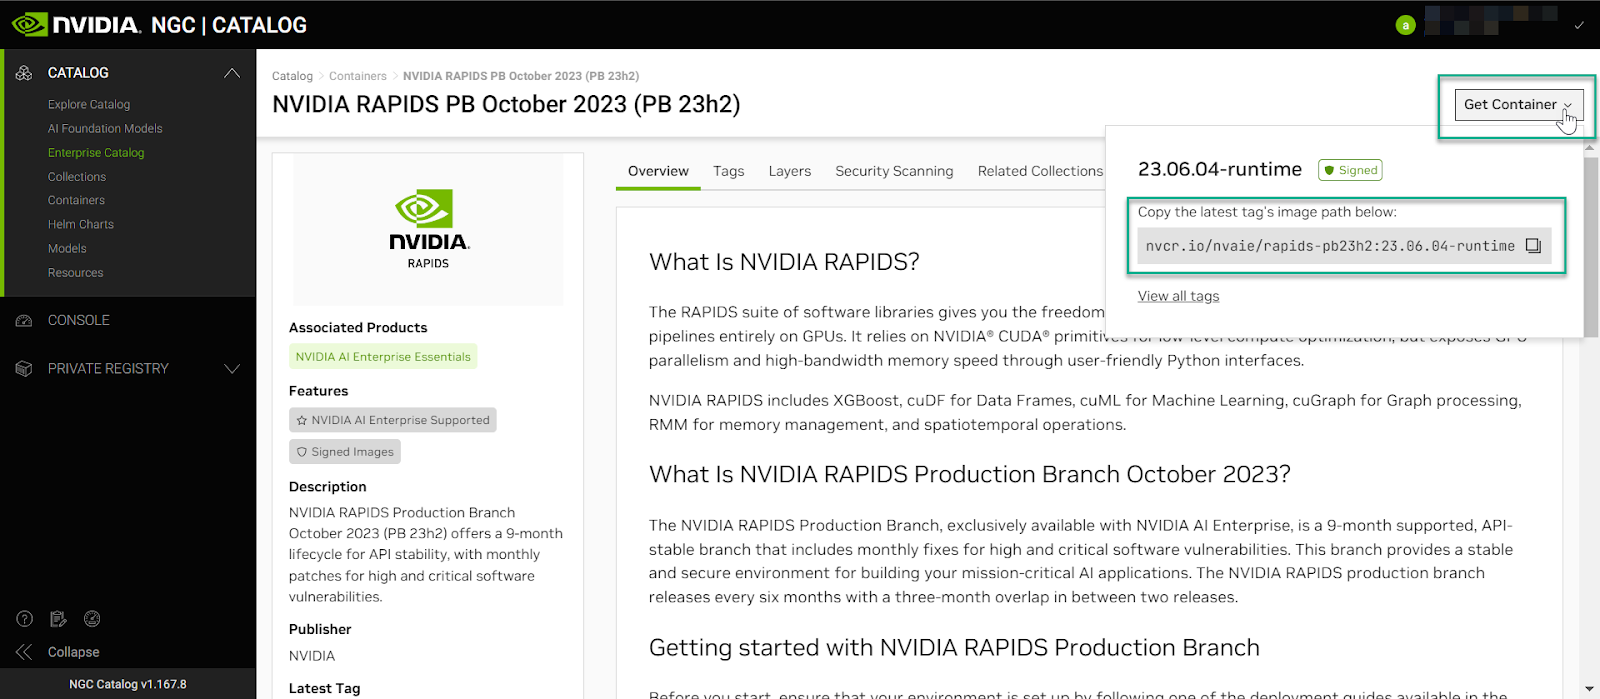
Paste the command into your SSH session
sudo docker pull nvcr.io/nvaie/rapids-pb23h2:23.06.04-runtime
For each AI or data science application that you are interested in, load the container using the pull command function.
For reference, the Docker pull commands for downloading the container for each application or framework are detailed below with the context of <NVAIE-MAJOR-VERSION>:<NVAIE-CONTAINER-TAG>
Preparing To Run Containers#
To ensure your cloud instance is GPU accelerated, use docker run –gpus to run NVIDIA AI Enterprise containers in your cloud VMI instance.
Example using all GPUs
$ docker run --gpus all
Example using two GPUs
$ docker run --gpus 2
Example using specific GPUs
$ docker run --gpus "device=1,2" ... $ docker run --gpus "device=UUID-ABCDEF,1"
Running An NVIDIA AI Enterprise Container#
To run NVIDA AI Enterprise containers in your cloud VMI, refer to the NGC Catalog on NGC for the correct pull tag to use for a specific container, then enter the following docker images:
docker run --gpus all --rm -it nvcr.io/nvaie/<CONTAINER-IMAGE>-<NVAIE-MAJOR-VERSION>:<NVAIE-CONTAINER-TAG>
Example: MNIST Training Run Using PyTorch Container#
Log in to your cloud VMI instance via a terminal to run the MNIST example.
Note that the PyTorch example will download the MNIST dataset from the web.
Pull and run the PyTorch container:
1docker pull nvcr.io/nvaie/pytorch-2-0:22.02-nvaie-2.0-py3
2
3docker run --gpus all --rm -it nvcr.io/nvaie/pytorch-2-0:22.02-nvaie-2.0-py3
Run the MNIST example:
1cd /workspace/examples/upstream/mnist
2
3python main.py