NVIDIA® Clara™ is a platform of AI applications and accelerated frameworks for healthcare developers, researchers, and medical device makers creating AI solutions to improve healthcare delivery and accelerate drug discovery. Clara’s domain-specific tools, AI pre-trained models, and accelerated applications are enabling AI breakthroughs in numerous fields, including genomics, natural language processing (NLP), imaging, medical devices, drug discovery, and smart hospitals.
The link to Latest documentation is here. For older versions of the documentation, refer to the Archives section.
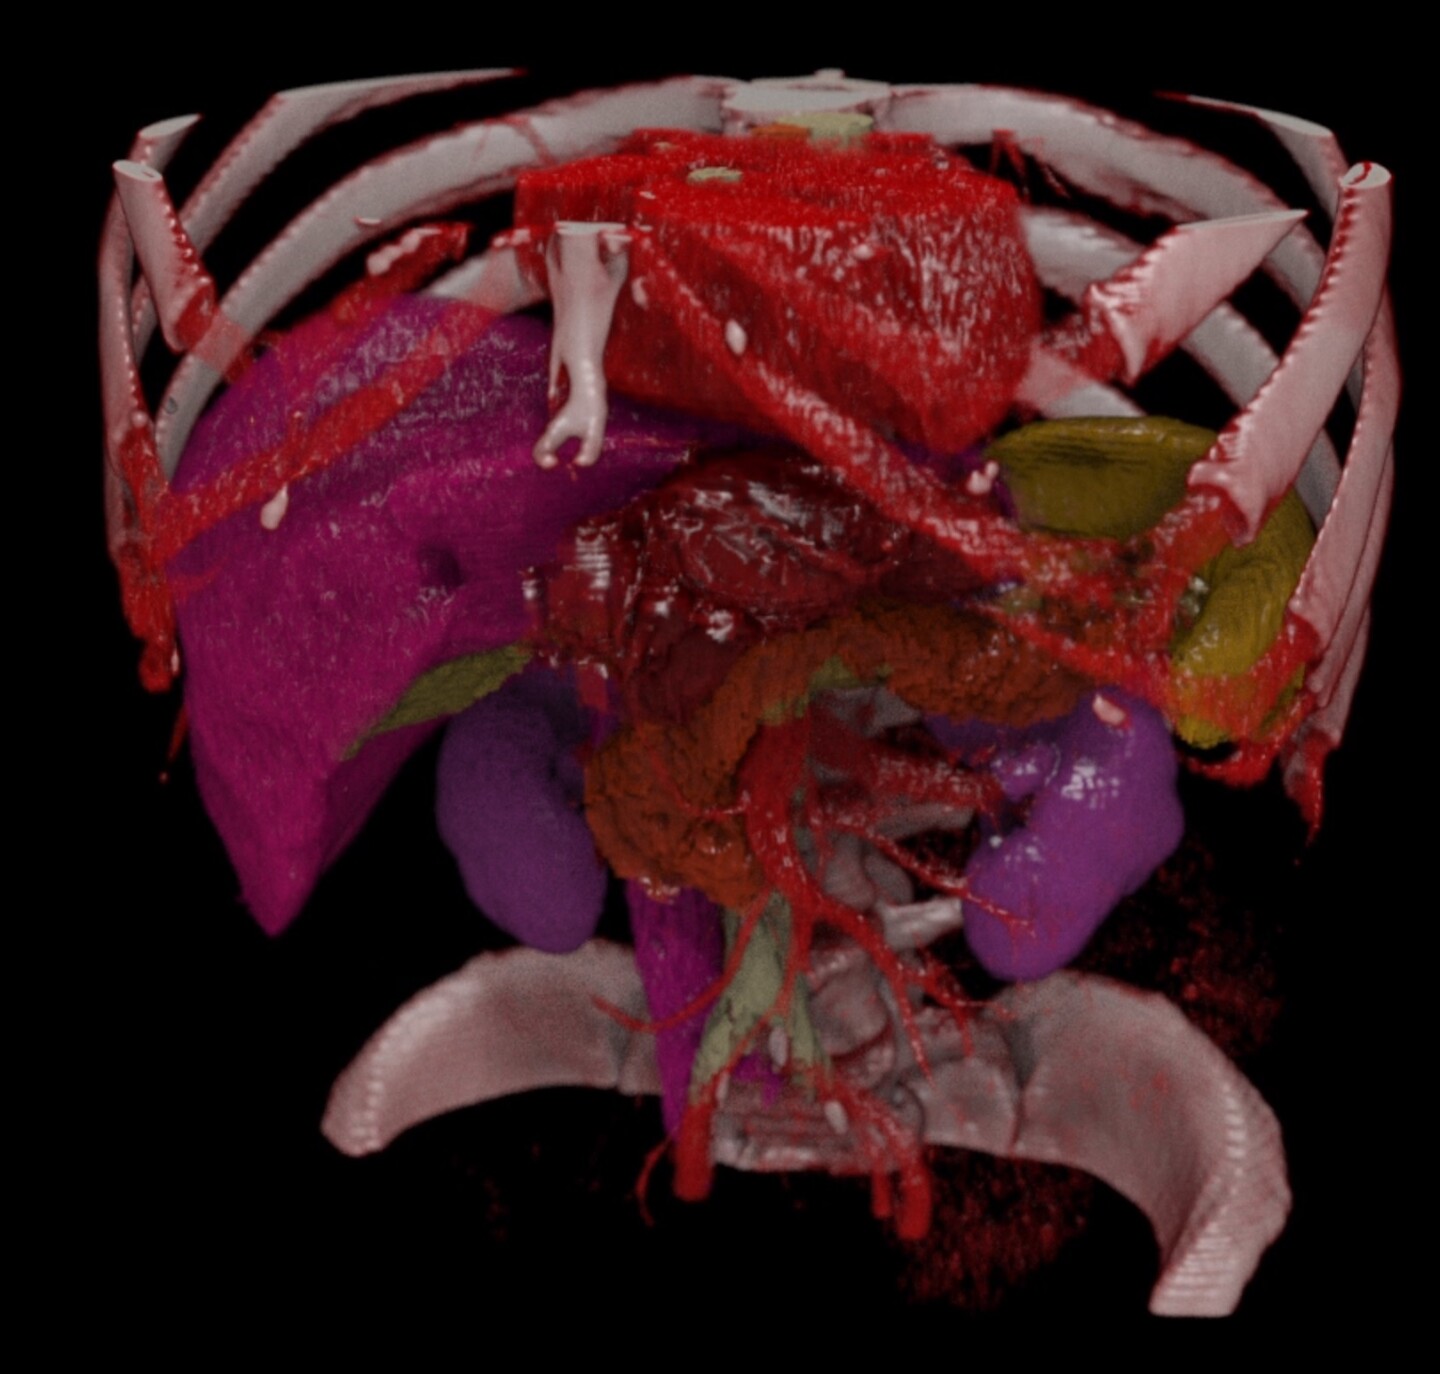
The toolkit includes a base container with MONAI Core, MONAI Label, and NVIDIA FLARE. It also features a curated library of 15 pre-trained models covering a wide range of medical imaging modalities including CT, MR, Pathology, and Endoscopy. Available on NGC, this toolkit empowers data scientists and clinical researchers to accelerate their AI development in medical imaging.
NVIDIA BioNeMo’s Training Framework enables building and deploying generative AI, Large Language Models (LLMs), and foundation models in drug discovery applications. This provides the capability to pre-train or fine-tune the latest drug discovery models with end-to-end acceleration at scale on NVIDIA Base Command platform for NVIDIA DGX Cloud or on NVIDIA DGX on-prem.
Features include: Easy data loading, with support for common biomolecular data formats; State-of-the-art models for protein and small molecule data, with out-of-the-box architectures and validated checkpoints; Optimized scaling recipes for seamless accelerated training on 1,000s of GPUs, to maximize throughput and reduce cost.