First Boot Setup#
This section provides information about the set up process after you first boot the DGX A100 system.
While NVIDIA partner network personnel or NVIDIA field service engineers will install the DGX A100 system at the site and perform the first boot setup, the first boot setup instructions are provided here for reference and to support any reimaging of the server.
Setting up the System#
These instructions describe the setup process that occurs the first time the DGX A100 system is powered on after delivery or after the server is re-imaged.
Be prepared to accept all End User License Agreements (EULAs) and to set up your username and password. To preview the EULA, visit https://www.nvidia.com/en-us/data-center/dgx-systems/support/ and click the DGX EULA link.
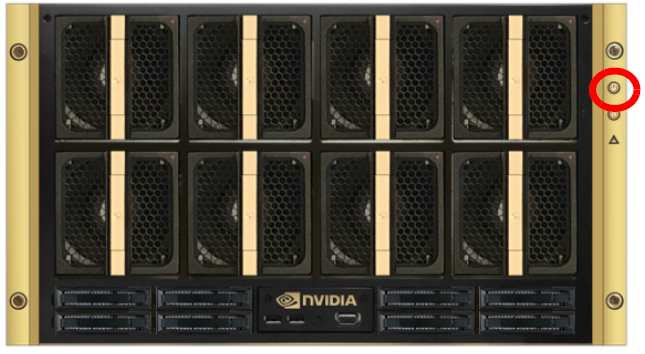
Connect to the DGX A100 console as explained in “Connecting to the Console”.
To power on the DGX A100 system in one of the following ways:
Using the physical power button.
Using the Remote BMC
If the DGX OS was installed with an encrypted root filesystem, you will be prompted to unlock the drive.
Enter
nvidia3dat the crypt: prompt.You are presented with end user license agreements (EULAs) for the NVIDIA software.
Accept the EULA to proceed with the installation.
Perform the steps to configure the DGX A100 software.
Select your language and locale preferences.
Select the country for your keyboard.
Select your time zone.
Confirm the UTC clock setting.
Create an administrative user account with your name, username, and password.
The administrator username is used also for the BMC login username and GRUB username.
Note
The BMC software will not accept “sysadmin” for a username. If you create this username for the system log in, “sysadmin” will not be available for logging in to the BMC.
Create a BMC admin password.
The BMC password length must be a minimum of 13 and a maximum of 20 characters.
Caution
Once you create your login credentials, the default admin/dgxluna.admin credentials will no longer work.
Create a GRUB password.
Your GRUB password must have at least 8 characters.
If it has less than 8 characters, you will not be able to continue.
You can select OK without entering a password which will disable this step, but NVIDIA recommends setting the GRUB password for security hardening.
Create a root filesystem passphrase.
You will need the new passphrase to unlock the root filesystem when the system boots.
This step appears only if you installed the system with an encrypted root filesystem during DGX OS installation.
Choose a primary network interface for the DGX A100 system; for example, enp226s0.
This should typically be the interface that you will use for subsequent system configuration or in-band management. Do not select enp37s0f3u1u3c2 (or bmc_redfish0 or similar), as this is intended only for out-of-band management or future support of in-band tools accessing the Redfish APIs.
After you select the primary network interface, the system attempts to configure the interface for DHCP and then asks you to enter the name server addresses.
If no DHCP is available, then click OK at the Network autoconfiguration failed dialog and configure the network manually.
If you want to configure a static address, then click Cancel at the dialog after the DHCP configuration completes to restart the network configuration steps.
If you need to select a different network interface, then click Cancel at the dialog after the DHCP configuration completes to restart the network configuration steps.
If prompted, fill in requested networking information, such as name server or domain name.
Choose a host name for the DGX A100 system.
After completing the setup process, the DGX A100 system reboots automatically and then presents the login prompt.
Post Setup Tasks#
This section explains recommended tasks to perform after the initial system first-boot setup.
Note
RAID 1 Rebuild May Temporarily Affect System Performance. When the system is booted after restoring the image and running the first-boot setup, software RAID begins the process of rebuilding the RAID 1 array, which creates a mirror of (or resynchronizing) the drive containing the software. System performance may be affected during the RAID 1 rebuild process, which can take an hour to complete.
During this time, the nvsm show health command reports a warning that the RAID volume is re-syncing.
You can check the status of the RAID 1 rebuild process using sudo nvsm show volumes, and then inspecting the output under /systems/localhost/storage/volumes/md0/rebuild.
Obtaining Software Updates#
To ensure you are running the latest version, you might need to update the software.
Updating the software ensures your DGX A100 system contains important updates, including security updates. The Ubuntu Security Notice site (https://usn.ubuntu.com/) lists known Common Vulnerabilities and Exposures (CVEs), including those that can be resolved by updating the DGX OS software.
Run the package manager.
$ sudo apt update
Upgrade to the latest version.
$ sudo apt full-upgrade
Enabling the srp Daemon#
The srp_daemon comes with the Mellanox drivers and is disabled by default. It is needed only if you are using RDMA over Infiniband (refer to SRP - SCSI RDMA Protocol). If necessary, you can enable the srp_daemon by issuing the following commands:
$ sudo systemctl enable srp_daemon.service
$ sudo systemctl enable srptools.service