

SQL Editor
Heavy Immerse includes an SQL Editor that you can use to build and run SQL queries. The SQL Editor includes an input box, query results box, a searchable table browser, and query history that you can use to create queries, run them, and see the results.
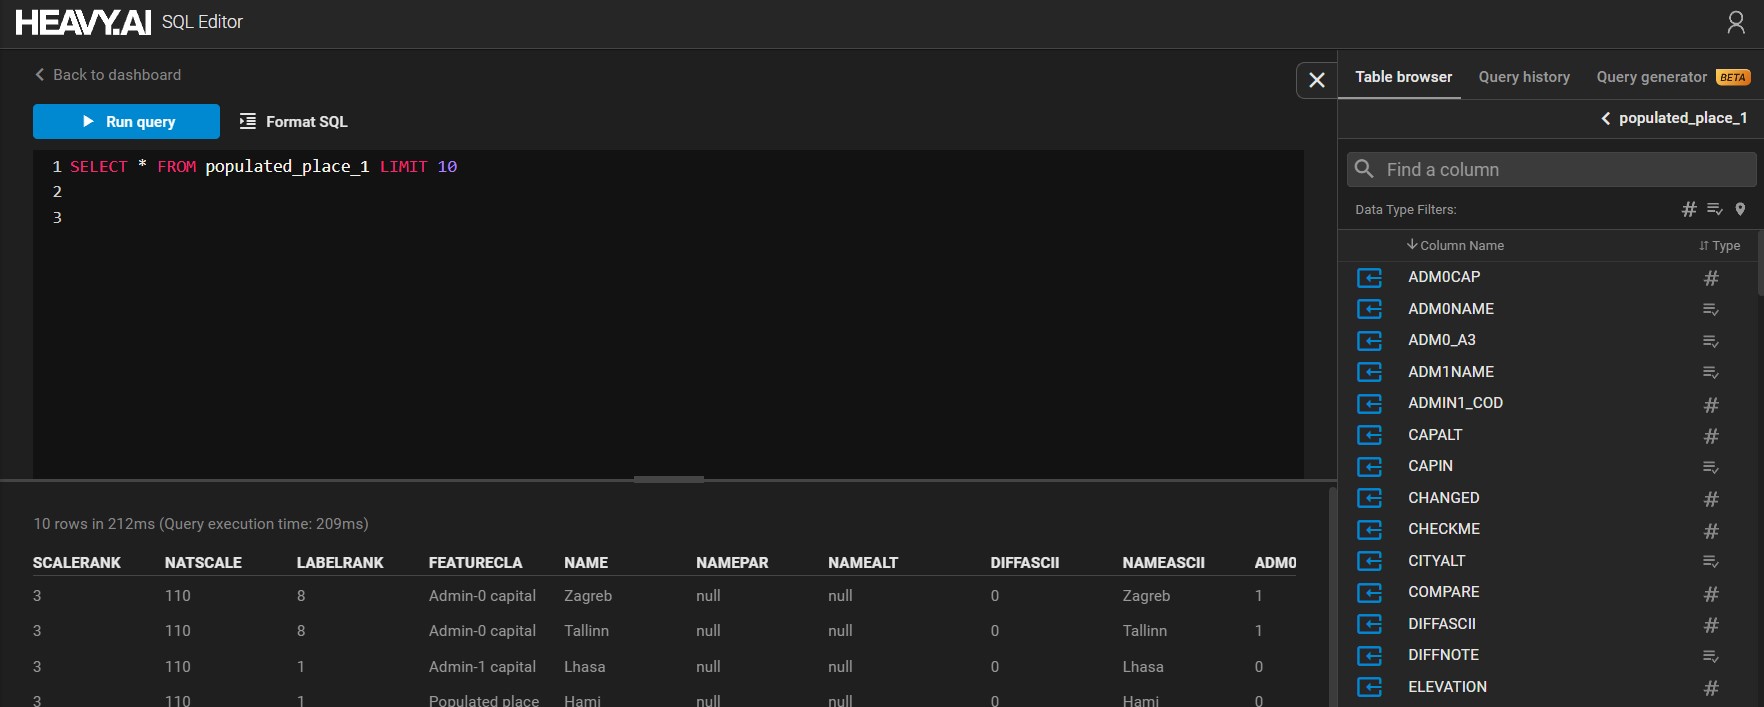
Input Box
Create an SQL query by clicking in the input box and typing SQL code, or by using the table browser. The following features make it easier to create queries:
- Autocomplete - When typing an SQL query, use the Tab key to speed code entry and avoid misspellings:
- Complete a command that you have started typing. For example, if you type
SE, pressing the Tab key completes theSELECTcommand. - Show a drop-down list of available commands or table or column names, contextual to the location of the cursor.
- Complete a command that you have started typing. For example, if you type
- Color coding - The SQL Editor highlights reserved words to make the code easier to read.
- Format SQL - Format and indent strings of SQL code to make it easy to read. For example, if you click Format SQL for the query in the input window shown above, the code looks like this:
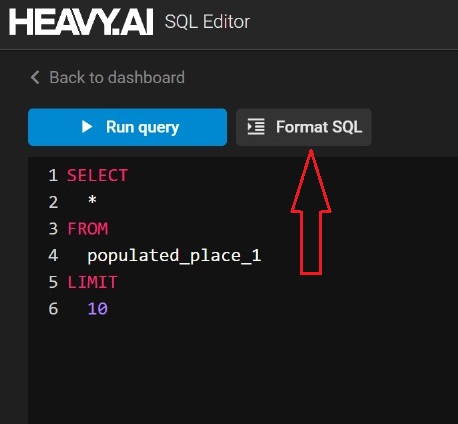
-
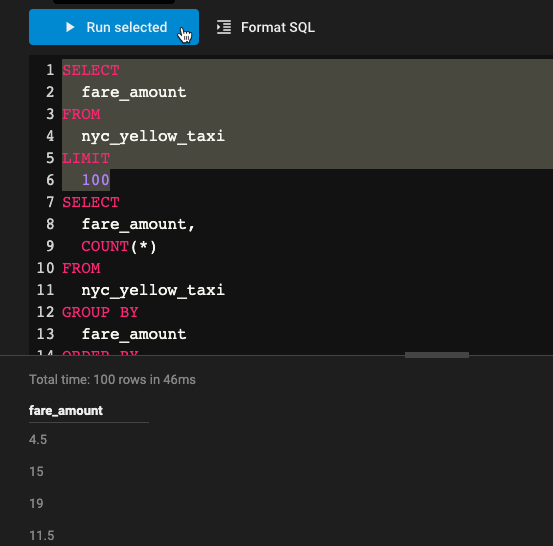
Run query / Run selected - Clicking Run query shows the output of the query in the results window below the input window.\
You can also run just part of the code in the input window. If you want to run part of a query, or have multiple queries in the input box and want to select one to run, highlight the code you want to run and click Run selected:
You can also use CTRL+ENTER or command+return to run the query or the selected portion of the query.
Table Browser
Use the Table Browser to find available tables and columns and use them to build your queries. It also provides snippets of common queries that you can add to your code. Hovering over a table, column, or query snippet reveals the Copy to SQL Input Box icon; click to add the table name, column name, or code snippet to your query:
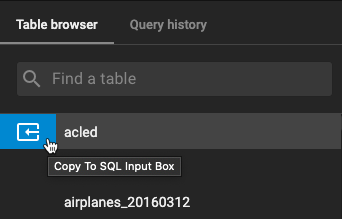
When you open the SQL Editor, the Table Browser shows the complete list of tables available.
-
Use Find a table to refine your search. For example, typing trees in the search box narrows the results to tables that include “trees” in the name.
-
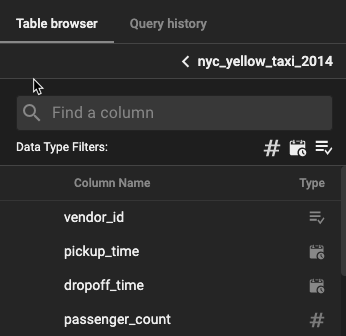
Select a table (in this case, nyc_yellow_taxi_2014) to see the columns in the table. You can use the Data Type Filters to narrow columns by Number, Date/Time, or Categorical data types:
-
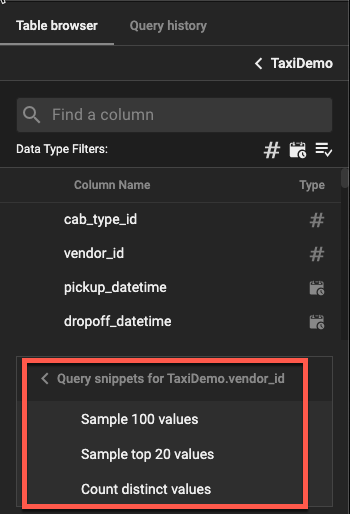
Each table and column has predefined query snippets associated with it. These snippets are shortcuts to commonly run queries. For example, the table column vendor_id in the TaxiDemo table has the following predefined queries:
-
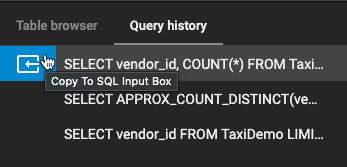
Click the Query history tab to see to see the list of previously run queries. You can click the Insert… icon to add the query to the input box, or click the query to show the previously fetched results.
Running Vega JSON in SQL Editor
You can render images in the SQL editor by pasting Vega JSON code in the editor and running it.
If the Vega code that you add to the SQL Editor is valid, the Format SQL button changes to Format JSON.
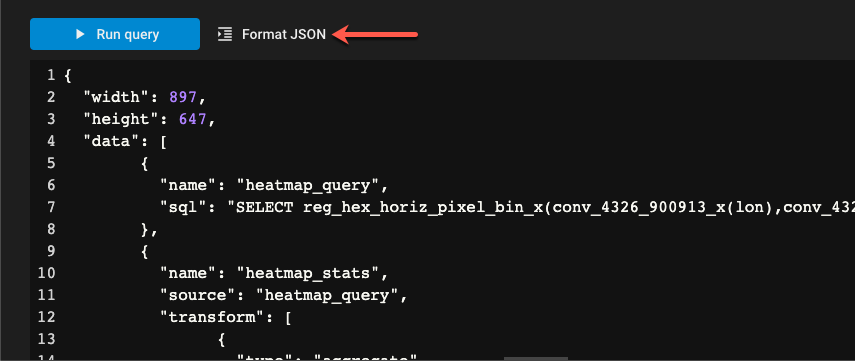
Click Run query to render the Vega code and display the PNG image in the tabular results window.
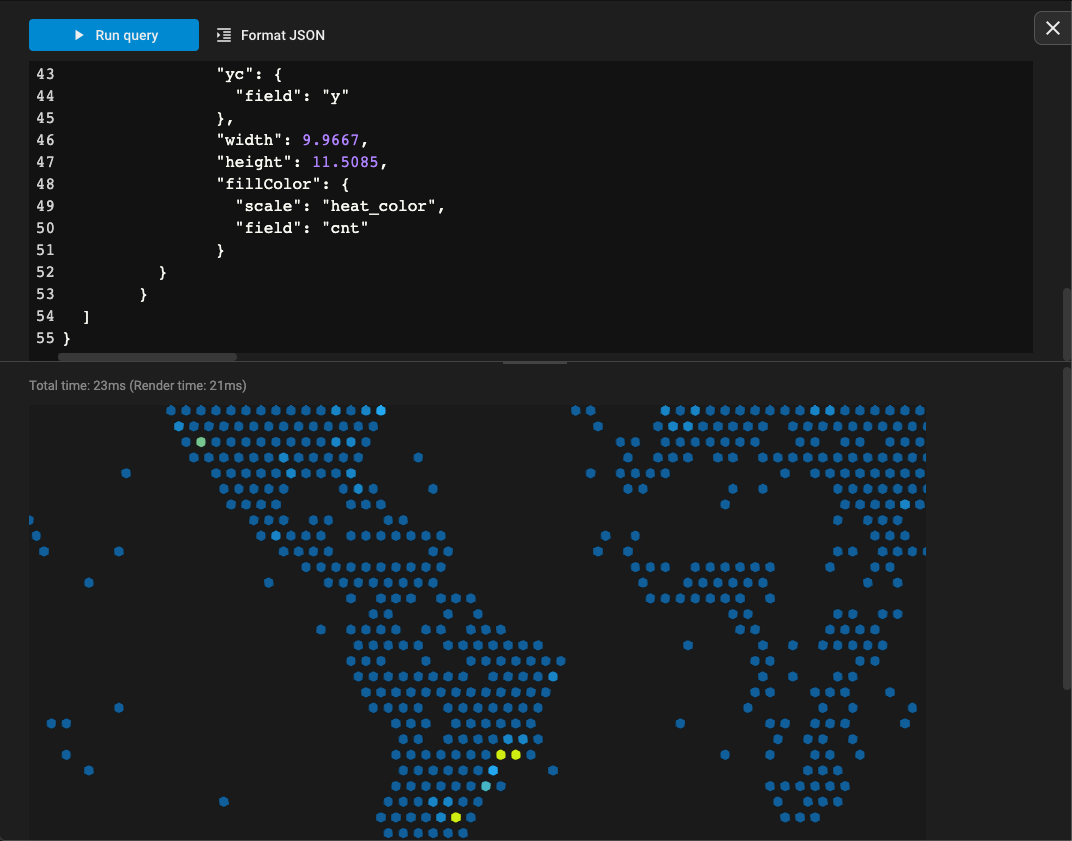
As with SQL queries, render queries are added to the Query history.