Designer #3
As a park designer, you will use Omniverse Create to add planters and furniture throughout the scene as well as add materials. Designer 1 will be adding trees and plants around the park while Designer 2 will be working on the water features.
The following skills with be used during your lab: Layers, Prop Placement, Asset Manager, Materials
If you are familiar with 3D CAD or digital content creation applications, you should quickly get the hang of it!
We have provided a quick navigation video in the appendix but here are the shortcuts:
Remember that you can pick an object in the Stage (next to layer manager) and press F to center your view on it. This makes orbiting and resetting your view much simpler.
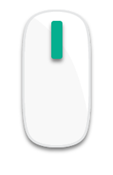
Zoom (scroll) and Pan (click + drag) |
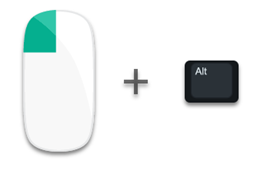
Orbit |
|---|---|
|
|
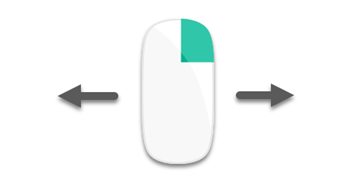
Look Around |
Walk (While looking around) |
|---|---|
|

|
If necessary, launch Omniverse Create and then Connect to Nucleus Server.
Load the file setup above:
/Projects/Outdoor_Scene/Outdoor_Collab.usd.The collaborative power of Omniverse fully shines when you enable real-time Live Editing. This can be done on a per-layer basis. For this lab, multiple Designers will open the same project file concurrently, therefore you should toggle on Live Sync for all layers. This will allow you to see changes that were made on different VM by the other Designers in real-time! Toggling on Live Sync is as easy as changing the Live Sync.
If you are collaborating with others during this lab you’ll Within the layers tab, turn, and select Always On.
NoteWorking with Layers
The order of the layers determines precedence, if you have a white object in the bottom layer, then you make it blue in the middle layer and finally red in the top layer, it will be red due to the stack order.
Also, remember that changes in the upper layers block change to that parameter in the lower layers. If you change an object color in the Props layer it will be locked from changes in the Materials layer but not in the Plants layer.
Knowing this, if you try to make changes and are blocked, look in the layers above to see if changes were made there that locked it. If those changes are wrong, delete the deltas to free it up, and or change the order of the layers to put your preferred design option on top.
You can also move deltas from one layer to another, if someone forgot to change layers and made a plant placement on the material layer, you can simply drag that delta from one layer to another
Turn off the grid if you don’t need it by pressing “G” key.
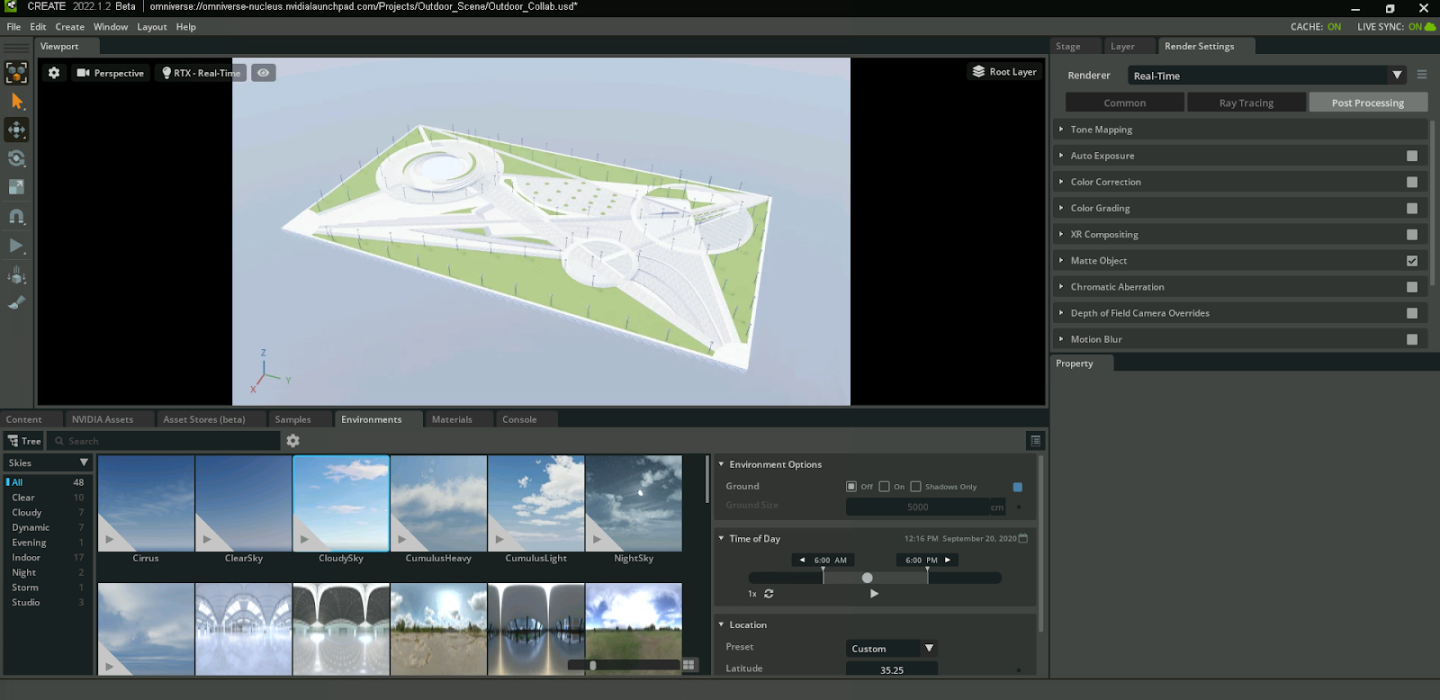
We can adjust the exposure in the viewport by turning on “Auto Exposure” in the Post Processing section of the Render Settings Tabs.
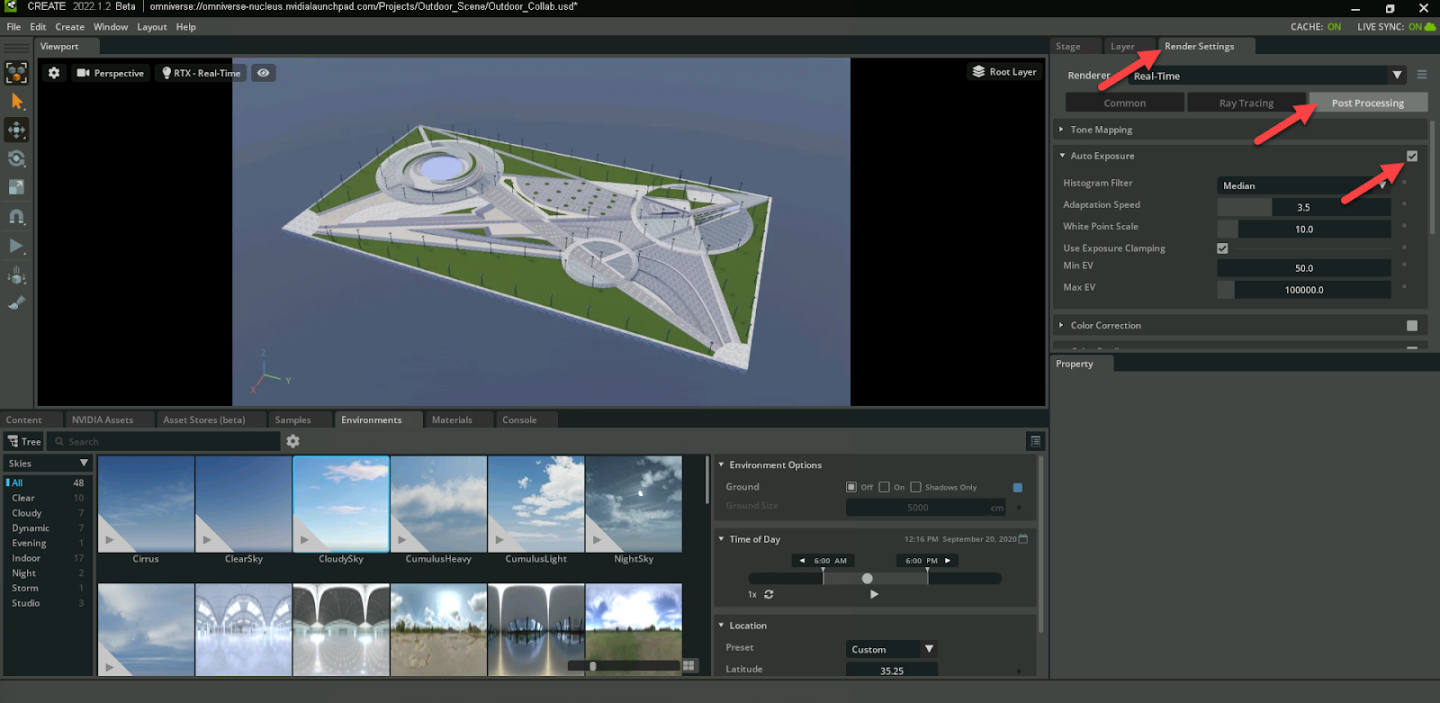
Navigate to the marked area.
 Note
NoteWatch the Prop Placement and Paint Tool skill videos in the appendix for help with this task
AttentionMake sure the AEC_Props_Options01 layer is active (Double click on it, it turns green and says Authoring Layer).

Click on the NVIDIA Assets tab, select Residential and select Outdoors.

Place some planters in the circular area by dragging and dropping them into the Viewport.

Now create a dirt surface to put in the planter. Right-click on the ground next to the planter, from the menu pick Create > Mesh > Disk.


Now we need to move and scale the disk into place, keep the disk selected and use the Move, Rotate and Scale tools in the left toolbar to adjust them.

With the surface in place, we will apply a material to make it look like dirt. In this instance we will not switch to the Materials layer, since this is part of the prop, we will stay in the prop layer. As we mentioned earlier, these layers are for organization so feel free to make changes on the layer that makes the most sense. You can always move your changes from one layer to another at any time.
Click on the Materials Tab
Click the + icon to expand the Base materials list
Click the Natural Submenu
Drag the “Dirt” Material onto the Disk you created

Finally, we can add a plant, since this is still part of the prop you can remain in the prop layer. When you turn the prop layer visibility on and off you won’t end up with a floating plant. You can find the Crane_Lily in the Vegetation Submenu of the NVIDIA Assets tab.

Before we duplicate this planter a few times we can group the three sections.
Hold CTRL and select all three components in the layer manager.
Right-click in the main viewport and select Group Selected from the pop up menu.

In the Stage panel, the group you just created should already be selected, Right-click on it and choose Rename from the pop up menu, then enter Lily_Planter.

Since we are going to have many copies in the scene, we can save on memory by making them instances. Once this feature is activated, any duplicates you make will be instances.
Click on the Lily_Planter group in the Stage tab
Click the Instanceable checkbox to make this group Instanceable

Use the Duplicate command in the Edit menu or simply use CTRL+D.

Now select each planter, reposition them around that area and rotate them around the Z axis to vary their alignment.

Repeat a few times until you are satisfied with the results. Now add more planters to fill up the space.

You can continue to place more props around the park. You can find interesting things in the NVIDIA Asset browser tab. Remember to activate the correct layer!

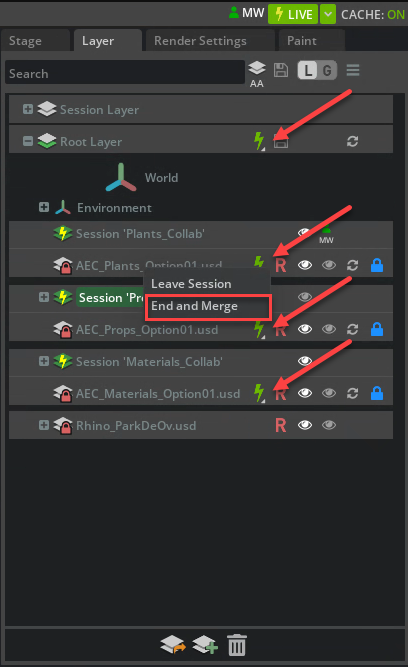
Once all three Designers have finished collaborating on the outdoor park scene feel free to save your changes! If you have been collaborating using Live layers save your work by clicking on a Live button and selecting “End and Merge”.
We have provided instructions for working with a similar indoor-focused scene. Feel free to continue exploring Omniverse Create in these scenes, or by bringing your own to life