Kubernetes Installation#
The installation of Kubernetes (K8s) is done through the cm-kubernetes-setup tool included with BCM 11.
There are two Kubernetes clusters that are created as part of the NMC software stack. This section covers the first, “k8s-admin”, where system software in support of administrative functions are located.
cm-kubernetes setup#
To set up cm-kubernetes, follow the steps below:
From the active BCM headnode, run the
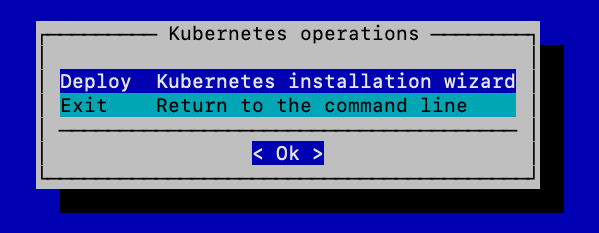
cm-kubernetes-setupcommand.Choose Deploy and then select Ok.
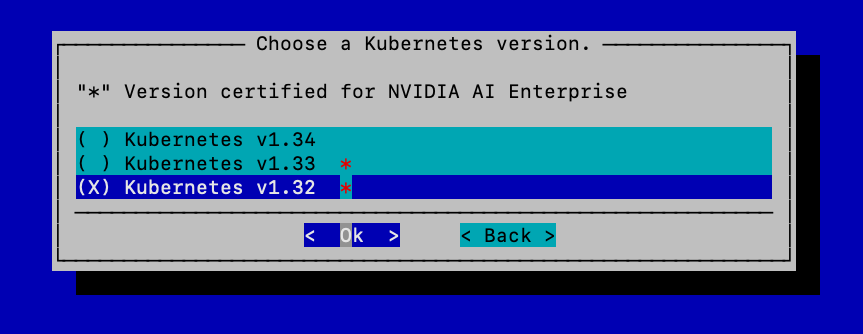
Choose Kubernetes version v1.32 and then select Ok.
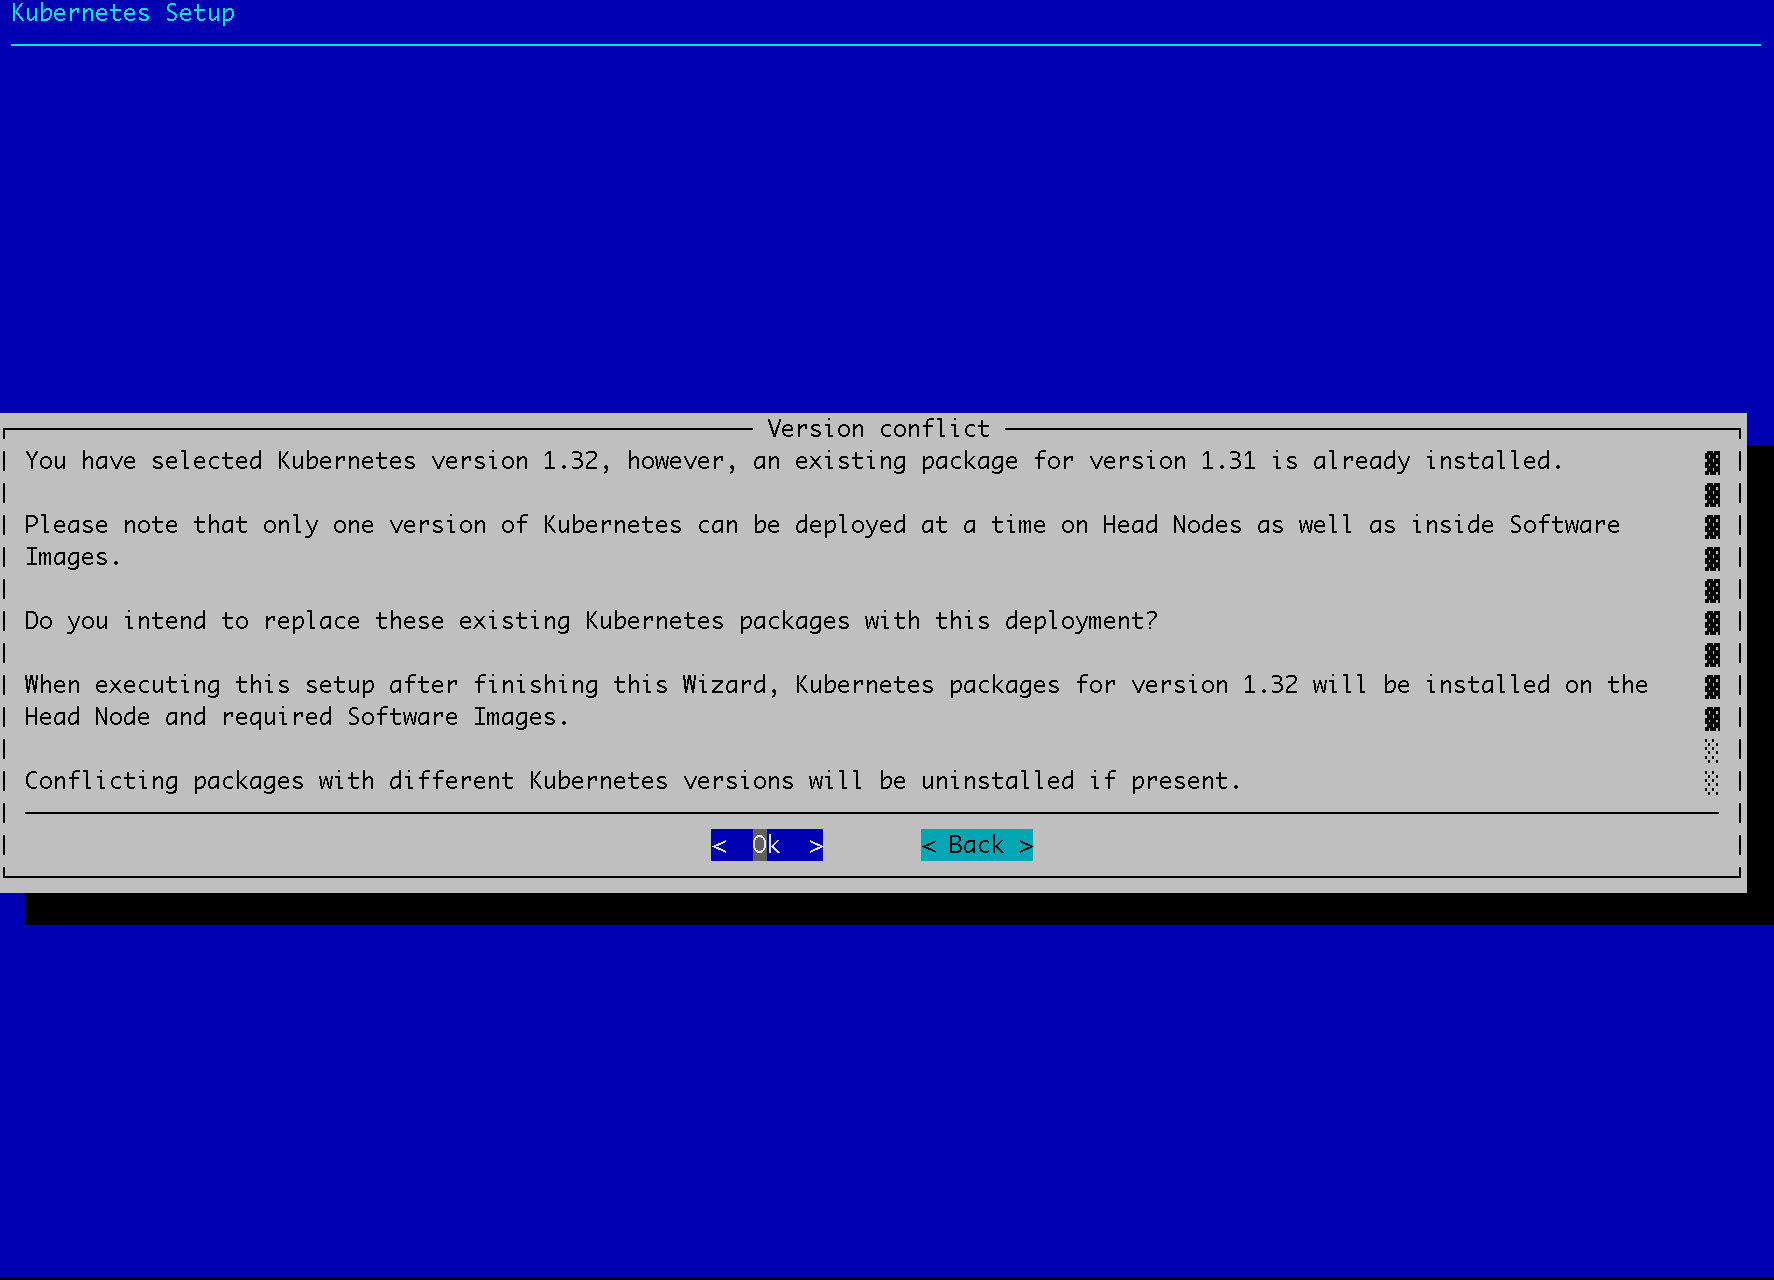
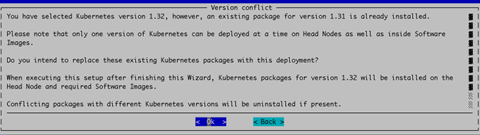
If K8s is reinstalled there might be an error about version conflicts (from previous unsuccessful deployments), the following screen will be shown. In this case, select Ok to proceed.
Provide a DockerHub Container registry mirror, if required, otherwise leave blank.

K8s cluster and networking. This is where the name “k8s-admin” gets defined, and a module config file is created with the same name used here.
For network, the subnets need to be in private address space (per RFC 1918). Use the default values and only modify if necessary or in case of conflict with other internal subnets within the network.
Ensure that the domain names of the networks are configured correctly and do the necessary modifications as required to match the “Kubernetes External FQDN” using the same domain as in 2.2 Customer DNS records.
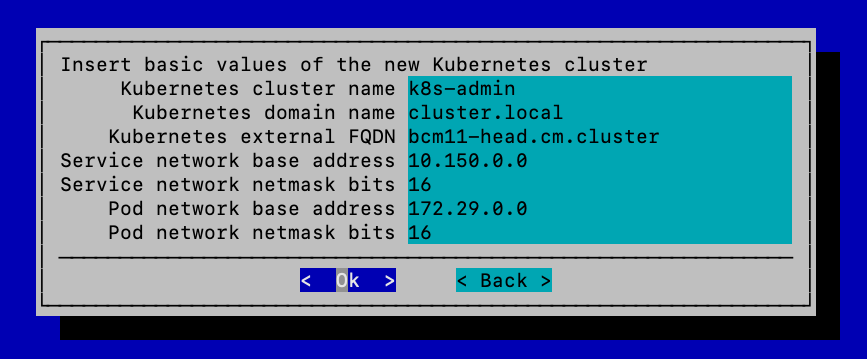
Ensure that the subnets above do not overlap with the customer’s private IP ranges. The Pod Network subnet cannot be changed without reinstalling the cluster.
Choose no to exposing the Kubernetes API servers to the cluster’s external network and then select Ok.
The external network is defined in BCM base partition:
cmsh -c "partition get base externalnetwork"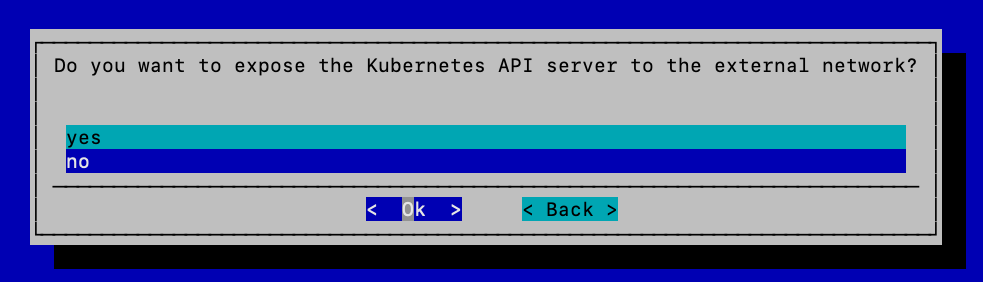
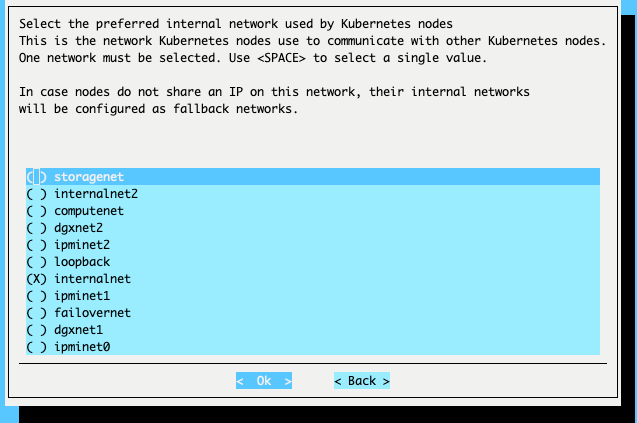
Choose the internal network that the K8s nodes will use.
In a DGX SuperPOD deployment, the management and compute nodes may be on different BCM networks. Choose the network used by the management nodes during this step.
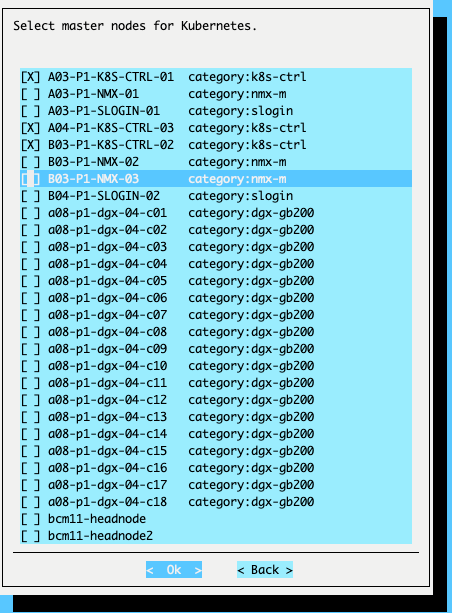
Select at least three K8s control nodes.
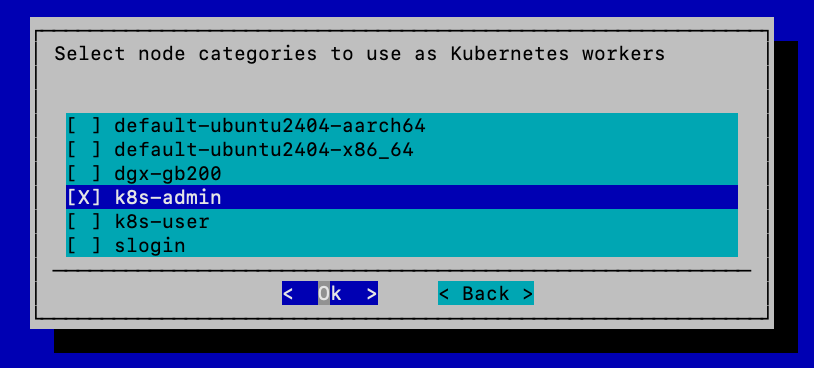
Choose the BCM node categories for the K8s worker node pool.
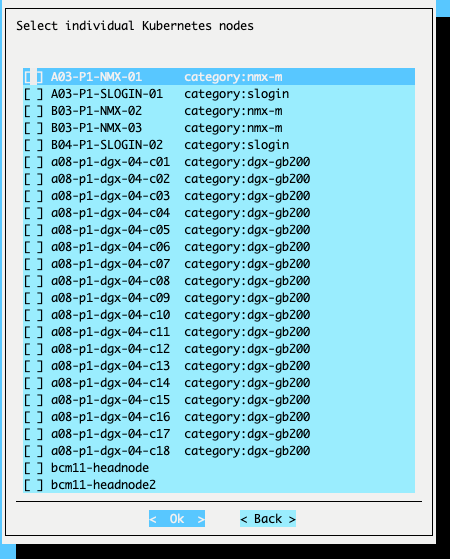
Optional - “Choose individual Kubernetes worker nodes” TUI screen - DO NOT make any selections in this step and instead hit the OK button to proceed to the next step.
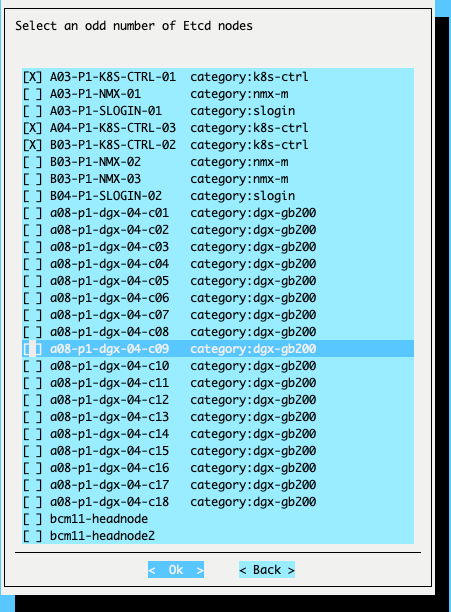
Choose the Etcd nodes and then select Ok.
Choose the same three nodes as the K8s control nodes.
Note
Etcd is an open source, distributed, consistent key-value store for shared configuration and scheduler coordination of distributed systems or clusters. It is used as the default storage backend for Kubernetes. For more information on Etcd, see the Etcd documentation.
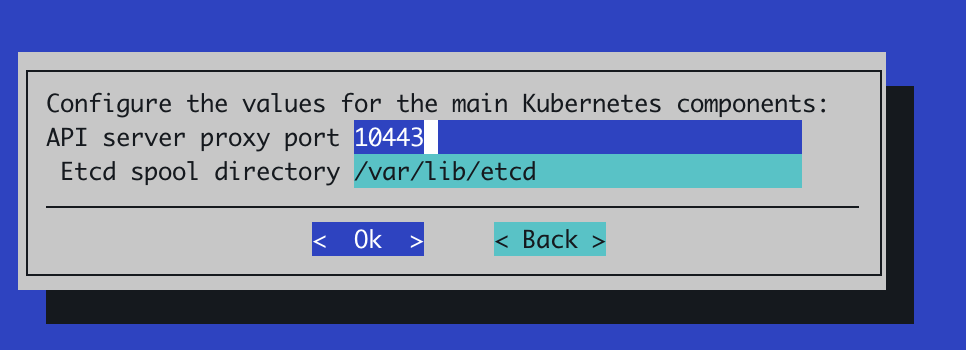
Ignore the following message if it appears.
Set the ports as shown below and do not modify the Etcd spool directory.
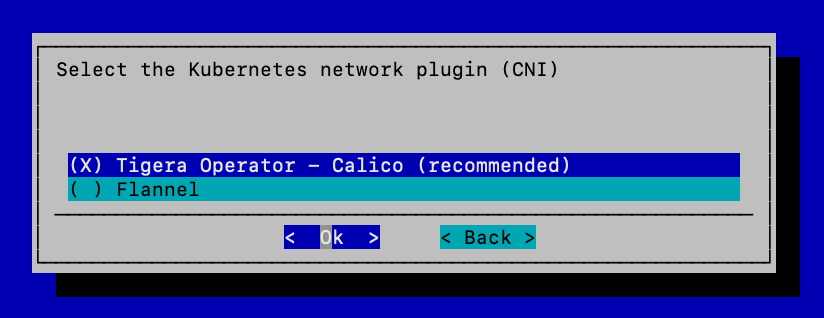
Choose Calico as the network plugin and then select Ok.
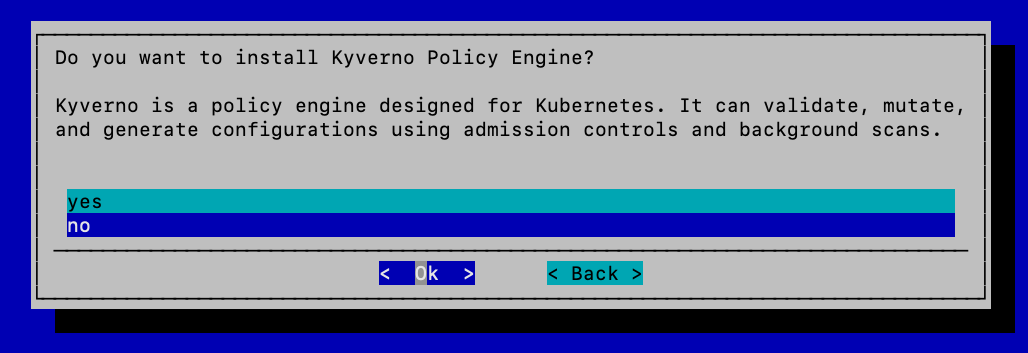
Choose no for install Kyverno Policy Engine? and then select Ok. You can enable Kyverno at a later stage.
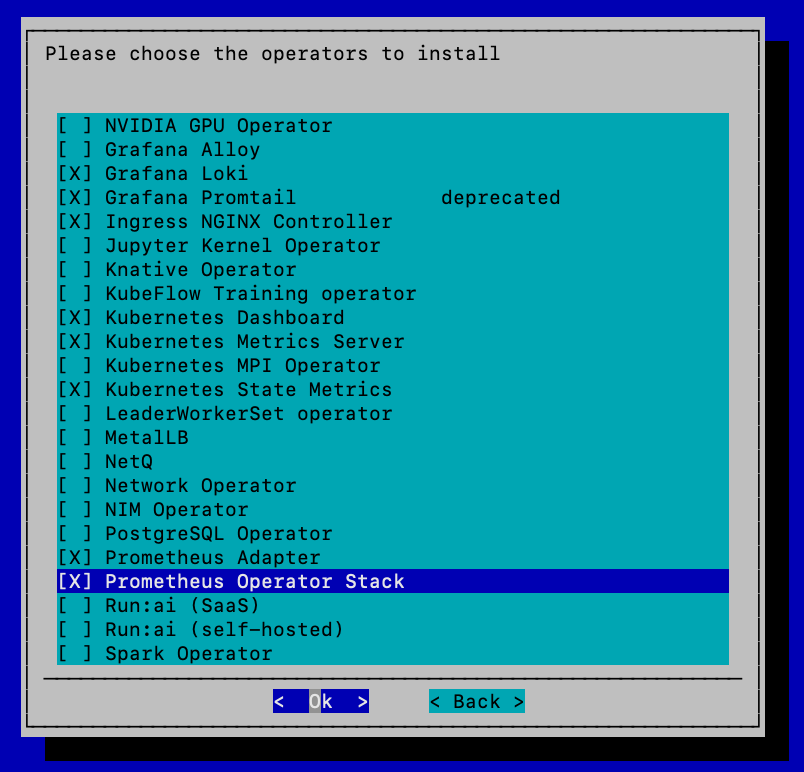
Choose the operators listed below to be installed and then select Ok.
Grafana Loki
Grafana Promtail
Ingress NGINX Controller
Kubernetes Metrics Server
Kubernetes State metrics
Prometheus Adapter
Prometheus Operator Stack
Choose yes when asked to expose the Ingress service over
port 443and then select Ok.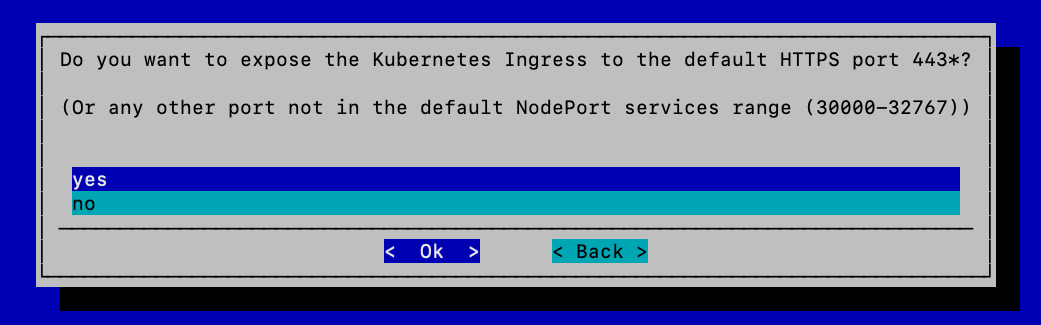
Keep the default value in the next screen and then select Ok.

Keep the Ingress HTTPS port as 30443 (default value) and then select Ok.

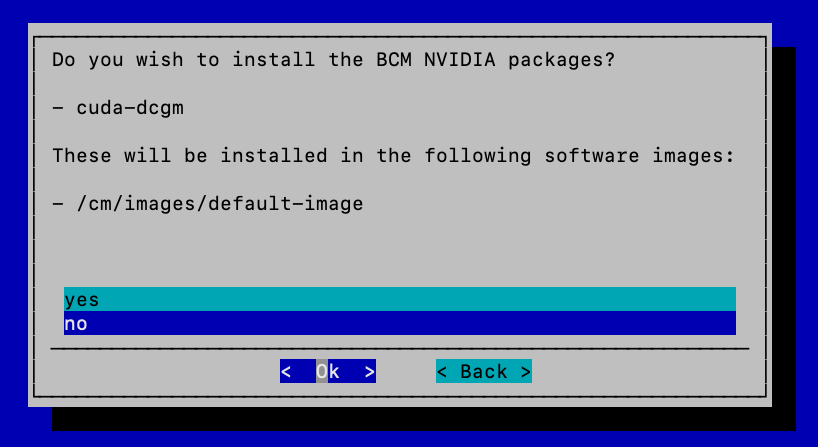
Choose no to install BCM NVIDIA packages and then select Ok.
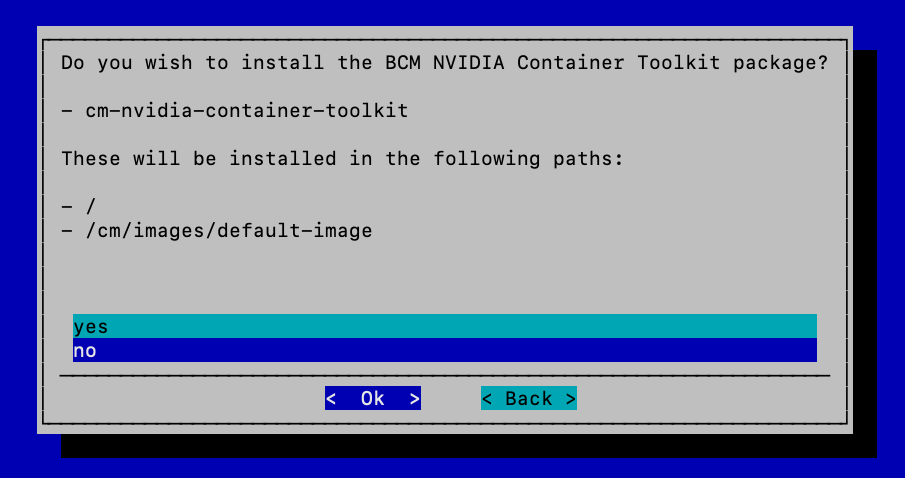
Choose no to install the BCM NVIDIA Container Toolkit package and then select Ok.
Choose yes to install the Permissions Manager and then select Ok.

Choose Local path as a StorageClass (press Enter, not Tab [this is a bug])
If Tab is pressed by mistake, then press r for retry to come back to this screen.

Keep the default path for the Kubernetes storage pool and then select Ok.

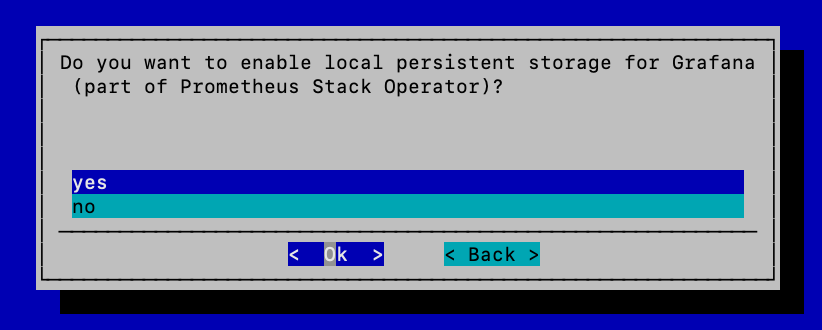
Choose yes to enable local persistent storage for Grafana and then select Ok.
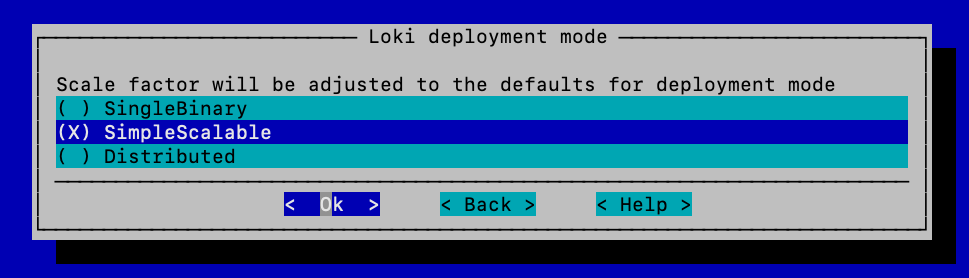
Choose SimpleScalable for the Loki deployment mode and then select Ok.
Select both options for Loki access and then select Ok.

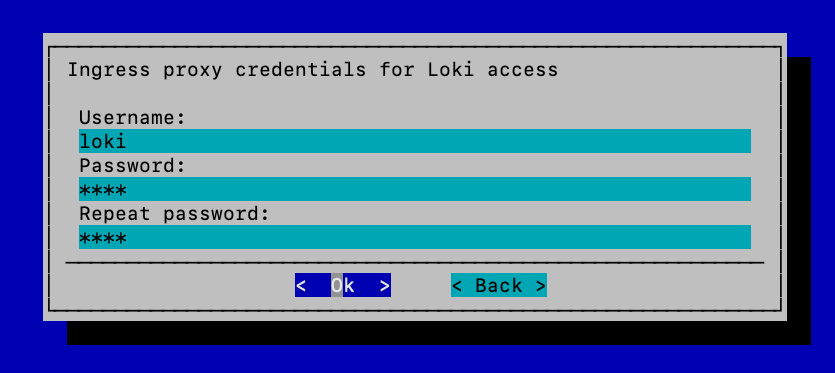
Configure the Username and Password for Loki (basic authentication using ingress-nginx).
Set both to loki, they can be changed later.
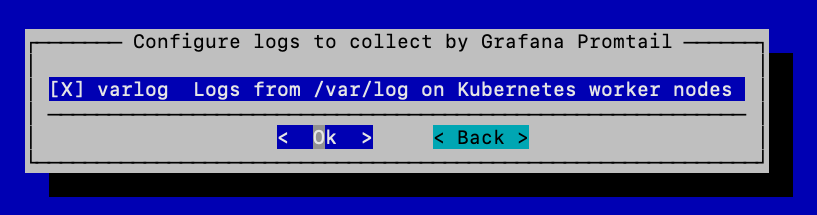
Select the varlog option for Grafana Promtail and then select Ok.
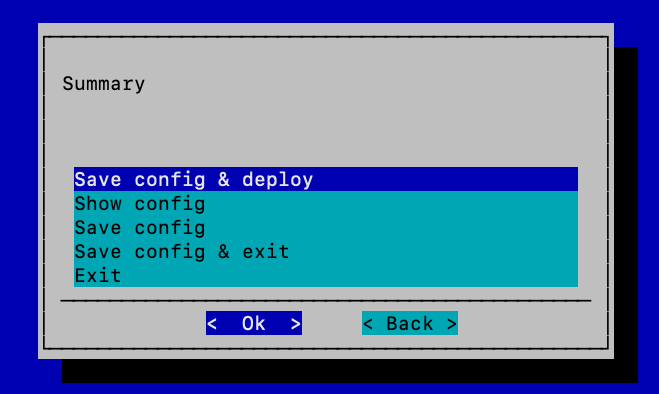
Choose save config & deploy and then select Ok.
The deployment will begin after this step. Halfway through the deployment all nodes that are members of the K8s cluster will reboot, and the installer will wait up to 60 minutes for all nodes to come back online.
Validate the following K8s configuration using the commands below:
# Load the kubernetes module
module load kubernetes

# Get the nodes in the cluster
kubectl get nodes
kubectl get pods -A