You can install Slurm using using the cm-wlm-setup tool included with BCM.
Note
If any images are added to the system (namely a new DGX OS image) after this installation. This wizard has to be run again in order for the appropriate pyxis/enroot and CMDaemon packages are installed.
You can use the following steps to install Slurm:
Run cm-wlm-setup.
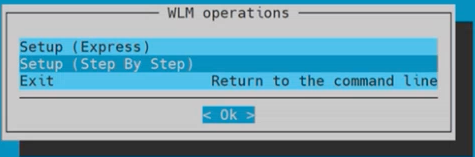
Choose Setup (Step By Step) on the WLM operations window and then select OK:
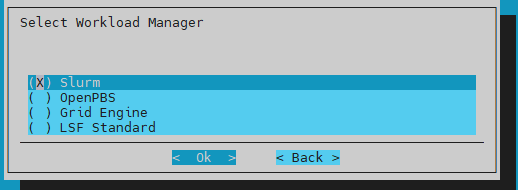
Choose Slurm on the Select Workload Manager screen and then select Ok:
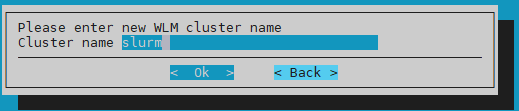
Enter WLM cluster name and then select Ok.
Use the default cluster name of slurm.
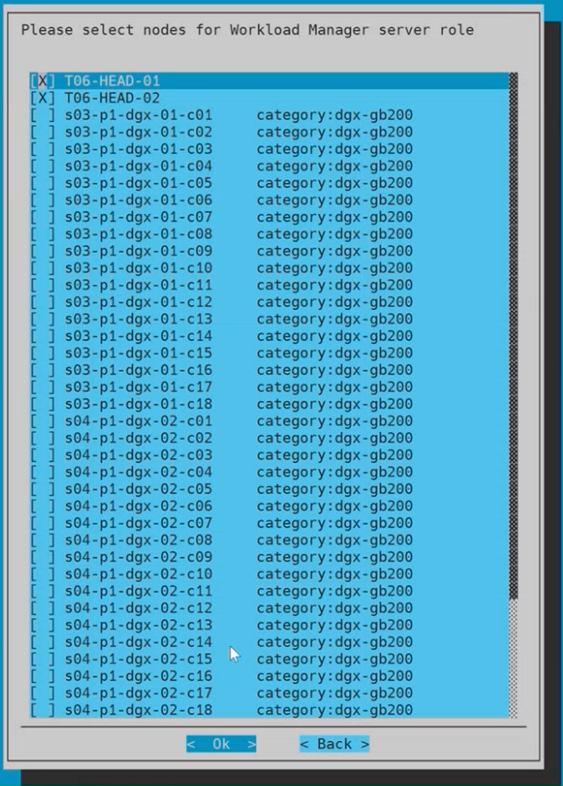
Choose (only) two nodes for Workload Manager server role and then select Ok.
Only select the head node(s); not the slogin node(s).
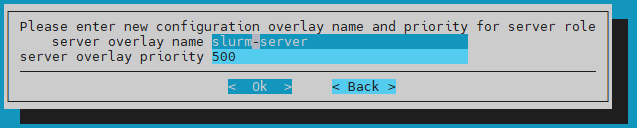
Enter the new configuration overlay name and priority for server role and then select Ok.
Use the default values of slurm-server and 500.
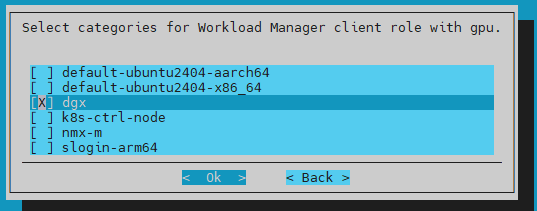
Ensure that all categories for the Workload Manager client role are unchecked and then select Ok.
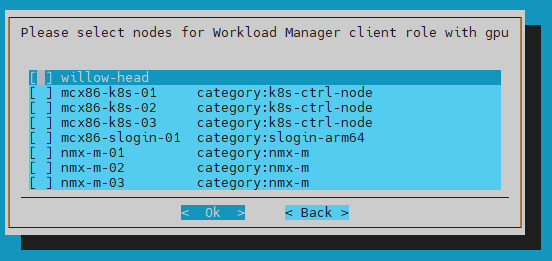
Ensure that all nodes for the Workload Manager client role are unchecked and then select Ok.
Enter the configuration overlay name and priority for client role and select Ok.
Use the default values of slurm-client and 500.
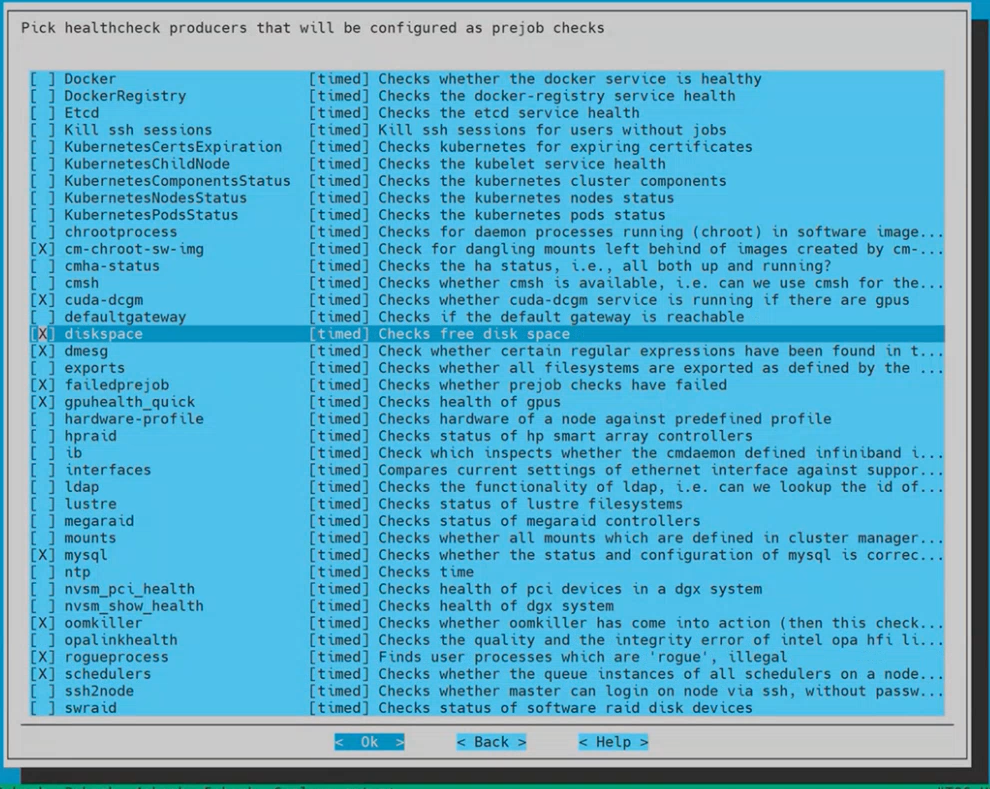
Pick healthcheck producers that will be configured as pre-job checks and then select Ok.
Select the following healthcheck producers to be run as pre-job checks:
The compute tray nodes with GPU are selected in a different step and have their own configuration overlay.
Enter the name for the ConfigurationOverlay and then select Ok.
Use the default value of slurm-client-gpu.
Pick dgx or whatever name the gb200 category is for the Workload Manager client role and then select Ok:
All GPU compute tray nodes will be added and controlled at the category level.
Do not select individual nodes with GPUs or any control nodes.
Ensure that nothing is chosen for the Workload Manager client role and then select Ok.
Enter the new configuration overlay priority for client role and then select Ok.
Use the default value of 450.
Leave the Tune number of slots empty and then select Ok.
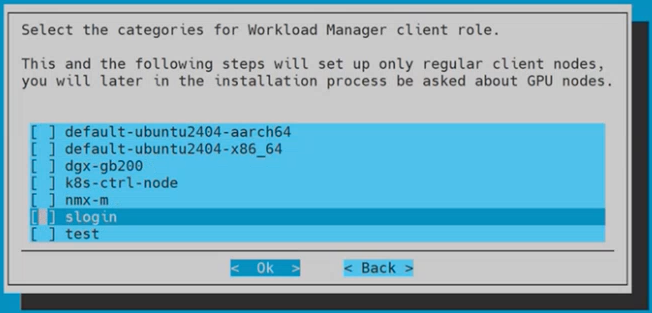
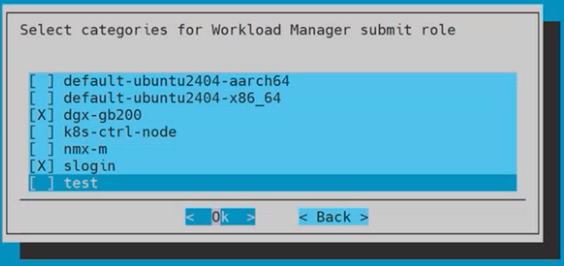
Choose the categories for Workload Manager submit role and then select Ok.
Pick dgx-gb200 and slogin.
These values allow both the GB200 nodes and the slogin nodes to submit Slurm jobs.
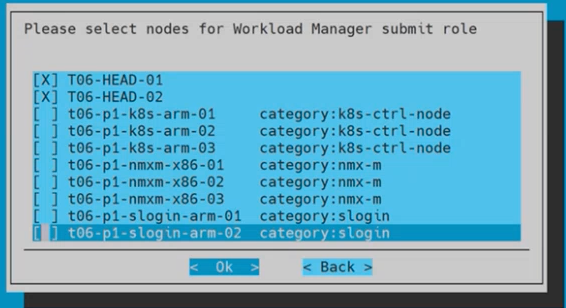
Choose the nodes for Workload Manager submit role and then select Ok.
Pick the head node(s).
Enter new configuration overlay name and priority for submit role and then select Ok.
Use the defaults values of slurm-submit and 500.
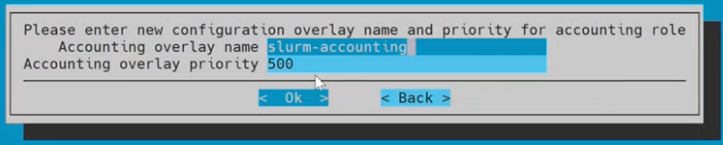
Enter the new configuration overlay name and priority for accounting role and then select Ok.
Use the default values of slurm-accounting and 500.
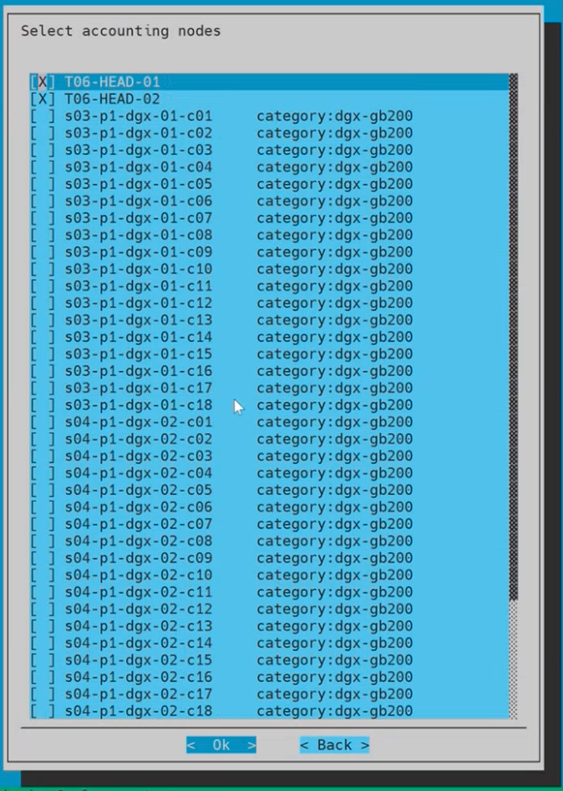
Choose the accounting nodes and then select Ok.
Pick the head node(s).
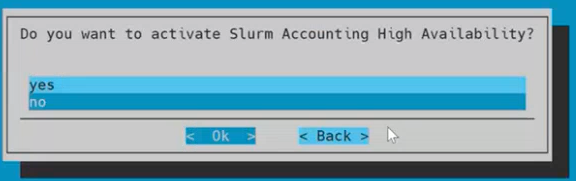
Choose no for activate Slurm Accounting High Availability and then select Ok.
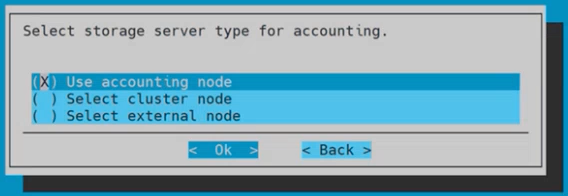
Choose Use accounting node on for the storage server type for accounting and then select Ok.
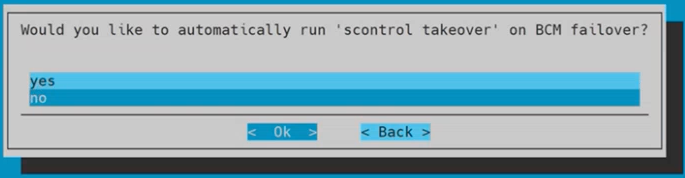
Choose no for automatically run takeover on BCM failover? and then select Ok.
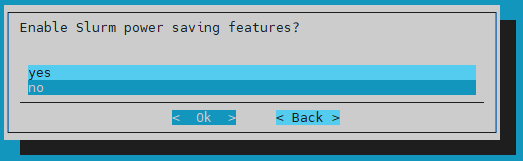
Choose no for Enable Slurm power saving features? and then select Ok.
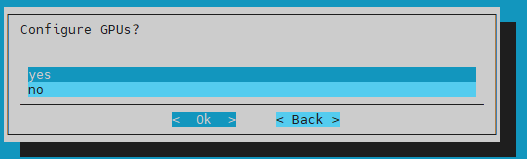
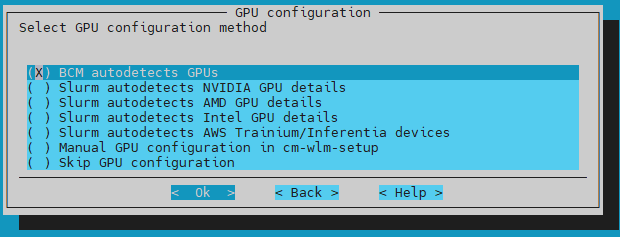
Choose BMC autodetects GPUs for the GPU configuration method and then select Ok.
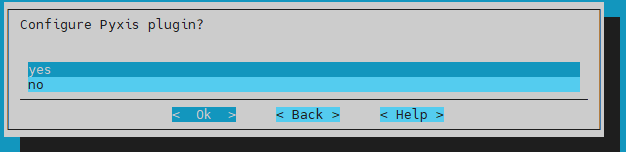
Choose yes for Configure Pyxis plugin? and then select Ok.
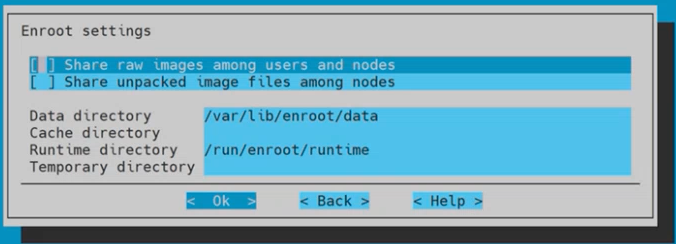
Do not choose anything on the Enroot settings page and then select Ok.
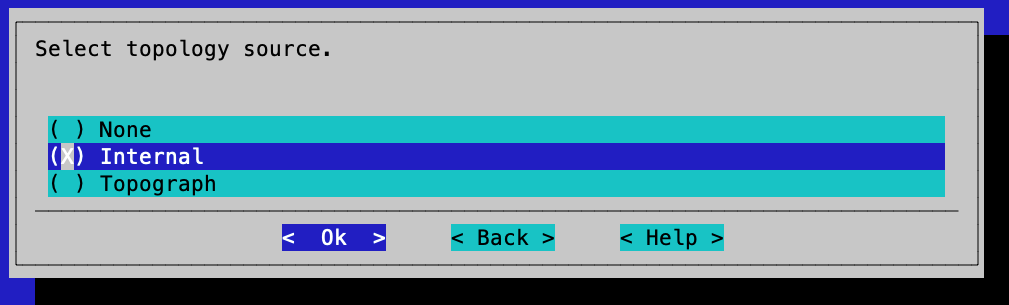
Select Internal for the topology source so that the generated topology is based only on cluster-internal resources:
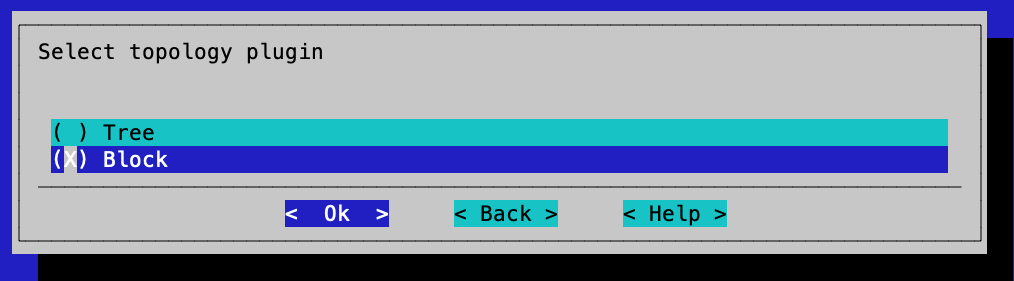
Choose Block for the topology plugin and then select Ok.
Choose Constrain devices for Cgroups resource constraints and then select Ok.
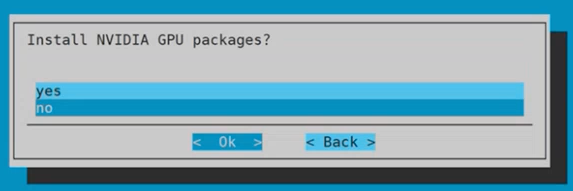
Choose no for Install NVIDIA GPU packages? and then select Ok.
Note
The required packages are already included in the DGX OS 7 image.
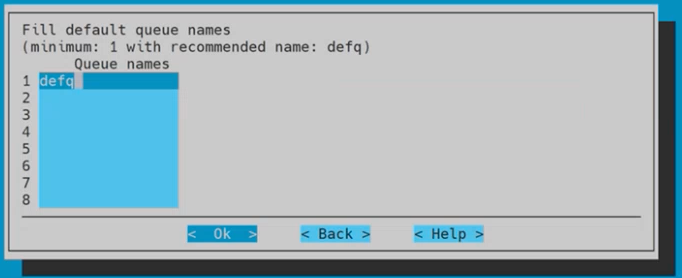
Use the default queue name of defq and then select Ok.
If different queues are requested, define them here or in the configurationoverlay within cmsh later where racks or sets of nodes can be assigned to different queues.
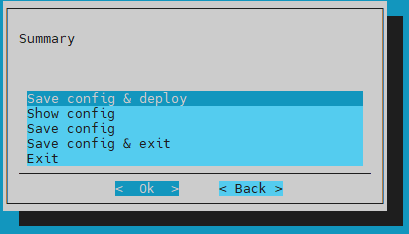
Choose Save config & deploy on the Summary screen and then select Ok.
The IMEX must be setup for proper inter-GPU memory sharing across all nodes within an NVLink domain.
Global IMEX will configure and populate all IMEX peers in the /etc/nvidia-imex/nodes_config.cfg file with their management interface IP address (typically bond0). This setting is used to run validation testing during initial cluster bring-up:
# global (default)
categoryservicesdgx-gb200(orwhateverthecomputenodecategorynameis)
addnvidia-imex
setautostartyes
setmonitoredyes
setmanagedyes
commit
The final settings should resemble the following (with the global IMEX configuration):
The workload IMEX configuration is for after customer handoff, where the IMEX configuration will be done per Slurm job. All nodes in the job are added to a job specific IMEX domain. In this case be sure to only make changes to the configuration overlay.
If the cluster was previously set to do global IMEX, be sure to undo the changes to the services within the GB200 category as shown below:
If a node is in a drain state, then either it was taken down due to a node failure or it was put into the drain state on purpose to pull it out of the queue of available nodes to perform work, maintenance, and/or debug tasks.
You can use the following steps to troubleshoot a node in a drain state:
Use scontrolshownodes<nodeindrain> to find the reason why the node is drained.
If the administrator what to put a node in drain state scontrolupdatenodename=<nodename>state=drainreason="maintenance".
When fixed add it back to the idle queue with scontrolupdatenodename=<nodename>state=resume.
If the nodes are showing invalid, it means that the configuration of the node does not match what it expects. This is commonly due to an incorrect GPU count/missing GPU(s).
You can use the following steps to troubleshoot a node in an invalid state:
If it shows Reason=gres/gpucountreportedlowerthanconfigured(0<8), this means Slurm is expecting 8 GPUs and sees zero.
This sometimes indicates that the autodetection of GPUs failed for some reason.
A reason this could fail is if the cuda-dcgm package is missing in the DGX OS image:
If it shows Reason=gres/gpucountreportedlowerthanconfigured(7<8) then a GPU has failed due to perhaps GPU tray seating issues (this should not be an issue in GB200 generation)
If the slurmctld service logs (systemctlstatusslurmctld or journalctl-xeuslurmctld) or the slurmdbd service logs (systemctlstatusslurmdbd or journalctl-xeuslurmdbd) are indicating that a connection is being refused, the mySQL password may need to be reset:
root@bcm11-head-01:~#systemctlstatusslurmctld.service
●slurmctld.service-Slurmcontrollerdaemon
Loaded:loaded(/usr/lib/systemd/system/slurmctld.service;enabled;preset:enabled)Drop-In:/etc/systemd/system/slurmctld.service.d
└─99-cmd.conf
Active:active(running)sinceMon2025-06-0218:49:14PDT;1min8sago
MainPID:344308(slurmctld)Tasks:83Memory:33.9M(peak:55.6M)CPU:339ms
CGroup:/system.slice/slurmctld.service
├─344308/cm/local/apps/slurm/24.11/sbin/slurmctld--systemd
└─344374"slurmctld: slurmscriptd"
Jun0218:50:21bcm11-head-01slurmctld[344308]:slurmctld:error:SendingPersistInitmsg:Connectionrefused
Jun0218:50:21bcm11-head-01slurmctld[344308]:slurmctld:accounting_storage/slurmdbd:clusteracct_storage_p_register_ctld:Registeringslurmctldatport6817withslurmdbd
Jun0218:50:21bcm11-head-01slurmctld[344308]:slurmctld:error:SendingPersistInitmsg:Connectionrefused
Jun0218:50:21bcm11-head-01slurmctld[344308]:slurmctld:error:Stilldon't know my ClusterIDJun 02 18:50:23 bcm11-head-01 slurmctld[344308]: slurmctld: error: Retrying initial connection to slurmdbdJun 02 18:50:23 bcm11-head-01 slurmctld[344308]: slurmctld: error: _open_persist_conn: failed to open persistent connection to host:master:6819: Connection refusedJun 02 18:50:23 bcm11-head-01 slurmctld[344308]: slurmctld: error: Sending PersistInit msg: Connection refusedJun 02 18:50:23 bcm11-head-01 slurmctld[344308]: slurmctld: accounting_storage/slurmdbd: clusteracct_storage_p_register_ctld: Registering slurmctld at port 6817 with slurmdbdJun 02 18:50:23 bcm11-head-01 slurmctld[344308]: slurmctld: error: Sending PersistInit msg: Connection refusedJun 02 18:50:23 bcm11-head-01 slurmctld[344308]: slurmctld: error: Still don'tknowmyClusterID
root@bcm11-head-01:~#systemctlstatusslurmctld.service
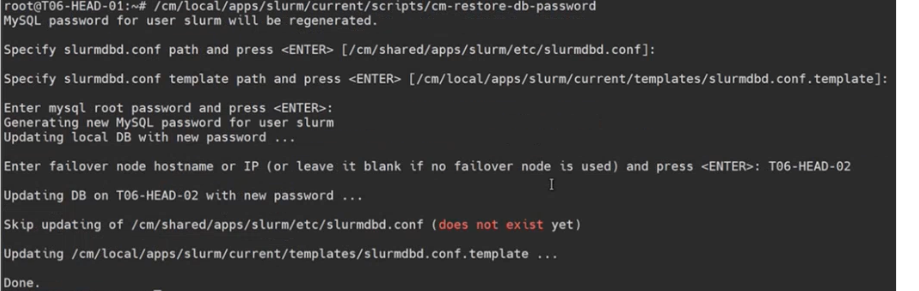
Set a new MySQL password of slurm_acct_db for user ‘slurm’@’g’ on the headnode using /cm/local/apps/slurm/current/scripts/cm-restore-db-password.
Specify the slurmdbd.conf path [/cm/shared/apps/slurm/etc/slurmdbd.conf].
Specify the slurmdbd.conf template path [/cm/local/apps/slurm/clurrent/templates/slurmdbd.conf.template].
Set the MySQL password to match the head node password.
If HA is configured, the utility will ask for the IP of the secondary head node. Leave blank if it is not.
Slurm Troubleshooting— Pyxis is Plug-in Unavailable on GB200 Software Image#
Sometimes if the software image for the GB200 compute trays was not assigned to the category when cm-wlm-setup is run, the Pyxis plug-in may be missing as indicated by the following output:
use the cm-chroot-sw-img tool to enter the gb200 software image to install pyxis-sources and then run the command to compile and install the Pyxis plugin for Slurm.
From the headnode OS prompt:
cm-chroot-sw-img/cm/images/<gb200swimg>
aptupdate
aptinstallpyxis-sources
# This command ensures the compilier can find the necessary Slurm header files for compilation and place it in the correct directory to be used by the Slurm daemon.CPATH=/cm/local/apps/slurm/current/include/cm/local/apps/slurm/current/scripts/install-pyxis.sh-d/cm/local/apps/slurm/current/lib64/slurm