Deployment Guide#
This guide is based on Windows Server 2025 and Hyper-V hypervisor infrastructure. NVIDIA AI vWS can be deployed on any NVIDIA vGPU-supported hypervisor and guest operating system. It’s assumed that all vWS requirements, including licensing, are fully configured.
Note
As of this writing, Microsoft Windows 11 combined with Windows Subsystem for Linux are only supported on Windows Server 2025 + Hyper-V.
Virtual Machine (VM) Configuration#
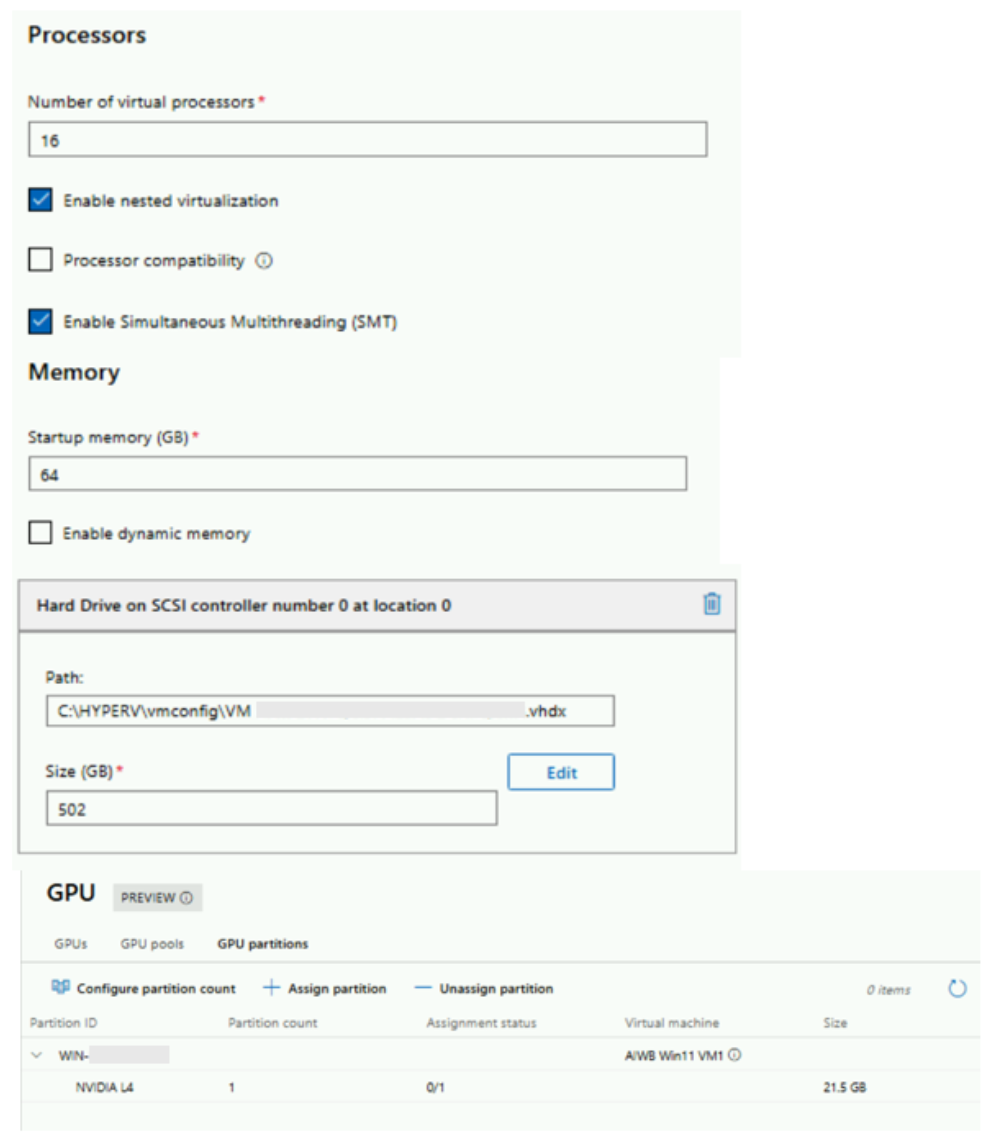
Configure a Windows 11 or Ubuntu Linux VM using Hyper-V or Windows Admin Center with the following configuration:
vCPU - 16 CPU
Memory - 64 GB
vGPU Profile / GPU-P - 24Q
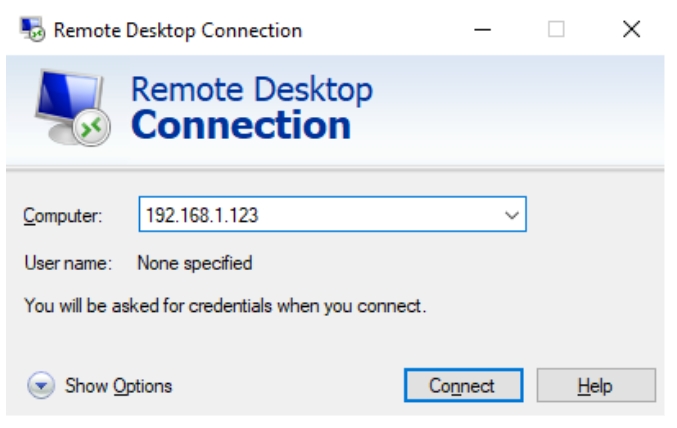
Connect to the VM Instance#
Using RDP or compatible virtual desktop infrastructure (VDI) protocol, connect to the Windows or Linux guest VM graphical desktop.
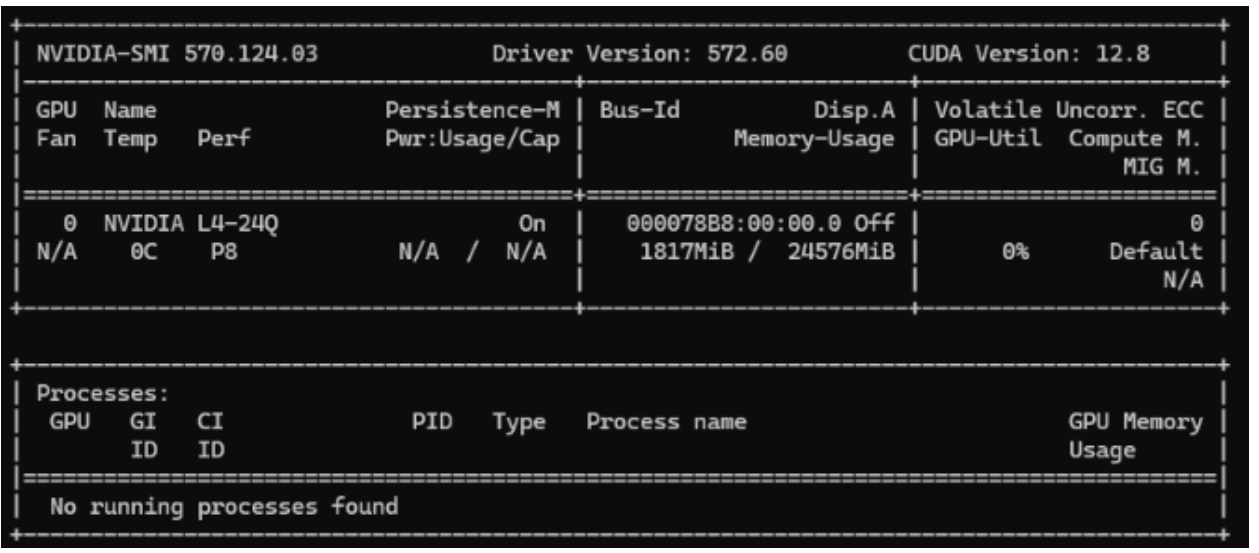
Verify NVIDIA Driver in the Windows Guest and vGPU License#
Using
nvidia-smiin a Windows command prompt or Linux console shell, verify the NVIDIA guest driver is operating properly.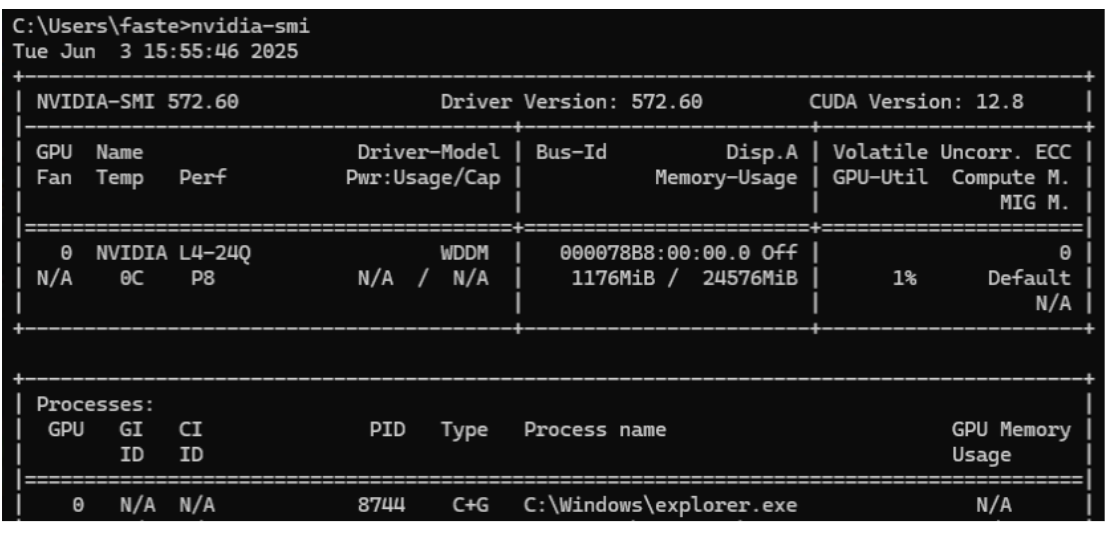
Using either a Windows command prompt or Linux console shell, verify the NVIDIA vGPU license is current and valid using
nvidia-smi -qand searching for License Status.
Install the NIM Prerequisite Installer (for Windows guests only)#
The NIM Prerequisite Installer requires Microsoft User Account Control (UAC) to be enabled. UAC is enabled by default for Windows, but if it has been disabled, it must be enabled to ensure successful installation of the NIM Prerequisite Installer. More information on Microsoft UAC can be found here.
Download the NIM Prerequisite Installer, extract the zip file and run the NIMSetup.exe file, and follow the instructions in the setup dialogs. This will install the necessary system components to work with NVIDIA NIMs on your system. See Getting Started — NVIDIA NIM on WSL2.
If the NIM Prerequisite Installer is not compatible with your environment, use the manual installation instructions as found here: Installing the NVIDIA Container Toolkit — NVIDIA Container Toolkit. Configure the toolkit to work with docker.
You will need to reboot your computer to complete the installation.
Verify nvidia-smi Operation Using Docker#
A proper installation of prerequisite NVIDIA vGPU software and NVIDIA AI Workbench also includes docker. This applies to both Windows and Linux guests.
Verify both the docker and NVIDIA guest driver operation using the docker nvidia-smi container.
For Windows guests, first start WSL using a command prompt.
wsl -u root -d NVIDIA-Workbench
For both Windows and Linux guests, run the nvidia-smi docker container. If this test fails, revisit the prerequisite section and verify the required components.
docker run --rm --runtime=nvidia --gpus all ubuntu nvidia-smi
Obtain NVIDIA Developer Program Membership and a Personal API Key#
Visit the NVIDIA Developer Program page, click Join and sign up for an NVIDIA account.
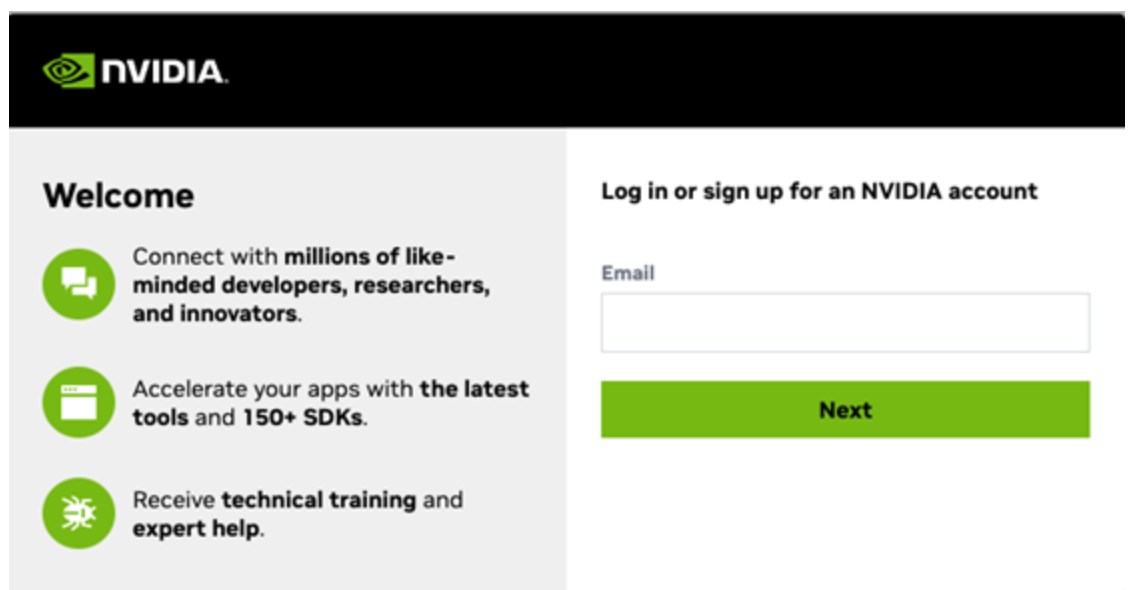
Use the NVIDIA Developer Program credential to log into NVIDIA NGC Catalog.

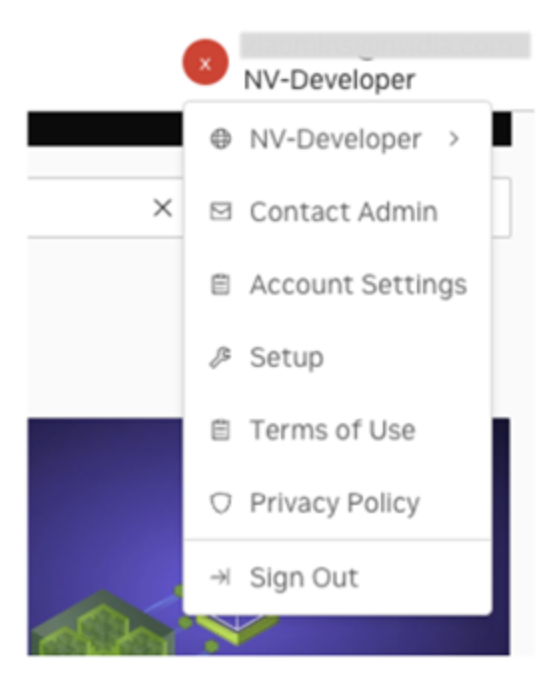
Click the account name at the top right. In the drop-down menu, select Setup.
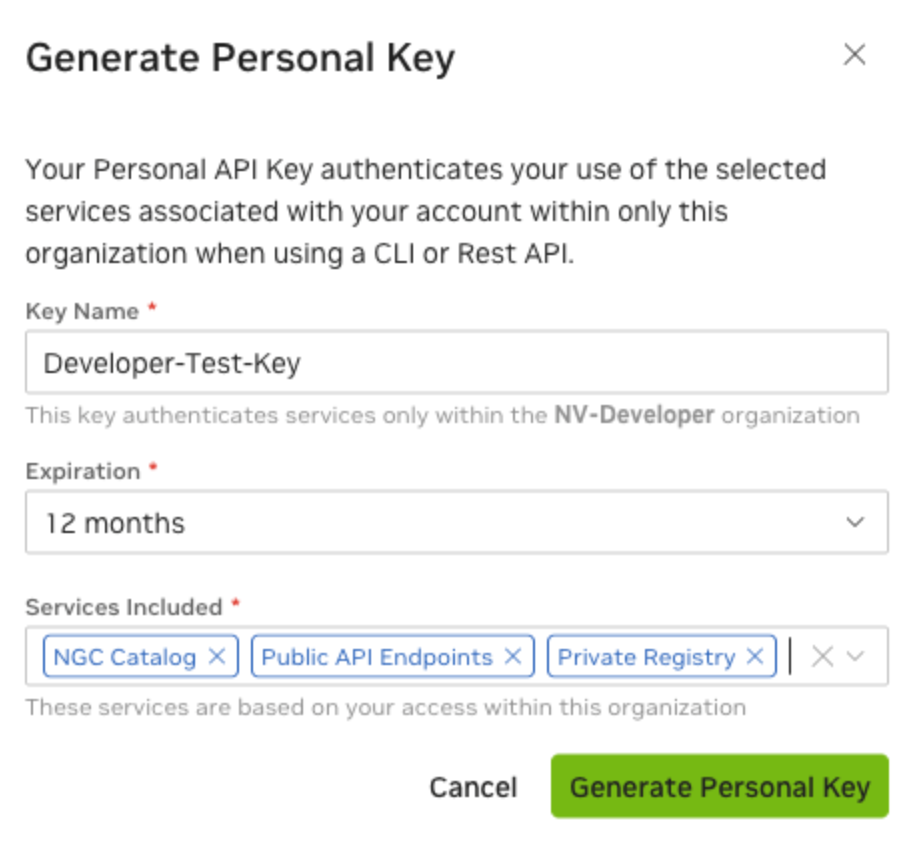
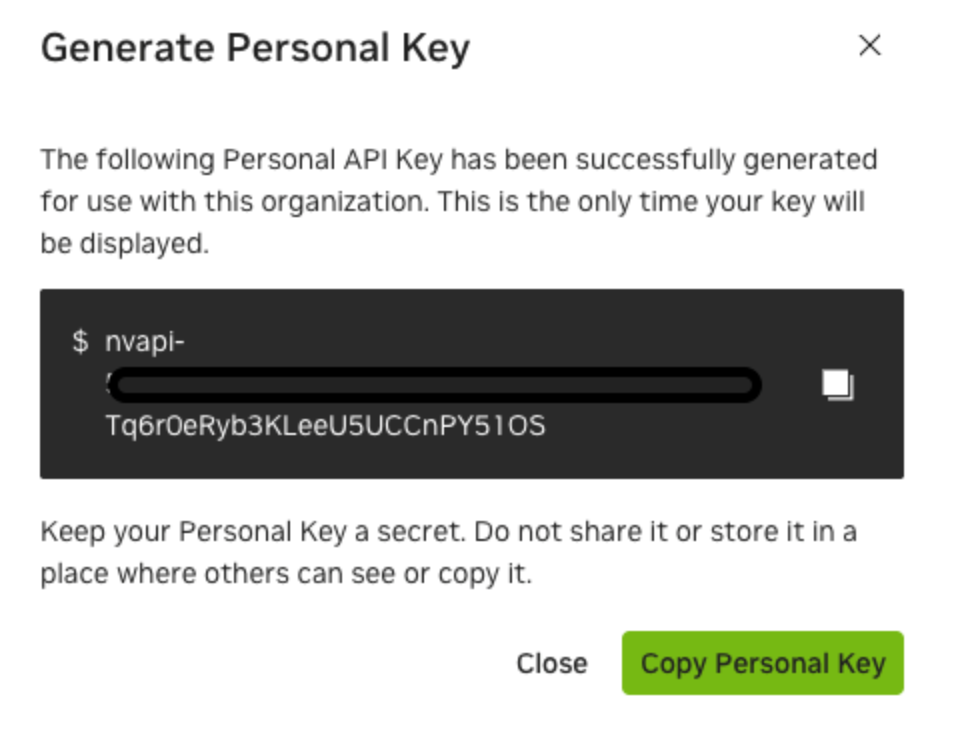
Click on Generate API Key then click on + Generate Personal Key
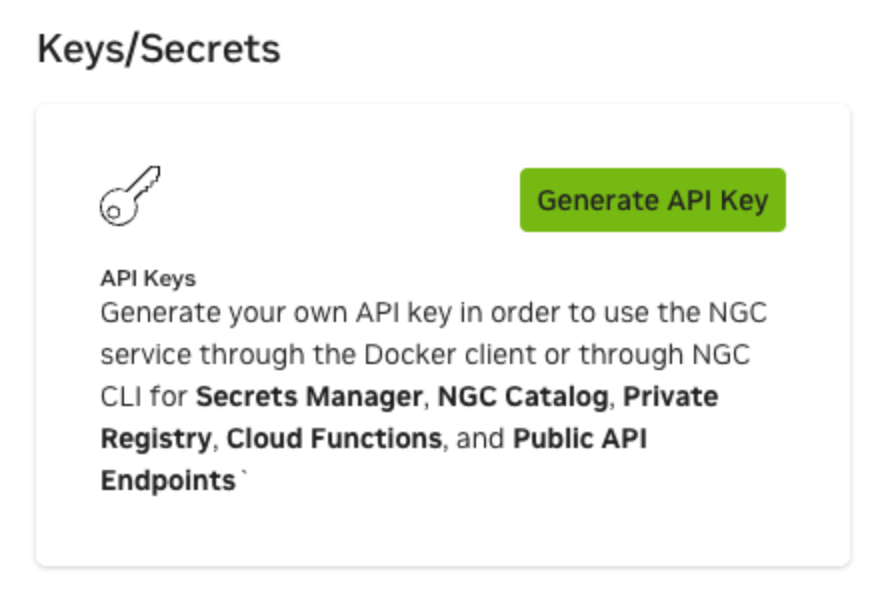
Enter the key name and expiration. Under Services Included, make sure NGC Catalog is selected.
Launch NVIDIA AI Workbench#
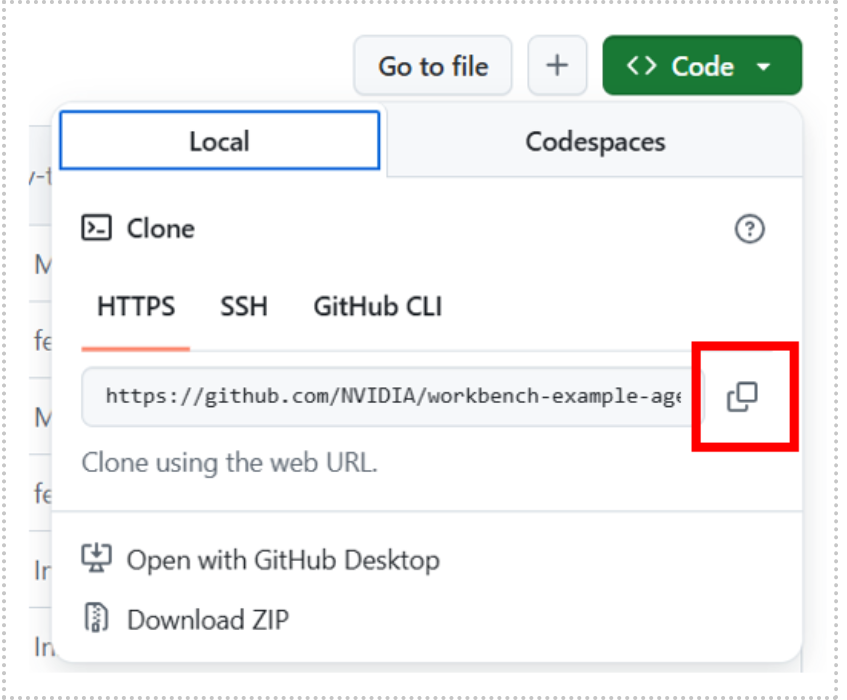
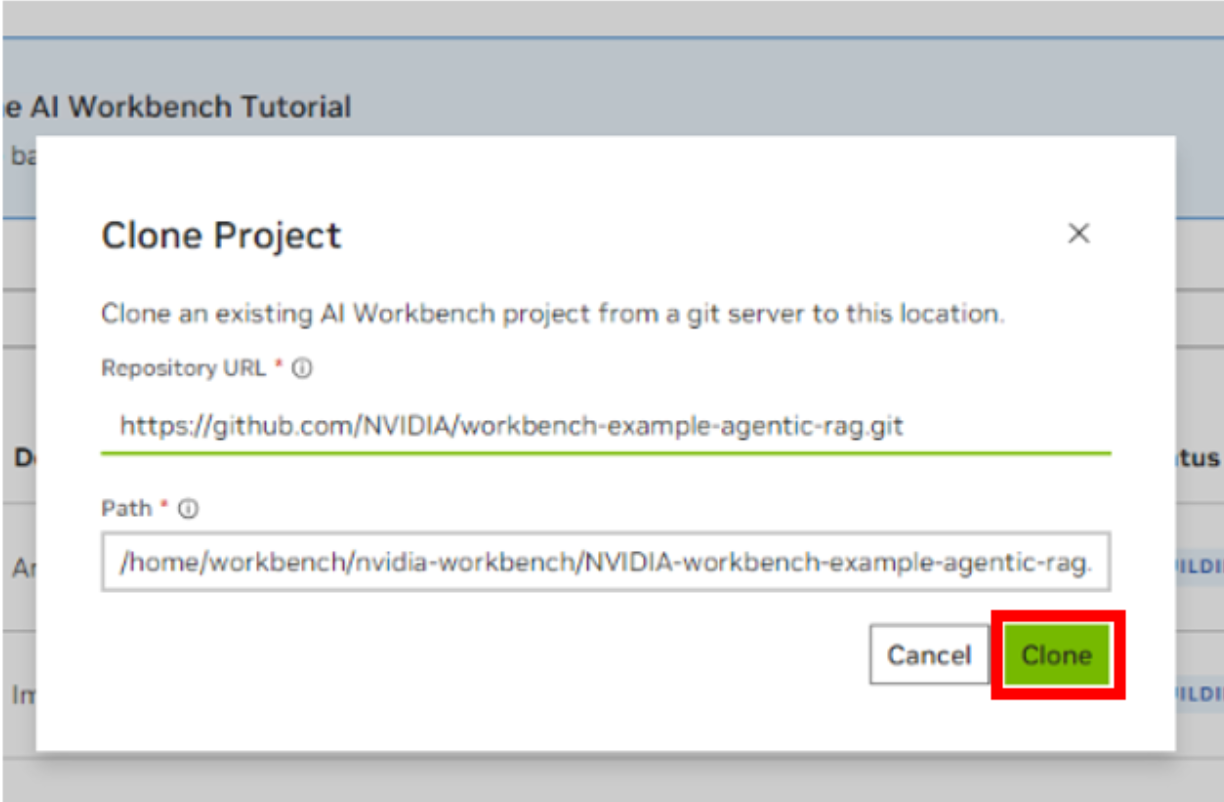
Launch NVIDIA AI Workbench and clone the Agentic AI Workbench Project from GitHub. Use the local profile when opening AI Workbench, unless your configuration is using a remote resource, a configuration not covered in this document. In AI Workbench, select Clone Project, then enter the repository URL to start the cloning process.
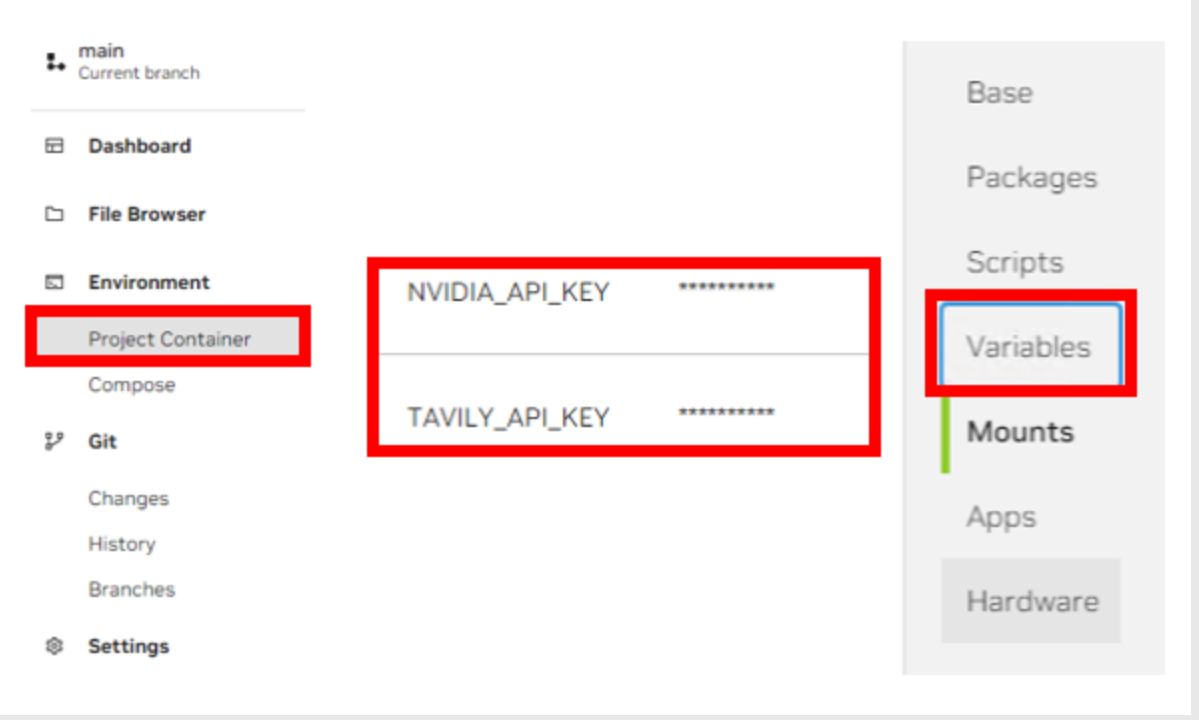
Enter the Tavily and NVIDIA API Keys as required in the project. The AI Workbench Project implementation may warn if these keys are missing. These keys will enable the API endpoint operation of this workflow.
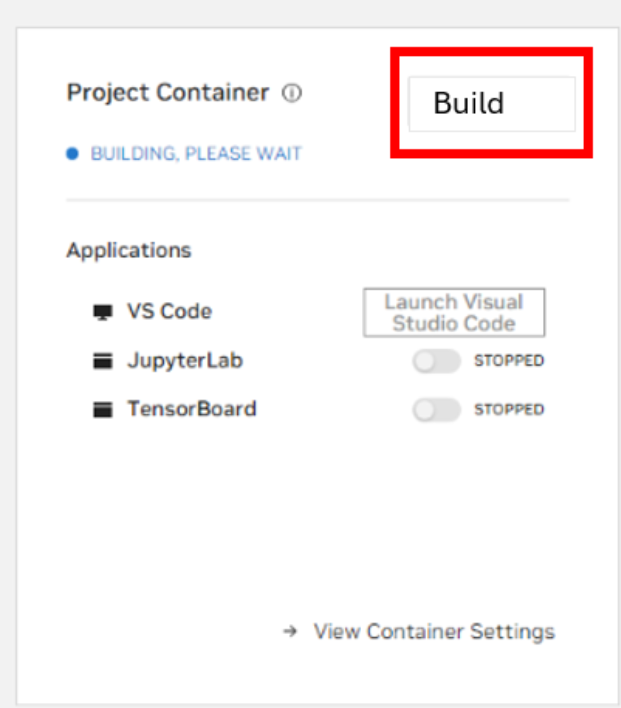
Navigate to the AI Workbench Dashboard and Build the project container.
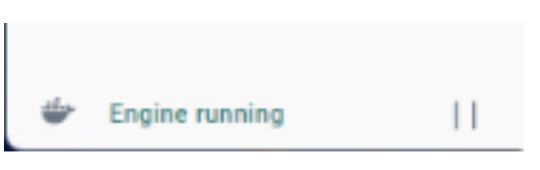
For Windows guests, verify the Docker Desktop Engine is running by opening the Docker Desktop UI and checking the lower left corner of the application window. Start the engine if necessary. Docker Desktop can be configured for various operating modes.
Create a NIM Startup Script#
For Windows guests, start a WSL shell. The WSL command is shown below. For Linux guests, open a console shell.
wsl -u root -d NVIDIA-Workbench
Create a new file named
start_ds.shand adjust the permissions of the file as appropriate, using the commands below.touch start_ds.sh chmod ugo+rwx start_ds.sh
Copy the script text below into the
start_ds.shfile using your favorite editor (i.e. nano, vim). Adjust the script to include your personal NGC API Key. Save the new script when complete.nano start_ds.sh#!/bin/bash # Set the local NIM cache directory export LOCAL_NIM_CACHE=~/.cache/nim # Check if the NVIDIA cache directory exists if [ ! -d "$LOCAL_NIM_CACHE" ]; then # Create the NVIDIA cache directory sudo mkdir -p $LOCAL_NIM_CACHE echo "Created NVIDIA cache directory at $LOCAL_NIM_CACHE" else echo "NVIDIA cache directory already exists at $LOCAL_NIM_CACHE" fi # Set permissions on LOCAL_NIM_CACHE chmod -R a+rw "$LOCAL_NIM_CACHE" # Set the NGC API KEY export NGC_API_KEY='<your NVIDIA NGC API Key goes here>' # Log into docker/NGC docker login -u '$oauthtoken' --password-stdin nvcr.io <<< $NGC_API_KEY # Run the Docker container with the specified parameters docker run -it --rm \ --gpus all \ --shm-size=16GB \ -e NGC_API_KEY \ -v "$LOCAL_NIM_CACHE:/opt/nim/.cache" \ -u $(id -u) \ -p 8000:8000 \ nvcr.io/nim/deepseek-ai/deepseek-r1-distill-llama-8b:1.5.2 # Test if the nim is running docker ps
Start the Local NIM#
Run the script as created in the previous section. The NIM will download and start. Depending on system resources, this process may take 15-30 minutes.
./start_ds.sh
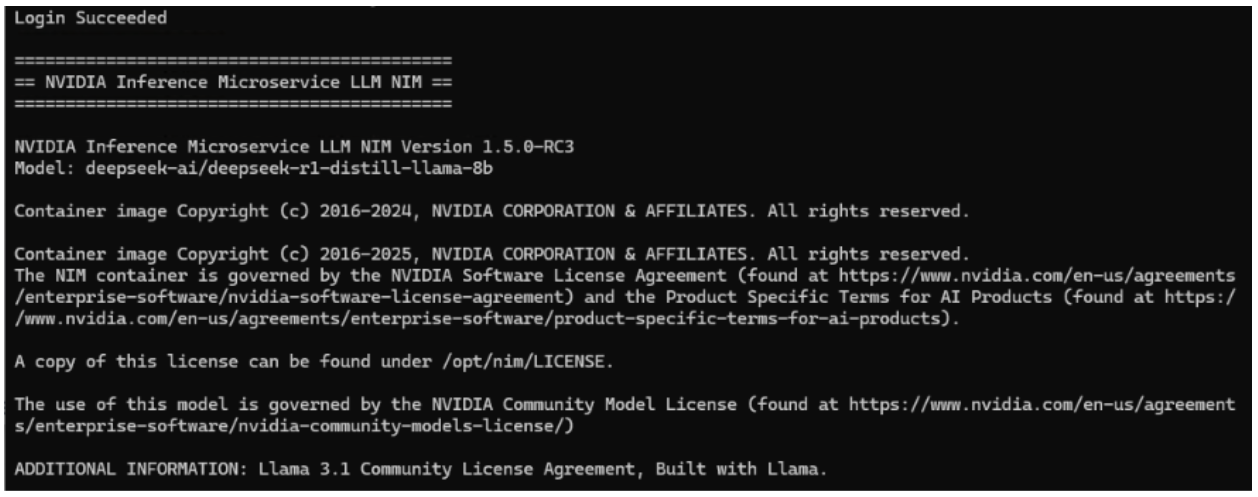
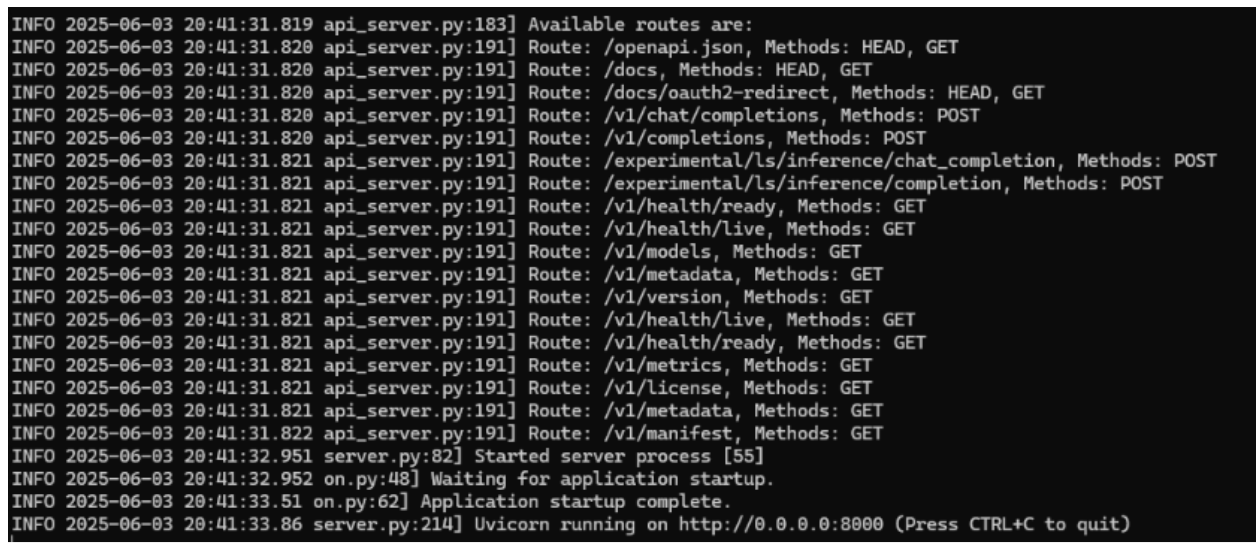
The NIM will be fully running when noted in the WSL or Linux console shell as shown below. Note the Application startup complete in this output.
Test the Local NIM#
For Windows guests, start another WSL shell if required. For Linux guests, open a console shell. The WSL command is shown below.
wsl -u root -d NVIDIA-Workbench
Check the status of the running NIM container.
docker ps
Create a new test script file named test_ds.sh.
touch test_ds.sh
chmod ugo+rwx test_ds.sh
Copy the script text below into the test_ds.sh file using your favorite editor (i.e. nano, vim). Adjust
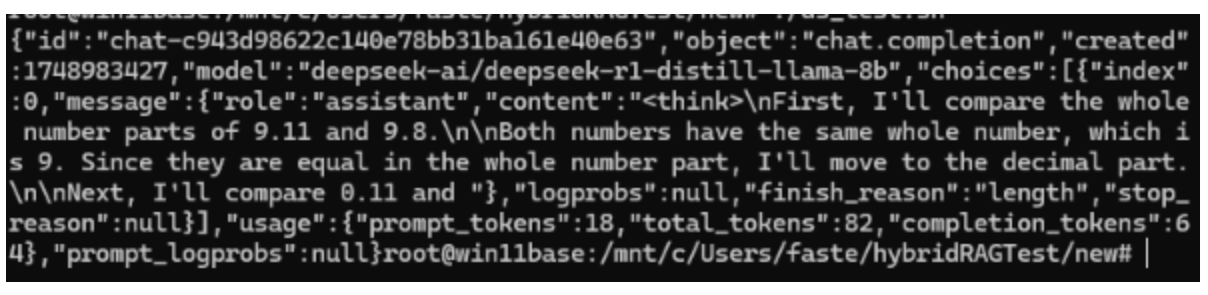
max_tokensto 384 to provide more model response as required.nano test_ds.shcurl -X 'POST' \ 'http://0.0.0.0:8000/v1/chat/completions' \ -H 'accept: application/json' \ -H 'Content-Type: application/json' \ -d '{ "model": "deepseek-ai/deepseek-r1-distill-llama-8b", "messages": [{"role": "user", "content": "Which number is larger, 9.11 or 9.8?"}], "max_tokens": 64 }'
Run the NIM test script. Note the model response, in the terminal window of the running NIM/model, to the question prompt as presented in the script directly above. Adjust the test script as required for other experimentation by adjusting token length and content.
./test_ds.sh
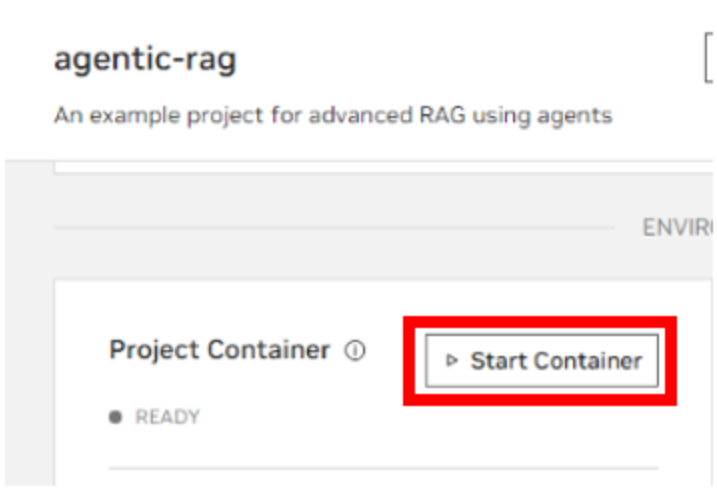
Start the Agentic RAG Project Container in AI Workbench#
Start the project Container.
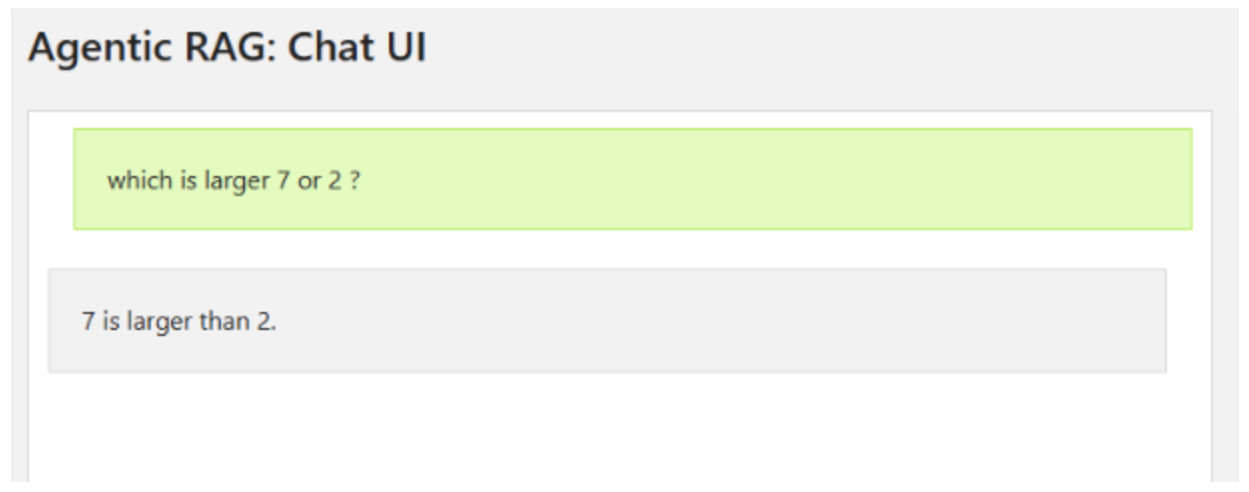
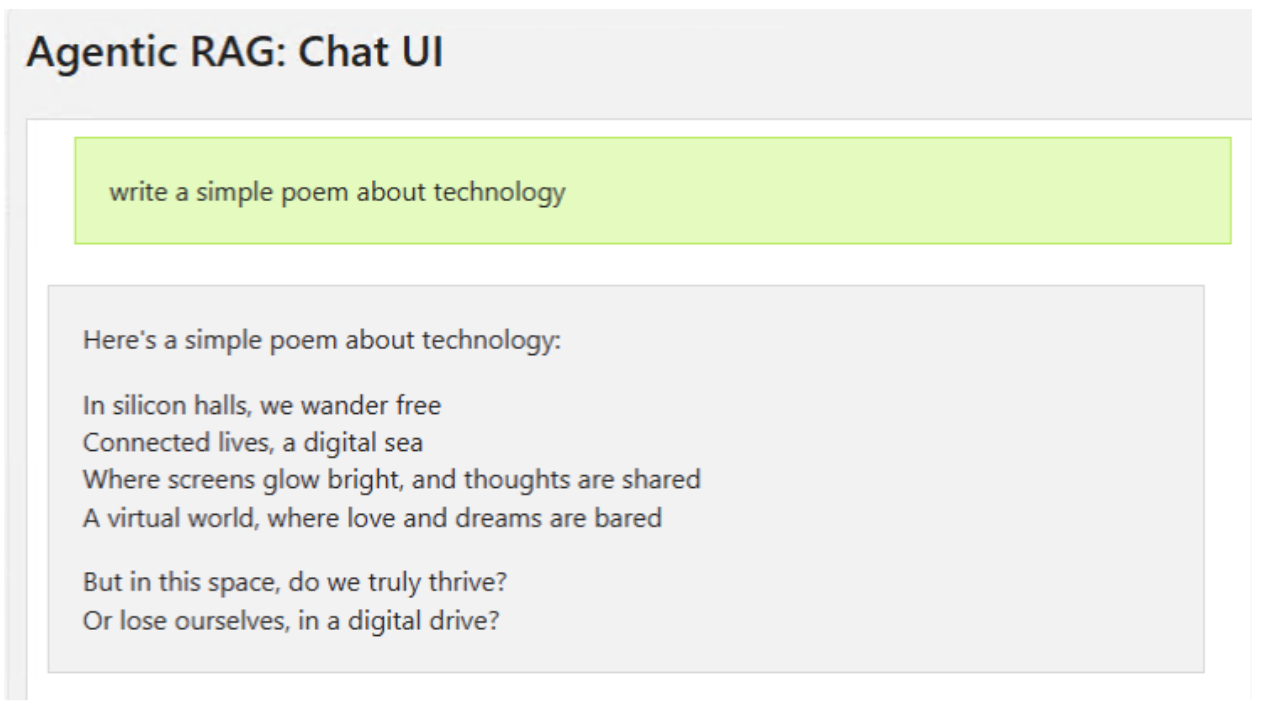
Open the Chat. A web browser will open the user interface (UI) application.
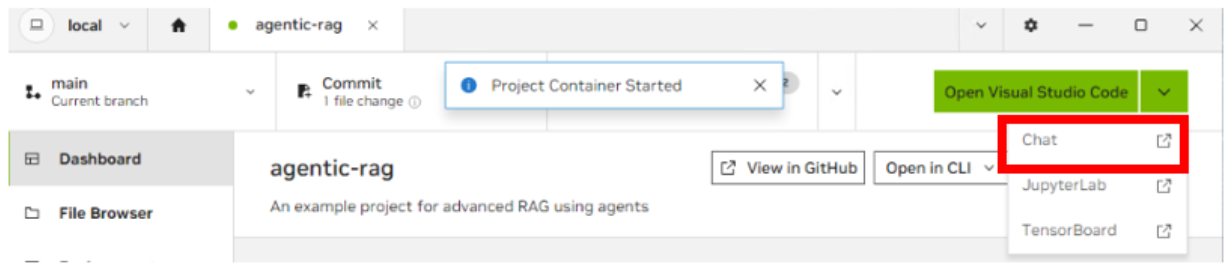
Submit a simple prompt to test the API Endpoint operation.
Verify the project containers are running.
For Windows guests, use the Docker Desktop UI to verify the AI Workbench proxy, DeepSeek NIM, and agentic-rag containers are available and running. Docker Desktop is shown below.
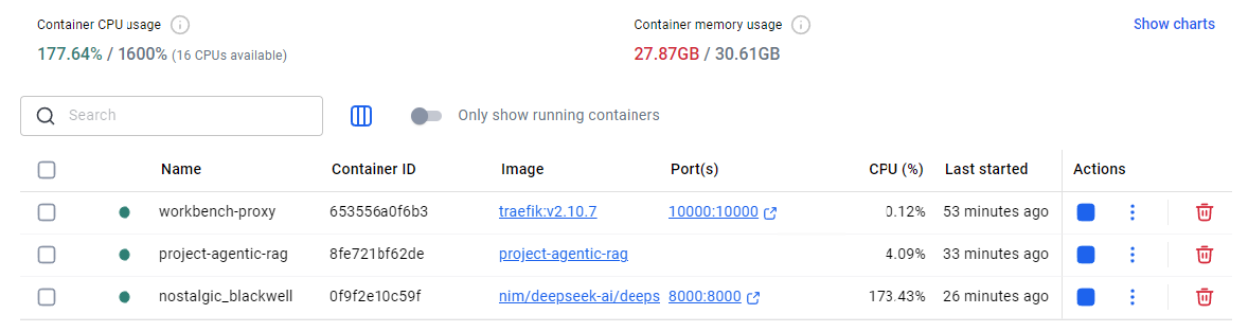
For Linux guests, use the
docker pscommand to verify the DeepSeek NIM is running.
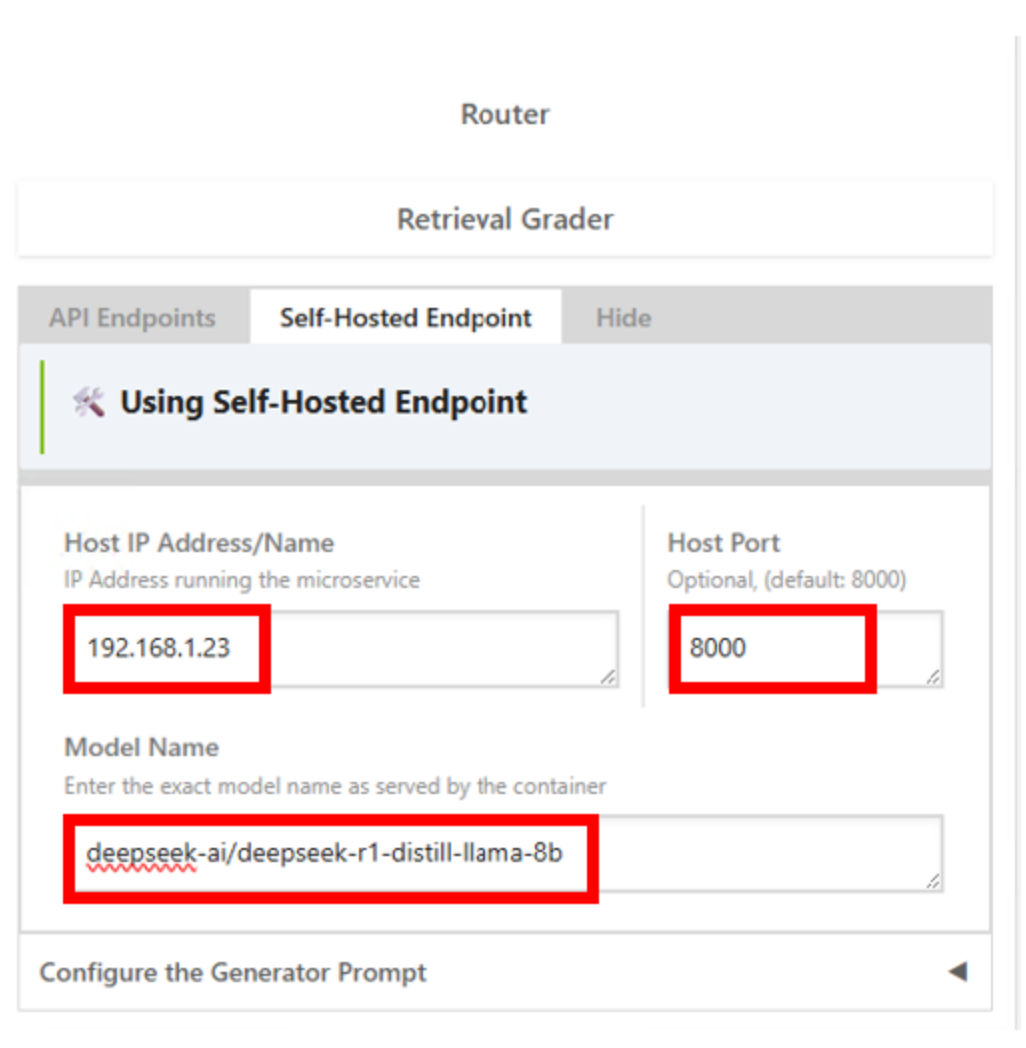
Adjust the AI Workbench Project to Query the Local NIM#
Adjust the Self-Hosted Endpoint configuration to query the local NIM by entering the local IP address of the local instance, port, and model name. Choose the Generator option as a first experiment. In this example, the local NIM is running in the same VM as the running instance of AI Workbench. Therefore, the IP address of the VM is used to access the local microservice and port.
Submit another prompt to exercise the local NIM.
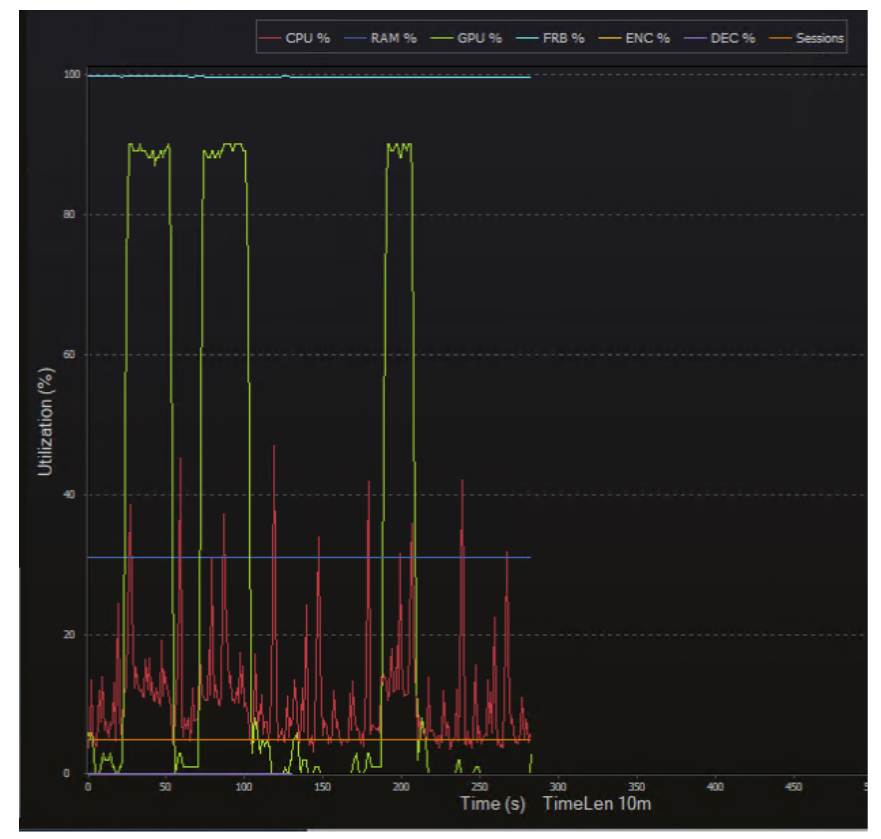
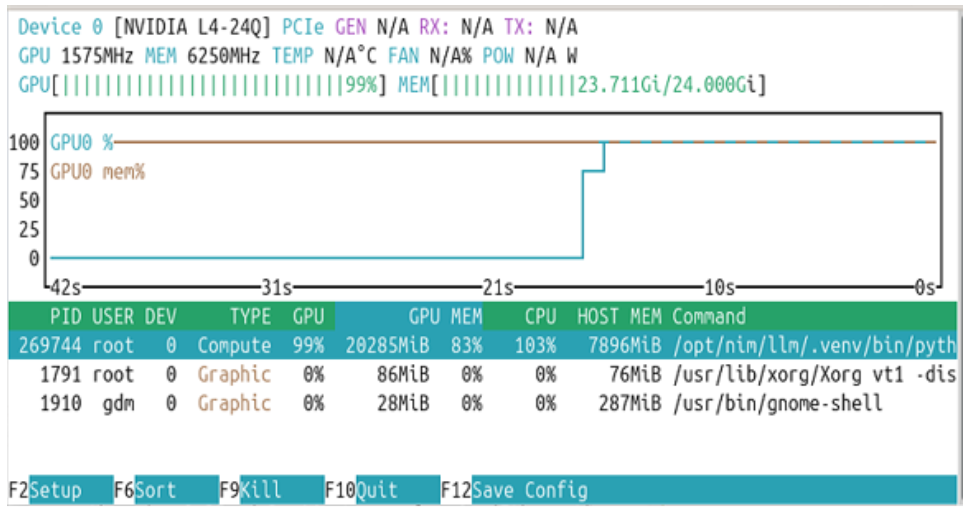
For Windows guests, activate a monitoring tool such as GPUProfiler, to track GPU activity spanning several prompts. Consider other monitoring tools for Ubuntu in WSL or native Linux to view GPU and system utilization as prompts are processed in the Chat user interface. For Linux guests, nvtop provides fundamental graphics and compute utilization statistics and a graph.

Adding Context for RAG#
A fundamental aspect of this Toolkit is Retrieval Augmented Generation (RAG). To exercise this capability, web page reference links or documents are added for additional context embedding. The Actions Console in AI Workbench monitors the agentic operations during a prompt response. The Response Trace monitor shows the response trail from the models.
Add context to the RAG workflow for consideration in prompt response generation.
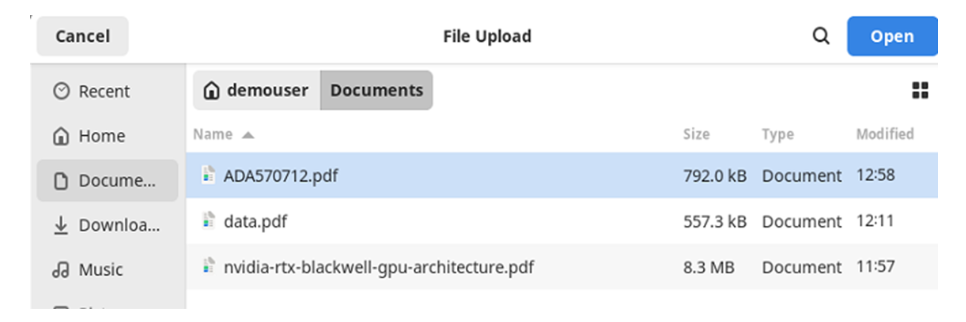
Navigate to the Chat UI->Documents->Files section. Upload documents for additional context consideration.
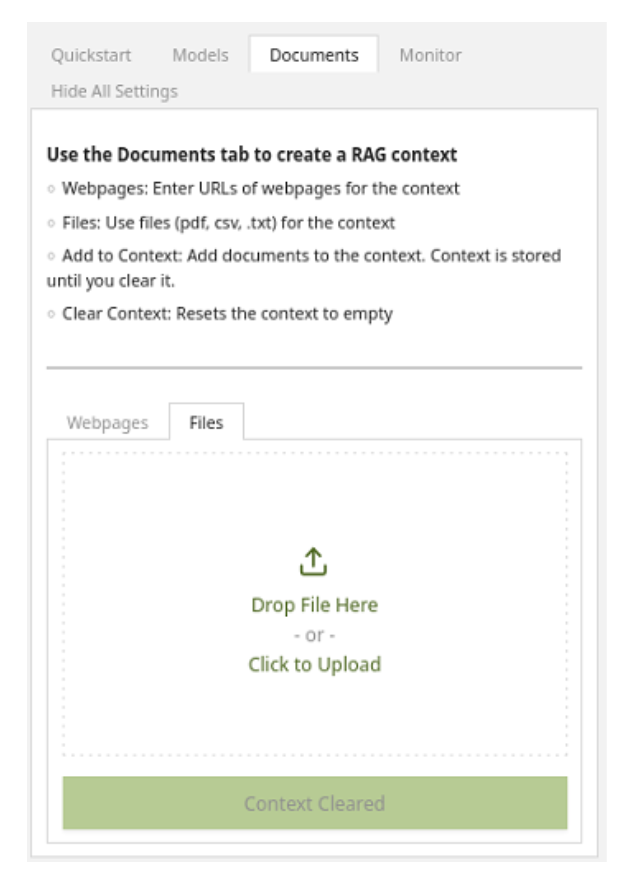
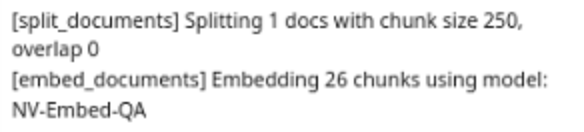
Navigate to the Chat UI->Documents->Monitor->Actions Console and note the document embedding processing.
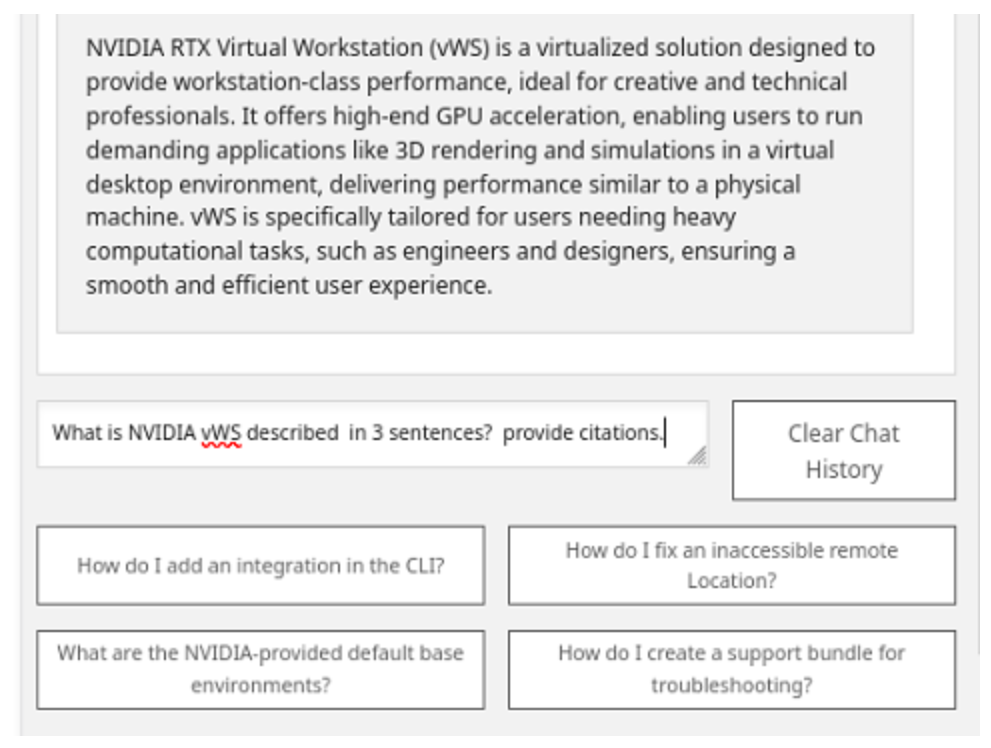
Enter a prompt specific to the additional context provided and verify the results. Observe both the Actions Console and Response Trace monitors.
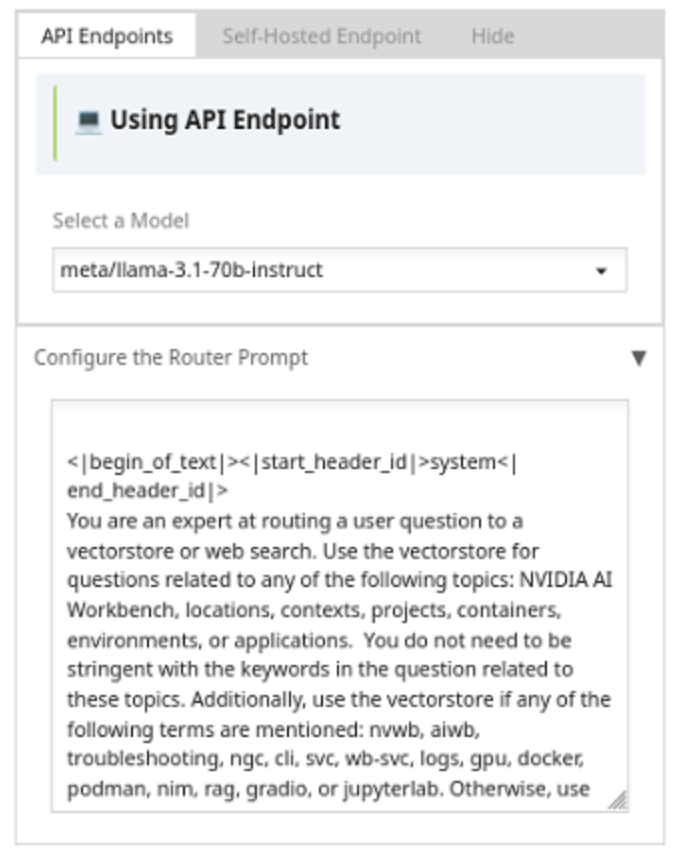
It may be necessary to adjust the Router or other Agent prompts, so workflow components will respond appropriately for the given task or use case.
Navigate to the Chat UI->Models panel and select an API or Self-Hosted Endpoint, depending on the workflow configuration, and then choose an agent configuration. In this example, the Router Prompt configuration is shown below, which can be adjusted to respond appropriately given web search, vectorstore, file type, etc. See the other agent configuration options and their respective configuration panels.