NVIDIA DGX platform incorporates the best of NVIDIA software, infrastructure, and expertise for a modern, unified AI platform spanning clouds and on-premises.

NVIDIA Mission Control is an integrated AI factory management platform designed to simplify operations, reduce downtime, and accelerate model development for enterprise AI infrastructure. It combines NVIDIA’s operational best practices and AI cluster automation into a single control plane.

NVIDIA Base Command Manager streamlines cluster provisioning, workload management, and infrastructure monitoring. It provides all the tools you need to deploy and manage an AI data center.

BaseOS provides a stable and fully qualified software stack for running AI, machine learning, and analytics applications. It includes platform-specific configurations, drivers, and diagnostic and monitoring tools. The software stack is available for Ubuntu, Red Hat Enterprise Linux, and Rocky Linux, and is integrated in DGX OS, a customized Ubuntu installation.
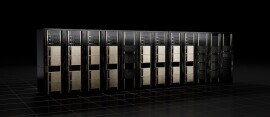
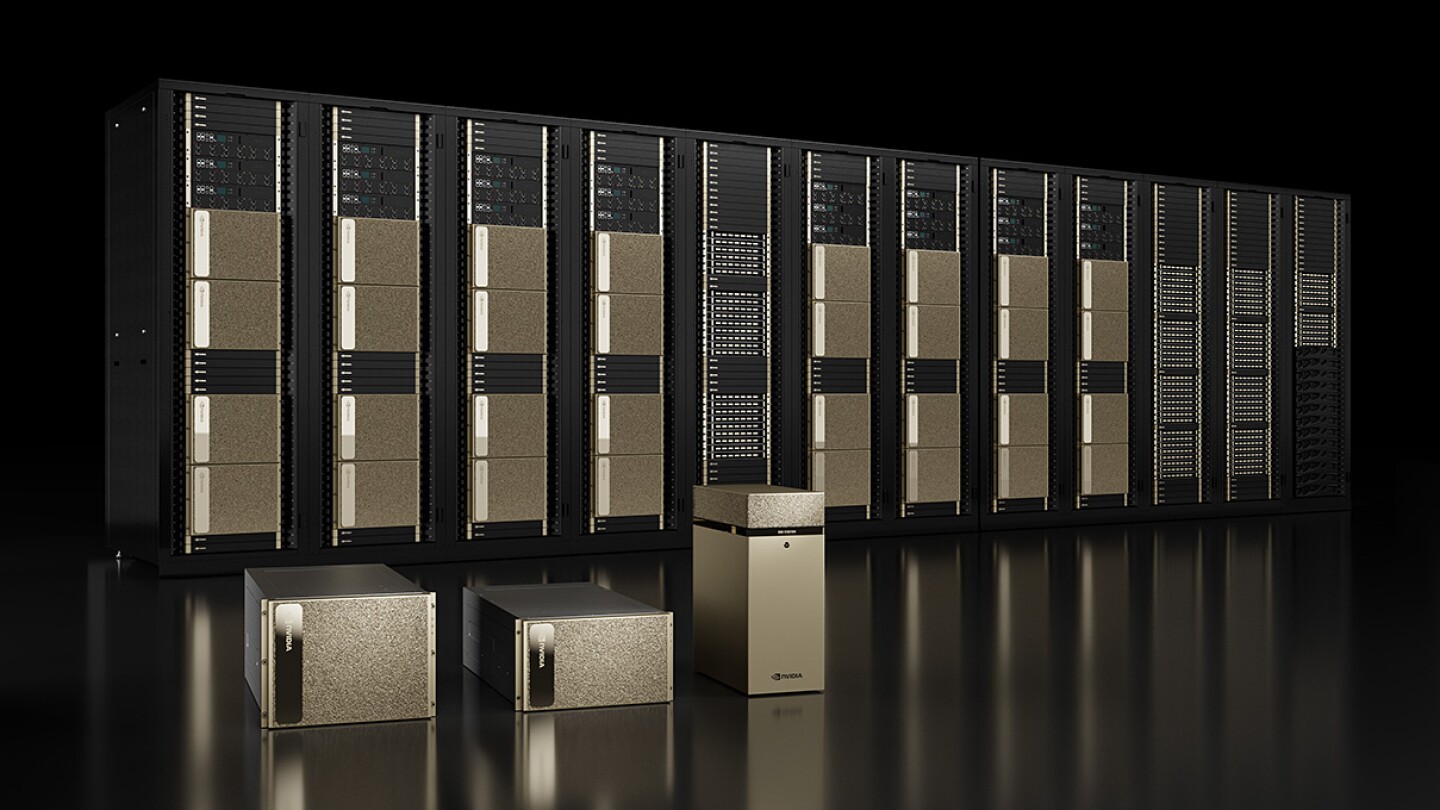
Deployment and management guides for NVIDIA DGX SuperPOD, an AI data center infrastructure platform that enables IT to deliver performance—without compromise—for every user and workload. DGX SuperPOD offers leadership-class accelerated infrastructure and agile, scalable performance for the most challenging AI and high-performance computing (HPC) workloads, with industry-proven results.

Deployment and management guides for DGX BasePOD, which provides a prescriptive AI infrastructure for enterprises, eliminating the design challenges, lengthy deployment cycle, and management complexity traditionally associated with scaling AI infrastructure.
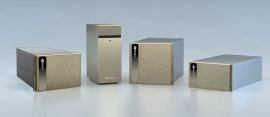
System documentation for the DGX AI supercomputers that deliver world-class performance for large generative AI and mainstream AI workloads.
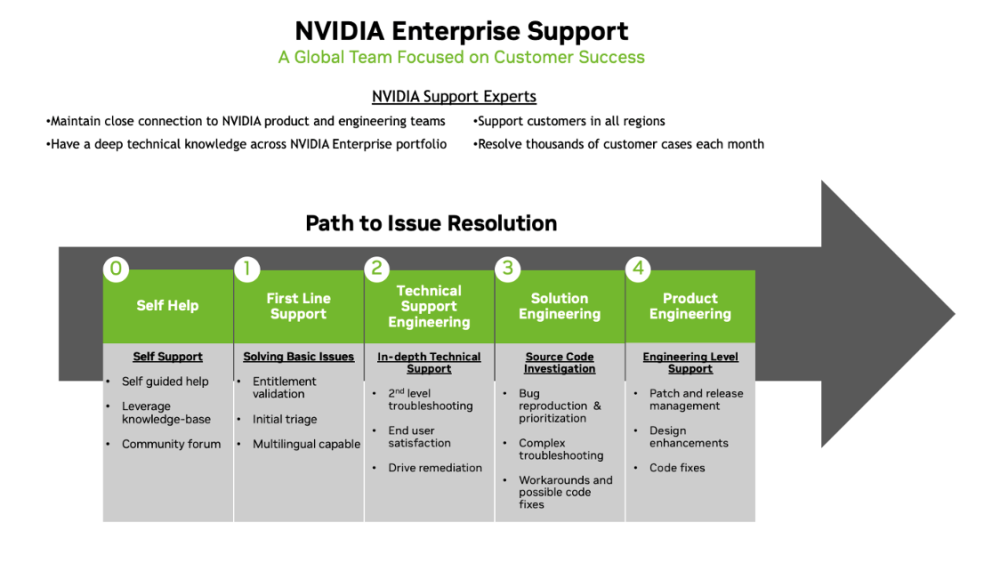
NVIDIA Enterprise Support and Services Guide provides information for using NVIDIA Enterprise Support and services. This document is intended for NVIDIA’s potential and existing enterprise customers. This User Guide is a non-binding document and should be utilized to obtain information for NVIDIA Enterprise branded support and services.
Accelarated Technologies
NVIDIA MAGNUM IO™ software development kit (SDK) enables developers to remove input/output (IO) bottlenecks in AI, high performance computing (HPC), data science, and visualization applications, reducing the end-to-end time of their workflows. Magnum IO covers all aspects of data movement between CPUs, GPUsns, DPUs, and storage subsystems in virtualized, containerized, and bare-metal environments.
NVIDIA NGC is the hub for GPU-optimized software for deep learning, machine learning, and HPC that provides containers, models, model scripts, and industry solutions so data scientists, developers and researchers can focus on building solutions and gathering insights faster.
NVIDIA Optimized Frameworks such as Kaldi, NVIDIA Optimized Deep Learning Framework (powered by Apache MXNet), NVCaffe, PyTorch, and TensorFlow (which includes DLProf and TF-TRT) offer flexibility with designing and training custom (DNNs for machine learning and AI applications.
Training documentation
This course is designed to help IT professionals successfully administer all aspects of a DGX
SuperPOD cluster including compute, storage, and networking.
This course provides an overview of DGX BasePOD components and related processes, including the NVIDIA DGX A100 System; InfiniBand and ethernet networks; tools for in-band and out-of-band
management; NGC; the basics of running workloads; and specific management tools and CLI
commands. This course includes instructions for managing vendor-specific storage per the
architecture of your specific POD solution.
This course provides an overview of the DGX A100 System and DGX A100 Stations' tools for inband and out-of-band management, the basics of running workloads, specific management tools
and CLI commands.
This course provides an overview of the Base Command Manager solution. For those that are going to be managing and working with HPC or AI clusters, this course will give you a head start on understanding a powerful tool for cluster and workload management.
On-site training or Instructor-led remote training sessions via NVIDIA Academy WebEx platform. Both methods include access to hands-on environment.
A special price for the AI Infrastructure and Operations Fundamentals Self-Paced course and NVIDIA-Certified Associate: AI Infrastructure and Operations Certification Exam.
This document provides additional information for installing and configuring OpenShift 4 on clusters incorporating DGX worker nodes. It should be seen as a companion document to the official Red Hat OpenShift documentation.