MONAI Toolkit on NVIDIA Base Command Platform (BCP)
NVIDIA Base Command™ Platform (BCP) is a comprehensive platform designed for businesses, data scientists, and IT teams to accelerate the return on investment (ROI) for AI initiatives. BCP manages the entire lifecycle of AI development, including workload management, resource sharing, and offers a graphical user interface and command line APIs with integrated monitoring and reporting dashboards. Offered as a cloud-hosted solution, BCP continuously delivers NVIDIA’s innovations directly into your AI workflow, and works seamlessly across on-prem and cloud resources, providing a unified view of your AI development process.
To utilize the NVIDIA Base Command Platform, you must have been granted access to the BCP platform and be a part of an organization or team with platform access. For information on inviting users, joining an NGC Org or Team, and signing in to your account, refer to the NVIDIA Base Command Platform Quickstart guide.
To launch a BCP instance of the MONAI Toolkit container, we will utilize the NGC CLI.
The NGC CLI (Command Line Interface) is a tool provided by NVIDIA for interacting with the NGC registry. It allows you to pull container images, models, and other resources from the NGC registry, and push your own resources to your private registry.
Follow Step #5 to install the NGC CLI and generate your NGC API keys as detailed here: https://docs.nvidia.com/base-command-platform/user-guide/index.html#intro-to-ngc-base-command-cli. During the setup, ensure you select the appropriate organization and team associated with your BCP instances.
You can now launch your MONAI Toolkit instance on either a single node or multiple nodes, depending on the specifications of your BCP compute options.
Logging into NGC
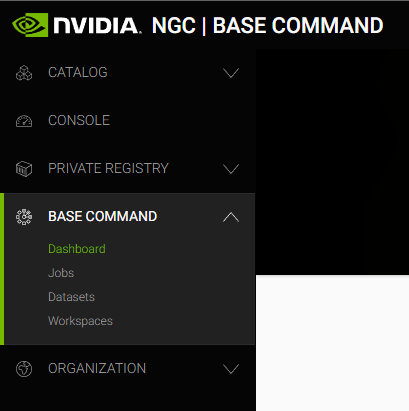
Login to NGC and select the team associated with your BCP access. Once logged in, you should see a Base Command menu on the left sidebar.
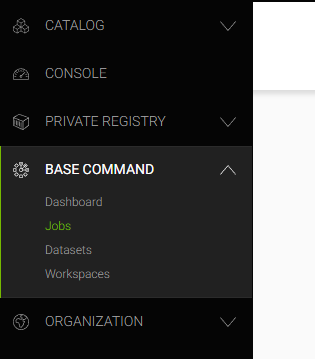
Accessing the Jobs Submenu
Click on the “Jobs” submenu:
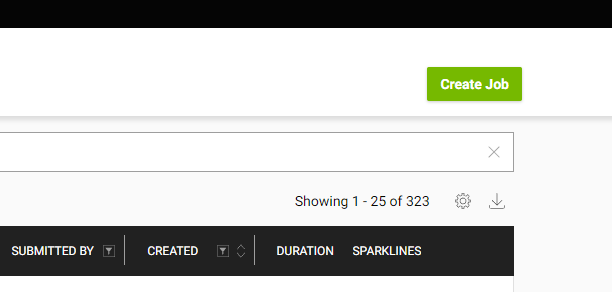
Creating a New Job
Next, you’ll want to click on the “Create Jobs” button at the top right.
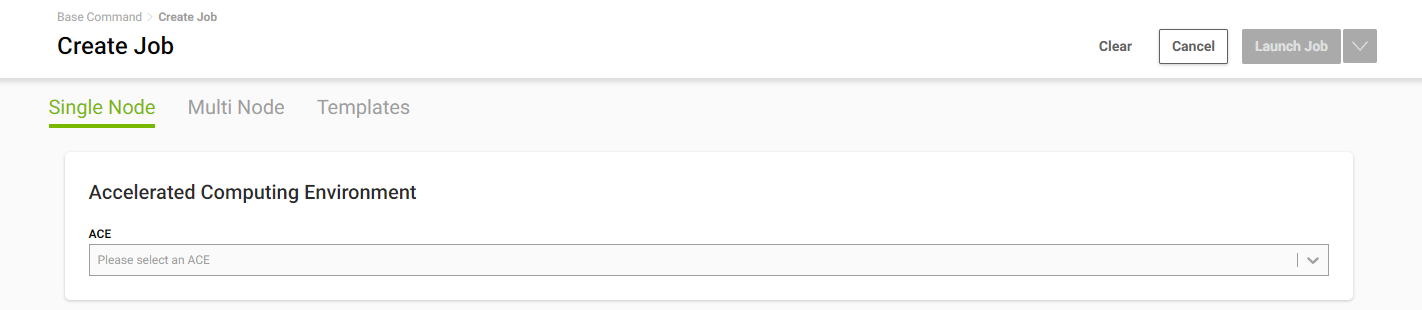
Setting Node Type and ACE
This is where you’ll select all the information needed to launch your job. We’ll review an example job, but fill out the information with the relevant data specific to your use case.
First, select “Single Node” or “Multi Node .”In this case, we’re going to use Single Node.
You’ll want to select the Accelerated Computing Environment (ACE) where you’ll be running your instance.
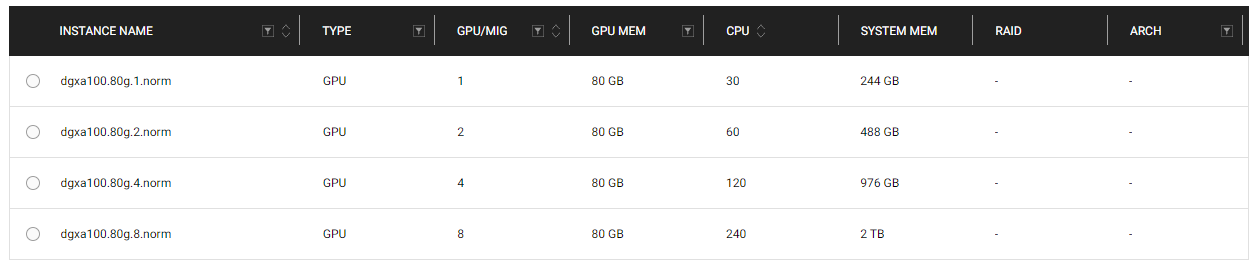
Choosing Compute Resources
Next step, select the compute you want for the node. If it’s your first time going through the MONAI Toolkit, a single node A100 should be sufficient for running most or all notebooks available.
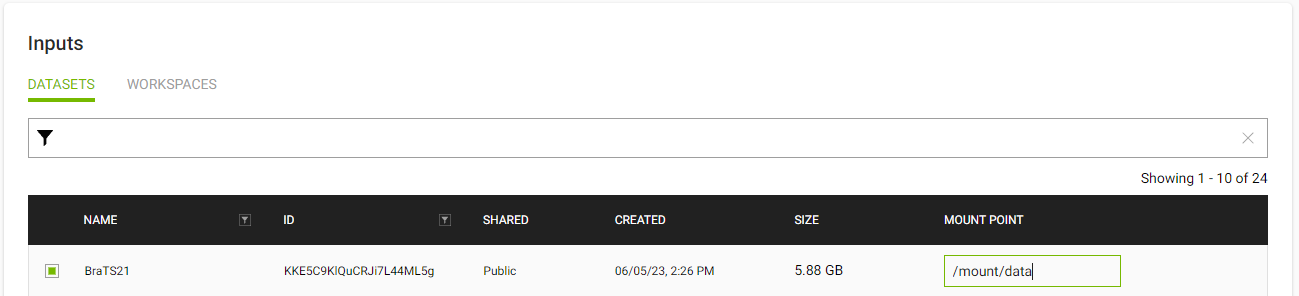
Selecting Datasets
After you’ve selected your node, you can choose any datasets you’ve previously uploaded. In this example, I’m picking the BraTS21 dataset and setting a mount point of /mount/data.
Setting Results Mountpoint
Next, you’ll want to set the results mountpoint. This will be used to write out any files, or in our case, a log file that we’ll review for information in a following step.

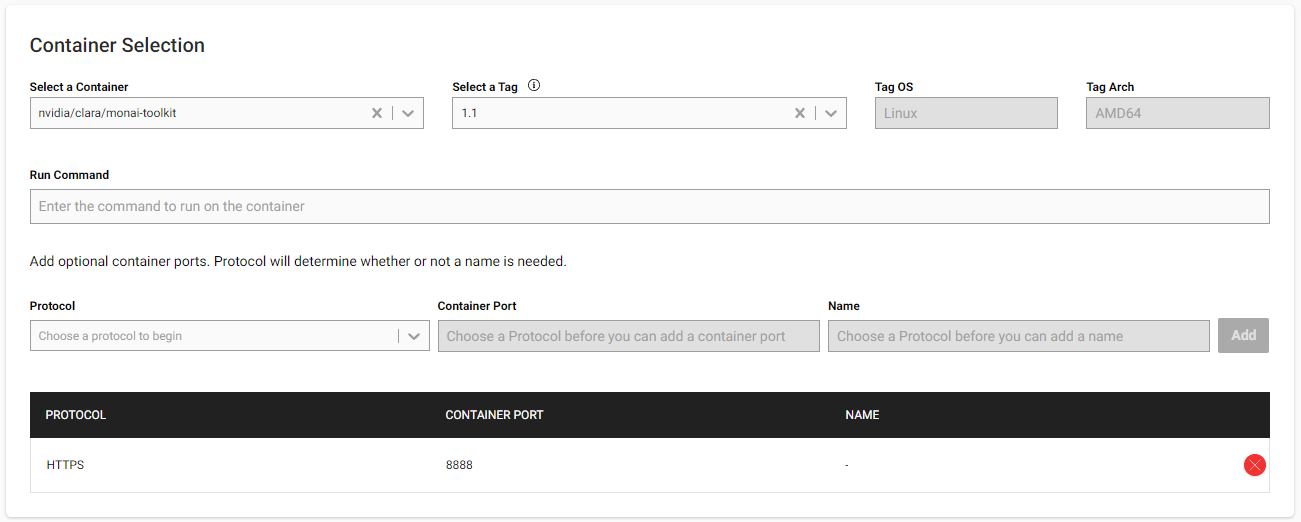
Choosing the Container and Exposing Ports
Next, you’ll want to select the Container. In this case, you’ll choose nvidia/clara/monai-toolki and use the latest tag available, in this case 1.1.
You’ll also want to expose the 8888 Port over HTTPS so that we can access the Jupyter Notebook instance.
Setting Job Priority and Order
Then, you’ll have the option to set a Job Priority and Order. Here, we’ll leave it at the default settings of Normal.

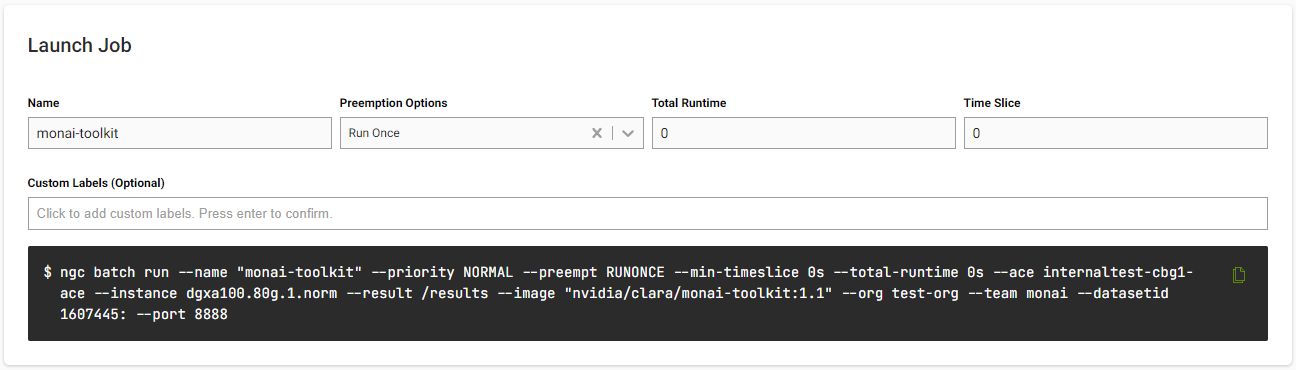
Naming Your Job
Next, it’s time to give your job a name. Use something that’s helpful to remind you what’s running on this instance. You’ll also see the ngc batch run command filled in with all of the fields from above. You can run this command on the CLI that you setup earlier and run the instance; however, we’re going to launch the instance using the UI.
Launching Your Job
Finally, you’ll be able to launch your job! At the top of the screen, you’ll find a green “Launch Job” button. Clicking this button will use all the settings you’ve entered in the form to launch an instance with those configurations.

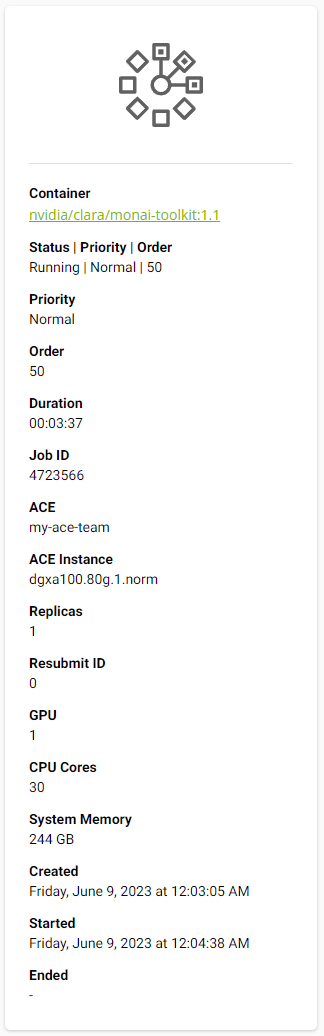
Job Overview
You should now see that your job is queued and can select it to see an overview. This page provides information on the available GPUs, CPU Cores, System Memory, and GPU Memory. You’ll also have a few other tabs to provide information on the instance(s) you started.

If you select the “Status History” tab, you’ll see your job is queued. Before we can access the server, we’ll need to wait until the job is in the “Running” status. This might take a few minutes while the server starts.

Once the server has started, our next step is to retrieve the external URL to access the Jupyter Notebooks.
Once the server has started, we’ll need to find the external URL for the server to access the Jupyter Lab instance.
Job Details
First, we’ll need the Job ID, which can be found in the left side of the overview tab. This ID is a unique identifier for the job you have created.
Finding the External URL
After copying the Job ID, open a command line that has access to the NGC CLI, which you should have previously set up. You’ll then use the ngc batch info <jobID> command to get information about your running container.
Under the “Job Container Information” section, you’ll find a Docker Image URL -> Container Port mapping that shows a unique URL. Copy this URL and paste it into a browser.
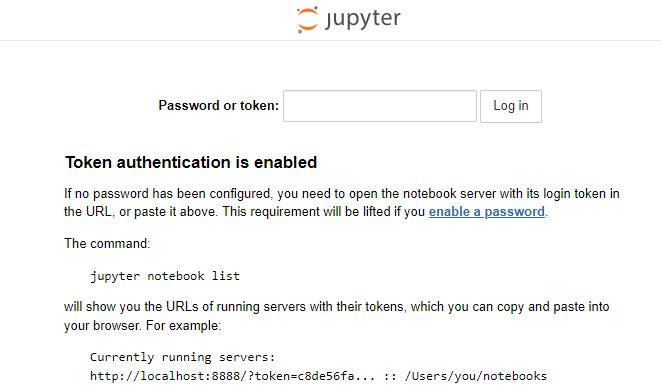
Now that you have access to the Jupyter Lab instance, you’ll need the Jupyter Lab token to access your notebooks.
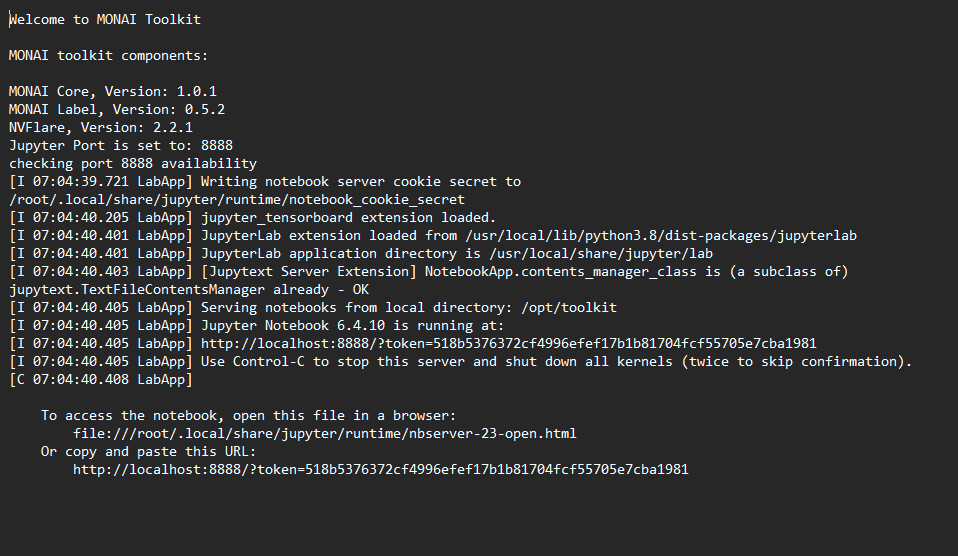
From the page with the job information about your instance, click on the “Results” tab. Here, you should see a file called joblog.log. Click on this file to see the startup output for the MONAI Toolkit container. You’ll find the token at the end of the Jupyter Lab start output. Copy everything after the token=<token> output. You’ll input this in the login screen of Jupyter Lab from the previous step.
You’ve now launched the MONAI Toolkit container and successfully logged into the Jupyter Lab instance. You should now be greeted with the MONAI Toolkit Landing page.
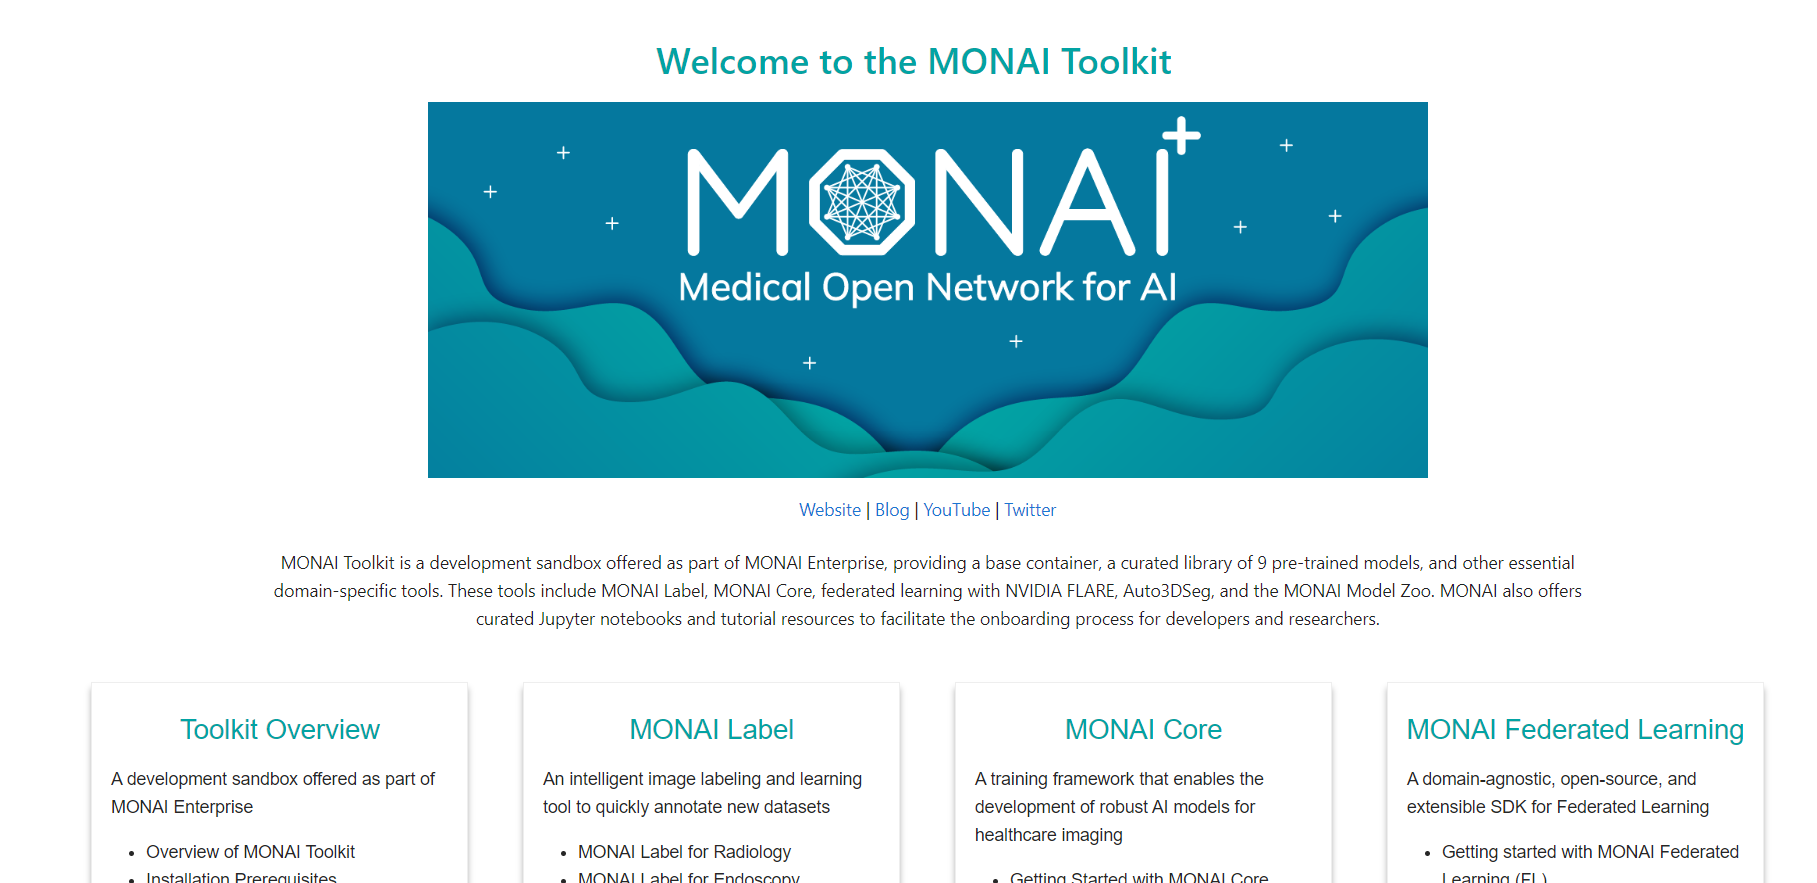
You can now begin your journey with the MONAI Toolkit and the guided experience within the Jupyter Lab instance.
When you’re done using the MONAI Toolkit instance, it’s important to remember to close the instance to free up resources. Here’s how you can do this:
Go back to the BCP dashboard and navigate to the Jobs tab.
Locate the job corresponding to your instance in the job list.
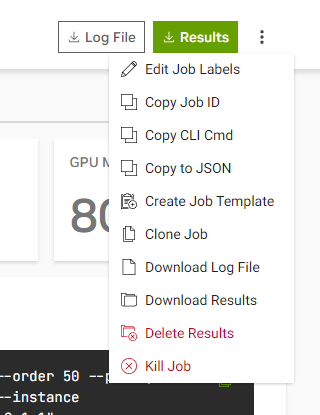
Click on the “…” button on the right side of the job entry and find “Kill Job”. This will terminate the job and release the resources it was using.
Remember, the NVIDIA support team is always there to help you with any issues or questions you might have while using the NVIDIA Base Command Platform and MONAI Toolkit.
Q: Can I use Multi Node instances with the MONAI Toolkit?
A: Yes, you can! The process is largely the same as what we’ve outlined in this guide, but instead of choosing “Single Node” during setup, you’d select “Multi Node”. This can be particularly useful when running more demanding workloads, like Auto3DSeg or Self-Supervised Learning.
Q: How can I open additional ports if I need to?
A: Just as you exposed port 8888 for Jupyter Lab during setup, you can expose any additional ports you need in the same way. Just add them to the list of exposed ports during setup.
Q: How do I upload my own data to use with the MONAI Toolkit?
A: You can upload your own datasets to NGC. To find additional information, read the “Managing Datasets” section on the Base Command Platform User Guide: https://docs.nvidia.com/base-command-platform/user-guide/index.html#managing-datasets.
Q: What should I do if my job is stuck in the “Queued” status?
A: Jobs can remain in the “Queued” status if there are insufficient resources available or if there are higher-priority jobs in the queue. If your job remains in this status for an extended period of time, consider contacting your administrator or support for assistance.