Assembling a Basic Production Line#
Welcome to the exciting part of our digital twin workflow, building our first production line! Throughout this course, we’ve been carefully preparing for this moment by organizing assets, validating quality, and establishing consistent materials. Now we’ll bring everything together in a structured, efficient assembly process.
Let’s get started!
First, let’s create our new production line file:
Create a New USD file by going to File > New From Stage Template > Empty
Turn on Grey Studio lighting for better visibility during assembly
Note
Make sure the units here are set to cm so we are aligning with our other files.
Name it CL6_Line_Full.usd and save it in your Assemblies folder
Adding Machine Assets to the Stage#
Now we’ll assemble our production line using the metadata-driven sequence approach:
In the Content Browser, locate your Assets > Machine_USD folder
Look for machines with names starting with sequence numbers (N_01_, N_02_, etc.)
As discussed in a previous module, these numbers indicate the intended order in the CL6 production line
Drag and drop N_00_[Machine_Name].usd onto the World prim in the Stage panel
This creates a reference, not a copy, maintaining efficiency and allowing updates from the source file
Note
In an earlier module, we changed the settings to create a reference instead of a Payload when adding a new asset to a scene. This change can be done inside of the Omniverse Settings.
Using References and Payloads#
Why Use References?
Efficiency One source file supports multiple assembly instances
Automatic Updates Changes to source machines propagate to all assemblies that reference them
Non-Destructive Positioning and modifications don’t alter the original asset files
Tip
**When to Use Payloads** For large scenes, use payloads to enable deferred loading so stages open quickly with content unloaded, then selectively load only what is needed to manage memory and improve interactivity. This lets assemblies reference many assets while keeping working sets small by loading and unloading payload content on demand.
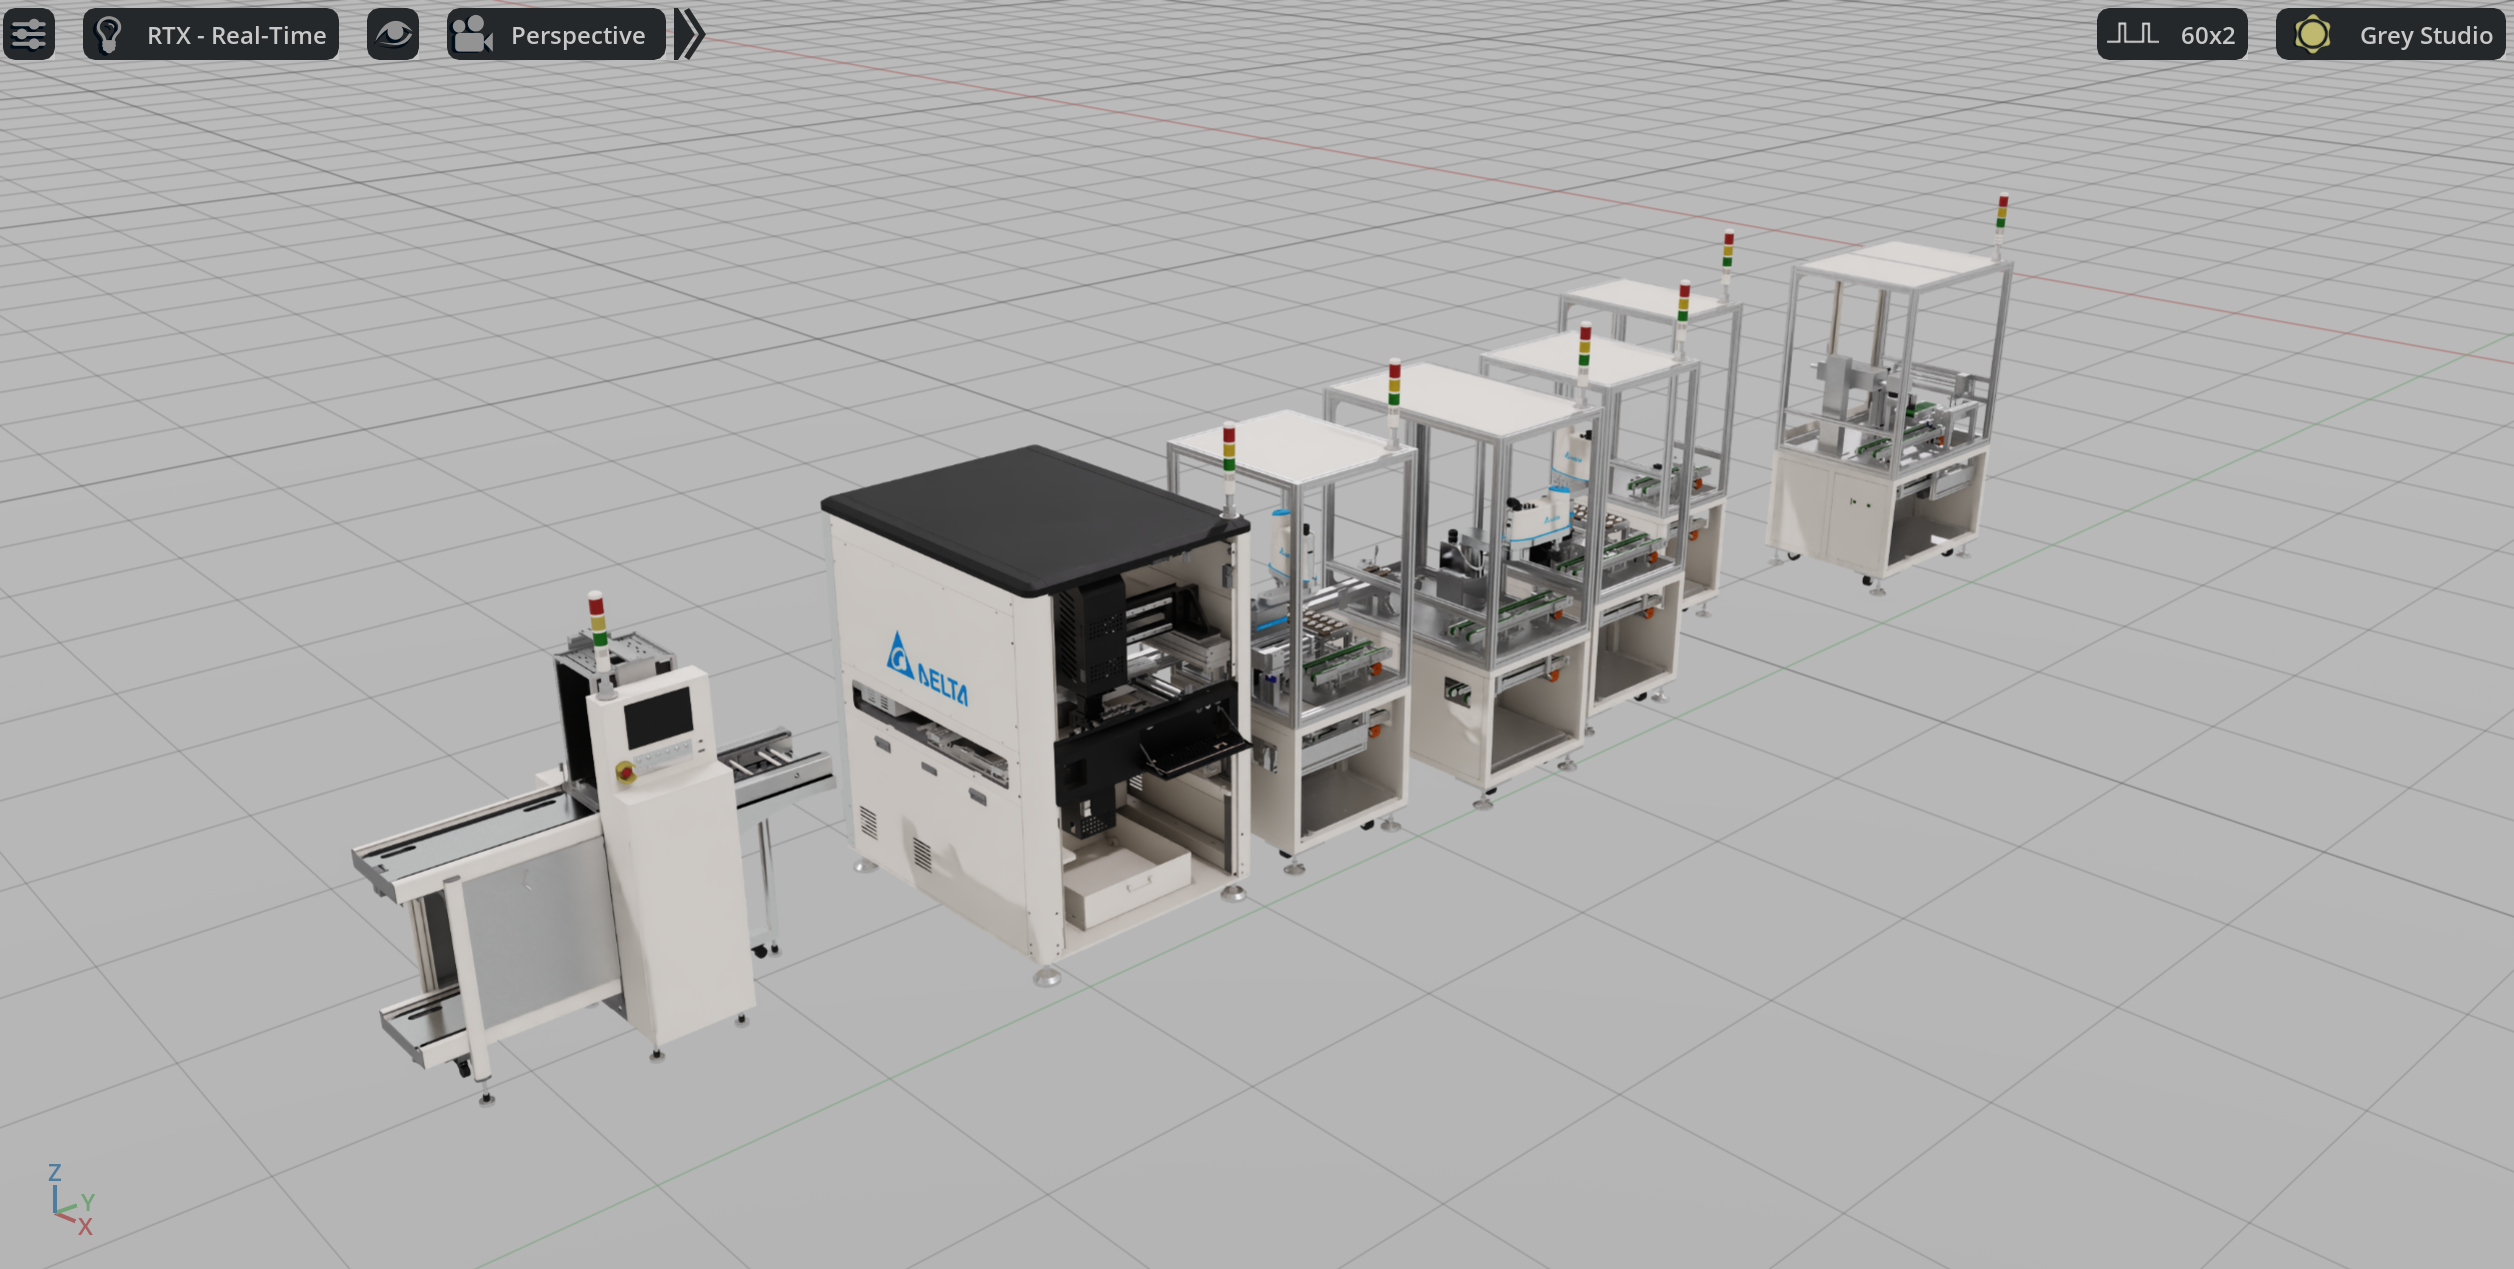
Building the Complete Line#
Add the remaining machines in numerical order:
N_02_PCB_Router.usd
N_03_Feeder.usd
N_04_PCB_Assembly.usd
N_05_Assembly.usd
And so forth, following the sequence
In the Stage panel, confirm each machine shows an orange arrow icon (indicating references) rather than blue arrows (which indicate payloads)
Positioning and Orientation#
With all machines added to the stage
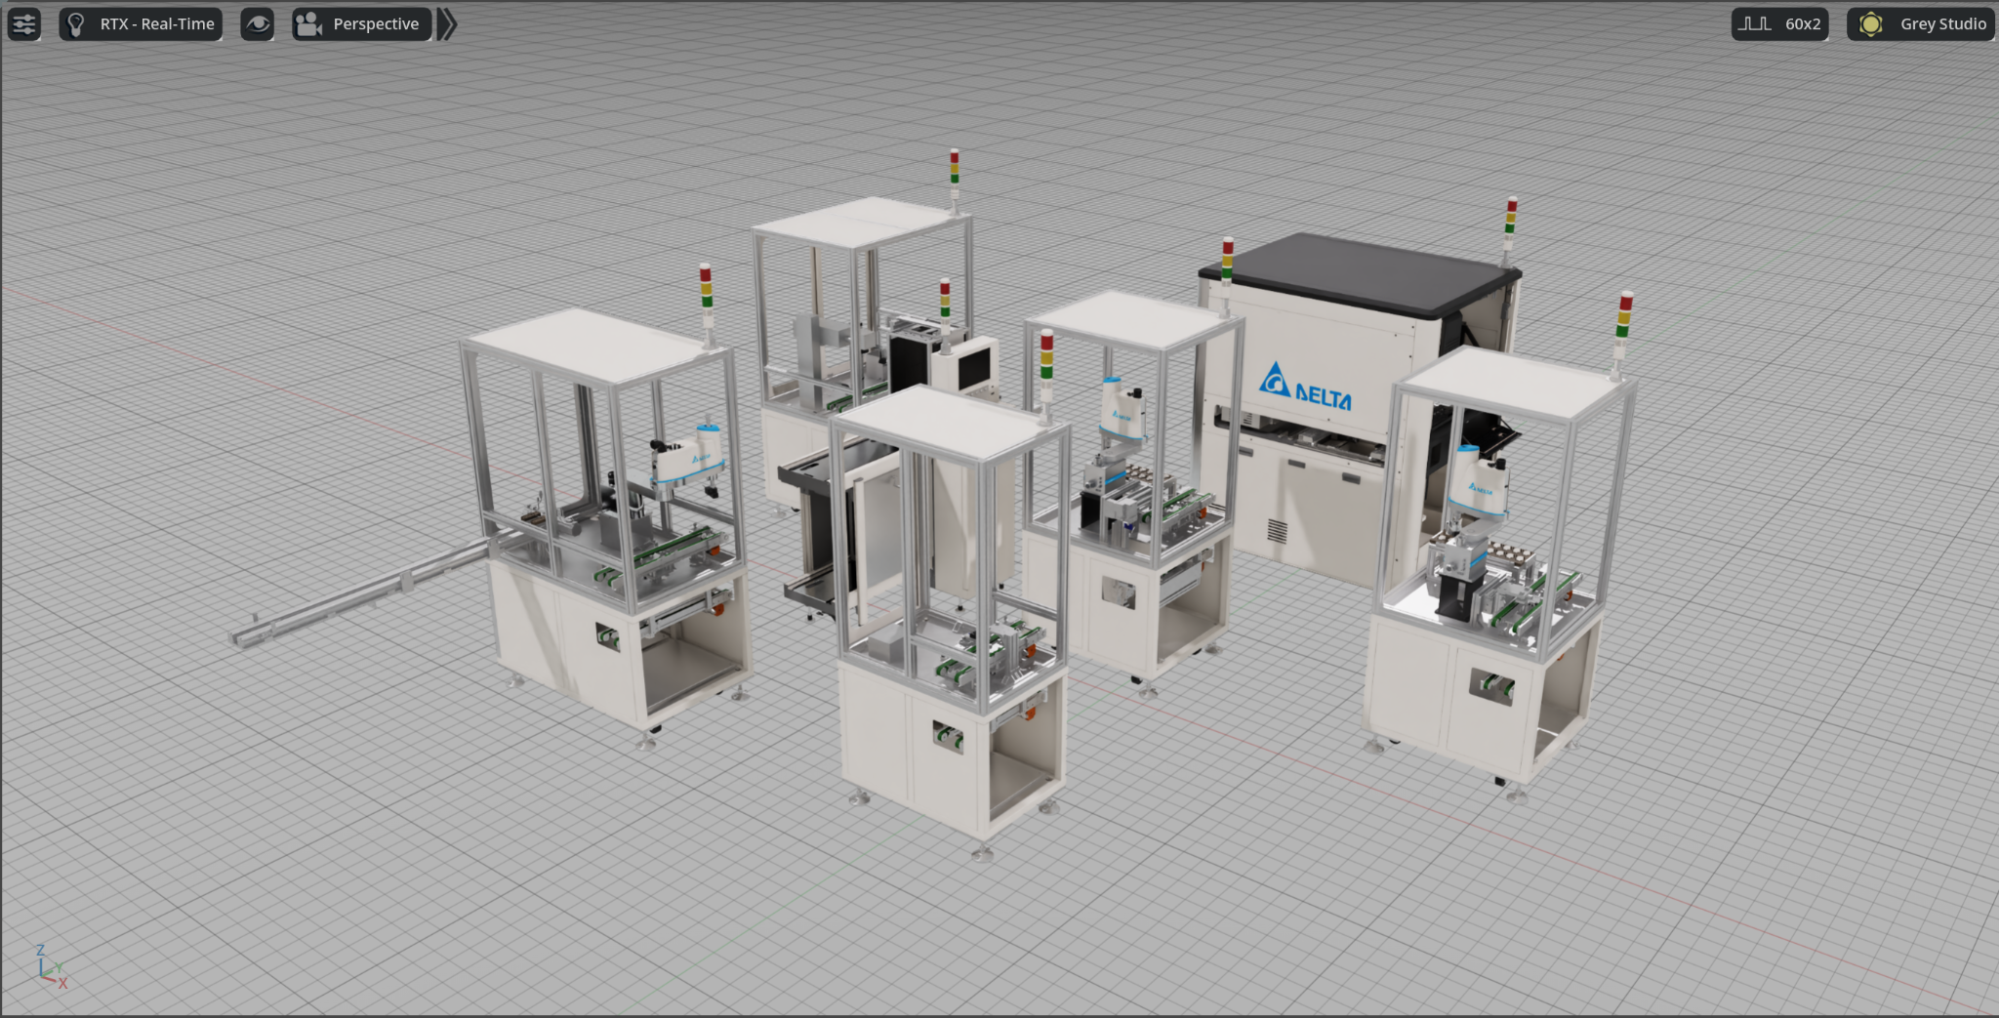
Use the Transform tools to position each machine
Align machines along a consistent axis for a layout
Transform Tools Overview#
The Transform tools in Omniverse allow you to manipulate objects in 3D space by controlling their position, rotation, and scale. You can access these tools from the main toolbar or use keyboard shortcuts:
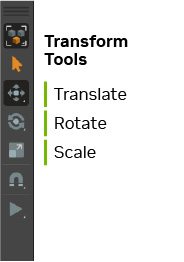
Translate - Moves objects along X, Y, and Z axes
Rotate - Rotates objects around their center point
Scale - Adjusts object size uniformly or along specific axes
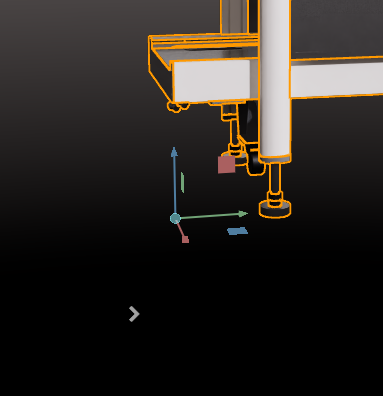
The Transform tools appear as colored handles (red=X, green=Y, blue=Z) when you select an object, making it easy to control movement along specific directions.
Warning
Those colors assume that you have set Z to Up in your world settings as we did in the beginning of this course.