Using a Centralized Materials Library#
Before we begin adding materials to individual machine assets, let’s establish a centralized materials library. Creating a dedicated materials library USD file serves several critical purposes in digital twin workflows:
Consistency Across Assets: A centralized library ensures all machines in your production line, in this example, use the same material definitions, creating visual consistency across your entire digital twin scene.
Efficient Collaboration: When multiple team members work on different aspects of the project, a shared materials library prevents duplicate materials and conflicting definitions.
Easy Global Updates: When you need to change a material property (like making metal surfaces more reflective), updating it in one central location propagates the change to all assets that reference it.
Scalability: As your digital twin grows to include more production lines, cells, and factory areas, a centralized system makes it easy to maintain and expand your material palette.
Non-Destructive Workflow: By keeping materials separate from individual assets, we can experiment with different looks without permanently altering our machine USD files.
Let’s create this central library and populate it with production-ready materials.
Go to File > New From Stage Template > Empty
Save this file as MaterialLibrary.usd in your project’s Assets > Material folder
We’ll be adding a m_ prefix as a naming convention that helps organize our materials for easy identification and automated workflows. Using consistent prefixes like m_ for materials, a_ for assets, or l_ for lights makes it easier to:
Sort and filter files in the Content Browser
Write Python scripts that automatically find and process specific types of content
Maintain clean project organization as your digital twin scales up
Quickly identify material files when troubleshooting or updating
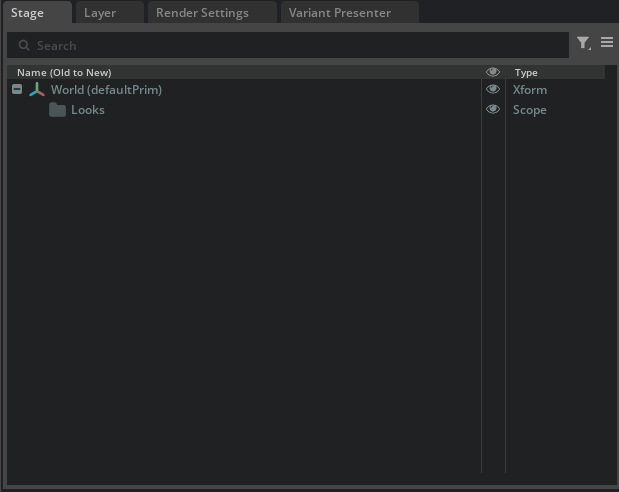
Set up the material library structure:
Select the World prim
Right-click and Create > Scope, name it Looks
This creates the standard USD structure for materials:
/World/Looks/
Add a new material#
Locate and add Metal_Polished_01 (or try a different one or create your own material)
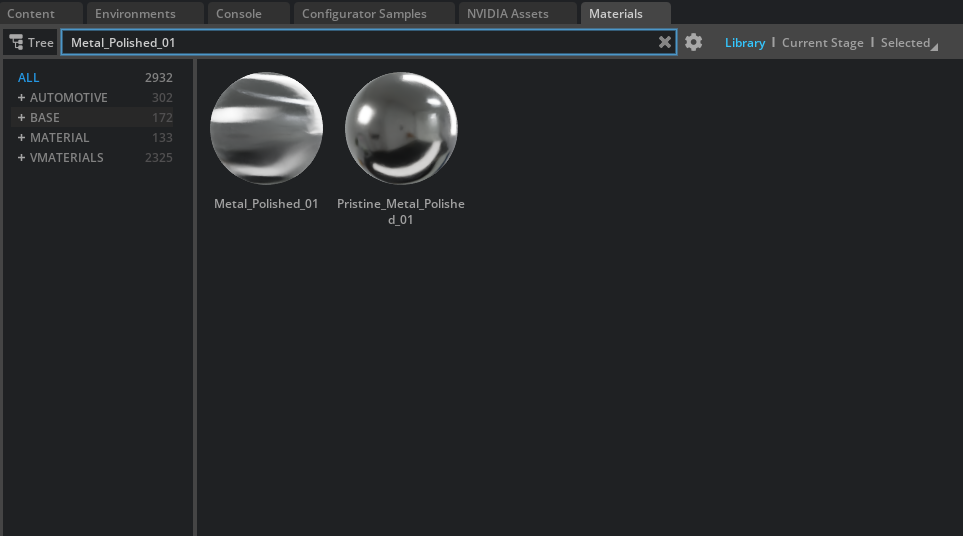
Double-click or drag and drop the material to add it to your Looks Scope
The material will appear under /World/Looks/Metal_Polished_01
Rename the material with our naming convention:
In the Stage panel, right-click on the material prim
Select Rename and change it to m_PolishedSteel
This creates a consistent, descriptive name that follows our m_ prefix convention
Add a few more materials in the Looks scope that we can use on the Machines.
Your digital twins will have many more than these few here.
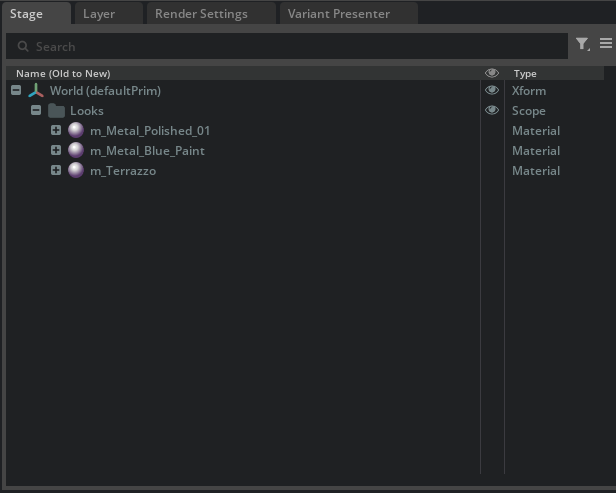
Save the MaterialLibrary.usd file.
Alternative to Naming Conventions#
Stage Panel Filters
While using the m_ prefix for materials, l_ for lights, and a_ for assets provides excellent organization and scripting benefits, Omniverse also offers built-in filtering capabilities through the Stage panel that can accomplish similar organizational goals without requiring specific naming conventions.
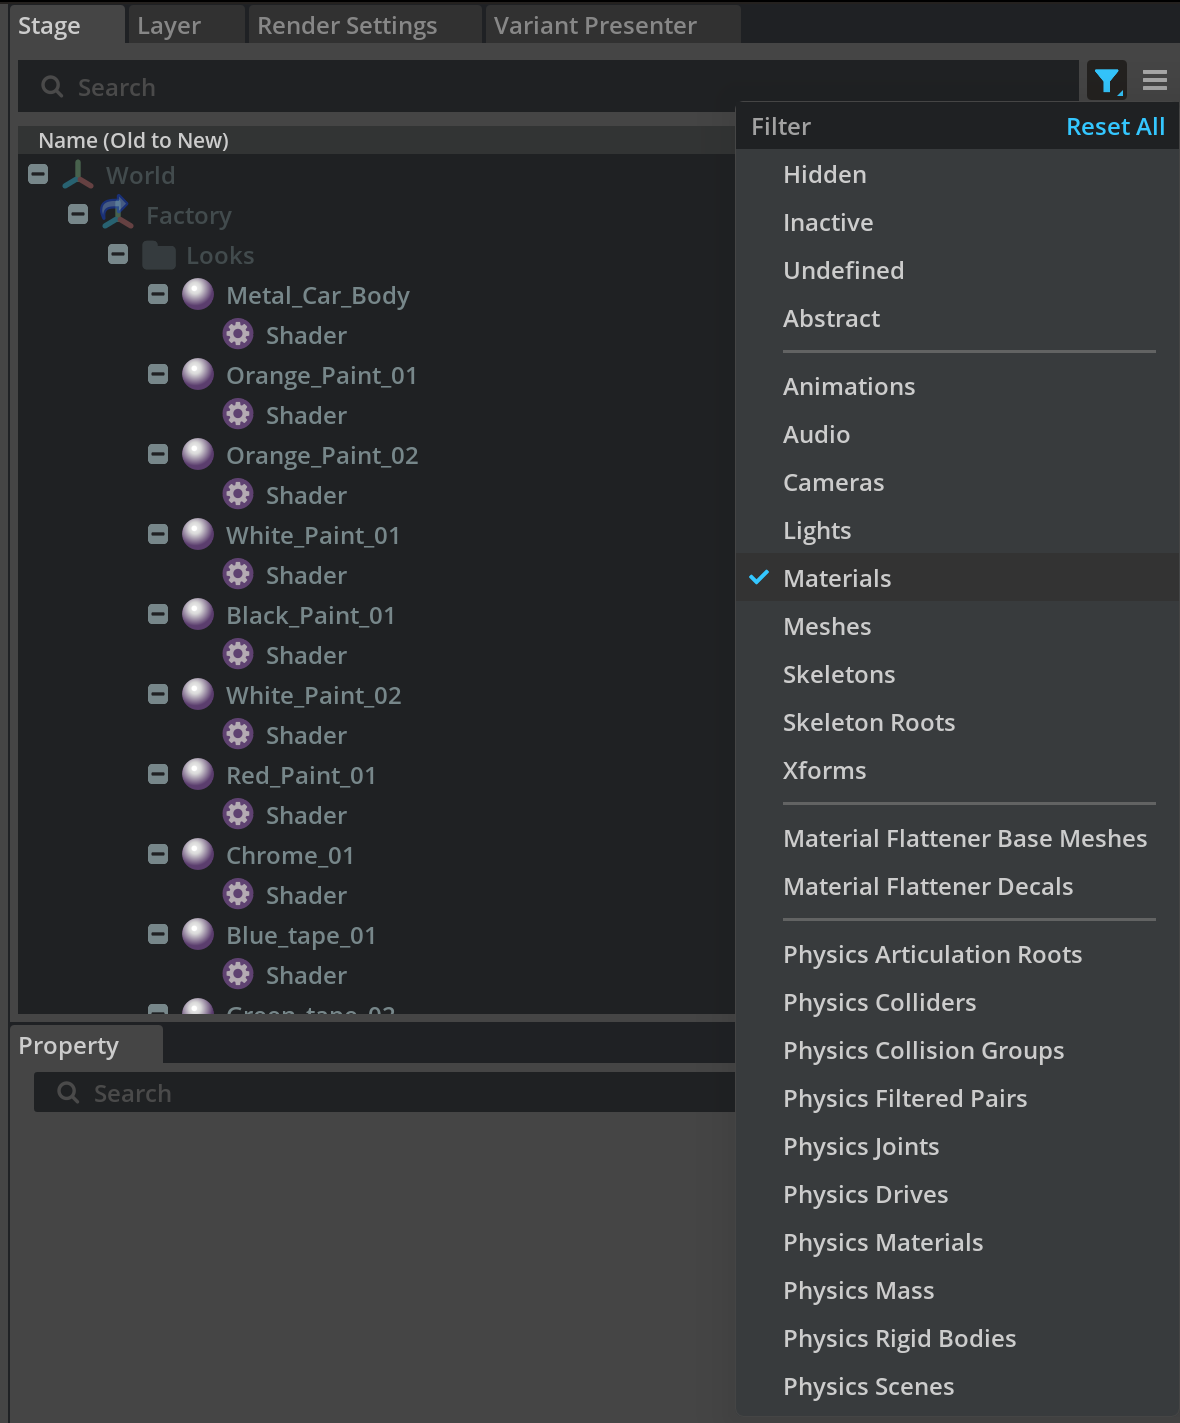
The choice between systematic naming conventions and relying on built-in filtering often depends on your project’s scale, team size, and automation requirements. Both approaches can coexist, you might use naming conventions for your core material library while relying on Stage panel filters for quick scene navigation during interactive work sessions.