Opening the Asset and Reviewing Current Materials#
In the Content Browser, navigate to Assets > Machine_USD > N_02_PCB_Router
Open N_02_PCB_Router.usd
Set the stage lights to Grey Studio for better material visibility
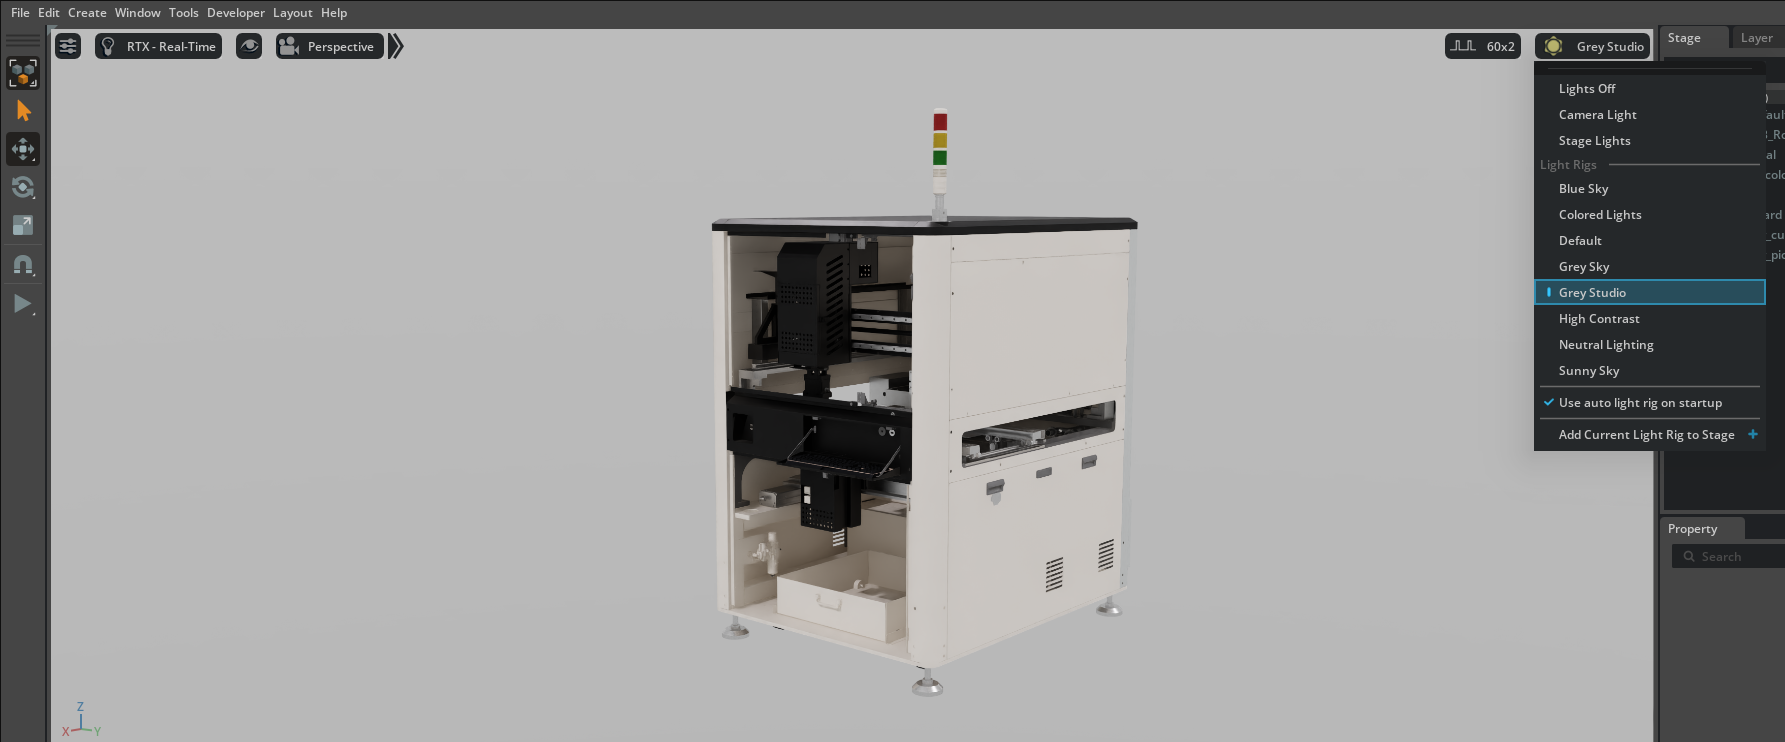
With the N_02_PCB_Router asset loaded and stage lights set to Grey Studio, we can now explore how to create and use a centralized materials library for consistent, non-destructive material management across our digital twin project.
In the Stage panel, expand the PCB_Router_Machine hierarchy to locate mesh components
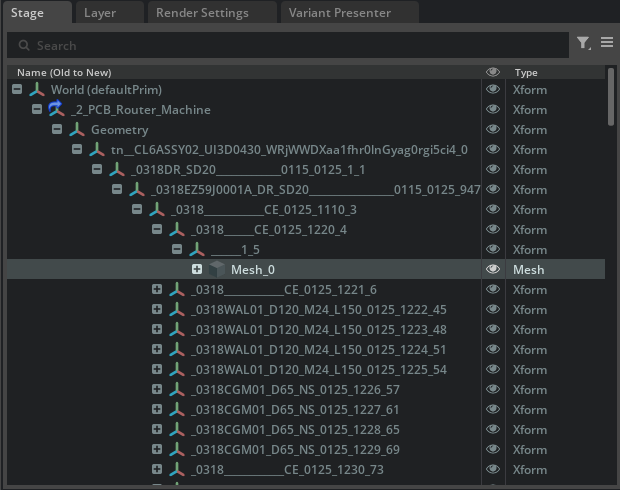
Select a mesh prim that has materials assigned.
In the Property panel, scroll to find the Materials on Selected Models section
Press the Go To button next to the material binding to navigate to the material in the scene.
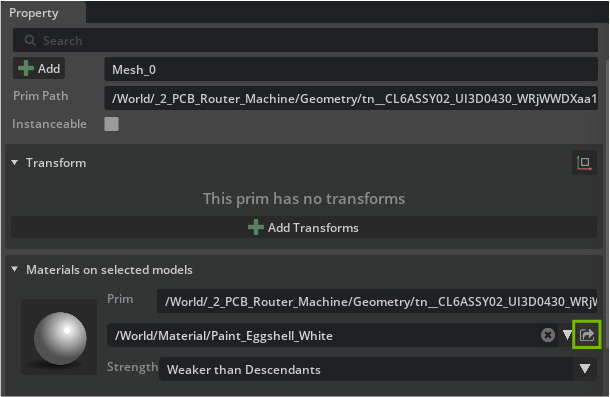
See that the selected material is located in its own USD file that has been prepared for these prims to all have access to one library we can pull from called Material.usd.
We can search for that in the Content Browser
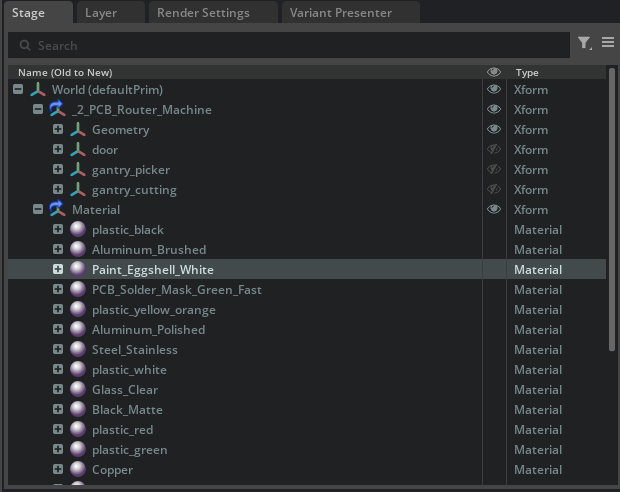
Right-click on the Material and select Find in Content Browser
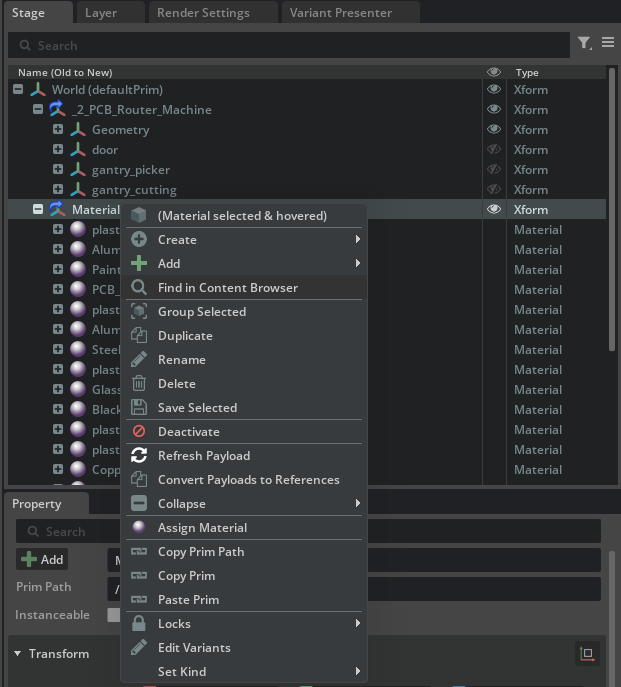
After clicking Find in Content Browser, the browser highlights the Material Xform that contains the shared materials referenced by multiple machine USD files.
Creating a centralized material library (for example,
MaterialLibrary.usdwith a /World/Looks/ scope) standardizes appearance across scenes and machines, reducing duplicates and mismatches.Referencing this library in each scene makes it the single source of truth. When a material is updated in the library, that change propagates automatically to every scene and asset that references it, without modifying the original machine files.
This approach supports non-destructive editing, consistent visuals, and easier maintenance as the project scales.