


System Repair#
If your DGX Spark is unable to boot, there are two recommended methods that you can use to recover your device.
Before you begin, choose one of the following recovery methods based on whether your system can reach the GRUB boot menu and boot an earlier kernel.
Previously installed kernel: If you can access GRUB and your system has an earlier kernel installed, follow the steps below to boot with that kernel. Use this option if a recent kernel update prevents your system from starting normally but an earlier kernel still works.
Bootable USB: If you cannot access GRUB or boot any installed kernel, use another computer to create a bootable USB drive. Boot the affected device from the USB to access a live environment, where you can mount your drive, repair the installed system, or recover files.
Note
Founders Edition and OEM systems: This procedure applies to the DGX Spark Founders Edition and to OEM DGX Spark systems. It does not erase the internal SSD.
Previously Installed Kernel#
Boot from the GRUB Menu#
If you have previously installed kernels available on your system, you may be able to use them to boot your DGX Spark. First power off your device, then reboot while holding Shift and Insert at the same time.
This should bring you to the following GRUB menu:
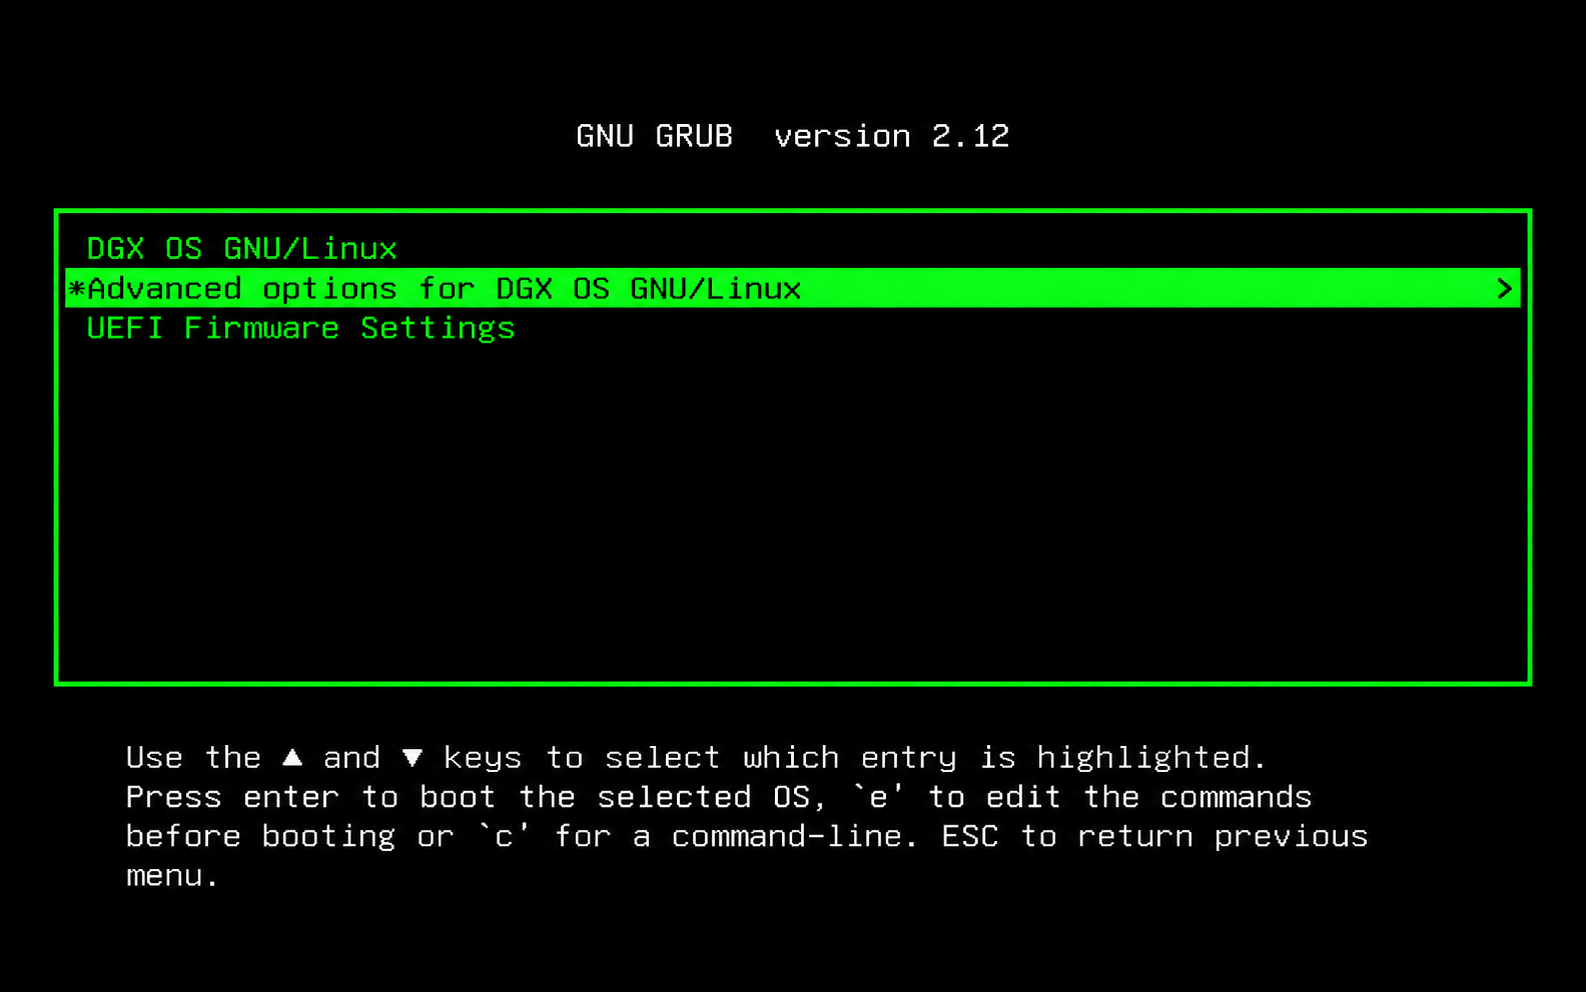
Select “Advanced options for DGX OS GNU/Linux”, which should bring you to the available kernel options:
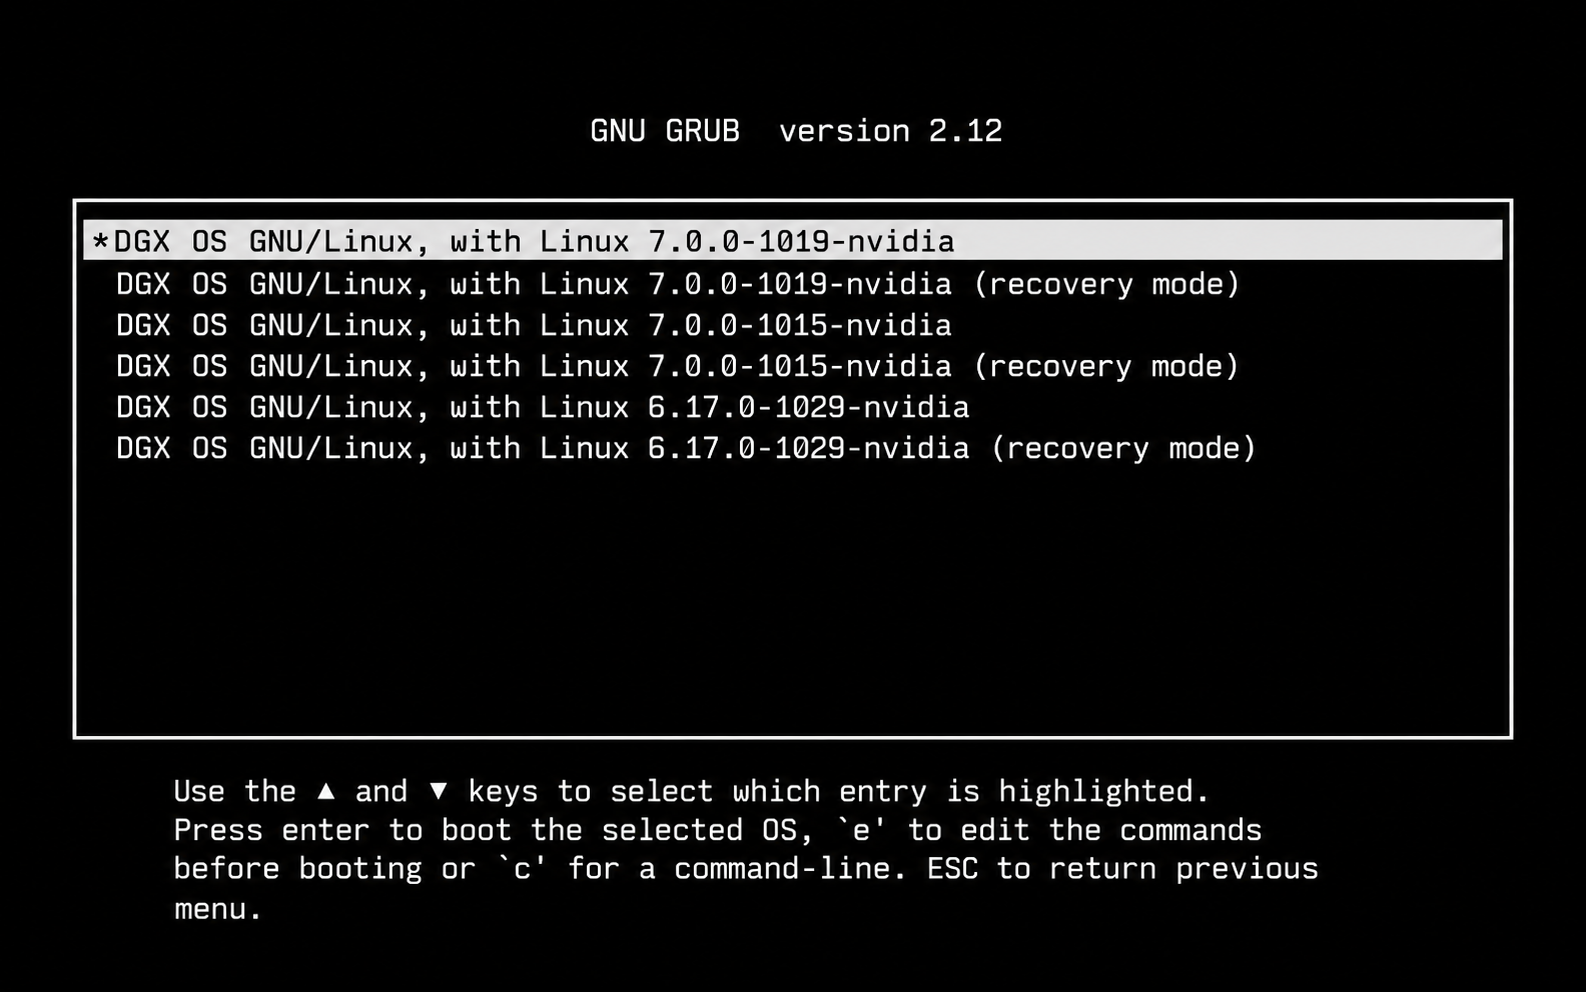
Select the kernel version you want to boot. Each installed kernel version has a normal boot entry and a recovery mode entry.
Recovery mode uses the same kernel but starts a limited maintenance environment with the options as shown below. For advanced users of Ubuntu, the recovery mode kernel has an option to get you into a root shell for your device.
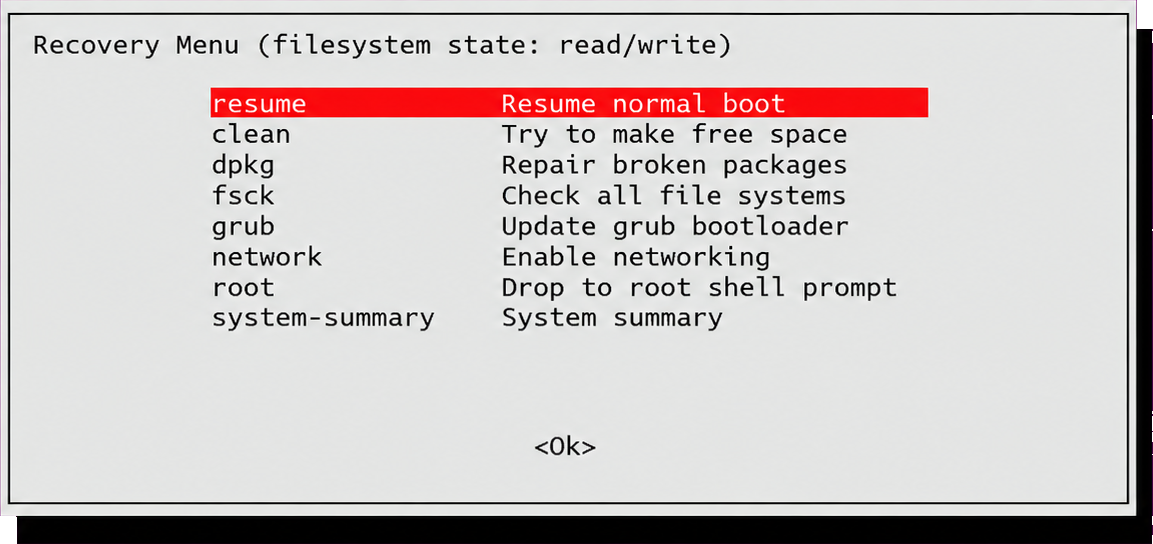
Common Scenarios for the Booted Kernel#
If you booted using a recovery kernel, follow the instructions below for your specific issue. Execute commands directly with root privileges without running any mount, chroot, or unmount steps.
Scenario 1: Complete a Package Upgrade#
This will help if you ran apt upgrade instead of apt dist-upgrade or need to update a faulty kernel.
Update your configuration and complete the upgrade:
dpkg --configure -a
# Fix apt upgrade error
apt update
apt -f install
apt dist-upgrade
Reboot your device:
reboot
Scenario 2: Rebuild initramfs#
If you have an incomplete or missing initramfs, you can run the following to complete a half-finished upgrade:
Rebuild the initramfs:
dpkg --configure -a
# Run the following command if you have an interrupted initramfs upgrade
update-initramfs -u -k all
# If you are missing your initramfs entirely, run 'update-initramfs -c -k all' instead
update-grub
Reboot your device:
reboot
Scenario 3: Install signed NVIDIA driver packages#
Use this procedure if your NVIDIA GPU driver is missing or Secure Boot prevents its kernel modules from loading. The following steps remove leftover modules and install compatible, signed NVIDIA driver packages.
Set
KVERto the installed kernel version you want to repair and boot:KVER=<kernel version>
Remove leftover modules from a previous installation.
If you previously installed the NVIDIA driver with a
.runinstaller, run:nvidia-uninstall
If you installed the driver only through APT, skip that command.
If a previous manual installation left NVIDIA modules behind, remove files that are not owned by a Debian package. Confirm that
KVERis set to the installed kernel you intend to repair before continuing:find "/lib/modules/${KVER:?Set KVER first}" \ -name 'nvidia*.ko*' \ -exec sh -c 'dpkg -S "$1" >/dev/null 2>&1 || rm -v "$1"' _ {} \; depmod -a "$KVER"
Find and install the signed packages:
apt update
apt-cache search linux-modules-nvidia | grep -F -- "$KVER"
apt-cache search nvidia-driver | grep -i open
# Set the corresponding modules and drivers to be the ones for your selected kernel version
apt install <signed linux-modules-nvidia package> <nvidia-driver package>
Warning
Do not install
nvidia-dkms-*modules as they are unsigned. The DGX Spark has Secure Boot enabled, so these modules will fail to load unless they are signed with a trusted key.Rebuild, verify, and reboot:
update-initramfs -u -k $KVER
modinfo -k $KVER -F signer nvidia # must be non-empty
reboot
Bootable USB#
Download the Ubuntu Desktop ISO#
Ubuntu’s default installer supports both full OS installation and live USB booting.
Download the ARM 64-bit architecture version of the installer from the Ubuntu Desktop download page. The current version is Ubuntu 26.04.1 LTS “ARM 64-bit architecture”.
Create a bootable USB flash drive with an image writer.
Boot into Ubuntu#
Insert your USB drive into your DGX Spark, then hold Esc while it boots. The UEFI menu will appear with a new USB entry under boot options. Select the USB entry to proceed; your system may reboot, but it will open the Ubuntu boot menu.
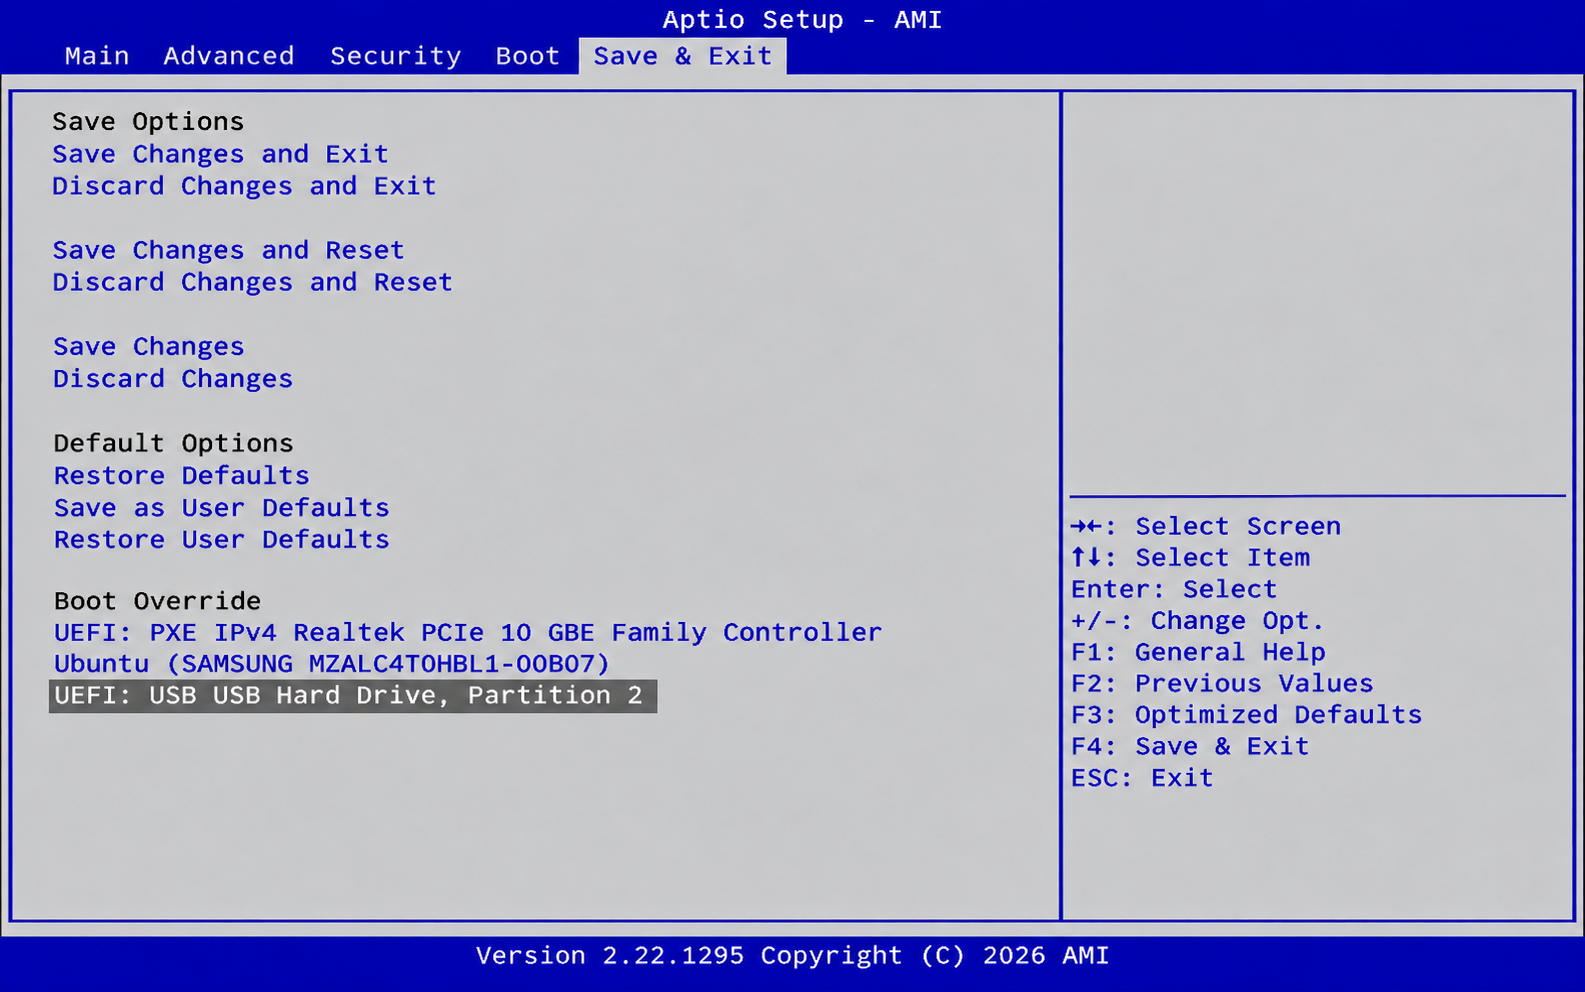
When booting from the USB drive, select Try Ubuntu instead of installing. This boots directly into a live environment without modifying your disk.
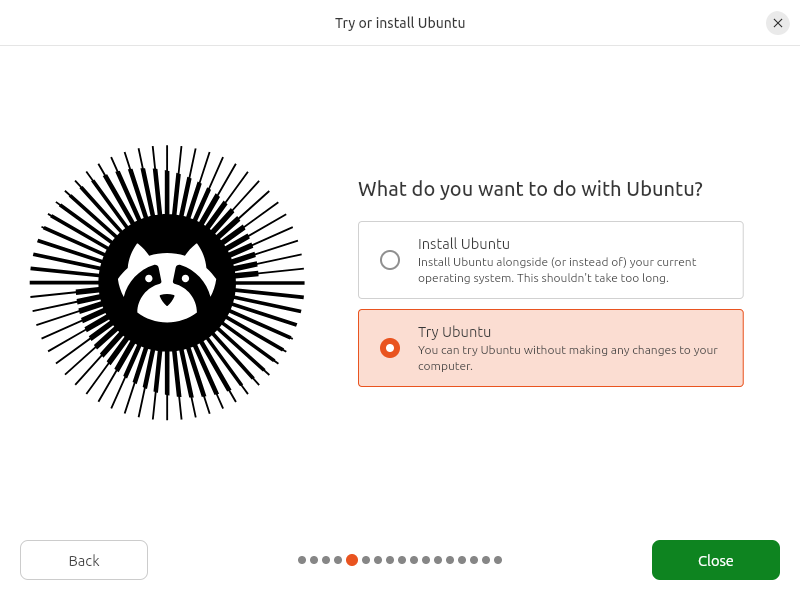
For detailed step-by-step instructions, refer to the Ubuntu Live USB tutorial.
After booting, you should be at the Ubuntu desktop. You may launch the terminal and continue as shown below.
Note
The screen resolution may be lower than you expect. This is a known issue, and it does not affect this procedure.
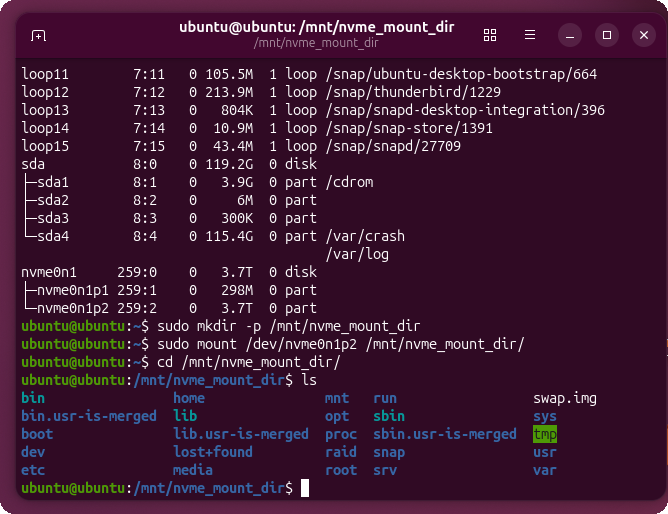
To access your files, you may run the following commands to mount and access your root file system on your NVMe drive:
# Find your NVMe drive name.
lsblk

# Create a directory to access your nvme. The example uses "nvme_mount_dir" under /mnt/
sudo mkdir -p /mnt/nvme_mount_dir

# Mount your nvme drive to the directory you just created
sudo mount /dev/nvme0n1p2 /mnt/nvme_mount_dir
You may now access your NVMe drive at /mnt/nvme_mount_dir/ and back up your files by copying them to a separate external drive or a network location. User files are typically at /mnt/nvme_mount_dir/home/. Verify the backup before proceeding.
Common Scenarios for the Live USB#
The examples below assume:
Root partition:
/dev/nvme0n1p2EFI partition:
/dev/nvme0n1p1Mount location:
/mnt
Scenario 1: Complete a Package Upgrade#
This will help if you ran apt upgrade instead of apt dist-upgrade or need to update a faulty kernel. Do the following to update your configuration and complete the upgrade:
Mount your device:
sudo mount /dev/nvme0n1p2 /mnt # root partition
sudo mount /dev/nvme0n1p1 /mnt/boot/efi # EFI partition (mount a separate /boot first if you have one)
for d in dev dev/pts proc sys run; do sudo mount --bind /$d /mnt/$d; done
sudo mount --bind /sys/firmware/efi/efivars /mnt/sys/firmware/efi/efivars 2>/dev/null
sudo chroot /mnt /bin/bash
Update your configuration and complete the upgrade:
dpkg --configure -a
# Fix apt upgrade error
apt update
apt -f install
apt dist-upgrade
Unmount your device:
exit
sync
sudo umount -R /mnt
Reboot your device:
sudo reboot
Scenario 2: Rebuild initramfs#
If you have an incomplete or missing initramfs, you can run the following to complete a half-finished upgrade:
Mount your device:
sudo mount /dev/nvme0n1p2 /mnt # root partition
sudo mount /dev/nvme0n1p1 /mnt/boot/efi # EFI partition (mount a separate /boot first if you have one)
for d in dev dev/pts proc sys run; do sudo mount --bind /$d /mnt/$d; done
sudo mount --bind /sys/firmware/efi/efivars /mnt/sys/firmware/efi/efivars 2>/dev/null
sudo chroot /mnt /bin/bash
The following will help you complete a half-finished upgrade:
dpkg --configure -a
# Run the following command if you have an interrupted initramfs upgrade
update-initramfs -u -k all
# If you are missing your initramfs entirely, you need to regenerate it. Run 'update-initramfs -c -k all' instead
update-grub
Unmount your device:
exit
sync
sudo umount -R /mnt
Reboot your device:
sudo reboot
Scenario 3: Install signed NVIDIA driver packages#
Use this procedure if your NVIDIA GPU driver is missing or Secure Boot prevents its kernel modules from loading. The following steps remove leftover modules and install compatible, signed NVIDIA driver packages.
Mount your device:
sudo mount /dev/nvme0n1p2 /mnt # root partition
sudo mount /dev/nvme0n1p1 /mnt/boot/efi # EFI partition (mount a separate /boot first if you have one)
for d in dev dev/pts proc sys run; do sudo mount --bind /$d /mnt/$d; done
sudo mount --bind /sys/firmware/efi/efivars /mnt/sys/firmware/efi/efivars 2>/dev/null
sudo chroot /mnt /bin/bash
Set
KVERto the installed kernel version you want to repair and boot:KVER=<kernel version>
Remove leftover modules from a previous installation.
If you previously installed the NVIDIA driver with a
.runinstaller, run:nvidia-uninstall
If you installed the driver only through APT, skip that command.
If a previous manual installation left NVIDIA modules behind, remove files that are not owned by a Debian package. Confirm that
KVERis set to the installed kernel you intend to repair before continuing:find "/lib/modules/${KVER:?Set KVER first}" \ -name 'nvidia*.ko*' \ -exec sh -c 'dpkg -S "$1" >/dev/null 2>&1 || rm -v "$1"' _ {} \; depmod -a "$KVER"
Find and install the signed packages:
apt update
apt-cache search linux-modules-nvidia | grep -F -- "$KVER"
apt-cache search nvidia-driver | grep -i open
# Set the corresponding modules and drivers to be the ones for your selected kernel version
apt install <signed linux-modules-nvidia package> <nvidia-driver package>
Warning
Do not install
nvidia-dkms-*modules as they are unsigned. The DGX Spark has Secure Boot enabled, so these modules will fail to load unless they are signed with a trusted key.Rebuild and verify:
update-initramfs -u -k $KVER
modinfo -k $KVER -F signer nvidia # must be non-empty
Unmount your device:
exit
sync
sudo umount -R /mnt
Reboot your device:
sudo reboot
Scenario 4: Repair a Corrupted Filesystem#
Run these steps from a healthy operating system, either by booting the affected computer from a live USB or by connecting the affected drive to another computer. This guide assumes you are using an Ubuntu live USB and have selected Try Ubuntu.
Identify the root partition and its filesystem type, then unmount it:
lsblk -f
sudo umount /dev/nvme0n1p2
If it reports “not mounted”, continue. If it reports “target is busy”, stop and close anything using that partition. Do not proceed until this partition is unmounted.
sudo e2fsck -f /dev/nvme0n1p2
Review and answer the repair prompts. Never run this repair on a mounted filesystem. The
e2fsckcommand applies to ext2, ext3, and ext4 filesystems. For other filesystem types, use the appropriate repair tool as described in the Ubuntu e2fsck manual.Once the check completes without unresolved errors, reboot and remove the USB:
sudo reboot