


Remove the ConnectX-7 Card#
Pull the card out of the slot:
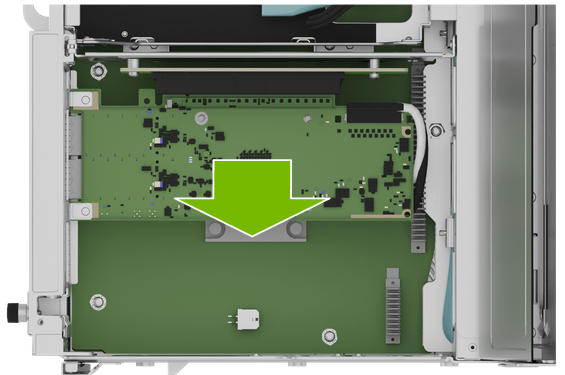
Before you pull the card too far, remove the white and black IPEX cables from the card.
The white cable connects to the top of the card and the black cable connects to the bottom (heatsink) of the card:
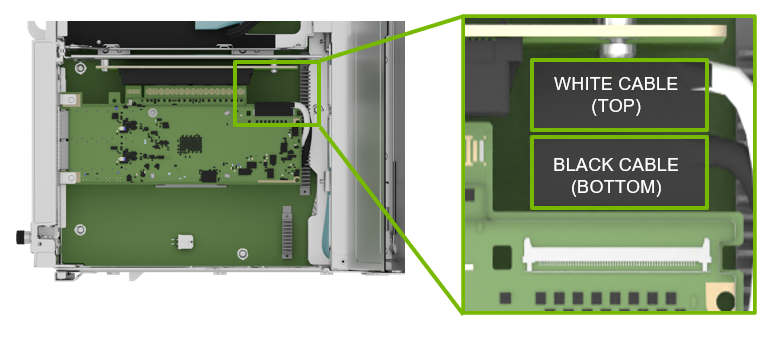
Follow the instructions in Remove an IPEX Cable to remove the IPEX connectors.
Remove an IPEX Cable#
Repeat this process for both white and black cables.
Locate the IPEX cable attached to the connector:
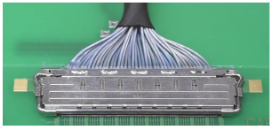
Lift the locking door:
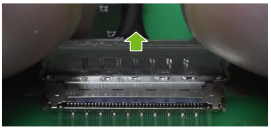
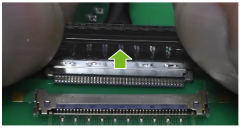
Push the cable away from the connector:
Install ConnectX-7 Card#
Attach the IPEX cables following the instructions in the figure:
The white cable connects to the top of the card and the black cable connects to the bottom (heatsink) of the card. These cables need to be installed before inserting the card.
Follow the instructions in Insert an IPEX Cable to insert the IPEX connectors.
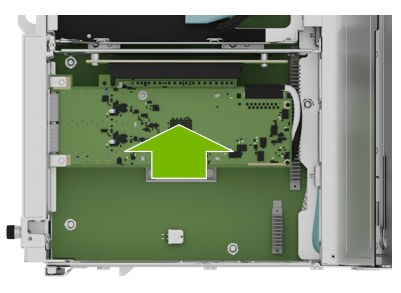
Insert the card in the slot:
Note the two IPEX cables on the right side of the card.
Insert an IPEX Cable#
Repeat this process for both white and black cables.
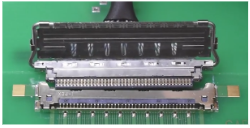
Align the IPEX cable to the connector:
Press the cable into the connector:
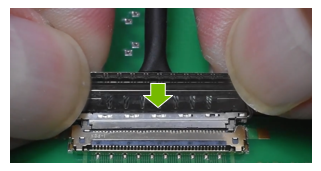
Confirm the cable is in the connector:
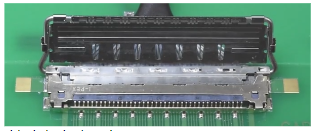
Close the latching mechanism:
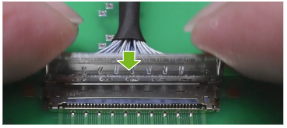
Make sure the cable is locked to the connector on the board: