Motherboard Tray Battery Replacement#
Caution
Static Sensitive Devices: Be sure to observe best practices for electrostatic discharge (ESD) protection. This includes making sure personnel and equipment are connected to a common ground, such as by wearing a wrist strap connected to the chassis ground, and placing components on static-free work surfaces.
Motherboard Tray Battery Replacement Overview#
You can replace the motherboard tray battery of the NVIDIA DGX™ H100/H200 system by performing the following high-level steps:
Get a replacement battery - type CR2032.
Shut down the system.
Label all motherboard cables and unplug them.
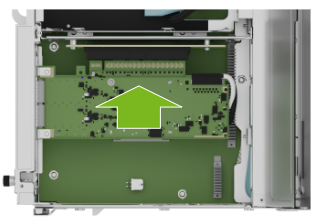
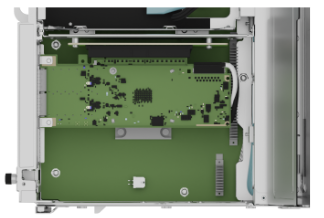
Slide out the motherboard tray.
Open the motherboard tray IO compartment.
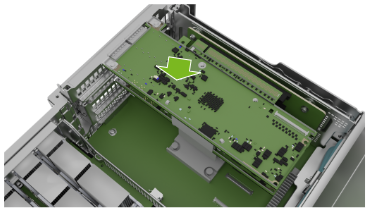
Pull out the M.2 riser card with both M.2 disks attached.
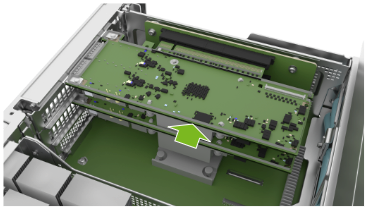
Pull out the dual port Mellanox card (slot 4).
Replace the battery on the motherboard.
Install the dual port Mellanox card (slot 4).
Install the M.2 riser card with both M.2 disks attached.
Close the lid IO compartment on the motherboard tray.
Slide the motherboard tray into the system.
Plug in all cables using the labels as a reference.
Power on the system.
Confirm the system is healthy by running
nvsm show health.
Identify a Failed Battery#
When the battery fails, some of these symptoms may occur:
Invalid configurationwill appear on your screenSetup appears on your screen before booting
Press F1 to continueappears on the consoleA Clock Error or Clock Message appears on your screen
The system clock loses time and date
Call NVIDIA Enterprise Support to confirm that the battery is the right component to replace.
Note
The CR2032 battery is not provided by NVIDIA, but it is easy to find at a convenience store. After you purchase a battery, perform the following procedures.
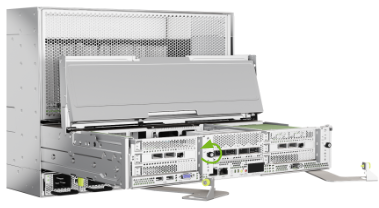
Prepare the System for Replacement#
Power off the system.
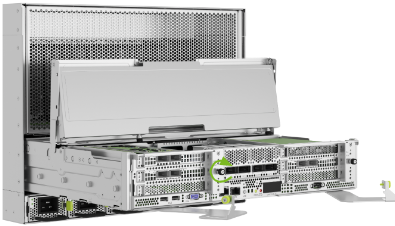
Open the motherboard tray IO door. Refer to Motherboard Tray - Opening and Closing the IO door for more information.
Remove the PCI Ethernet Card#
Confirm the motherboard tray IO lid is open.
Loosen the thumb screw for the PCI card locking mechanism by loosening the captive black thumb screw that corresponds to the slot you need to work on:
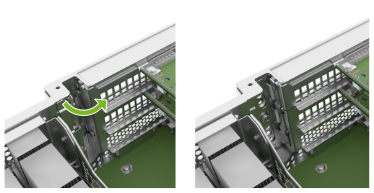
Rotate the locking mechanism for the PCI carrier out of the way:
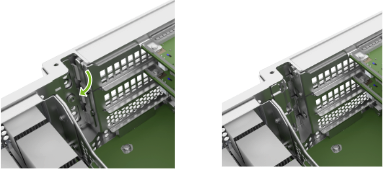
Pull the card out of the slot:
Remove the card:
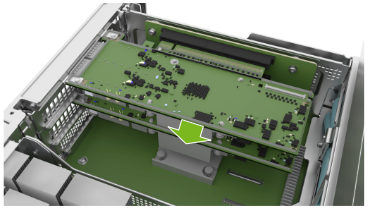
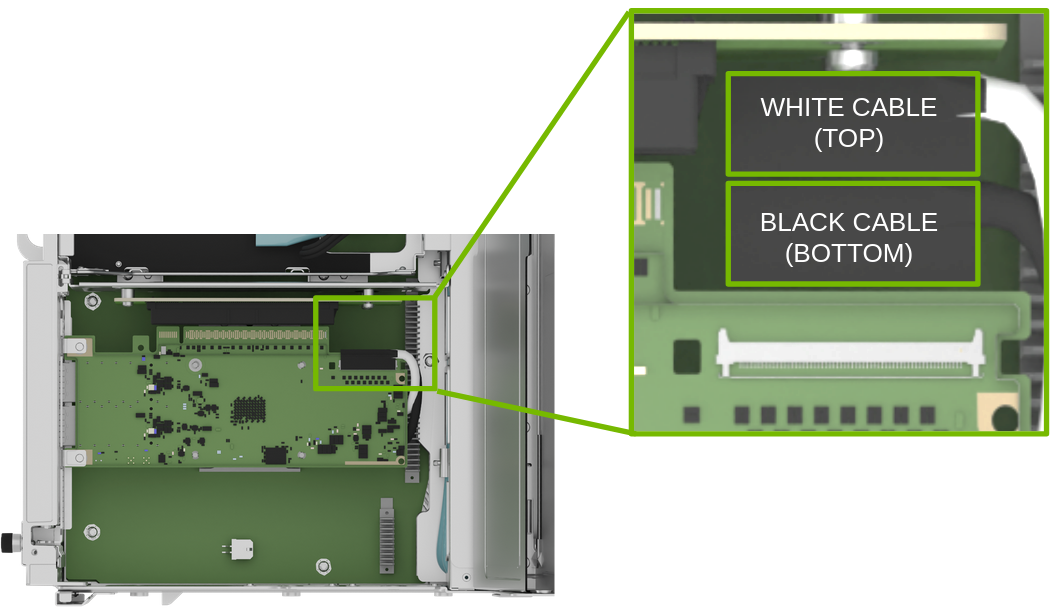
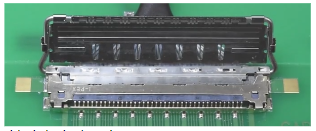
Remove the ConnectX Card#
Pull the card out of the slot:
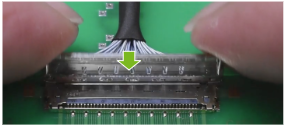
Before you pull the card too far, remove the white and black IPEX cables from the card.
The white cable connects on top of the card and the black cable connects on the bottom (heatsink) of the card:
Follow the instructions in the next steps to remove and insert the IPEX connectors.
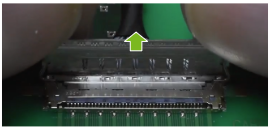
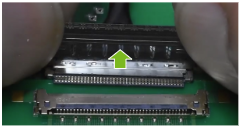
Remove an IPEX Cable#
Repeat this process for both white and black cables.
Lift the locking door:
Push the cable away from the connector:
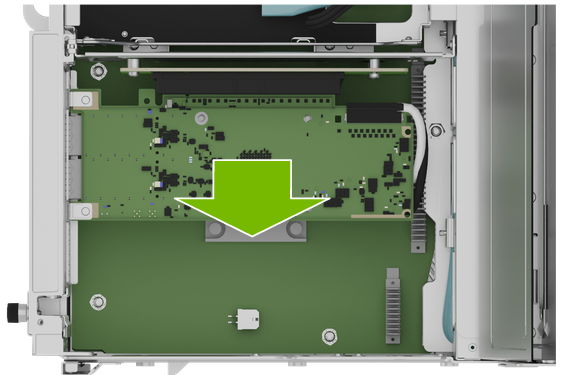
Replace the Battery#
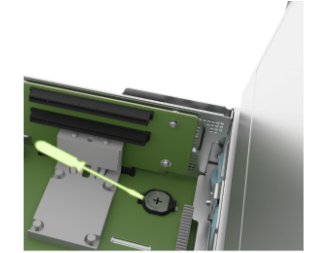
Use a thin tool to gently lift the battery from the battery holder:
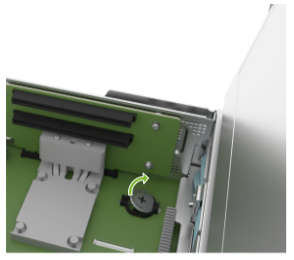
Rotate the battery as shown in the following figure:
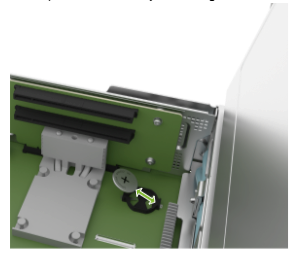
Replace the battery with a new CR2032, installing it in the battery holder. Make sure the positive side is on top:
Insert an IPEX Cable#
Align the IPEX cable to the connector:
Press the cable into the connector:
Confirm the cable is in the connector:
Close the latching mechanism:

Make sure the cable is locked to the connector on the board:
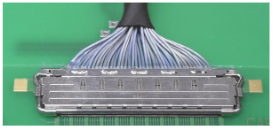
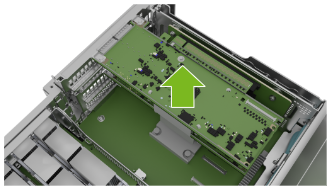
Install ConnectX Card#
After you connect the IPEX cables, install the new card in the slot:
Confirm the card is in place and that the cables are connected:
Install the PCI Ethernet Card#
Position the card in the system:
Push the card into the PCI slot:
Close the latch to lock the PCI cards in place:
Tighten the thumbscrew to make sure the locking latch mechanism stays in place:
Power On the System and Confirm Replacement#
Close the motherboard tray IO door and insert the motherboard tray. Refer to Motherboard Tray - Opening and Closing the IO door for more information.
Connect all the cables and power cords to the motherboard tray.
Apply power to the system and then log in.
Restore the date on the system. If you do not use network time protocol (NTP), perform the following steps to set the date manually.
Set the date:
sudo date [MMDDhhmm[[CC]YY][.ss]]
Sync the date and time to the hardware real time clock:
sudo hwclock -w
Reset the BMC:
sudo ipmitool mc reset cold
Confirm that the time and date on the system are updated:
sudo nvsm show health