Step #2: Setting Up the QuPath viewer
There are several viewers that can be integrated into the Pathology app. We created a plugin in QuPath to show how nuclei segmentation in whole slide images (WSIs) can be performed using MONAI Label + QuPath.
QuPath is an open software for bioimage analysis. it can be used as an efficient tool for the annotation and visualization of whole slide images.
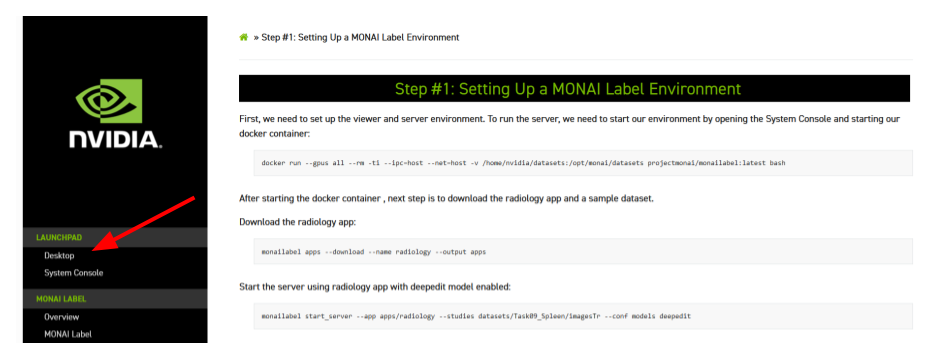
The first step is to go to the Desktop and open QuPath.

For this, open the QuPath folder located on the Desktop:

Then, open the bin folder:

Finally, start a terminal by right-clicking on the folder:

and run QuPath by typing in the terminal ./QuPath and then “Enter”:

Once the QuPath is up and running, the next step is to drag the jar file (located on the Desktop) on top of the running QuPath application window (black screen area) to install the extension. See the following images:


If this message appears, you could overwrite it, by clicking “OK”:

On the menu bar, navigate and click MONAI Label. Click Next Sample/Patch to load data specified in the start_server command. If the QuPath starts from the beginning, the button will automatically load the next whole slide image.

Click on Apply for default image type (Brightfield H&E)

And then OK

Users can select the blue rectangle to pick an ROI.


Then select the segmentation_nuclei model in the pop-up interface, and click OK to run inference.


MONAI Label server will run auto segmentation with the selected patch data and return the segmentation with polygons.
Users can edit the predicted nuclei segmentation to retrain the model. Once the correction is done, users can navigate to the MONAI Label plugin and click Submit Label to save the ground truth.

Then click Yes to save the ROI label:

MONAI Label server provides Nuclic models to perform instance segmentation with a single click.


Once users finish annotations on several patch images, MONAI Label provides a training option to fine-tune the model:

In the training option pop-up interface, select segmentation_nuclei, and select training customized training options. Uncheck pretrained to start training the model from scratch. Finally, click OK to start the model training in the MONAI Label server:

Repeat fetching and segmenting nuclei until a satisfied model is achieved or entire datasets/WSIs are annotated.
Now that you have a working MONAI Label implementation, work through our Quick Start Guide and/or the resources available on the Next Steps page.
If you are done with the MONAI Label lab, just close the browser window/tab