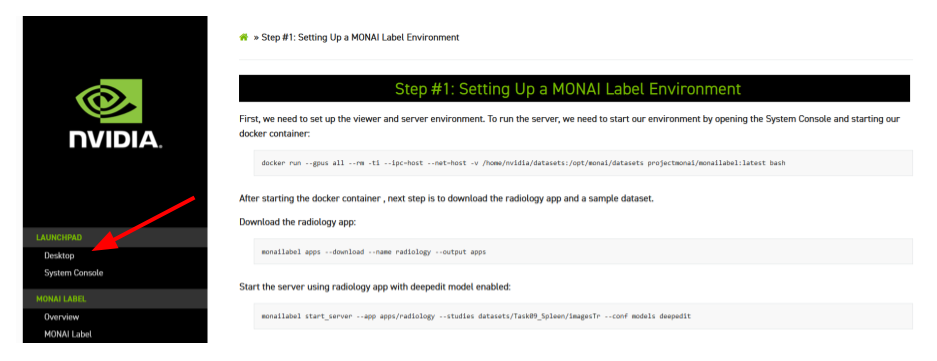
Step #2: Setting Up a MONAI Label Slicer Module
Once the environment and the server are up and running, we move to the viewer side. Inside this instance, located on the Desktop is the 3D Slicer software that you can use to interact with the MONAI Label module.
The Desktop can be found on the top left on this page:
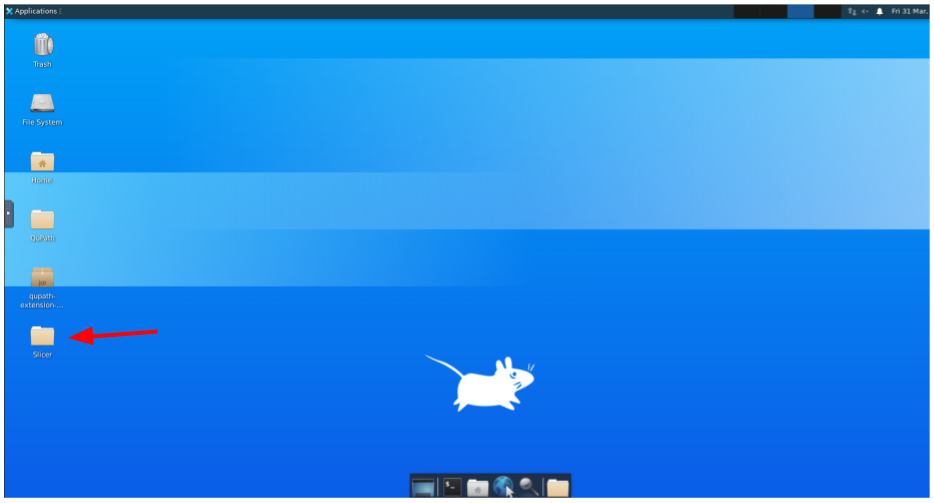
Once inside the Desktop, open the Slicer folder:
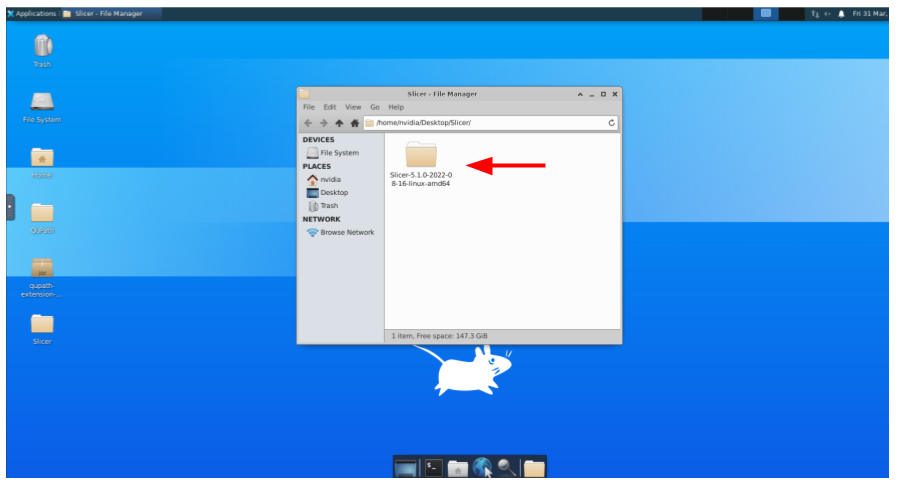
And then the subfolder:
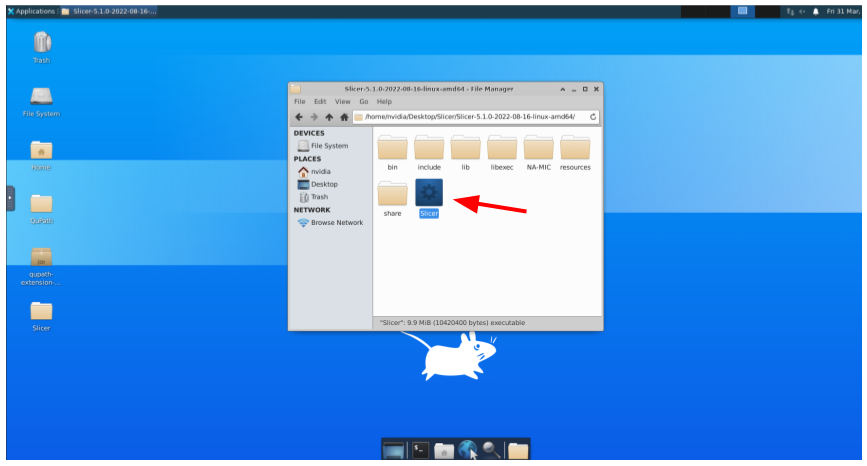
And double-click to the Slicer application:
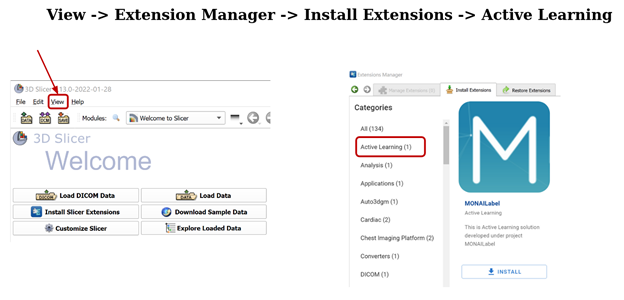
Once Slicer is opened, go to View -> Extension Manager -> Install Extensions -> Active Learning.
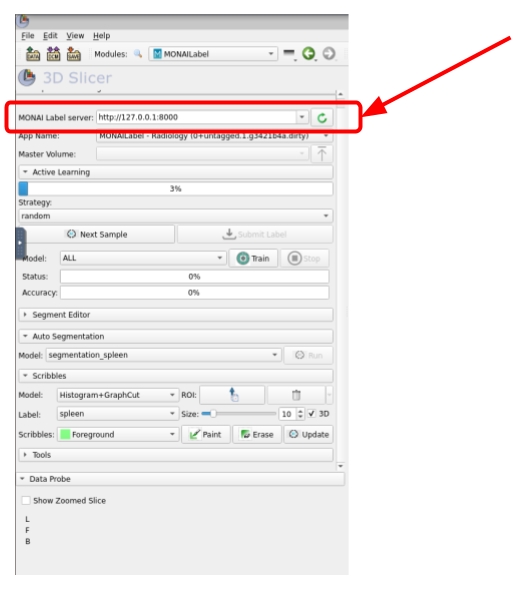
You have to relaunch 3D Slicer after installing the MONAI Label module and then access it through the Modules -> Active Learning menu.
Once the module is installed, type this IP address and port (http://127.0.0.1:8000) into the MONAI Label Server field and click on the green circle icon as it is shown in the next image.
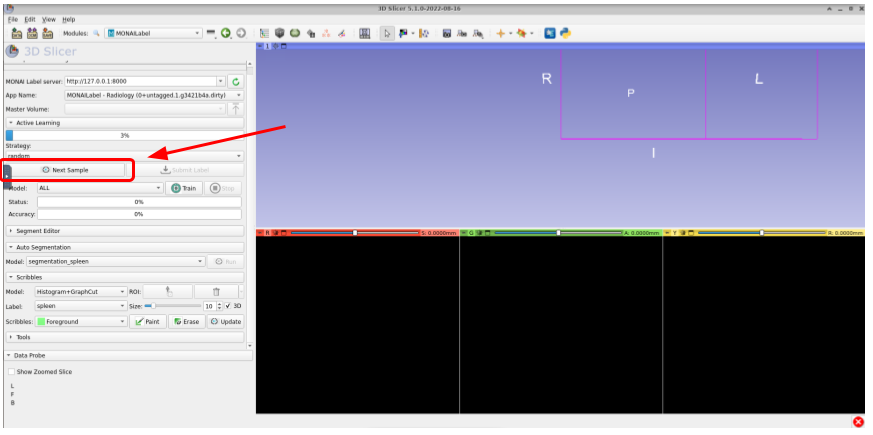
Once connected to the server, the next step is to fetch one of the unlabeled volumes. For this, click on Next Sample as shown in the image below:
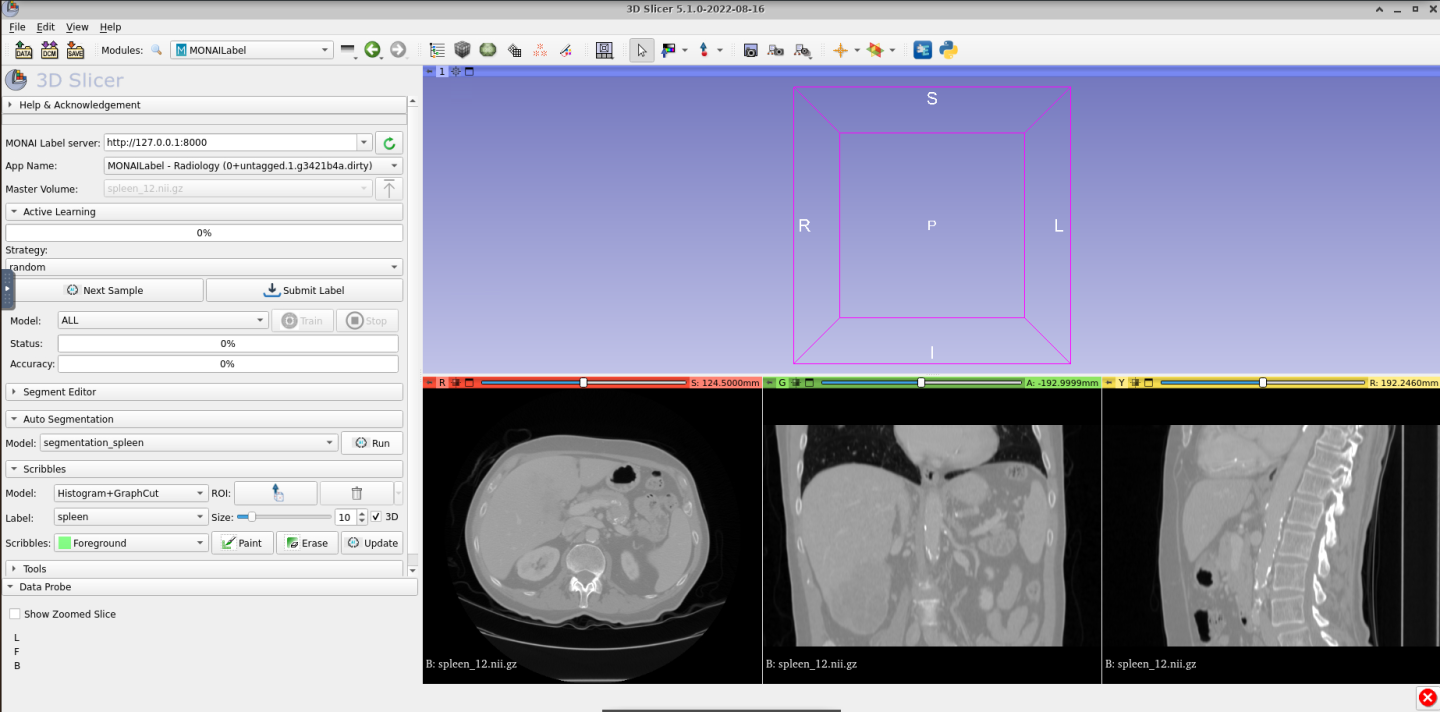
Once fetched, you can see the three views of volume as shown here:
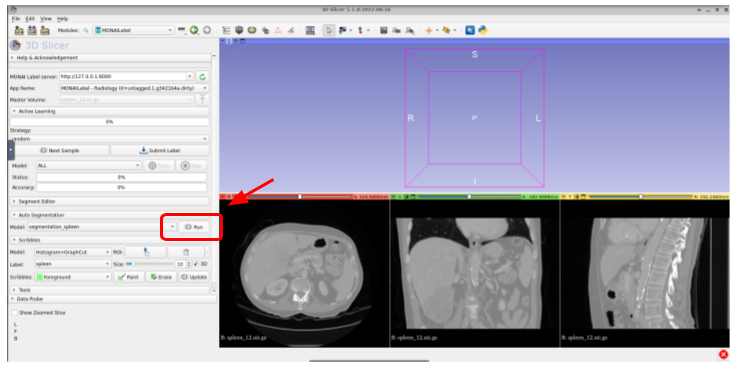
Now, you can use the default pretrained model to segment the spleen organ by using the auto segmentation functionality as follows:
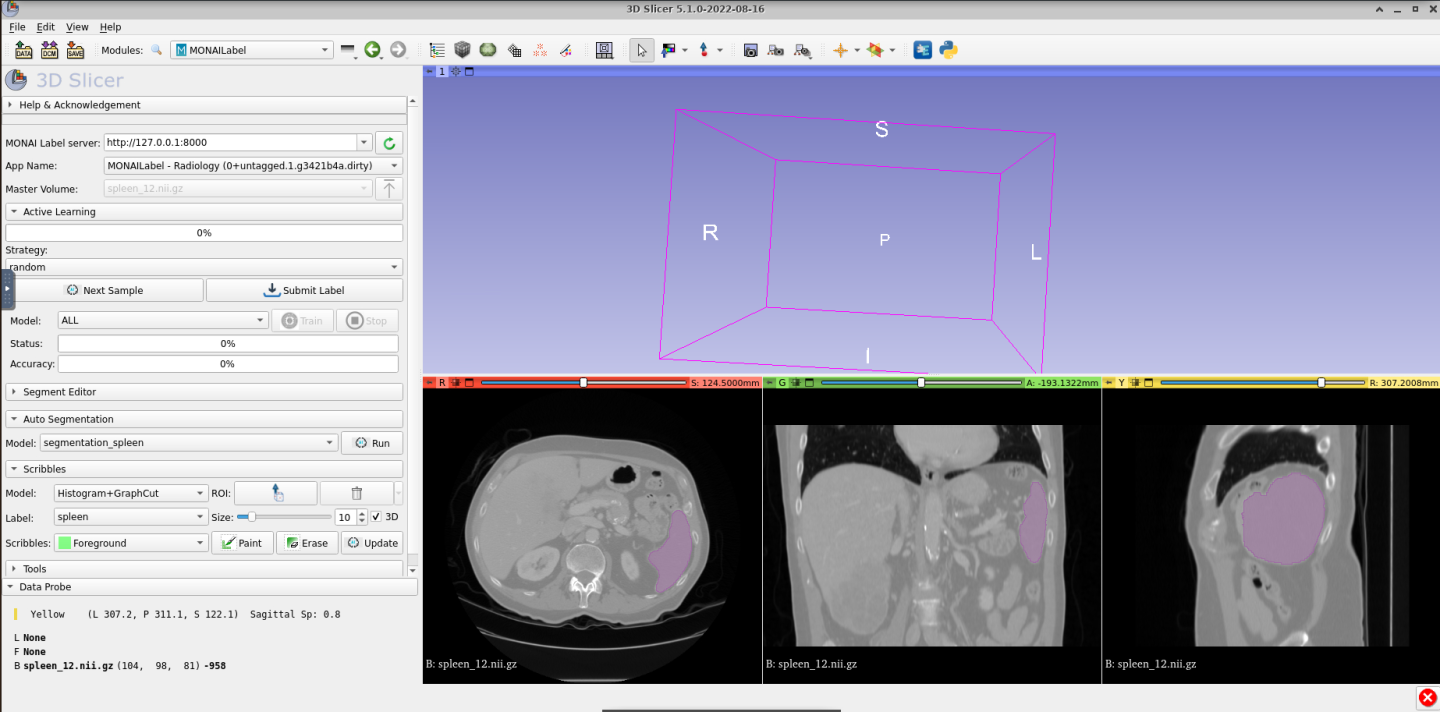
Once segmented, you should get something like this:
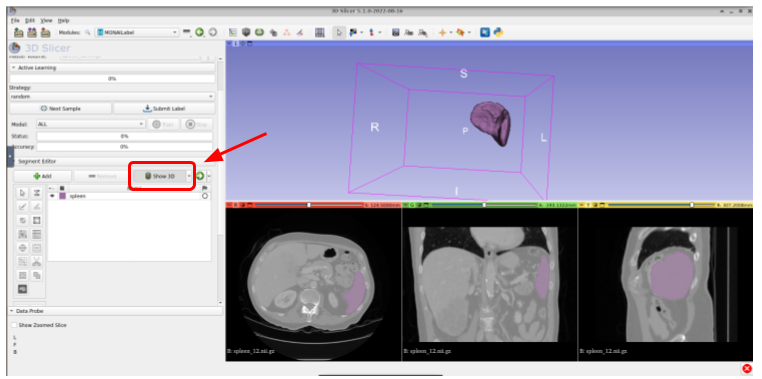
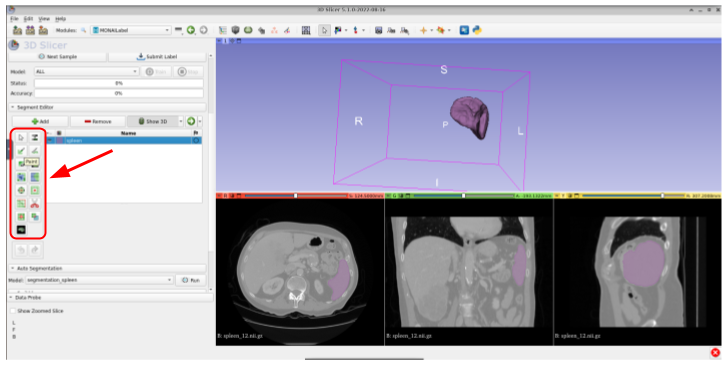
You can show the 3D segmentation by clicking on the Show 3D button within the Segment Editor tab. The result will be something like this:
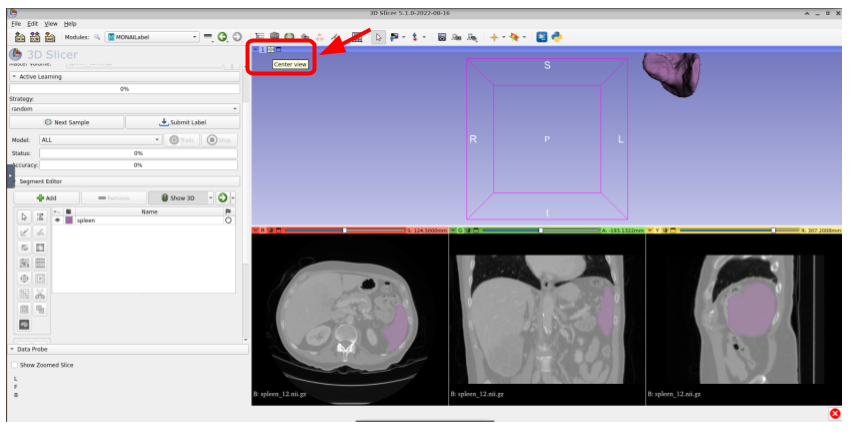
Use Center View if the segmentation isn’t completely visible
Once you get the prediction shown in 3D, you could update it by using the available tools in 3DSlicer (paint brush, scissor, eraser, etc) by first clicking on the segment name (Spleen) and then select the tool.
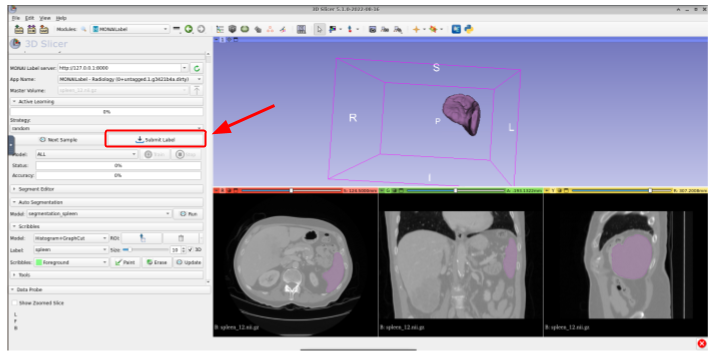
After modifying the label, or if the prediction is already good enough, you could submit it to the MONAI Label server for further model training or fine-tuning. For this, just click on Submit Label:
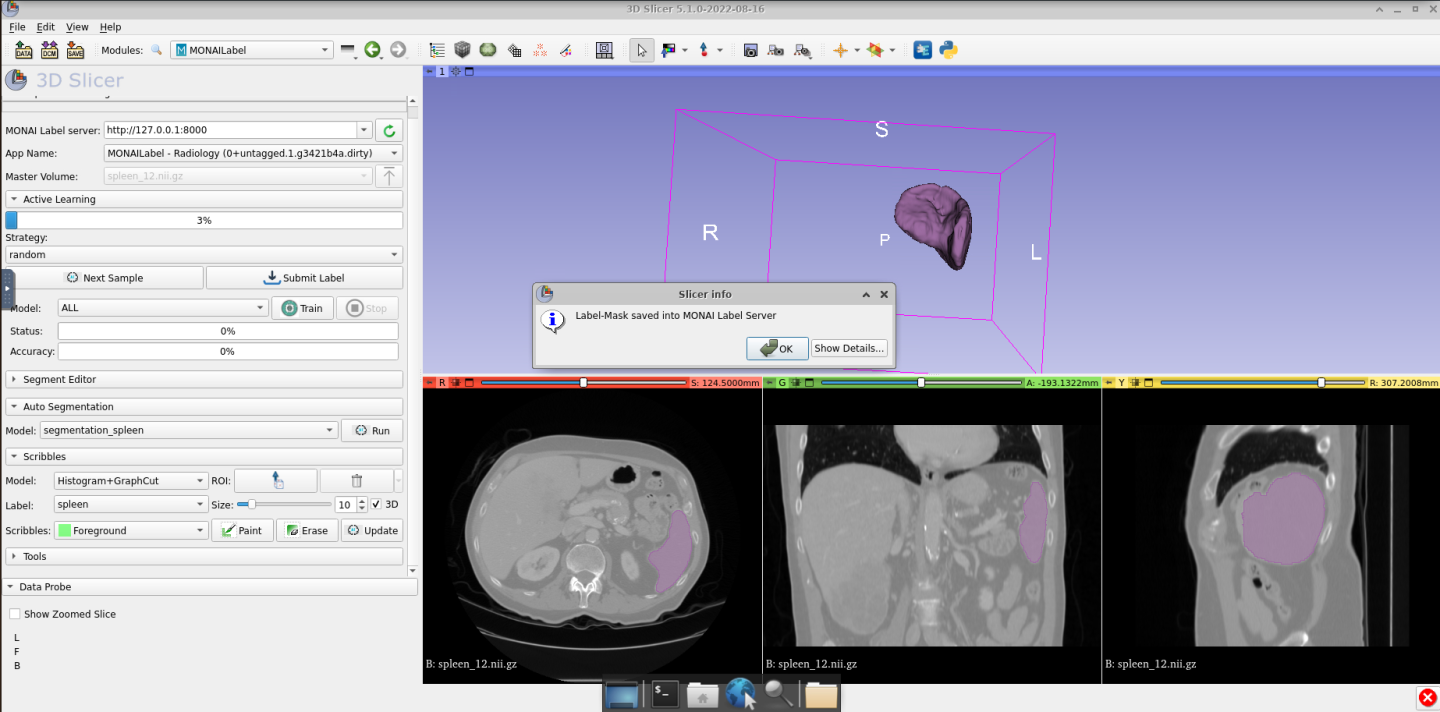
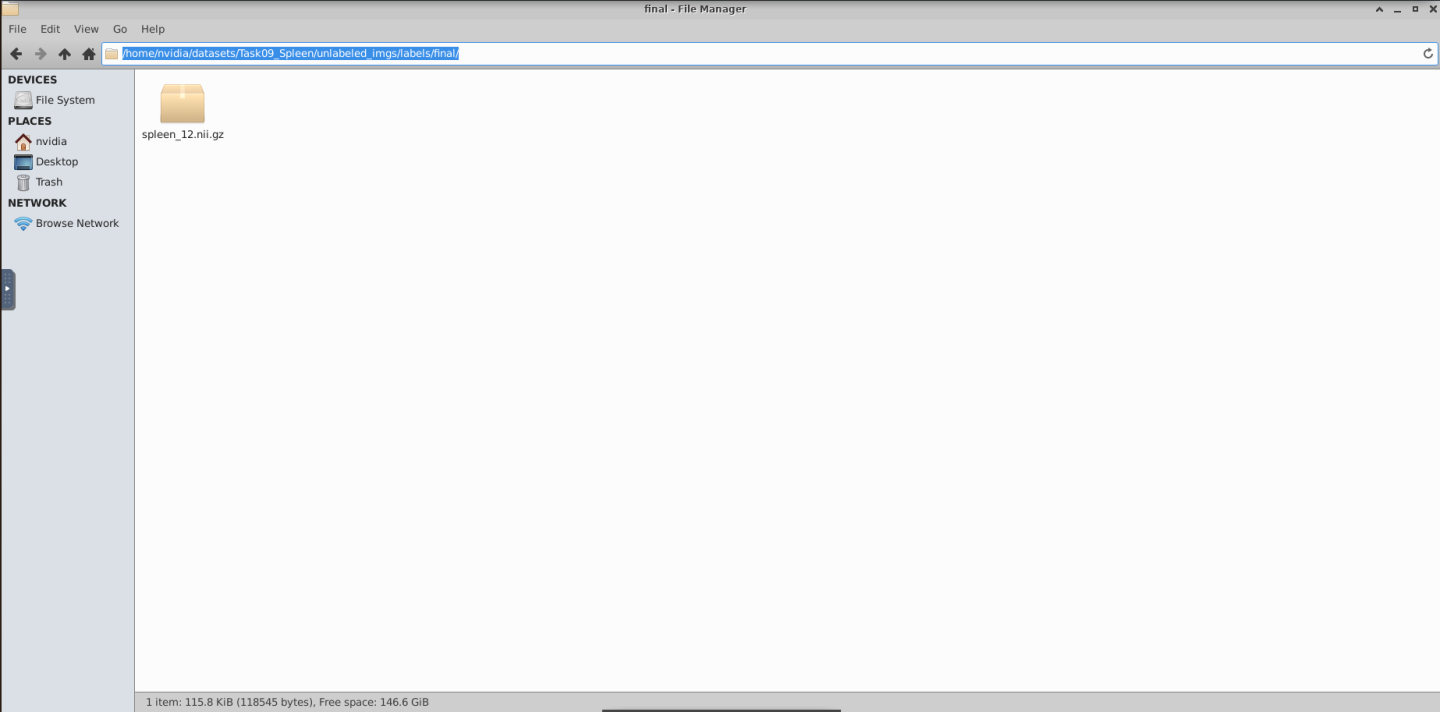
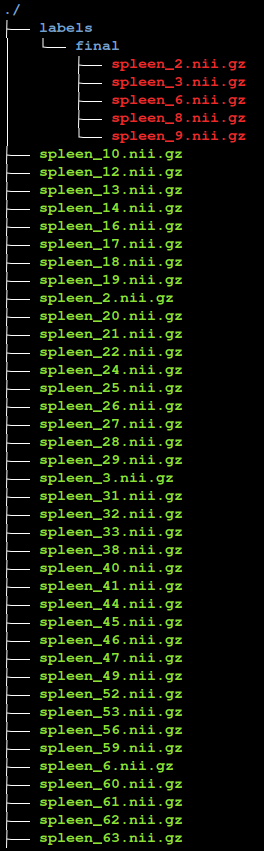
This action will save the annotation in the /home/nvidia/datasets/Task09_Spleen/unlabeled_imgs/labels/final/ folder located on the Desktop file system
When working with the local file archive as here, MONAI Label creates a folder called “labels” and two subfolders called “final” and “original”. In “final”, the system keeps the ground truth or expertly approved annotations, while in the “original” MONAI Label keeps the predictions from the model.
After submitting the label, the user could trigger the training and/or continue the annotation process by fetching the next sample. The annotator can trigger the training with the default values by clicking on Train as shown in the next image:
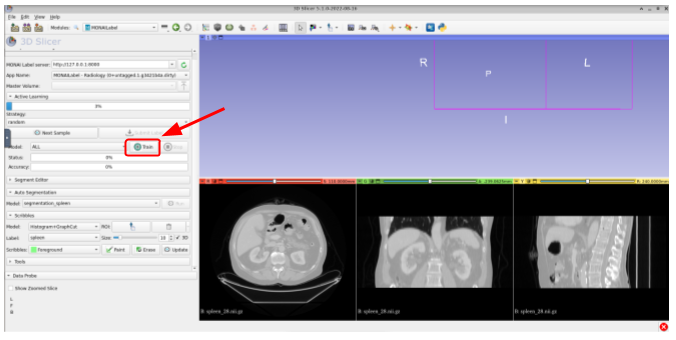
This process can be repeated until the expert sees the model performance is good enough.
Another common use of MONAI Label is when the user has many unlabeled volumes and a small percentage of annotated volumes. For this use case, we have created a folder called partially_labeled_imgs that simulates that situation and it is ready to be used by MONAI Label. This allows the user to train or fine-tune a model without the need to first correct predictions. They could trigger the training immediately after connecting to the server.
Feel free to stop the MONAI Label server by using Ctrl+C and then start the server again using the following command:
monailabel start_server --app apps/radiology --studies datasets/Task09_Spleen/partially_labeled_imgs --conf models segmentation_spleen
Now that you have a working MONAI Label implementation, work through our Quick Start guide and/or the resources available on the Next Steps page.
If you are done with the MONAI Label lab, just close the browser window/tab