Front Console Board Replacement#
Front Console Board Replacement Overview#
This is a high-level overview of the procedure to replace the front console board on the DGX A100 system.
Unpack the new front console board.
Shut down the system.
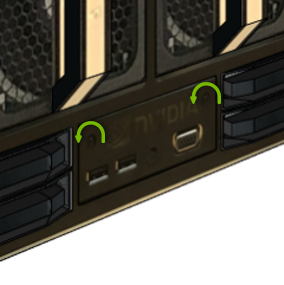
Using a Phillips #2 screwdriver, release the captive screws.
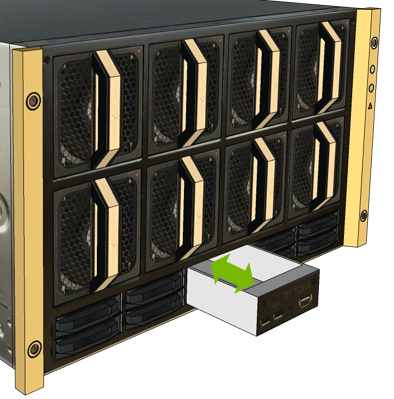
Pull the front console board out of the system.
Insert the new front console board.
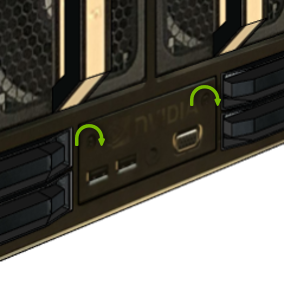
Tighten the screws.
Power on the system and confirm the ports work.
Ship the failed unit back to NVIDIA Enterprise Support using the provided packaging.
Replacing the Front Console Board#
A front console board malfunction can be determined in a few ways.
No display or connectivity occurring after plugging in a keyboard and monitor to the front of the system, or
The USB ports do not work, or
The front temperature sensor does not provide a temperature reading.
Raise a ticket with NVIDIA Enterprise Services to request a replacement.
When the new board arrives, unpack it and keep the packaging to use for sending back the old board.
Caution
Static Sensitive Devices: - Be sure to observe best practices for electrostatic discharge (ESD) protection. This includes making sure personnel and equipment are connected to a common ground, such as by wearing a wrist strap connected to the chassis ground, and placing components on static-free work surfaces.
Power down the system.
Remove the bezel.
Replace the front console board.
Using a Phillips #2 screwdriver, loosen the two captive screws that secure the front console board.

Replace the front console board.

Tighten the screws.

Confirm functionality.
Power on the system.
Issue the following to confirm the temperature sensor is working properly.
$ sudo nvsm show health
Return the old module to NVIDIA Enterprise Services.