U.2 NVMe Cache Drive Upgrade to 7.68 TB Drives#
If you require more drive cache capacity, you can increase the cache by replacing the existing 3.84 TB drives with 7.68 TB drives.
U.2 NVMe Cache Drive 7.68 TB Upgrade Overview#
This is a high-level overview of the steps needed to upgrade the DGX A100 system’s cache size.
Place an order for the 7.68 TB U.2 NVMe drives from NVIDIA Sales.
Power off the system.
Remove the existing components.
Remove all 3.84 TB cache drives.
If you are also upgrading from four to eight cache drives, then remove the air baffles in the blank drive slots.
Install the 7.68 TB NVMe drives in the DGX A100 system.
Power on the system.
Re-initialize the
/raidfilesystem to recognize all eight drives.Confirm the system is healthy by running
nvsm show health.
Installing the 7.68 TB NVMe Drives#
Be sure you have obtained the additional drives.
Back up any critical data to a network shared volume or some other means of backup.
Power off the system using the power button or through the console.
Remove all 3.84 TB NVMe drives.
Important
You must remove all 3.84 TB drives so that there is no mix of 3.84 TB and 7.68 TB drives in the same system.
Push the lever release button (on the right side of the lever) to unlock the lever.
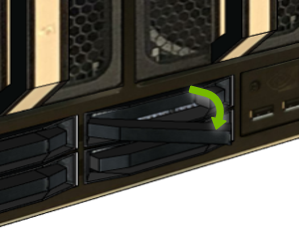
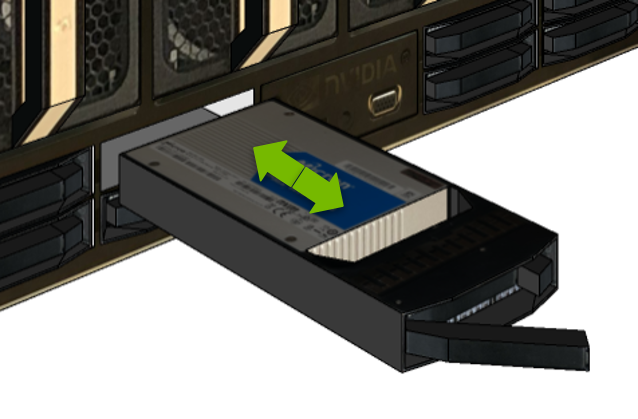
Pull the lever to remove the module.
(Optional) If you are also upgrading from four to eight drives, remove the blank filler modules from slots 1, 3, 5, and 7.

Push the lever release button (on the right side of the lever) to unlock the lever.
Pull the lever to remove the blank filler module.
Install the 7.68 TB NVMe drives.
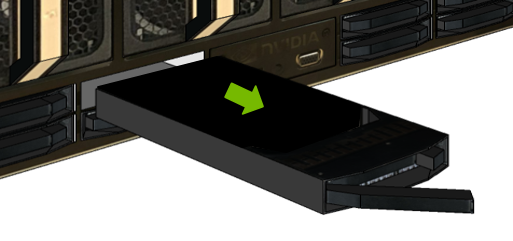
Unlock the release lever and then slide the drive into the slot until the front face is flush with the other drives.
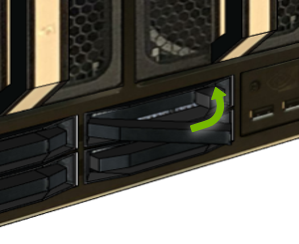
Close the lever and lock it in place.
Power on the system.
Perform the tasks describes in the chapter U.2 NVMe Cache Drive Post-Installation Tasks.