Remove the M.2 Boot Drive Carrier#
Before attempting to remove M.2 boot drive carrier, make sure that you performed the following prerequisites:
Label all network, monitor, and USB cables connected to the motherboard tray for easy identification when reconnecting.
Unplug all power cords, and all network, monitor, and USB cables.
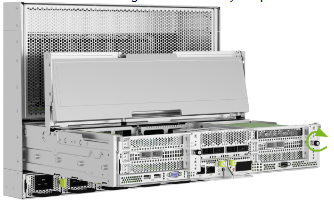
Refer to Motherboard Tray - Opening and Closing the IO door for more information.
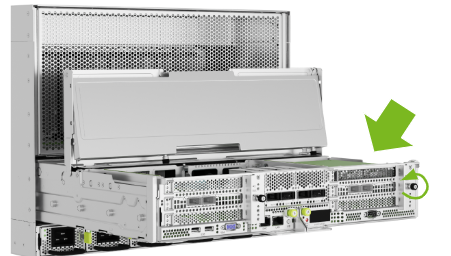
After the IO section of the motherboard is open, unlock the M.2 drive carrier by loosening the PCI card locking mechanism by loosening the black captive thumbscrew on the right side of the motherboard:
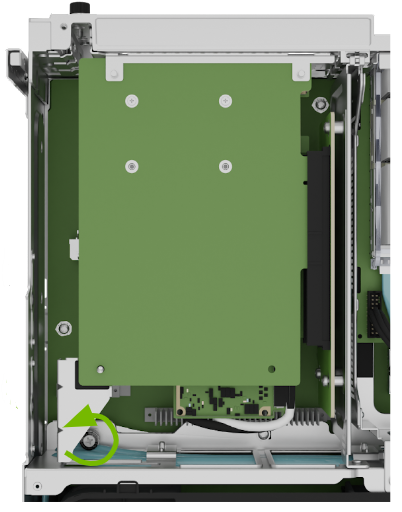
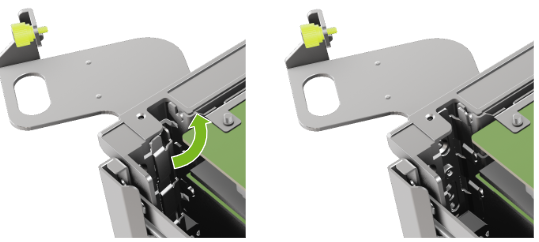
Rotate the locking mechanism for the PCI carrier out of the way:

Lossen the captive screw on the support bracket of the M.2 riser card:
Pull the M.2 riser card from the slot:
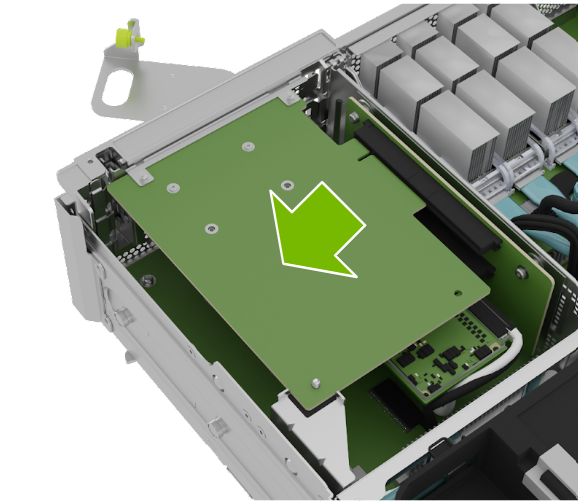
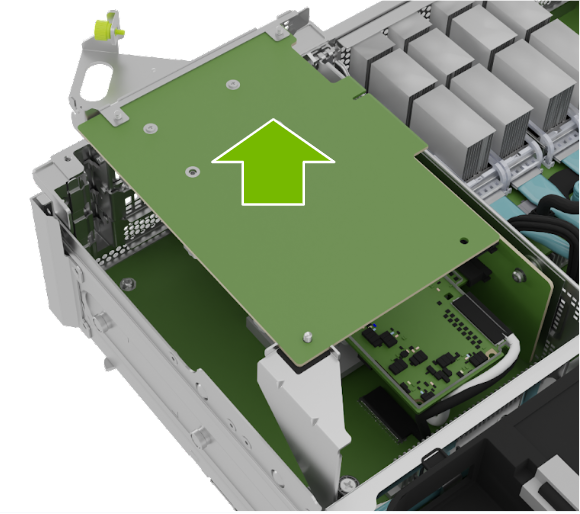
Lift the M.2 riser card to remove it from the system:
Install the M.2 Boot Drive Carrier and Close the System#
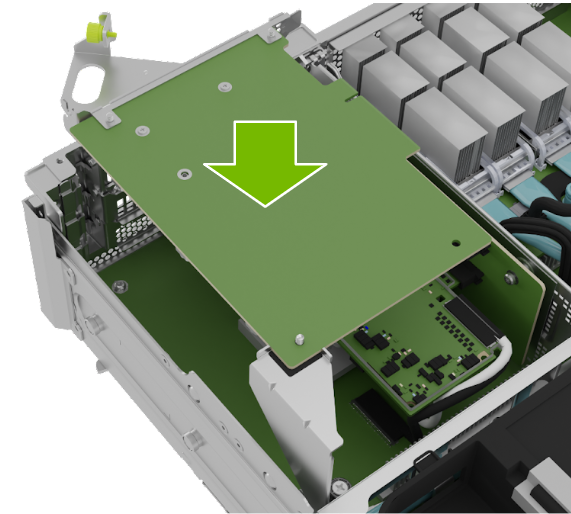
Position the M.2 riser card into the system:
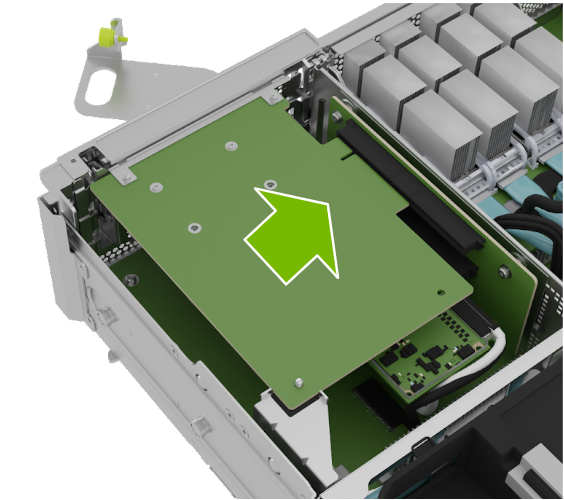
Install the M.2 carrier card into the PCI riser by aligning it with the slot and then pressing it against the riser:
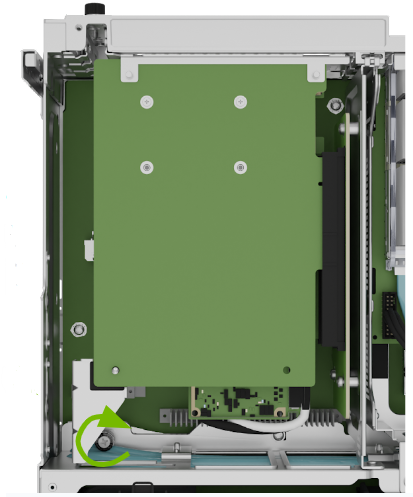
Tighten the captive screw on the support bracket of the M.2 riser card:
Close the latch to secure the M.2 carrier and secure it in place:
Tighten the thumb screw to make sure the locking mechanism stays in place: