Preparing the Motherboard for Service#
Before pulling the motherboard out of the system, the system must be shut down and cables must be removed from the system.
Caution
Wear an ESD strap during any procedure that involves touching electronic components.
Shut down the system
To avoid misconfigurations, label all the cables before unplugging them.
Label all network, monitor and USB cables

Unplug all power cords
Unplug all network, monitor and USB cables
Release the Motherboard#
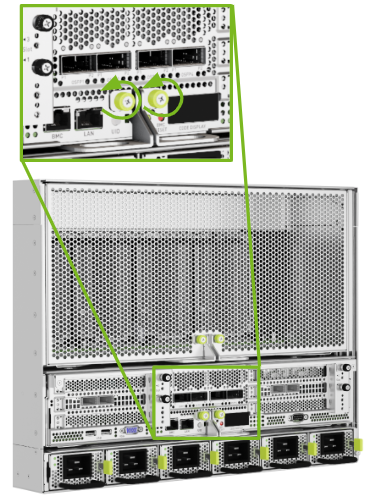
Unlock the motherboard by loosening the captive screws that hold the ejection levers in place:

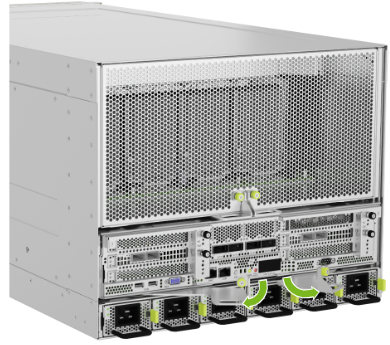
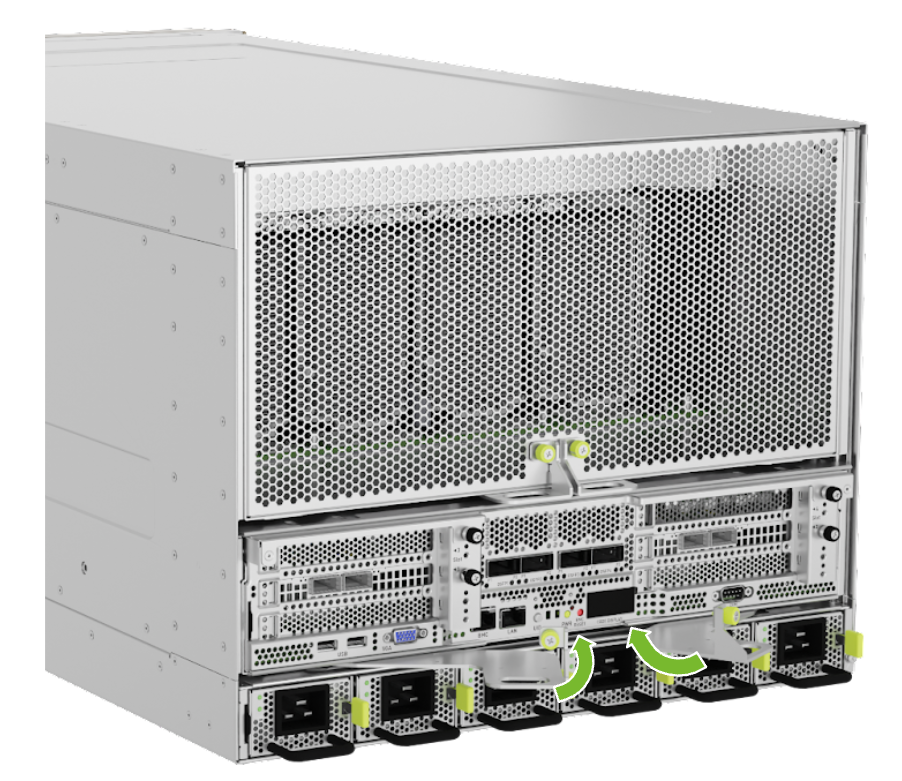
Pull the ejection levers to disengage the midplane connectors:

Insert the Motherboard#
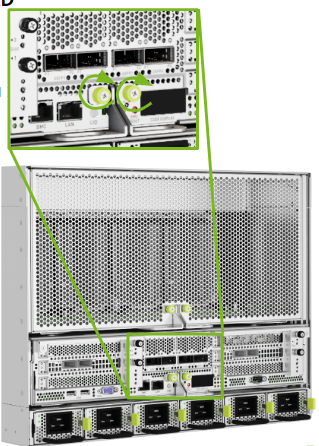
Finalize Motherboard Closing#
Use the labels on the cables to reconnect them to the correct ports. After all cables are installed, plug the locking power cables in and power the system on.


