

Using SimReady Assets#
Want to extend your factory scene? Explore SimReady Central for additional assets. This is an optional activity after completing the course; keep the supplied Delta machines for the guided exercises.
What Is SimReady?#
SimReady is an OpenUSD-based framework for the properties and metadata needed by a simulation workflow. Depending on the intended use, these can include physical properties, articulation, semantic labels, and material attributes.
Explore SimReady Central#
Browse the site to find assets that fit your scene, then inspect a listing before downloading. Check the available formats, dependencies, usage terms, and supported simulation features.
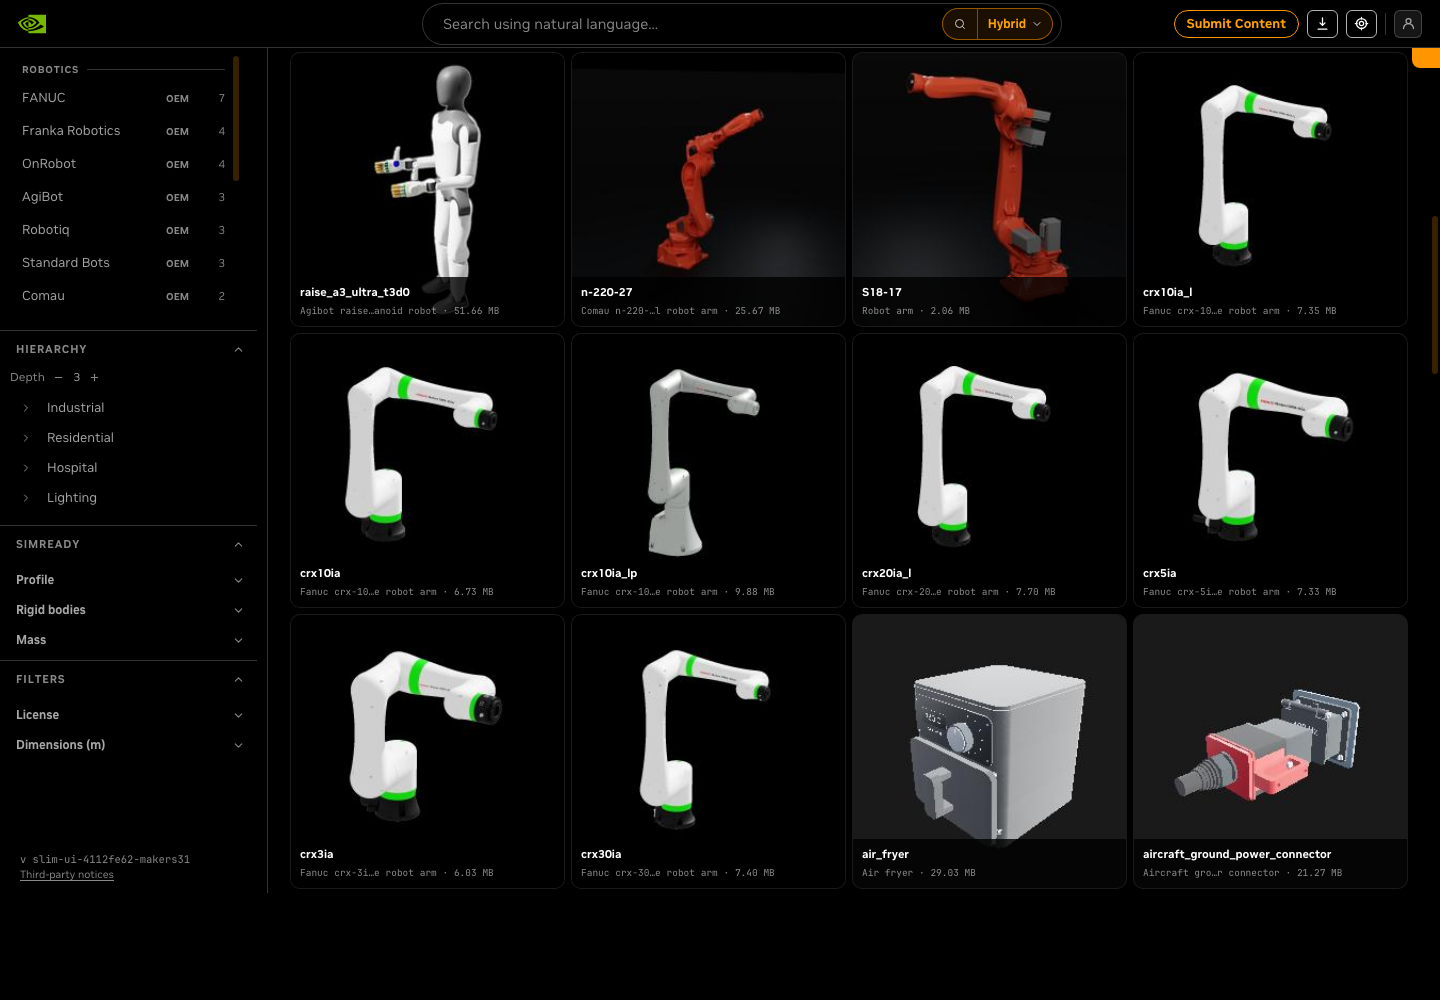
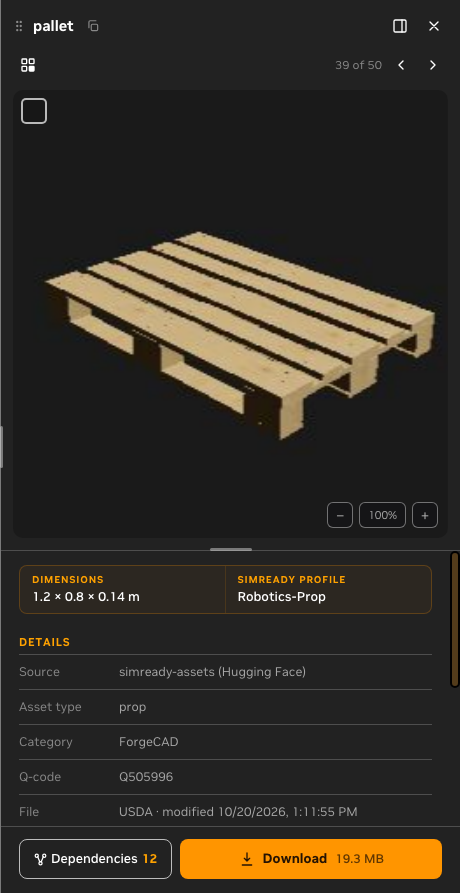
The pallet listing below illustrates the details to review: dimensions, SimReady profile, source, and dependencies. The screenshot shows the site, not an asset tested in this course.
Try an Asset in Your Scene#
Choose one compatible OpenUSD asset. Start with a supporting prop so you can practice the workflow without replacing the course’s production line.
Keep its files together. Download the asset and its dependencies into your project’s
Assets/Propsfolder, preserving their relative paths. Follow the project folder structure. If you use Collect in Kit, follow the local-prop workflow; downloading from the website is a separate step.Reference and place it. Follow Adding Props to the Stage, using
FactoryProps.usdas the authoring layer. Reference the local USD, check its scale and orientation against the factory, and arrange it in the scene.Check the result. Confirm that materials and dependencies resolve, then save and reopen the scene. Use Asset Validator to inspect relevant asset issues.
Note
Adding an asset to the scene does not validate its simulation behavior. Check its requirements against your application and intended use. These optional assets have not been tested in the course environment.