x86 Emulator#
The PVA SDK x86 emulator allows users to build VPU applications for x86-64 targets.
Throughout this document, we refer to this as Native model because of the fact that the build is targeting the same ISA as the platform where it is compiled.
The native model is intended to be functionally close to a real VPU. It does not model VPU functionality perfectly in all cases, but may be used as a starting point for development.
In general, native model is more permissive than the real VPU. Users should expect that code which works on VPU also works on native, but not necessarily vice-versa. See here for more information.
The native model is a tool to aid in development. It should not be used for verification.
Native Build Instructions#
Building in native requires the package pva-sdk-2.7.1-native-dev to be installed.
Once this is installed, most applications can be built by simply specifying native when creating your
build tree, without any change to the underlying source:
mkdir build_native && cd build_native
cmake -DPVA_BUILD_MODE=NATIVE ..
make
This generates an output executable which can then be run directly on the build machine.
There are two special environment variables recognized in native mode at runtime:
PVA_GENmay be eitherGEN2orGEN3. This controls which generation of PVA should be emulated. Note that any VPU applications specified with, for example,cupva_devicemust actually support the specified generation.CUPVA_DMATIMEOUTcontrols the behavior of the native DMA model’s timeout. Timeout may occur if a DMA channel spends too long waiting for a trigger:If not set, the timeout is 60 seconds.
If set to zero, the timeout is disabled.
If set to a positive integer, the timeout is that value in seconds.
For example:
./myApp # Defaults to running Xavier model (GEN1). DMA timeout is 60 seconds.
PVA_GEN=GEN2 ./myApp # Will use Orin model (GEN2). DMA timeout is 60 seconds.
CUPVA_DMATIMEOUT=120 PVA_GEN=GEN2 ./myApp # Will use Orin model (GEN2). DMA timeout is 120 seconds.
Note
The runtime associated with the selected PVA_GEN must be installed. If it is not, cuPVA host APIs
signal DriverAPIError with message PvaError_DeviceUnavailable.
Native Debugging#
A native mode application is the same as any other host machine application. Users may choose to build with debugging symbols and attach a debugger such as gdb.
Additionally, VPU code in native model is built with the host machine’s C++ compiler. This means that
file I/O, printf, std::cout, etc., can all be inserted into the native VPU code for debugging.
Note
Instrumenting VPU code with constructs which are not supported by the VPU compiler means that the code no longer compiles for non-native targets.
To inspect the contents of vector registers, the native model provides the function chess_report.
Using Native on Windows with WSL2#
PVA SDK native model is provided for Linux only. However, for users who prefer to use a Windows-based development environment, PVA SDK native model can be used with Visual Studio on Windows by using WSL2. This section describes how to set up a native development environment in Windows.
Setup WSL2 and Ubuntu 20.04#
Install WSL2 using the guide here: https://docs.microsoft.com/en-us/windows/wsl/install
Note
If you already had WSL installed with Ubuntu 20.04, you need to upgrade your distro to WSL2. Follow the guide here: https://winaero.com/update-from-wsl-to-wsl-2-in-windows-10/
Install the Ubuntu 20.04 distro. In an elevated PowerShell:
wsl --install -d Ubuntu-20.04
Ubuntu 20.04 should launch and you need to configure some information (username and password). You can use any credentials you like here.
From within an Ubuntu 20.04 shell, install dependencies:
sudo apt update
sudo apt install build-essential gdb gpg wget ninja-build
wget -O - https://apt.kitware.com/keys/kitware-archive-latest.asc 2>/dev/null | gpg --dearmor - | sudo tee /usr/share/keyrings/kitware-archive-keyring.gpg >/dev/null
echo 'deb [signed-by=/usr/share/keyrings/kitware-archive-keyring.gpg] https://apt.kitware.com/ubuntu/ bionic main' | sudo tee /etc/apt/sources.list.d/kitware.list >/dev/null
sudo apt-get update
sudo rm /usr/share/keyrings/kitware-archive-keyring.gpg
sudo apt-get install kitware-archive-keyring
sudo apt-get install cmake
Install PVA SDK within the Ubuntu 20.04 shell.
Follow the instructions at installation to install PVA SDK within the WSL2 Ubuntu 20.04 environment. The only PVA SDK package which needs to be installed is
pva-sdk-2.7.1-native-dev.Note
In WSL2, files in the Windows filesystem are available under
/mnt. For more information, refer to https://learn.microsoft.com/en-us/archive/blogs/wsl/wsl-file-system-support.(Optional) Copy some sample code from the PVA SDK installation to somewhere accessible in the Windows filesystem. This is an optional step; you may prefer to instead set up a PVA SDK project from scratch. For example, from a Windows PowerShell with WSL2 Ubuntu 20.04 shell still running:
mkdir mat_add
cd mat_add
cp -r '\\wsl$\Ubuntu-20.04\opt\nvidia\pva-sdk-2.7.1\samples\mat_add\*' .
Once the above steps are complete, close all open Ubuntu 20.04 shells.
Configure Visual Studio#
Note
For this guide, we use VS2022. Similar instructions may work with other versions, or over SSH rather than WSL2. The information in this guide is predominantly sourced from https://devblogs.microsoft.com/commandline/build-and-debug-c-with-wsl-2-distributions-and-visual-studio-2022/
Launch Visual Studio 2022.
Select
Continue without code.Tools → Options → CMake → Select 'Prefer using CMake presets for configure, build and tests' or 'Always use CMakePreset.json'.Click ok, restart Visual Studio.
Again click
Continue without code.Choose
File → Open → CMakeand navigate to theCMakeLists.txtof the project you copied from the PVA SDK install. .. note:This is an optional step; you can also start a new PVA SDK project from scratch here by creating a new CMake project.At the top of the screen you see three drop-down boxes:

On the left-most box, change Local Machine to WSL:Ubuntu-20.04.
Note
At this point, you could instead ‘configure connections’ to use SSH instead of WSL2.
In the middle box, click the arrow and select
Manage configurations. Visual Studio generates aCMakePresets.jsonfile for you, which is now displayed in the file editor. This file may be configured to change the profiles in which your project may be buit. For options, see https://cmake.org/cmake/help/latest/manual/cmake-presets.7.html.CMake configuration now may take place automatically. If it doesn’t or it fails for some reason, select
Project → Delete cache and reconfigure. You should see this in output: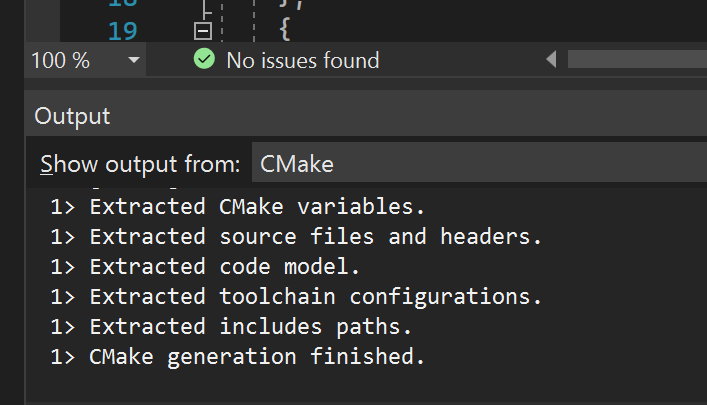
Now you can build and run. From the
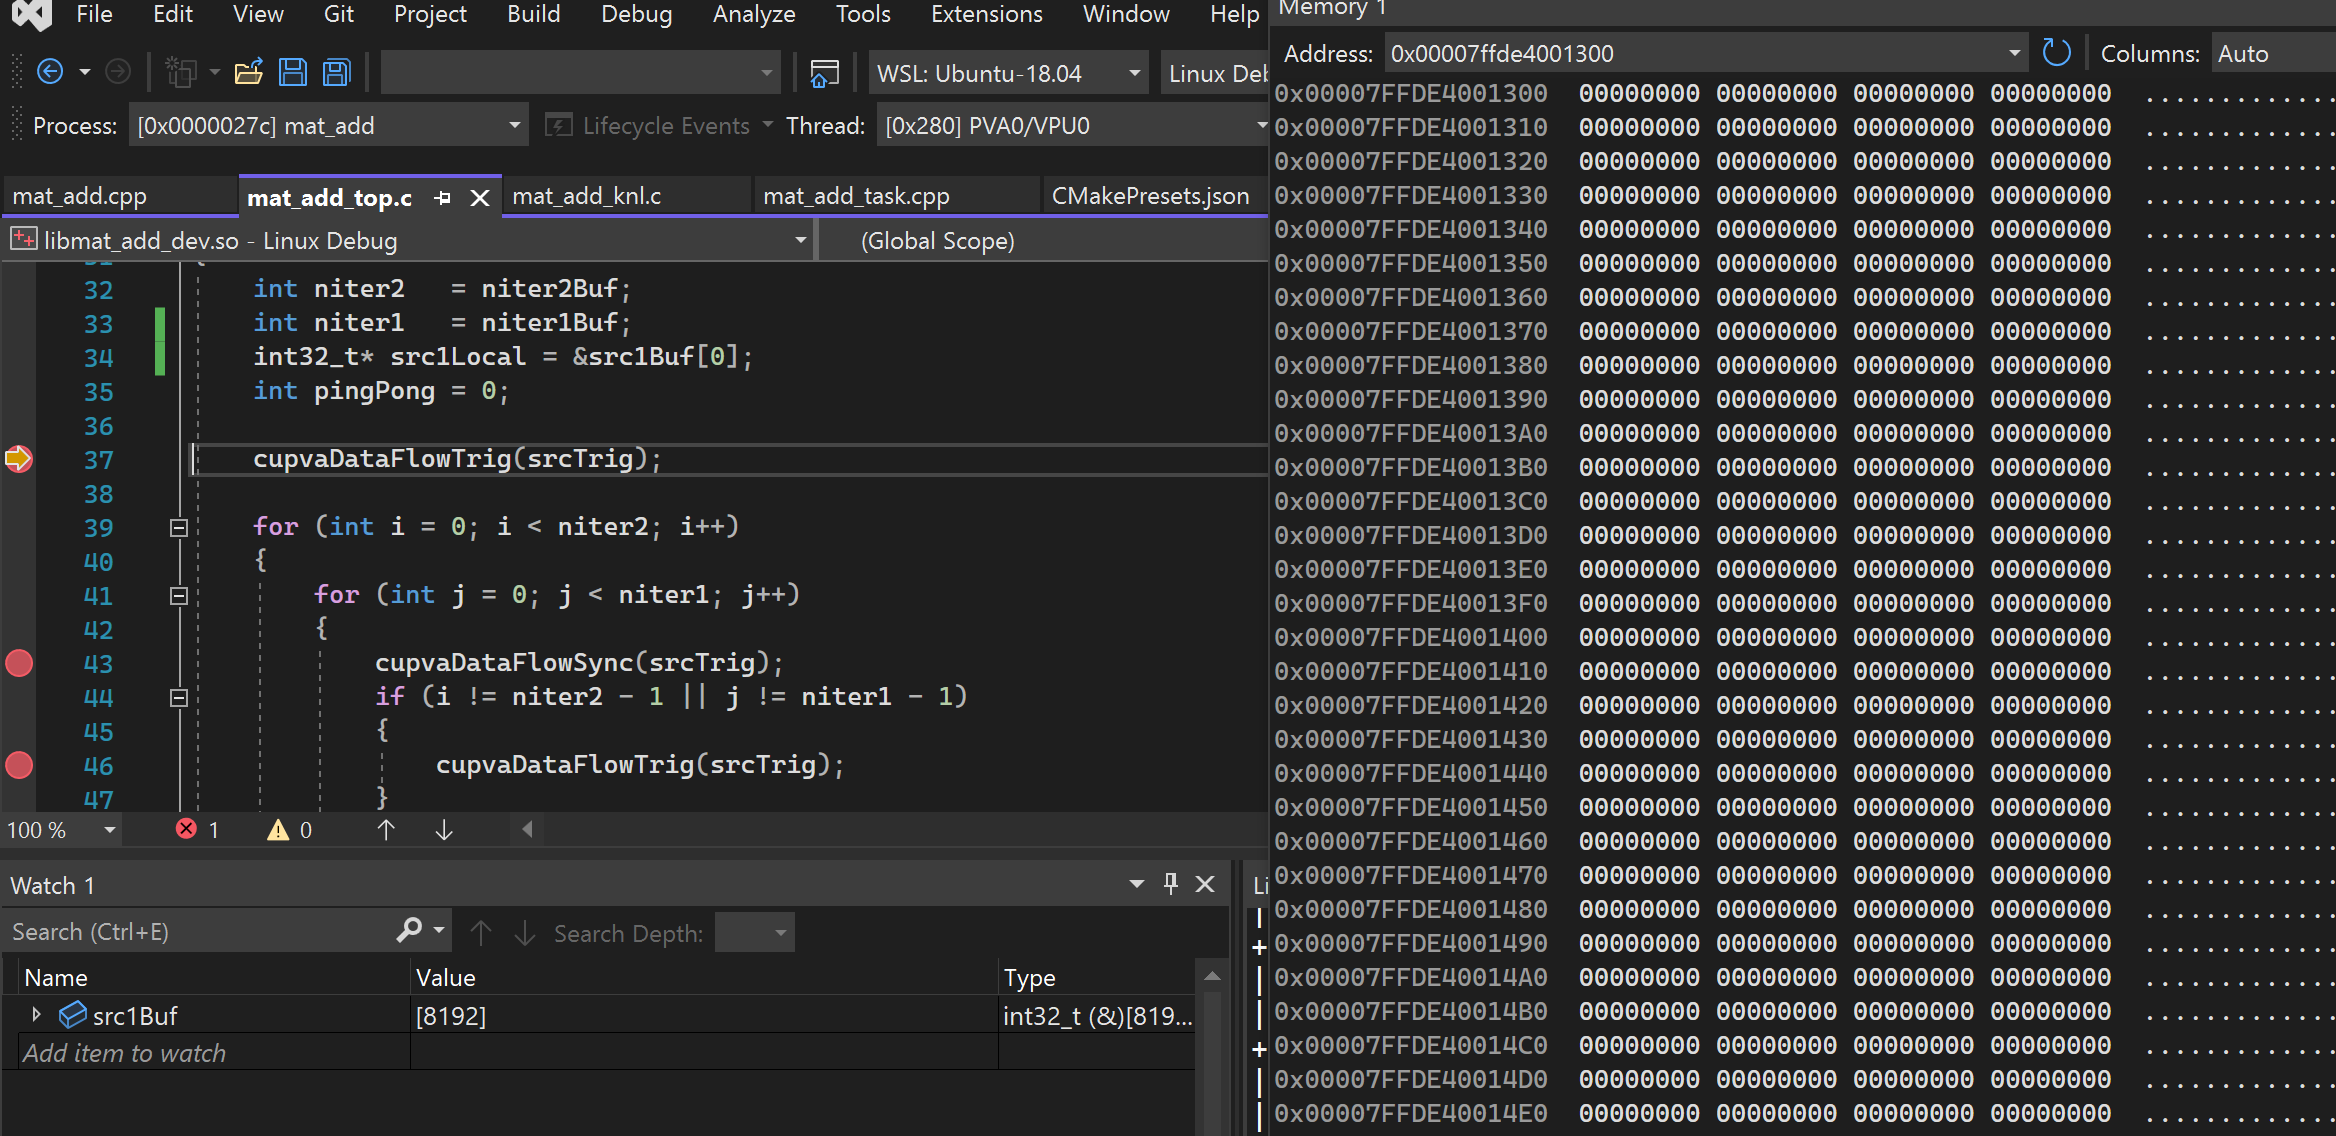
Select startup itemmenu, choose the top level executable (in our case it ismat_add).You can now debug using Visual Studio, including with features such as memory window.
For example, here is the view of a buffer before triggering:
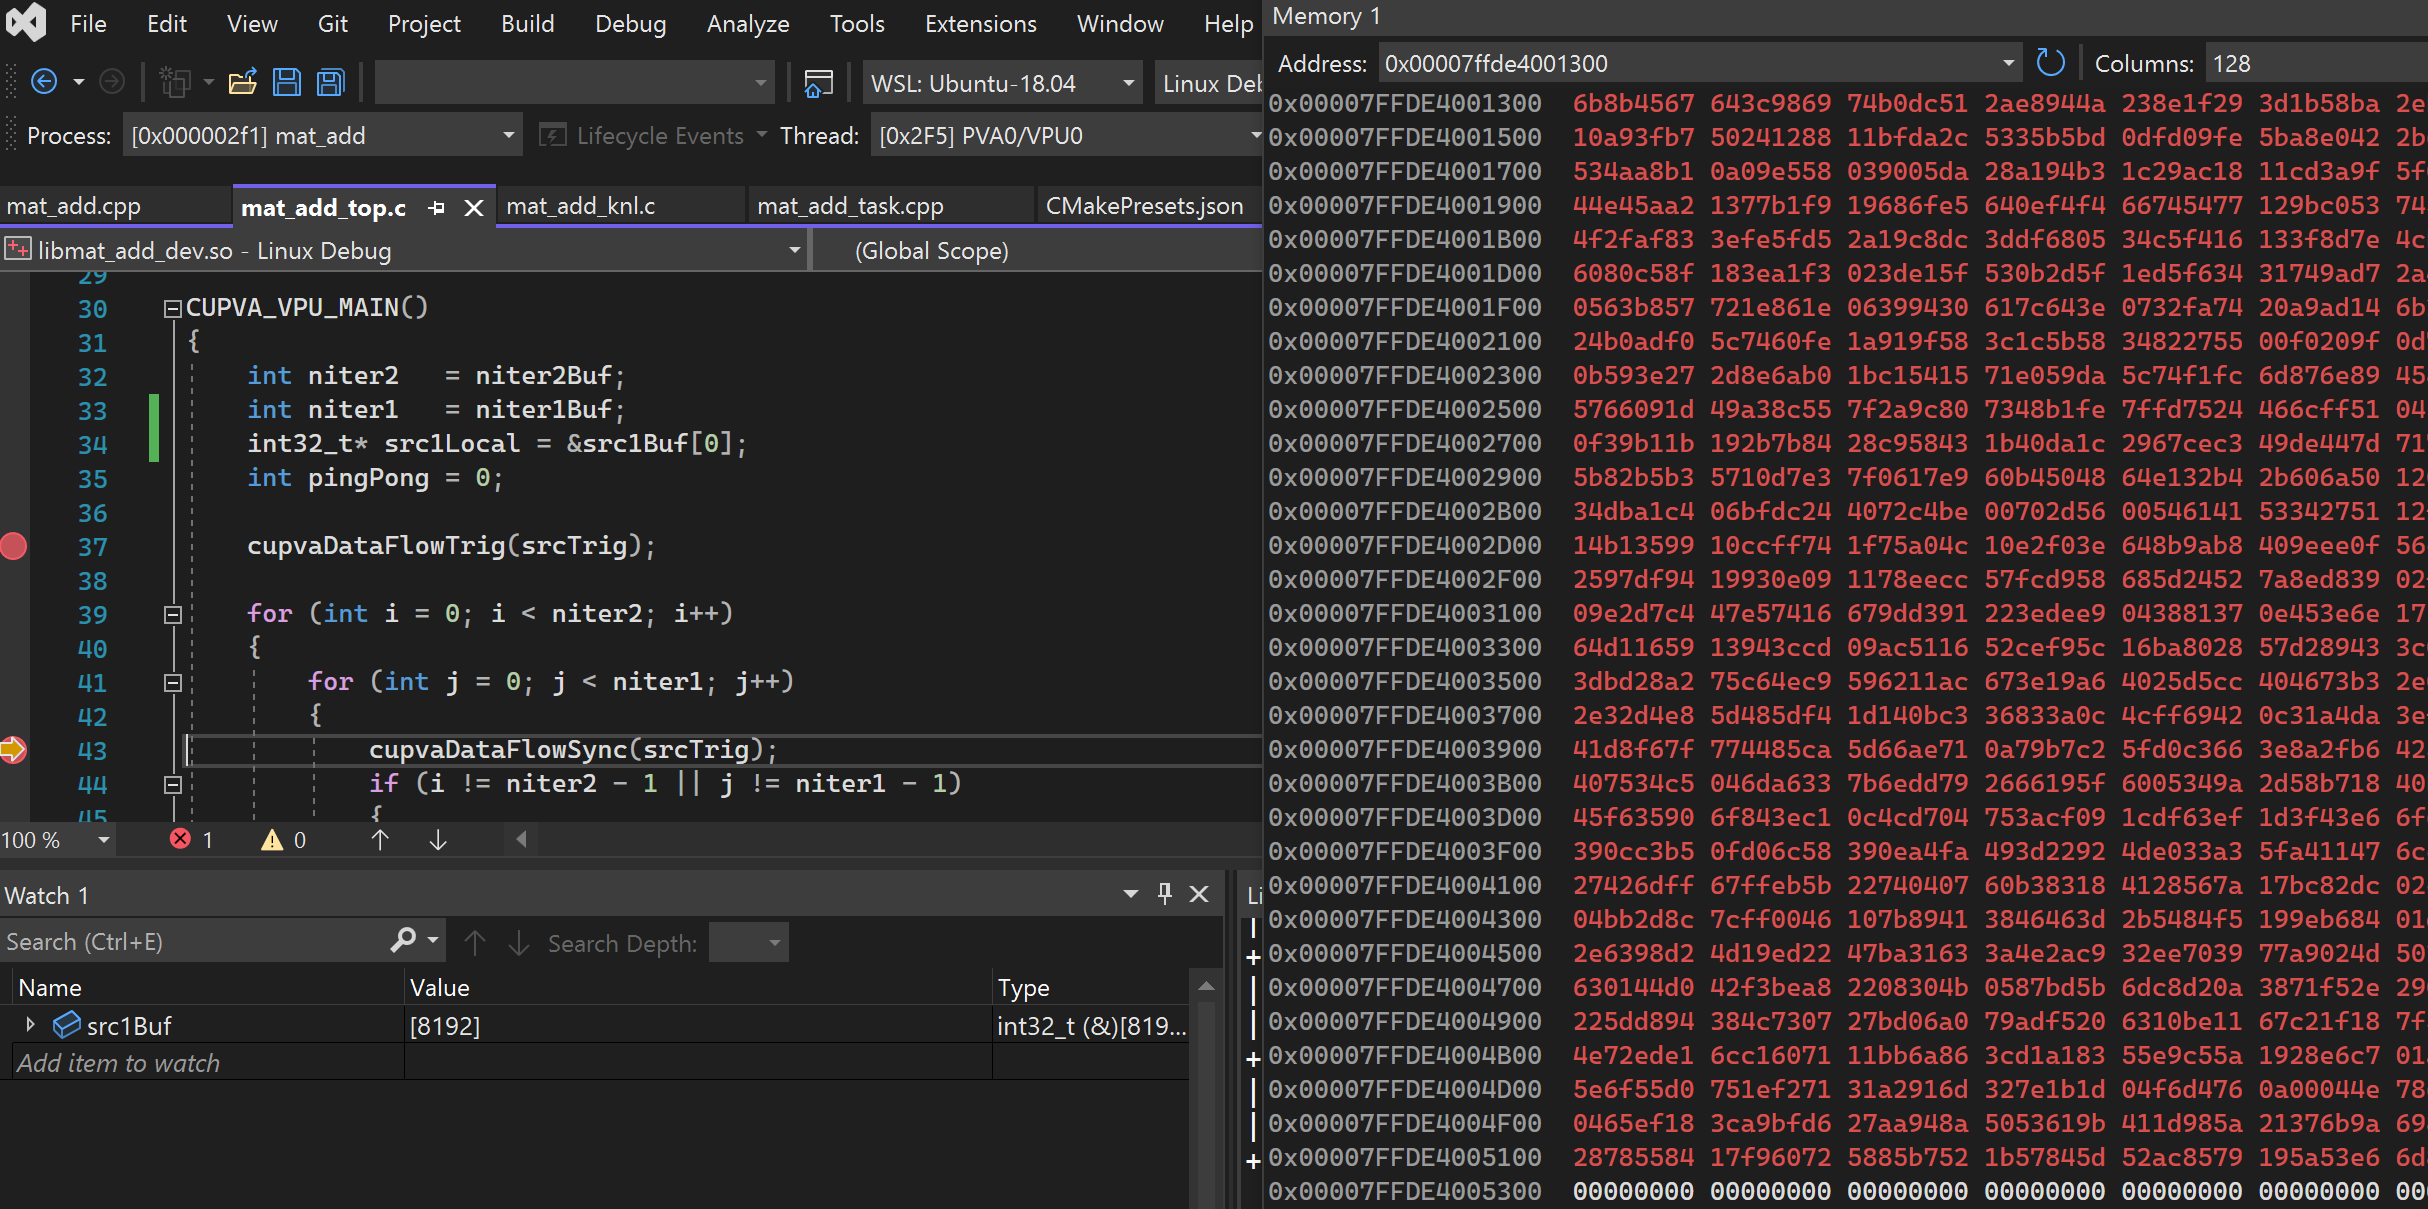
And after syncing:
Note
The Visual Studio debugger cannot always identify the correct addresses of global variables in device code. See the workaround in the above screenshots; we can instrument the code with a local pointer to identify the addresses of these buffers, then inspect the value of these pointers in the stack frame to determine device buffer addresses.
Native Limitations#
This section aims to briefly explain how VPU code is compiled for an x86-64 target in native mode. The purpose is to explain and understand the limits of the native model.
There are three steps which take place when VPU code is compiled to an x86-64 loadable plugin in native mode:
The GCC preprocessor is used to replace keywords unique to ASIP Programmer with either whitespace or some equivalent GCC keyword.
Headers are included which provide C++ type definitions for all vector types, and function definitions for all intrinsics.
VMEM macros are expanded to some additional registration code which registers the buffer with a VMEM map used by the DMA native model.
Once this is done, the plugin is linked with a runtime which provides implementations of intrinsic functions, which are bit-exact x86-64 implementations of VPU intrinsics. The underlying VPU instruction set is not simulated in any way. Only intrinsics are modeled, and they are modeled as function calls.
As a result of this, there are numerous hazards of which the developer needs to be aware, which may cause functional mismatch between the PVA SDK native model and the real VPU target.
Code Generation is Not Modeled#
Chess compiler contains many loop annotations which control code generation for HW loop feature. For
example, the user can specify chess_loop_range(start, end) which indicates the min/max number of iterations,
or chess_loop_unroll(x) which specifies that the loop should be unrolled a certain number of times.
In native model, these are removed by the preprocessor. However, they can affect functionality in VPU
code. For example, chess_loop_range(1,10) tells the compiler that it does not need to add a branch
condition to check if the loop condition is false on the very first iteration. Instead it can just
unconditionally execute the loop in a RPT block. If at runtime it turns out that the loop should be
run zero times, this code does not work on VPU. But on native, the loop is not executed.
Similarly with loop unrolling, if the actual number of iterations is not a multiple of the number of times you have requested chess to unroll the loop, behavior is different on VPU vs native mode.
Some memory operations are non-coherent on VPU, and sometimes user must provide hints to chess about
memory dependencies which it cannot infer automatically. Statements like chess_memory_barrier() or
chess_scheduler_separator() are used in these cases. On native, these compile to nothing, but it doesn’t
matter because the relevant ‘non-coherent’ operations are actually just function calls with strong
memory ordering. However, if they are left out in some cases VPU code does not function correctly.
Memory Constraints Are Only Partially Modeled#
Many VPU instructions or DMA operations require certain memory alignment. If these are not followed, in general the function succeeds on native model, but give corrupted results on hardware.
Native mode has a different memory model compared to real silicon. User bugs like buffer overrun, or system bugs such as incorrect buffer initialization, can cause things which work on native to not work on silicon. The user should inspect input VMEM buffers (using simulator or debugger) to check whether they have correct values as one of the first steps in debugging kernels for silicon.
If the user specifies a custom BCF, this file is ignored in native model. Even with the default BCF file, some memory is reserved for debugger and printf buffers, neither of these buffers are modeled in the native model.
DMA Resources and Timing Are Only Partially Modeled#
Each DMA channel runs in its own thread. However on real silicon, transfers usually require ADBs or VDBs and can conflict with each other. These buffers are not modeled in native model. In addition, the precise timing of DMA transfers is likely to be different in native model compared to real silicon.
Different Address Space Size#
When building for x86-64, pointers are 64 bits wide. When compiling for VPU, pointers are only 32 bits wide. This can lead to problems which are difficult to debug, for example if a pointer is cast to a 32 bit integer.