Building Citrix Virtual Apps & Desktops#
This section covers building the core components for a Citrix Virtual Apps & Desktops environment, including:
Installing the Citrix Delivery Controller, Citrix License Server
Configuring the Citrix Delivery Controller, Citrix License Server
For the latest install and configure information, refer to Citrix’s Install Core Components section of the Citrix Virtual Apps and Desktops Product Documentation. Additionally, Citrix offers solutions for deploying Delivery Controllers to the Cloud. Citrix Cloud is outside the scope of this document, so please consult Citrix and refer to the Citrix Cloud Product Documentation if you choose to have any components of your Citrix infrastructure in the Cloud.
Installing the Citrix Delivery Controller#
The Citrix Delivery Controller Server must meet the requirements listed in General Prerequisites.
Use the following procedure to install Citrix Delivery Controller:
Attach the iso file to the server OS and open it via File Explorer.
Launch the Auto Select Application and accept the Windows User Account Control Popup.
Click Start for Virtual Apps and Desktops section.
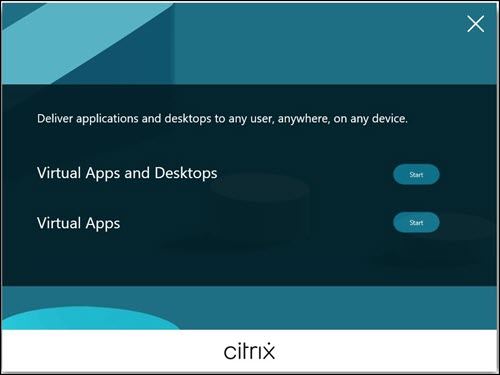
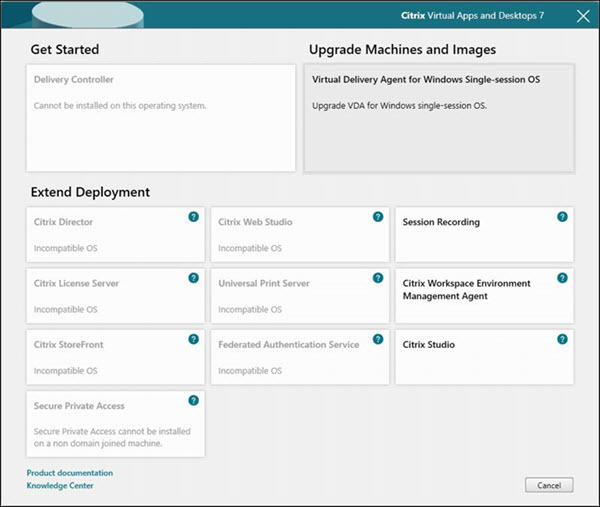
Select Delivery Controller to launch the Citrix Virtual Apps and Desktops installer.
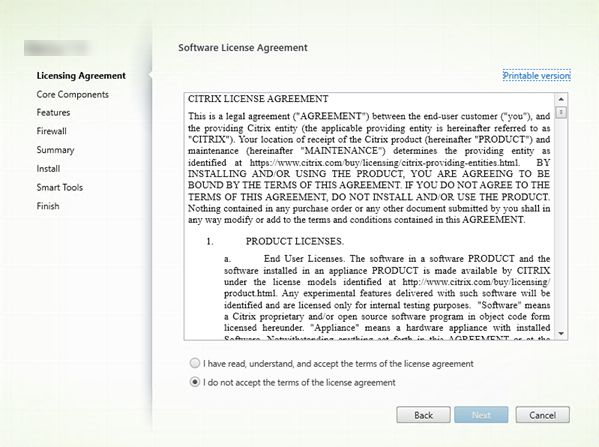
Scroll and read through the Software License Agreement. Check I have read, understand, and accept the license agreement terms to accept the agreement. Select Next to continue.
The Core Components window allows you to choose an install location and the core components that can be installed. For the purposes of a POC/trial, ensure all components are selected and click Next.
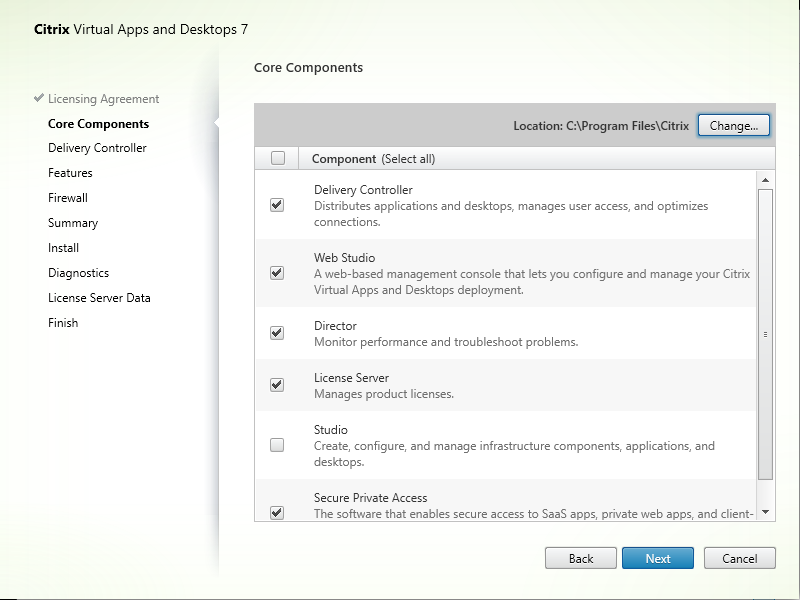
Note
Only the Delivery Controller and Studio should be checked in a production environment. Director, License Server, & StoreFront should all reside on their isolated servers. See the Citrix Virtual Apps & Desktops Install & Configure Product Documentation for production deployment instructions.
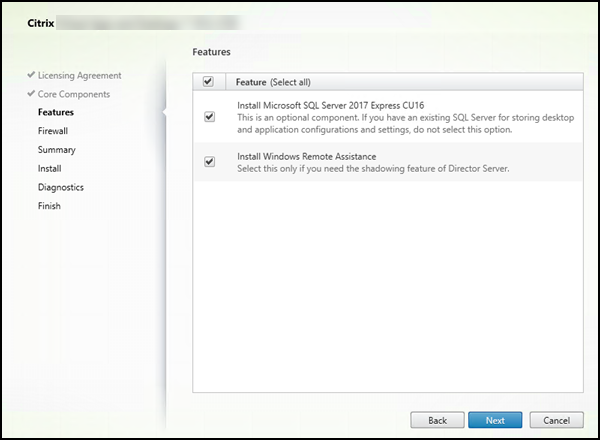
The Features window allows you to choose which Features to install. Ensure all features are selected and click Next.
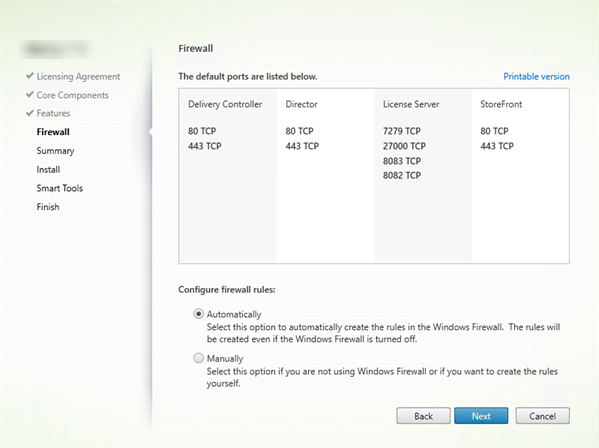
The Firewall window allows you to configure Windows Firewall. Select the Automatically radio button and click Next.
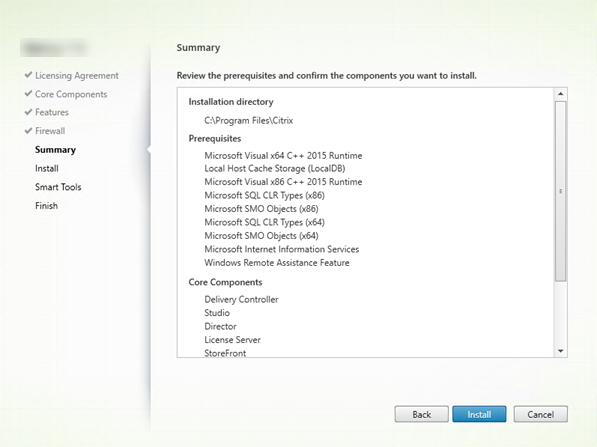
On the Summary window, select Install.
Accept any Reboot Prompts and reconnect to the server.
In the Diagnostics window, select the appropriate option to Collect diagnostic information according to your organization’s policies. Select Next to continue.
Select Finish to complete the install.

Configuring the Citrix Delivery Controller#
Open the desktop Start menu on a Delivery Controller and select Citrix > Citrix Site Manager.
In the Citrix Site Manager, select Create a site. The Site Setup wizard appears.
On the Introduction window, type a site name.
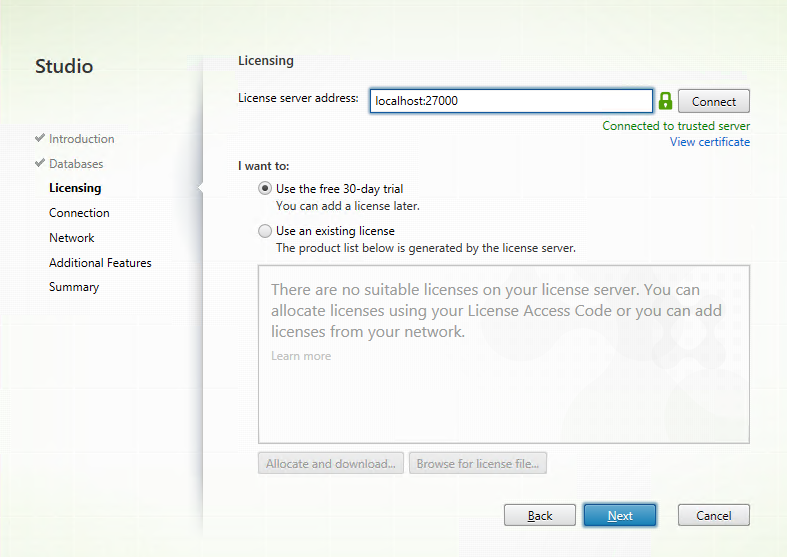
On the Licensing window in the License server address: text field, ensure localhost:27000 is specified. Next, ensure Use the free 30-day trial is selected and click Next.
On the Connection Window, perform the following tasks:
XenServer:
Under the Connection type drop down menu, select XenSever.
In the Connection address, enter the URL for your Citrix Hypervisor.
In the Username, enter your XenServer administrator’s username.
In the Password, enter the XenServer administrator’s password.
In the Connection name, enter the name of this connection.
Ensure the Other tools radio button is selected and click Next.
On the Additional Features window, click Next.
On the Summary window, click Finish.
VMware vSphere:
Under the Connection type drop down menu, select VMware vSphere®.
In the Connection address text field, enter the URL for your vSphere management server.
Note that the connection must use SSL.
In the Username text field, enter your VMware vSphere® administrator’s username.
In the Password text field, enter the VMware vSphere® administrator’s password.
In the Connection name text field, enter a name for this connection.
Ensure the Studio tools (Machine Creation Services) radio button is selected and click Next.
If the Delivery Controller does not already trust the vSphere Management server certificate, the Certificate Authentication window will appear.
Select the Trust certificate checkbox and click OK.
The Storage Management window allows you to choose a cluster for machine creation. For POC/trial purposes, we select a single host with local storage.
Note
In a production environment, you may need to select a cluster with multiple hosts and shared storage.
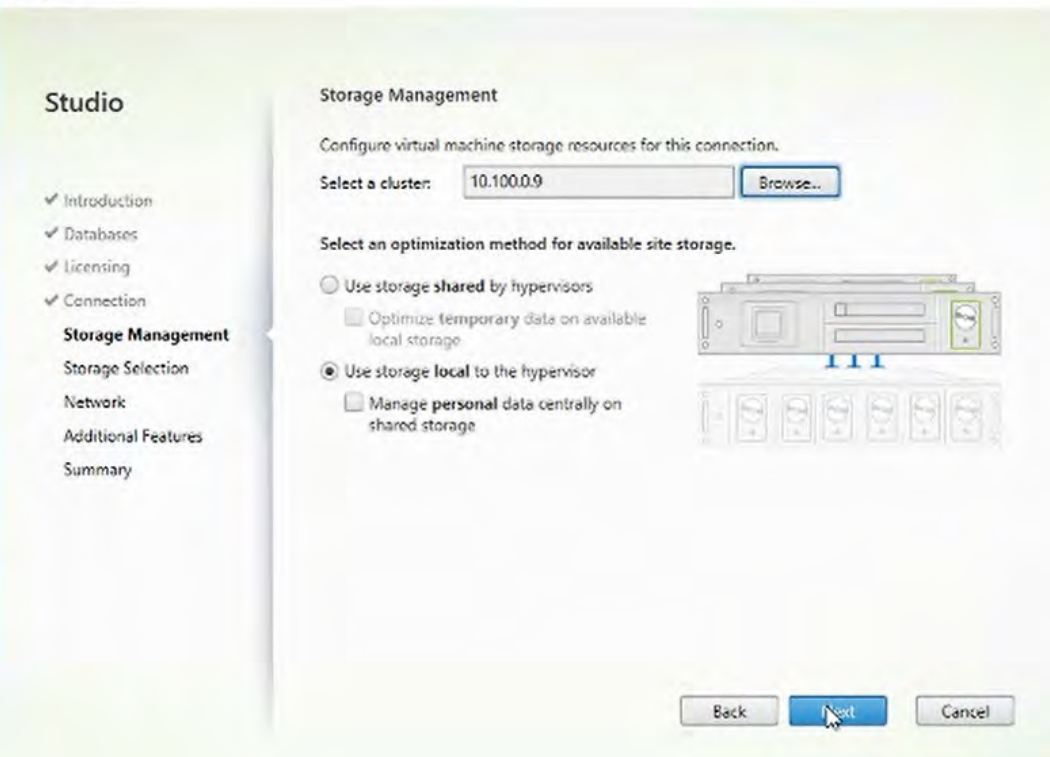
To select your cluster, click Browse…
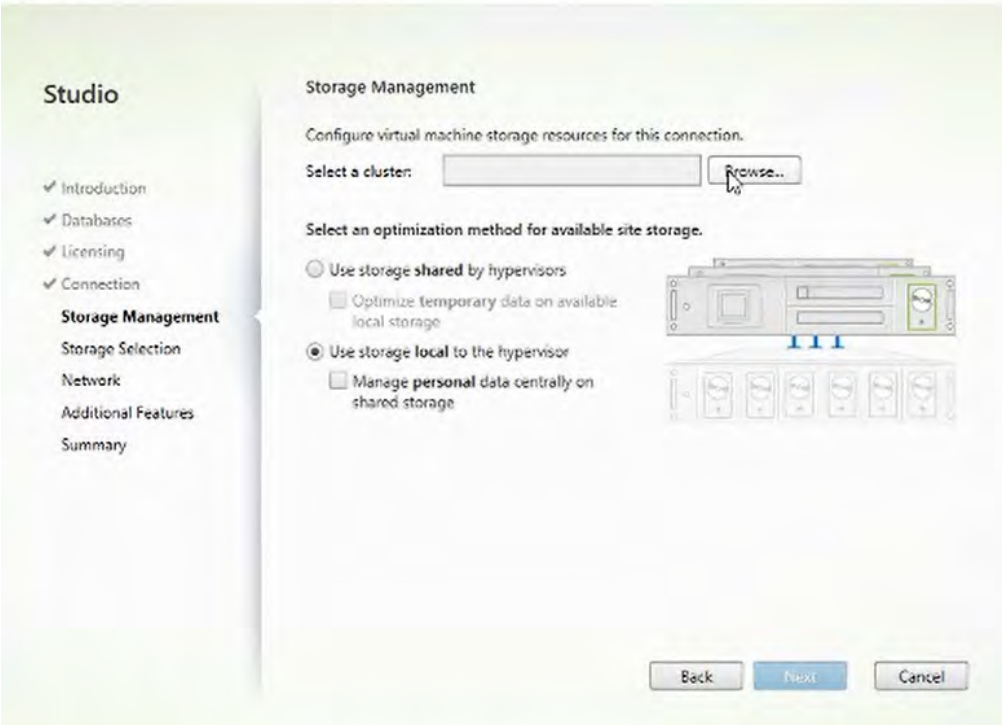
Select the cluster from the dropdown menu and click OK.

Select the appropriate Storage Management option. Since we use local storage, select Use storage local to the hypervisor and click Next.
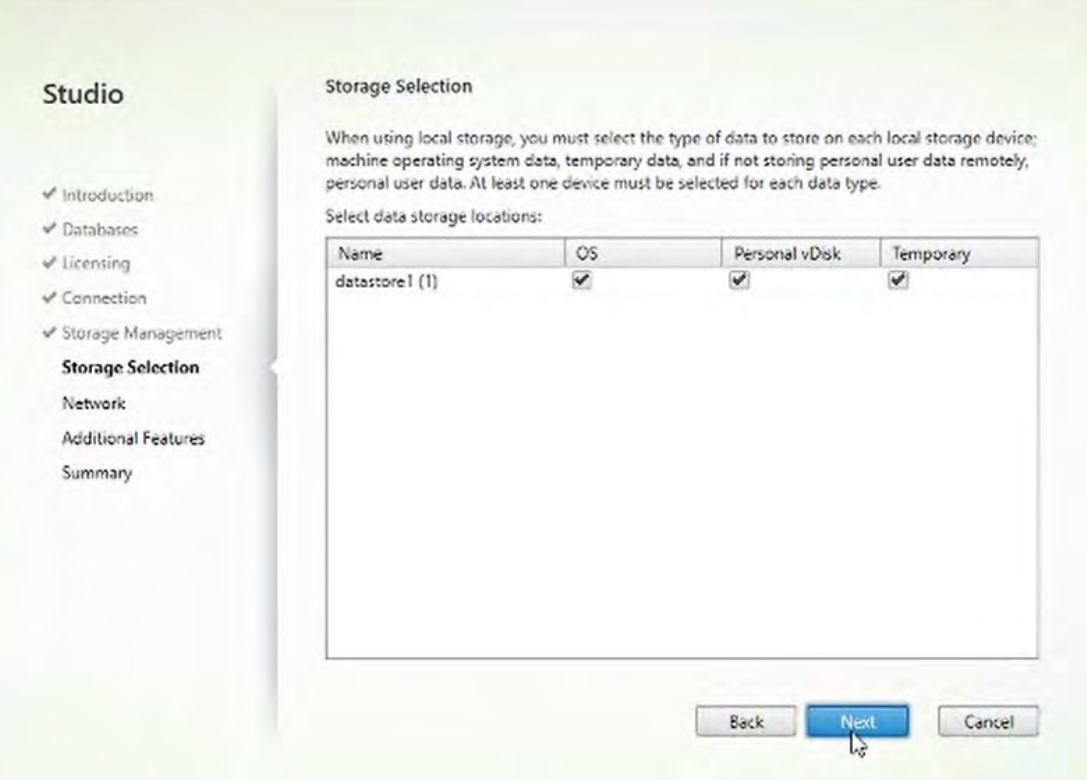
On the Storage Selection window, ensure the OS, Personal vDisk, & Temporary check boxes are selected for your local storage and click Next.
Note
In a production environment, you may need to store the OS, Personal vDisk, and temporary files on separate datastores.
On the Network window, type a name for the resources in the Name for these resources: text field.
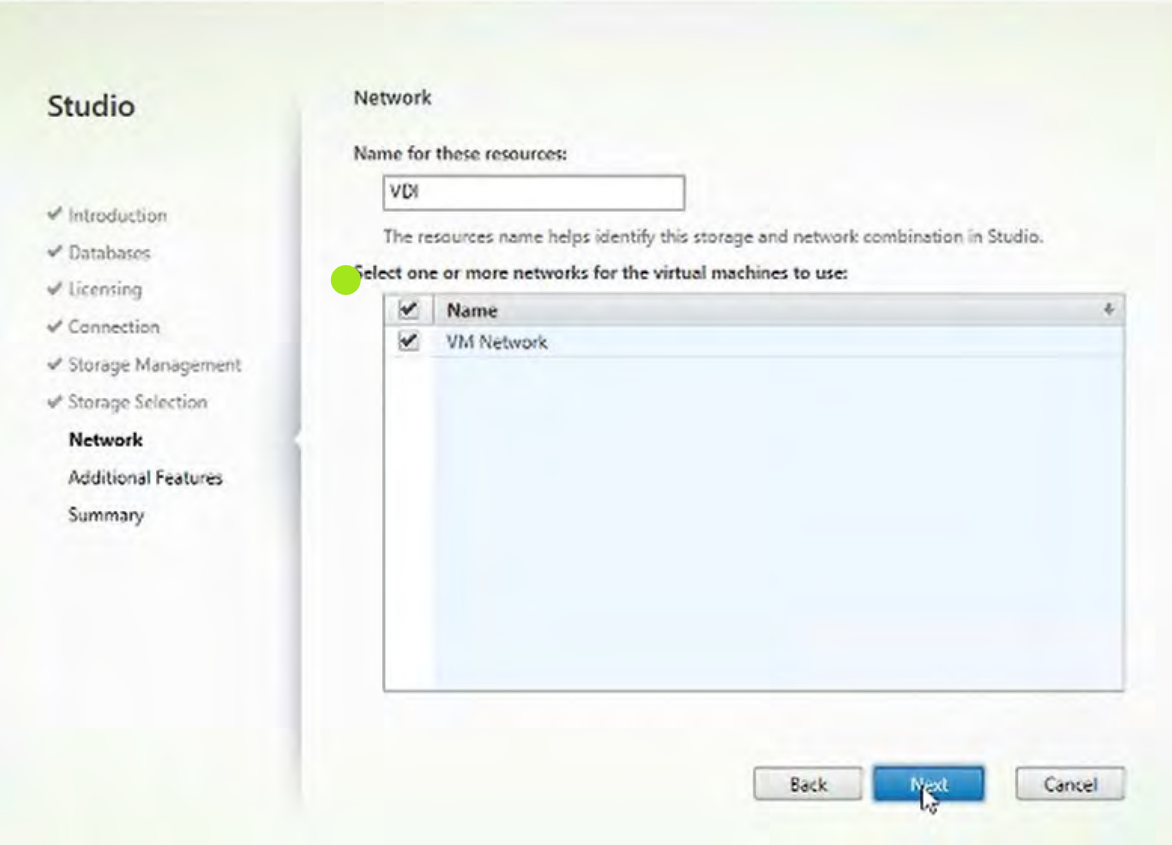
On the Additional Features window, click Next.
On the Summary window, click Finish.