Application Deployment#
Important
Ensure the basic prerequisites have been met before proceeding with the deployment.
Note
Manual deployment instructions are also available in the Manual Deployment section. However, the automated deployment is recommended as it provides a streamlined process with minimal manual intervention.
Create a directory (for example,
~/application) to store the resources and navigate to it.mkdir ~/application cd ~/application
Download the
applications-playbook.tar.gzfile from the Local Developer Setup resource using an NGC API Key.This can also be done on the command line as follows, replacing the
<API-KEY>placeholder with your NGC API Key:curl -fsSLO "https://api.ngc.nvidia.com/v2/org/nvidia/team/holoscan-for-media/resources/local-developer-setup/versions/0.4.0/files/applications-playbook.tar.gz" -H "Authorization: Bearer <API-KEY>"
Unarchive the downloaded package in the current directory.
tar -xzvf applications-playbook.tar.gz
Create a Persistent Volume Claim for Chrome Remote Desktop.
Creating and using a persistent volume claim is optional, but is necessary to ensure remote access still works when the pod is restarted because an authorization code can only be used once. If needed, follow the steps mentioned in the Chrome Remote Desktop section to create a persistent volume claim.
Edit
config.yamlto specify the Persistent Volume Claim name if created above, along with the other required settings as needed including:h4m_ngcto overwrite NGC org and teams to download applications from (default set tonvidiaand teamholoscan-for-mediafor proper download from public repositories)rivermax_license_pathto create a secret pointing to your Rivermax license filescheduler_name(if you use a local developer setup,default-scheduleris recommended while production deployment with OpenShift should typically usetopo-aware-scheduler)nmos_cpp_registryandnmos_controllerto set appropriate IP addresses depending on the setup (local developer setup with a loop back cable can be made with the static IP addresses proposed as examples)
Activate the Python virtual environment. This was created during the local developer or production platform setup.
Get Chrome Remote Desktop Authorization Code.
To get the Chrome Remote Desktop authorization code:
Navigate to https://remotedesktop.google.com/headless in your web browser.
Under the Set up via SSH section, click Begin, then Next, and then Authorize.
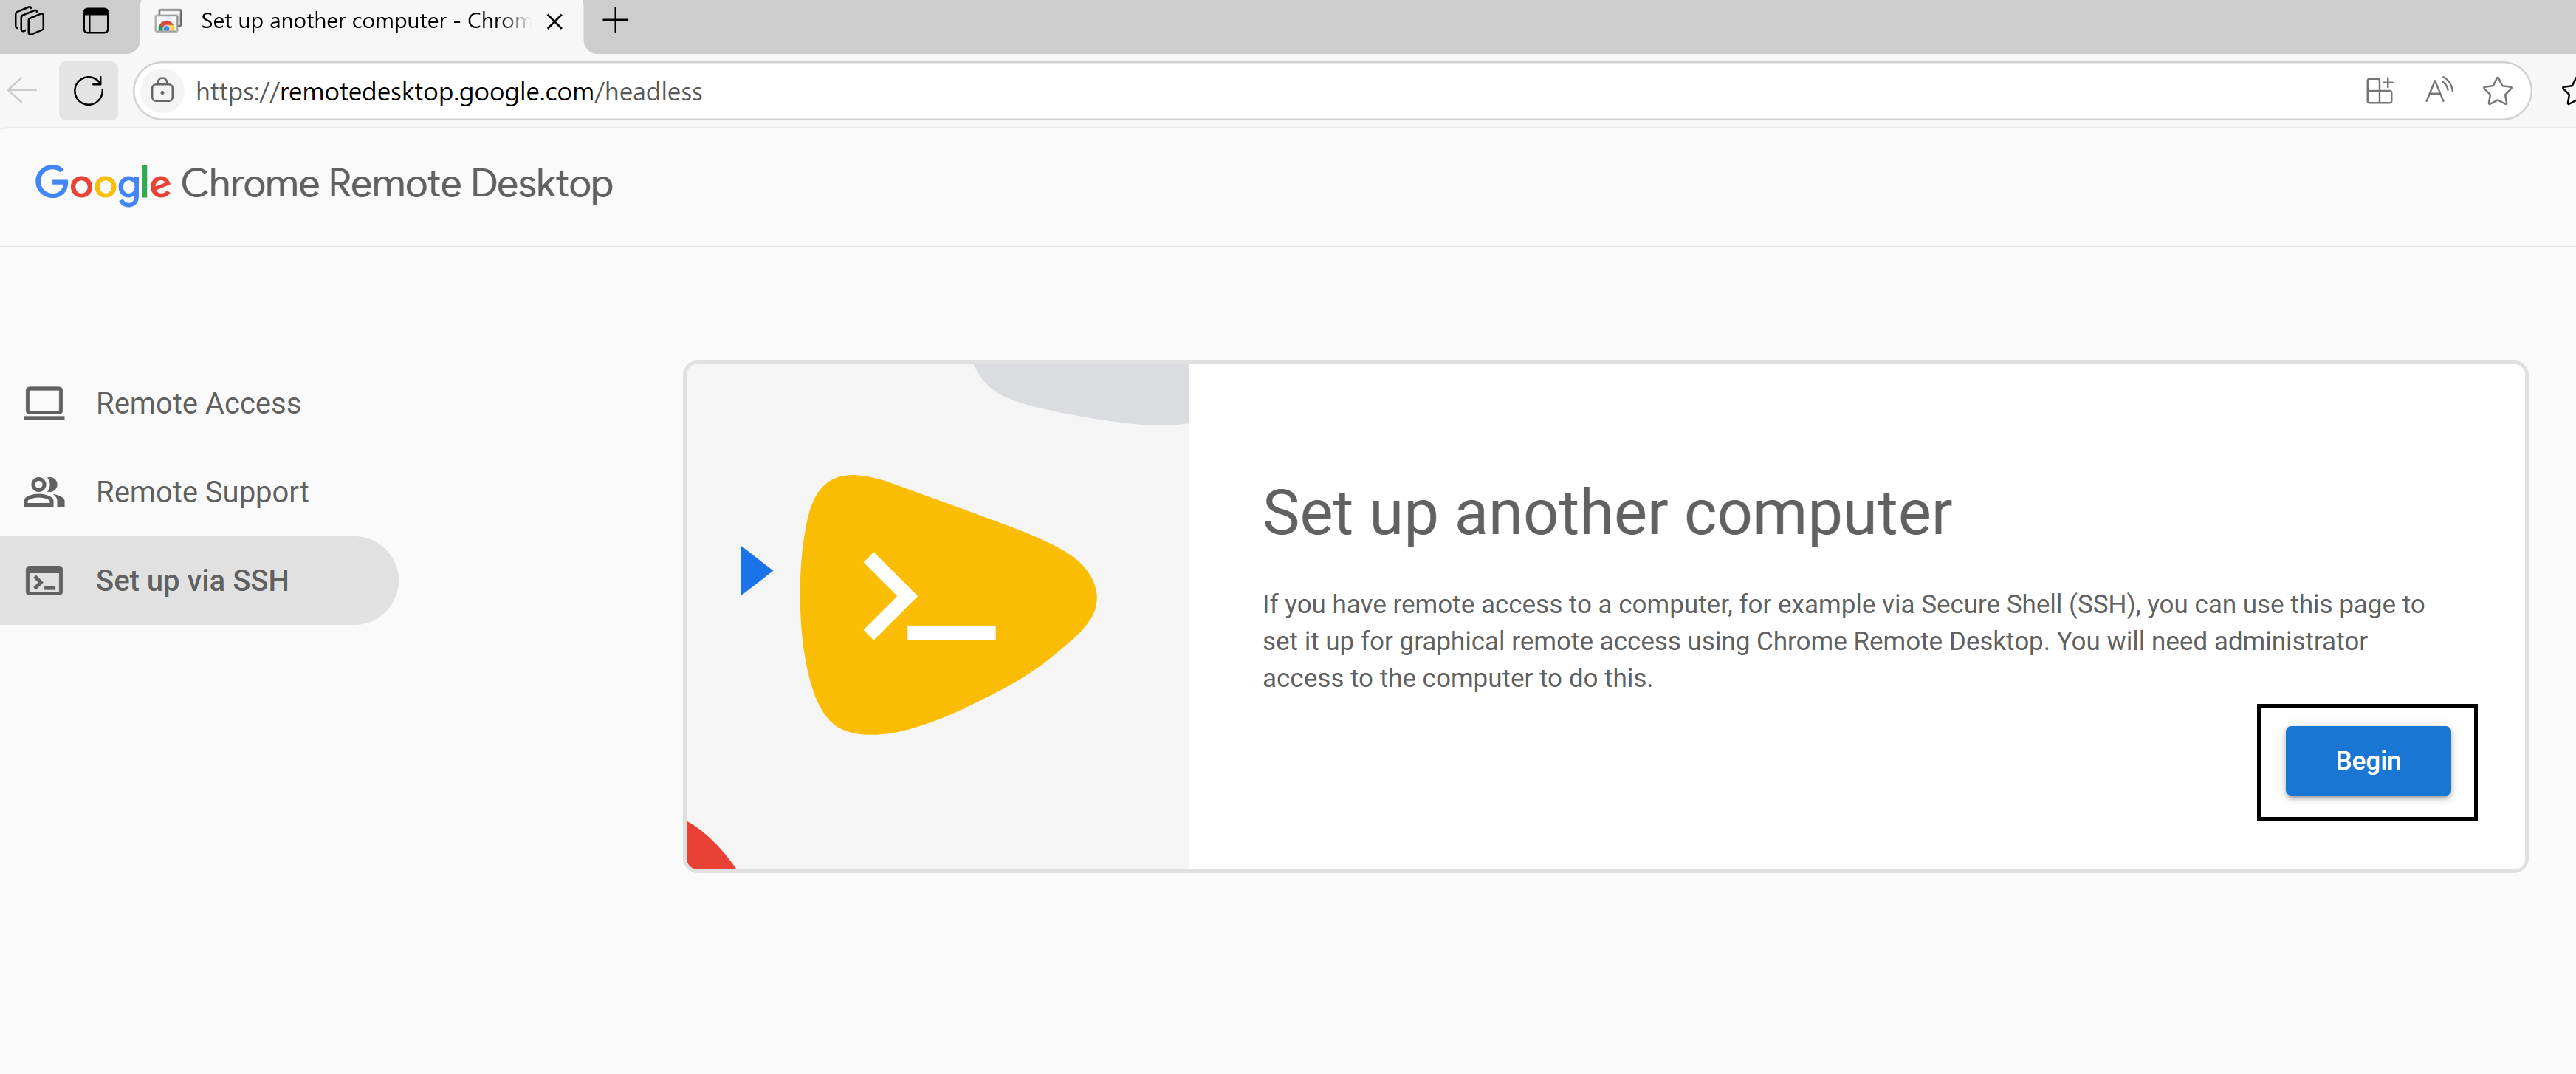
The page will display setup commands for various operating systems. Look for the section that contains the commands for Debian Linux.
From the command shown, locate the value inside the
code=""parameter and copy just that part.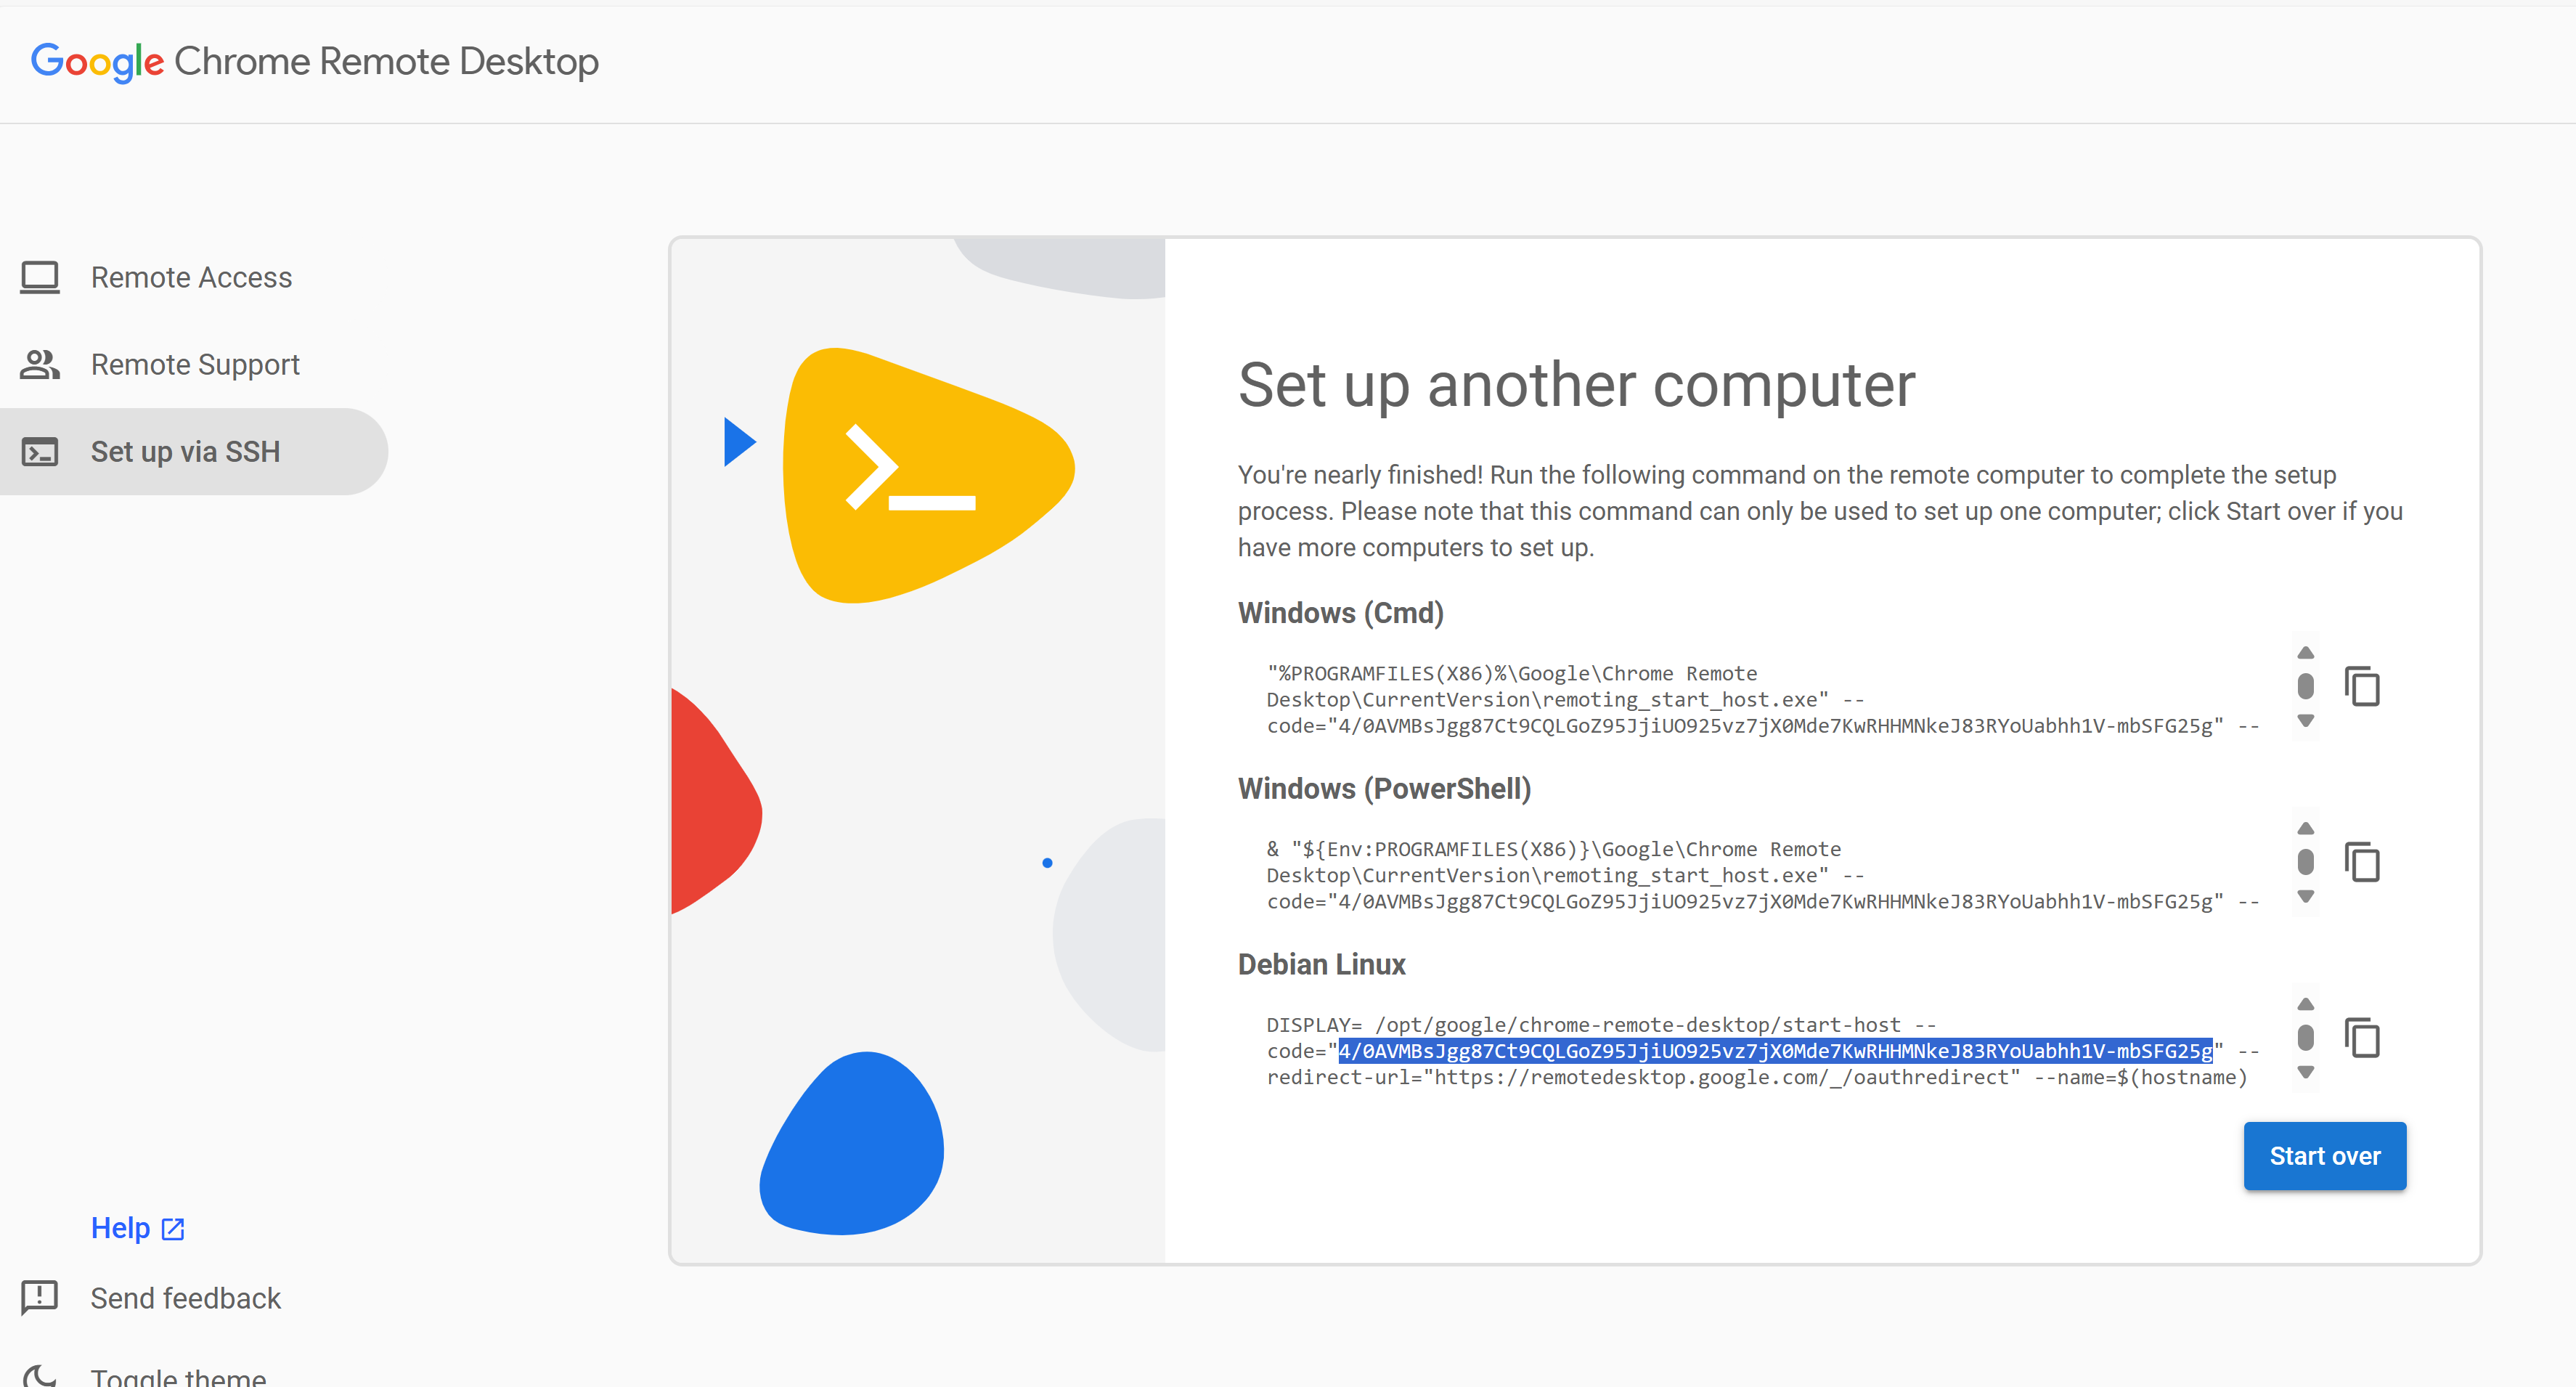
For example, from the command:
DISPLAY= /opt/google/chrome-remote-desktop/start-host --code="4/0AVMBsJgg...-mbSFG25g" --redirect-url="https://remotedesktop.google.com/_/oauthredirect" --name=$(hostname)"
Copy only the part:
4/0AVMBsJgg...-mbSFG25g
Important
The authorization code is only valid for five minutes. If it expires, you’ll need to generate a new one.
To run the automation, run the command:
ANSIBLE_LOG_PATH=./application_$(date +'%Y%m%d_%H%M%S').log ansible-playbook install.yaml --extra-vars "NGC_API_KEY=<API-KEY> CHROME_REMOTE_DESKTOP_CODE=<CRD-CODE>" -vv
where:
<API-KEY>is an NGC API Key (legacy NGC API keys are not supported)<CRD-CODE>is a Chrome Remote Desktop Authorization CodeThe
-vvflag enables verbose output for debugging. You can change it to-vfor less detail or-vvvor-vvvvfor increasingly more detailed logs.
Test Connection#
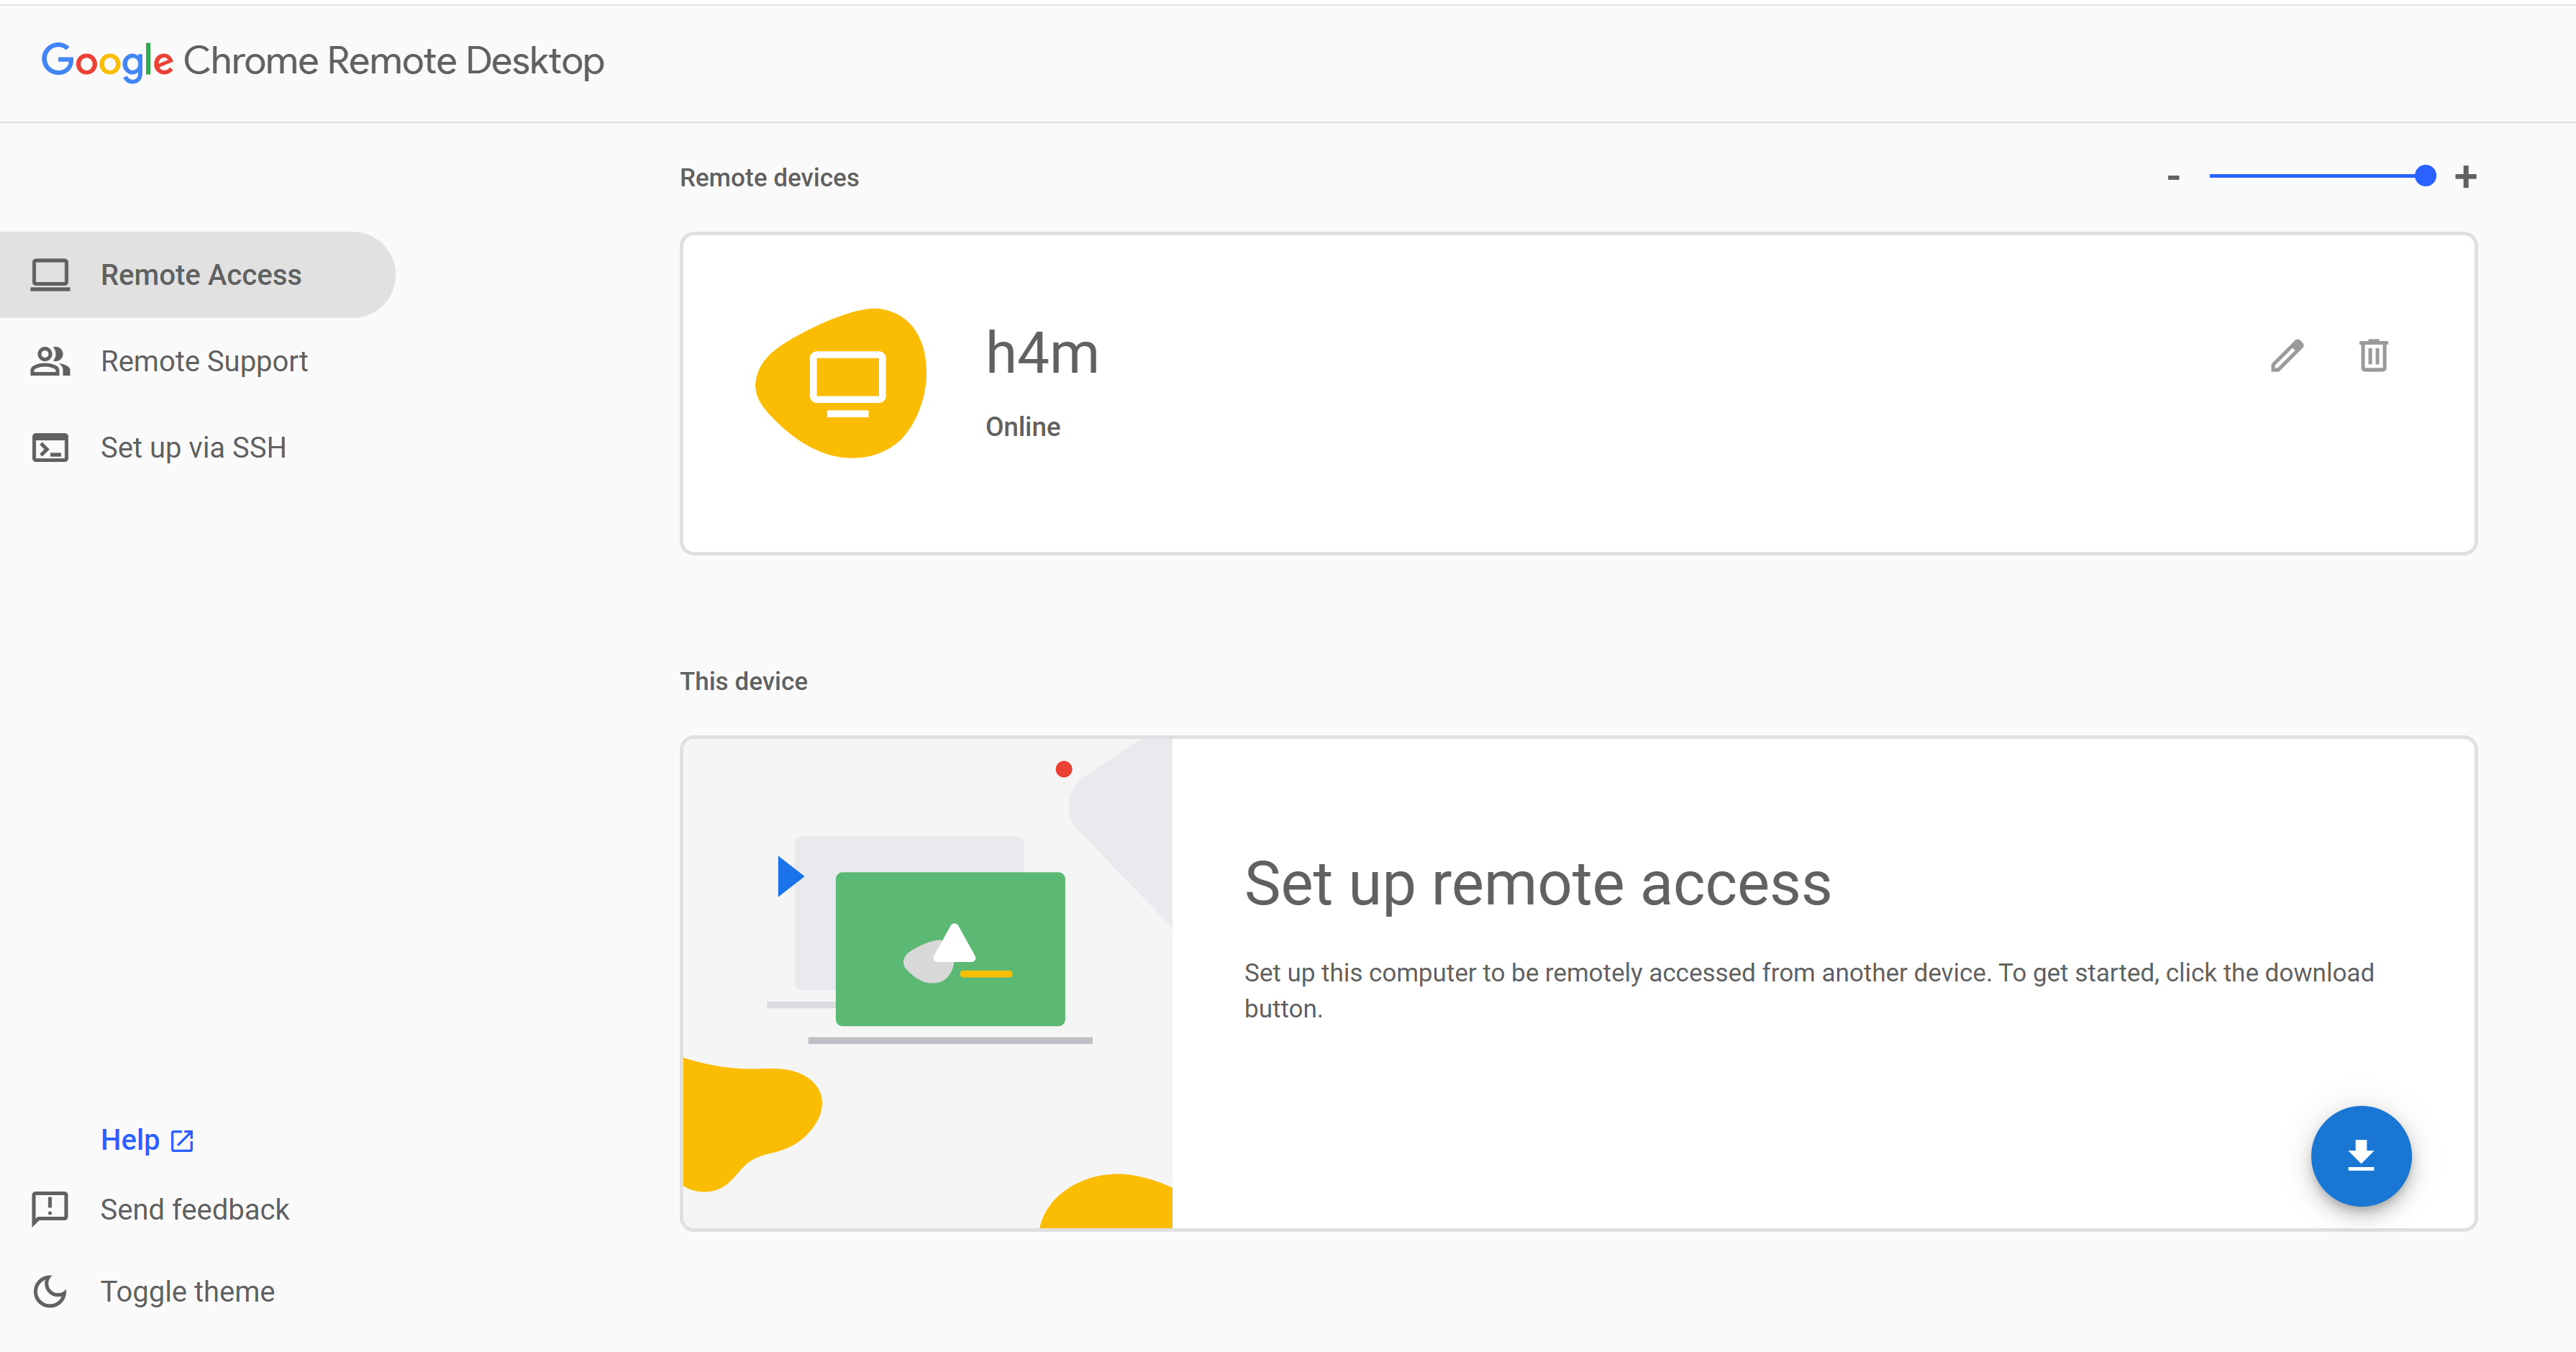
Go to the Chrome Remote Desktop web interface at https://remotedesktop.google.com/access.
You’ll see your remote computer listed based on the hostname you specified for the chrome-remote-desktop (default: myvirtualdesktop).
Click the name to connect.
Enter the PIN you configured for the chrome-remote-desktop (default:
123456) when prompted.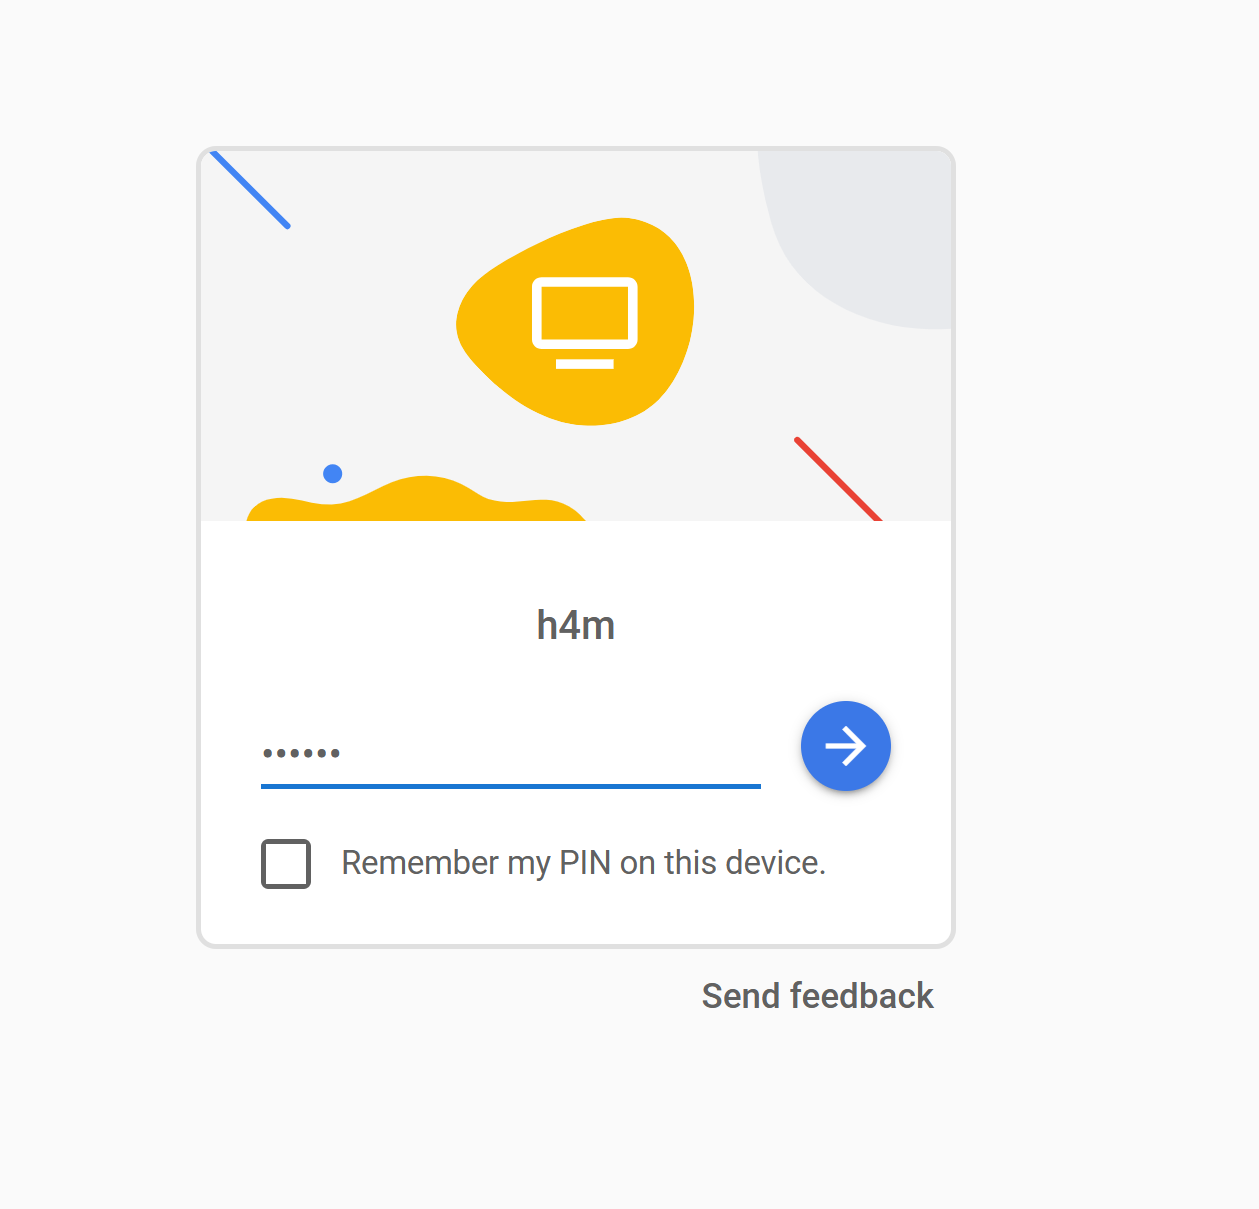
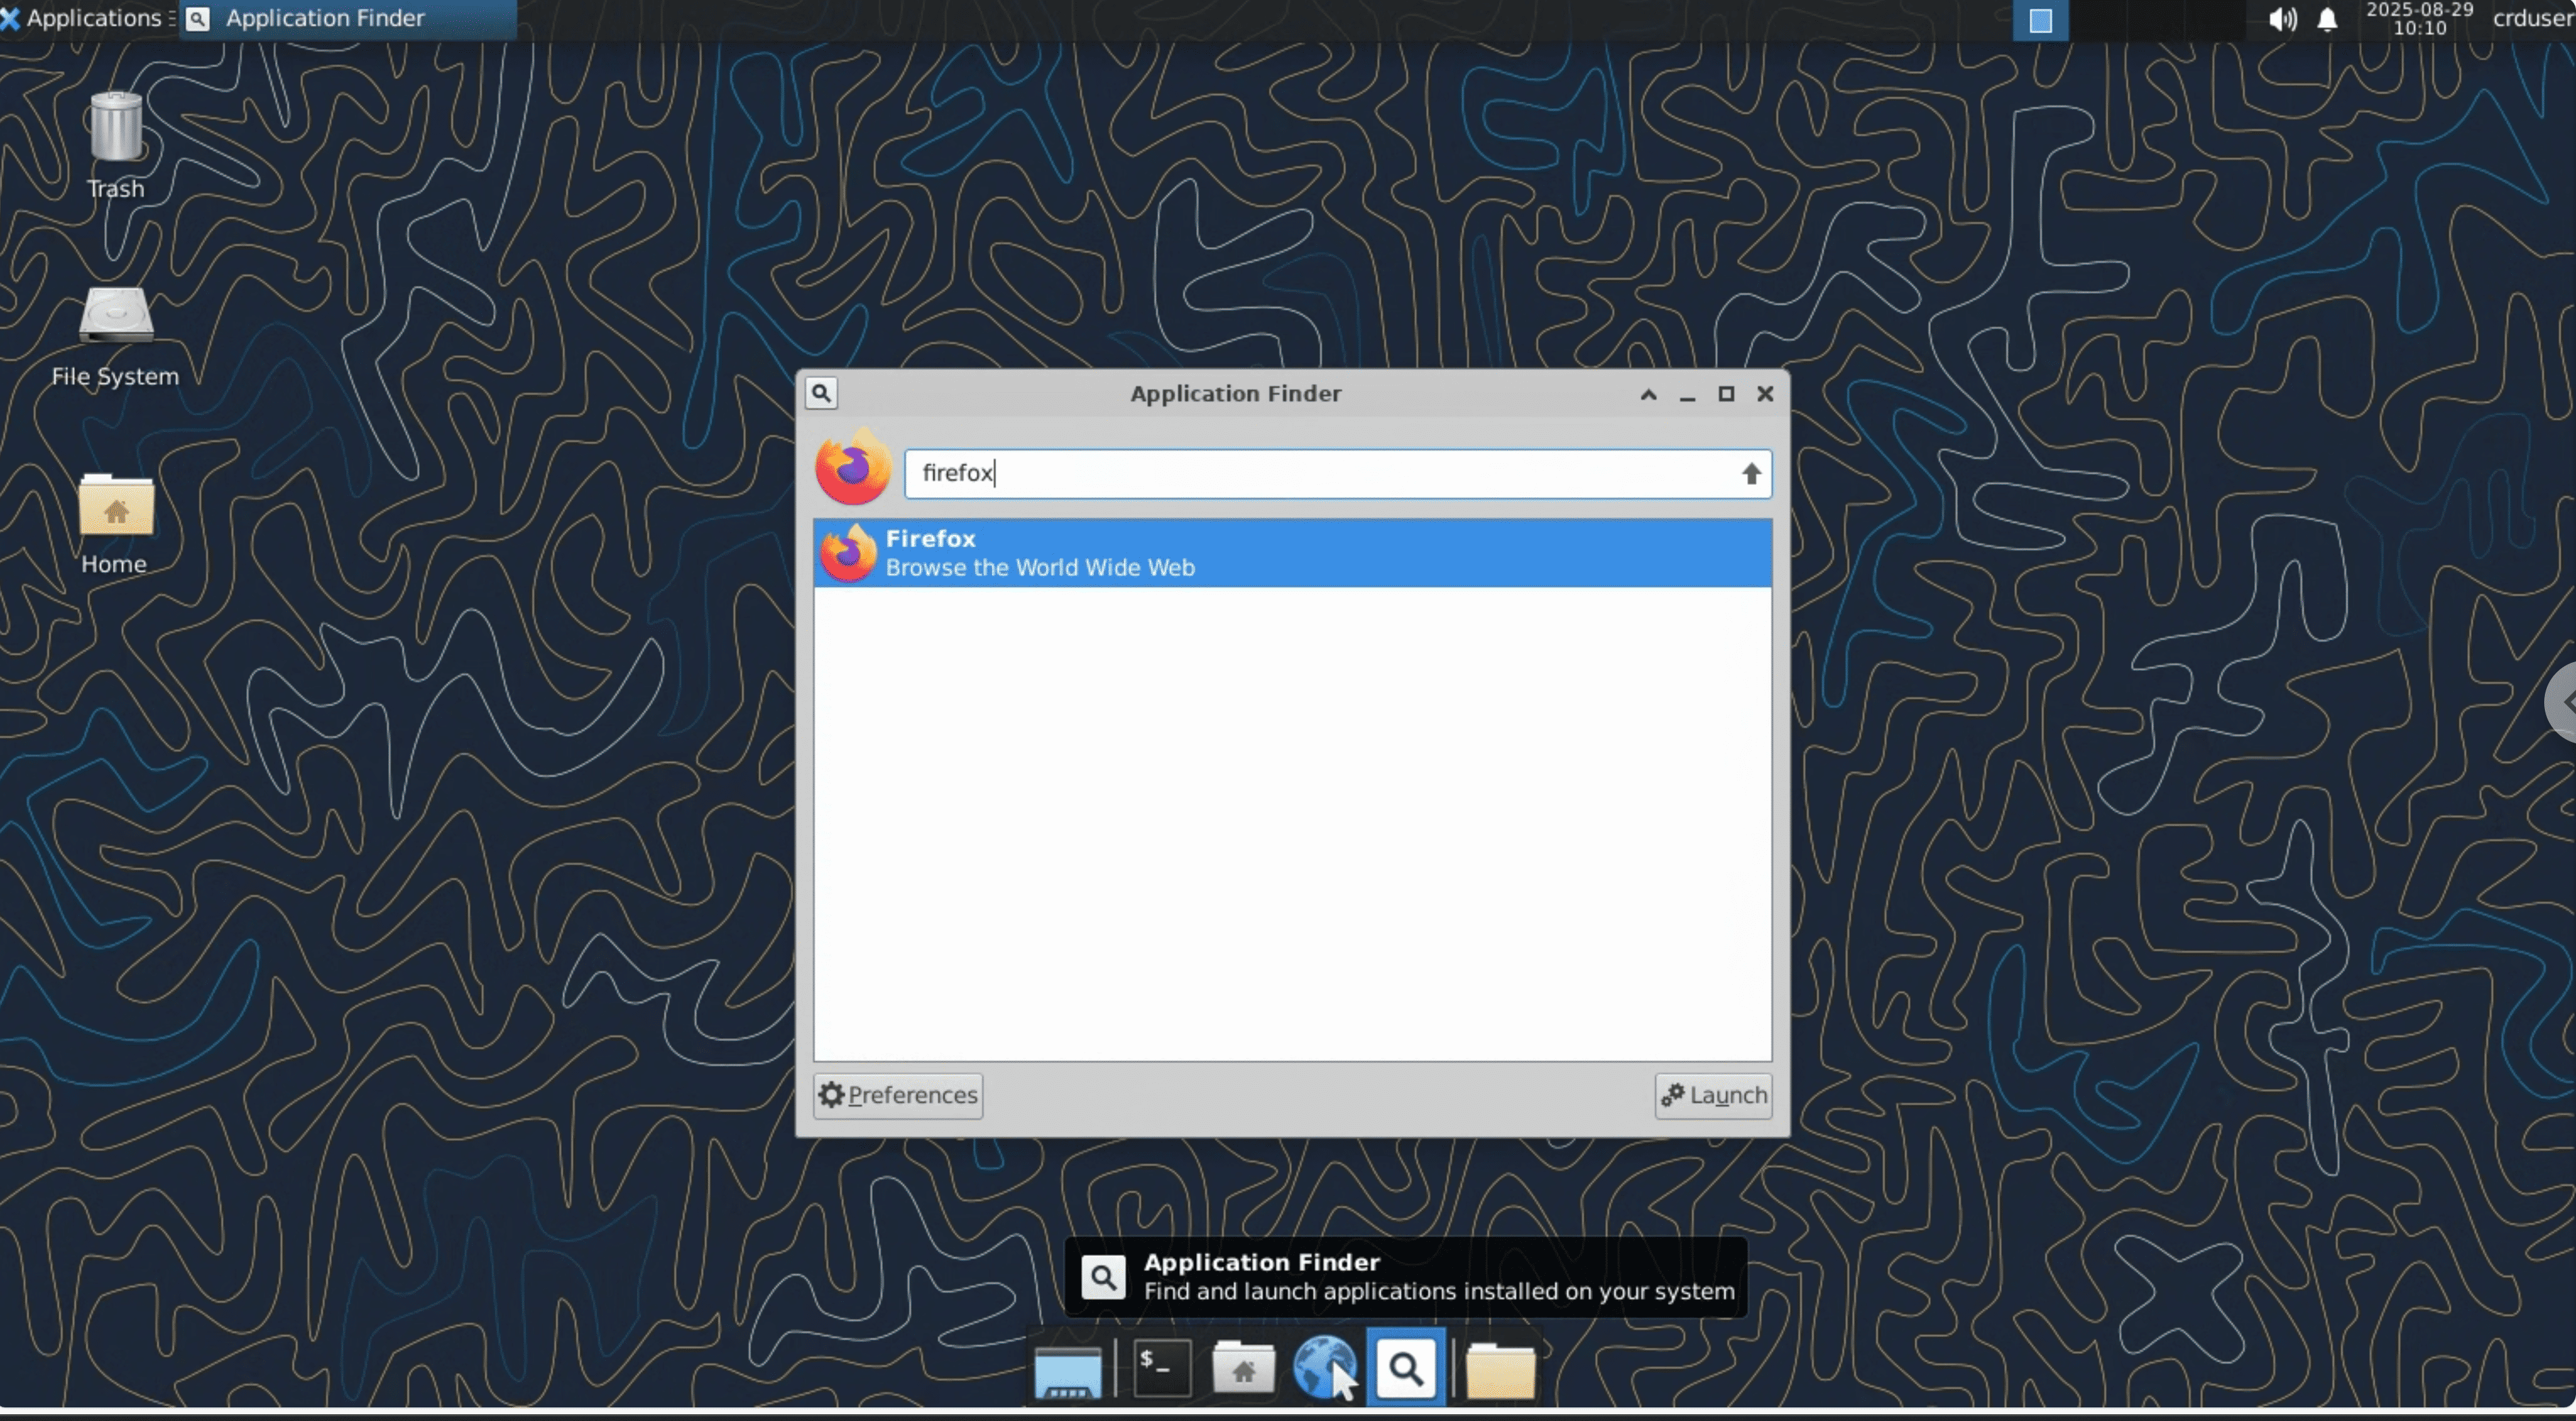
After connecting to Chrome Remote Desktop, click Application Finder in the dock at the bottom of the screen, search for Firefox, and click the icon to open it.
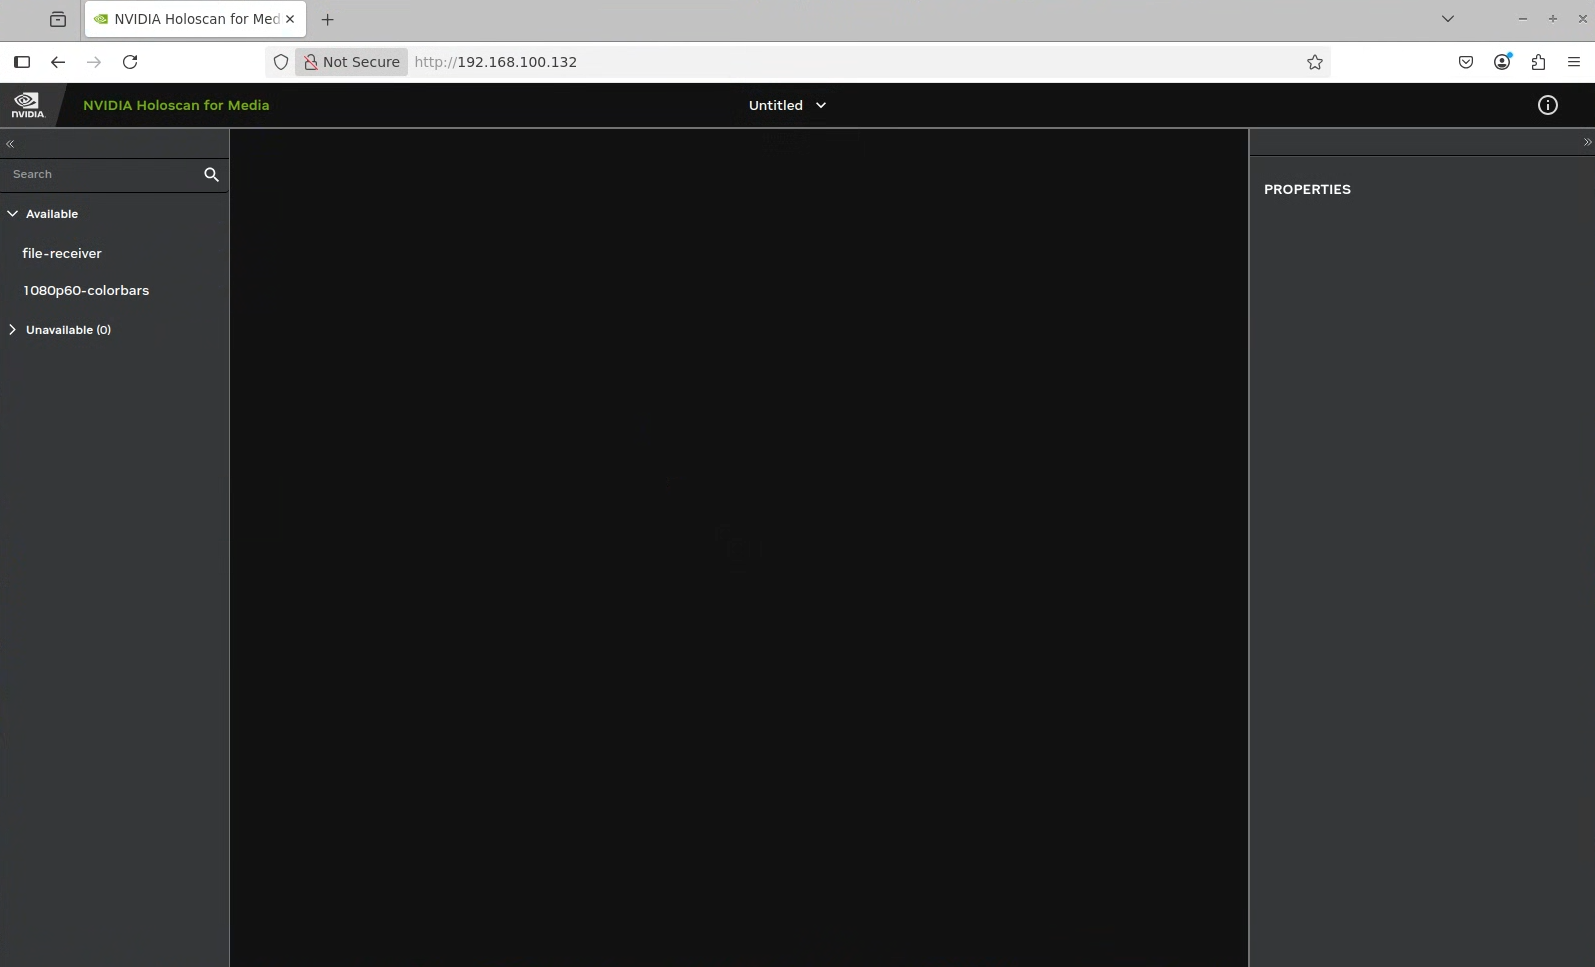
Navigate to the NMOS Controller UI at
http://<controller-ui-ip-address>/, where<controller-ui-ip-address>is the high speed network IP specified at deployment time.In the NMOS Controller UI, you’ll see available devices listed in the left panel under Available.
Note
If the devices do not appear in the NMOS Controller UI, check the logs of each pod:
kubectl logs <pod-name>
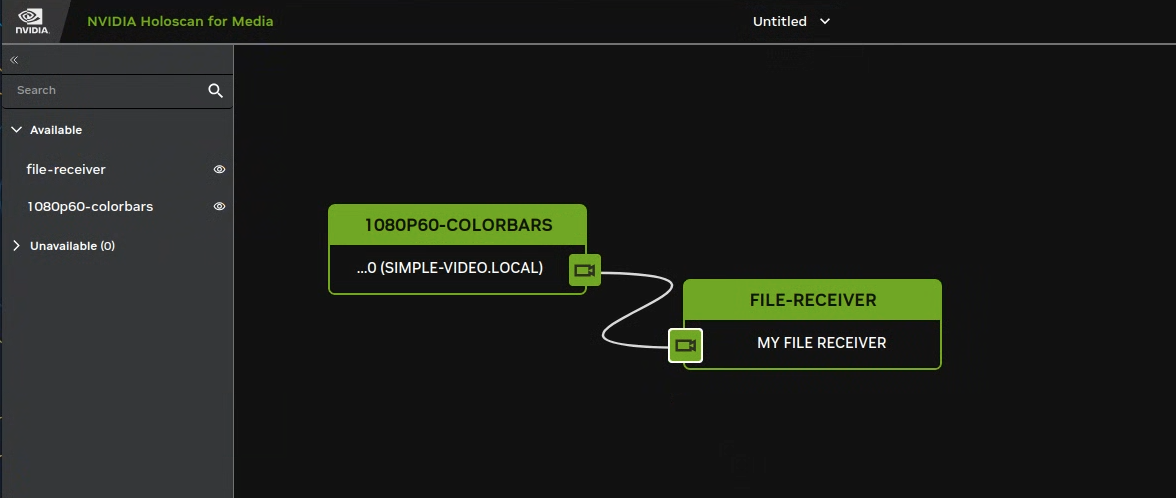
Drag the sender and receiver devices from the left panel to the empty canvas.
Drag a link between the receiver and the sender to make a connection.
After some time, disconnect the link between sender and receiver using the context menu and check the video file saved in the workspace directory of the receiver container.
Alternatively, you can copy the file to your local directory using the following command:
kubectl cp <pod-name>:/workspace/recv.mp4 <destination-path>
Replace
<pod-name>with the name of the receiver pod, can be found using the following command:kubectl get pods | grep receiver
NAME                                                              READY   STATUS    RESTARTS   AGE
nvds-nmos-bin-receiver-nvds-nmos-bin-receiver-pipeline-dbd79rcb   1/1     Running   0          10m
Replace
<destination-path>with the path to the directory where you want to save the file (for example,/home/user/recv.mp4).